
In this guide


Finished snowflake drawing in pale blue, with six rounded arms and paired branches.
Here’s how to draw a simple snowflake with rounded tips and paired branches. Cross three light pencil lines at the center, outline one arm and repeat it around the six spokes. A shallow V connects each arm to the next.
If you’re learning how to draw a snowflake for the first time, use the Detailed guide to work step by step through the first arm. Choose the Quick guide if you’re comfortable repeating the pattern from one arm to the next. Both lead to the same finished drawing.
Gather your pencil and leave room for six arms
Set out a pencil, an eraser and a piece of paper. Mark the center lightly. Leave room on all sides, especially above and below, where the two upright arms point.
You can draw the placement guides freehand. Imagine a clock face with spokes at 12, 2, 4, 6, 8 and 10. Repeating the same arm at those regular intervals gives the snowflake its radial symmetry. A ruler can help you compare the spoke lengths. Keep the pencil lines light so you can erase them after closing the outline.
How to draw a snowflake for kids
Use a bigger sheet of paper so there’s room to round the short branches. Count the six spokes together and draw just the top arm first. For each new arm, turn the page until its spoke points up. That lets a young artist repeat the same hand motion.
How to draw a snowflake step by step
Detailed guide
The pale dashed lines are placement guides. Dark plum shows the part to draw now. Gray shows the outline you’ve already drawn. The whole view shows where you are. Use the closer view to see a turn or join.
Place the guides
1. Draw a light upright line
Draw one faint pencil line through the middle. Leave room beyond both ends for the rounded tips.

One vertical pencil guide with space above and below.
2. Cross it with two diagonals
Put both diagonals through the same center. Aim for six roughly equal gaps and six ends about the same distance out.

Two diagonal guides cross the upright to make six spokes.
Learn the pattern on the top arm
3. Start the left edge of the top arm
Start a short distance above the center, just left of the upright. Go up beside the guide and pause just before the first twig turns out.

A straight line rising just left of the upright guide.
Whole drawing

Closer view. A straight line rising just left of the upright guide.
Closer view
4. Go out along the first twig
Slope up and left from the line you drew. Ease into the rounded end and pause halfway around it.

The top arm starts to branch up and left.
Whole drawing

Closer view. The top arm starts to branch up and left.
Closer view
5. Return toward the first notch
Finish rounding the twig. Head diagonally back toward the upright and pause just before the inside notch, higher than where you turned out.

The first twig curves back toward the upright and stops just before the notch.
Whole drawing

Closer view. The first twig curves back toward the upright and stops just before the notch.
Closer view
6. Take the left edge up to the tip
Turn at the notch and go almost straight up. Leave enough space across the guide for a broad arm.

The left edge turns at the first notch and continues upward beside the guide.
Whole drawing

Closer view. The left edge turns at the first notch and continues upward beside the guide.
Closer view
7. Round the main tip
Make a broad curve across the end of the upright. Stop when the line points down on the other side.

A rounded cap crosses the guide from left to right.
Whole drawing

Closer view. A rounded cap crosses the guide from left to right.
Closer view
8. Come down toward the second notch
Go down beside the upright. Pause just before the second notch, which will sit about level with the first.

A short straight edge comes down from the cap toward the right notch.
Whole drawing

Closer view. A short straight edge comes down from the cap toward the right notch.
Closer view
9. Go out along the second twig
Angle up and right from the notch. Start to round the twig at about the same height as the first one.

The second twig slopes up and right.
Whole drawing

Closer view. The second twig slopes up and right.
Closer view
10. Return toward the right edge
Finish the rounded end and head back toward the upright. Pause just before the twig turns into the stem.

The right twig rounds and approaches the stem.
Whole drawing

Closer view. The right twig rounds and approaches the stem.
Closer view
11. Bring the right edge down
Continue straight down toward the center. Stop level with your starting point, leaving the middle open for the other arms.

The right stem edge drops to the same height as the left one.
Whole drawing
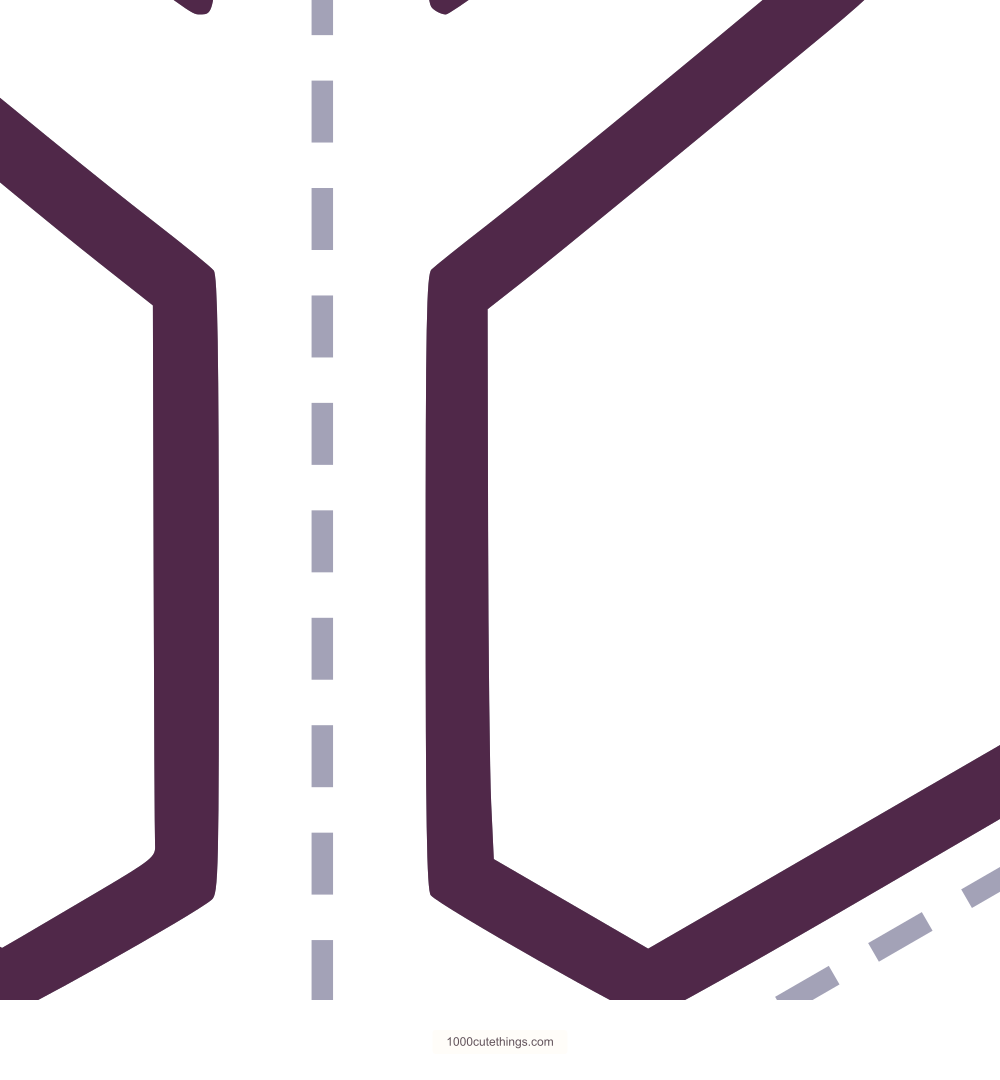
Closer view. The right stem edge drops to the same height as the left one.
Closer view
Repeat around the other five arms
12. Join into the upper-right arm and turn through its first twig
Make the shallow inward V shown near the center. Follow the new spoke outward, leave it to round the first twig, then approach the inside notch. Use the same turns as on the top arm.

The inner join and first twig of the upper-right arm.
Whole drawing
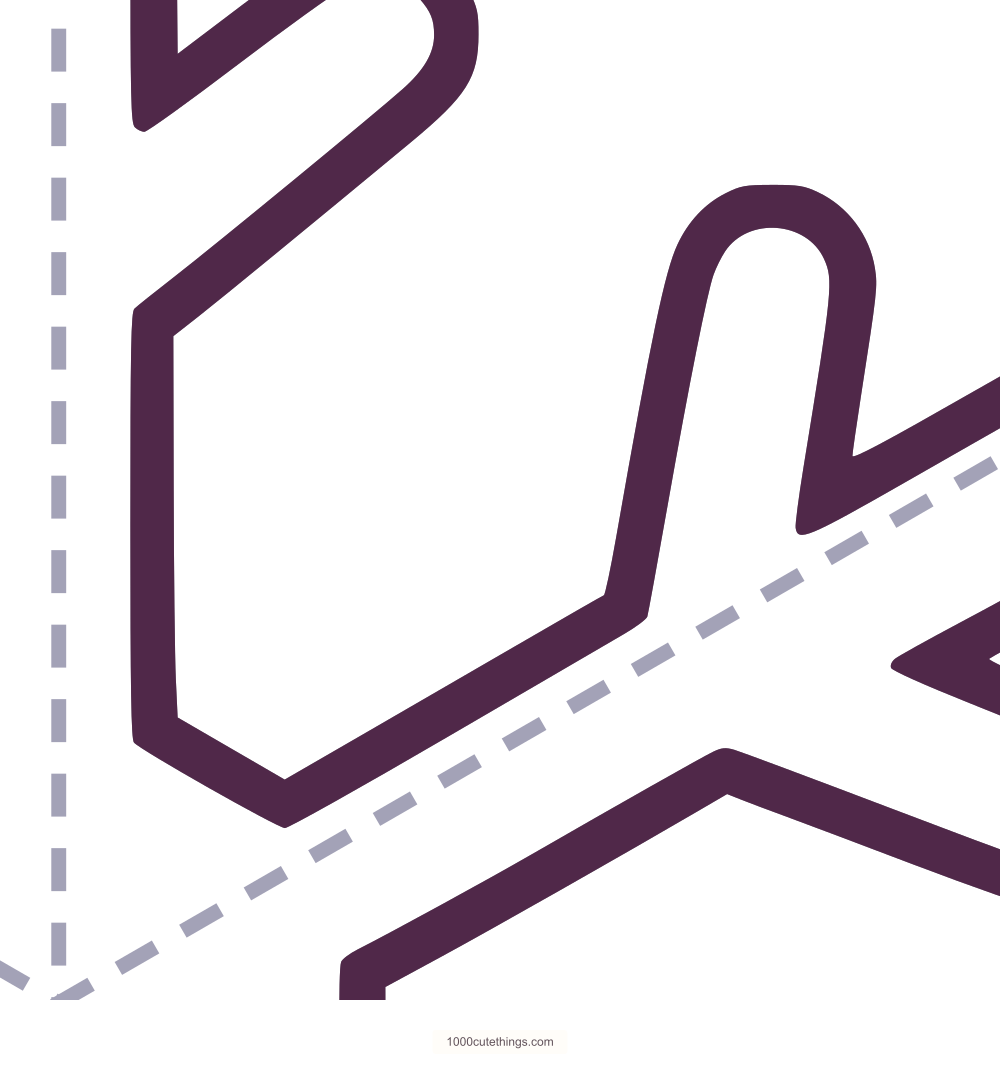
Closer view. The inner join and first twig of the upper-right arm.
Closer view
13. Round the upper-right tip
Turn at the notch and draw out beside the spoke. Round the main tip, then come back along the other edge toward the second notch.

The rounded main tip and second notch of the upper-right arm.
Whole drawing

Closer view. The rounded main tip and second notch of the upper-right arm.
Closer view
14. Finish the second twig on the upper-right arm
Go out to round the second twig, come back to the stem edge and follow it toward the center. Pause at the same distance in as the previous inner join.

The second twig and returning stem edge of the upper-right arm.
Whole drawing

Closer view. The second twig and returning stem edge of the upper-right arm.
Closer view
15. Join into the lower-right arm and turn through its first twig
Make the shallow inward V shown near the center. Follow the new spoke outward, leave it to round the first twig, then approach the inside notch. Use the same turns as on the top arm.

The inner join and first twig of the lower-right arm.
Whole drawing

Closer view. The inner join and first twig of the lower-right arm.
Closer view
16. Round the lower-right tip
Turn at the notch and draw out beside the spoke. Round the main tip, then come back along the other edge toward the second notch.

The rounded main tip and second notch of the lower-right arm.
Whole drawing

Closer view. The rounded main tip and second notch of the lower-right arm.
Closer view
17. Finish the second twig on the lower-right arm
Go out to round the second twig, come back to the stem edge and follow it toward the center. Pause at the same distance in as the previous inner join.

The second twig and returning stem edge of the lower-right arm.
Whole drawing

Closer view. The second twig and returning stem edge of the lower-right arm.
Closer view
18. Join into the bottom arm and turn through its first twig
Make the shallow inward V shown near the center. Follow the new spoke outward, leave it to round the first twig, then approach the inside notch. Use the same turns as on the top arm.

The inner join and first twig of the bottom arm.
Whole drawing
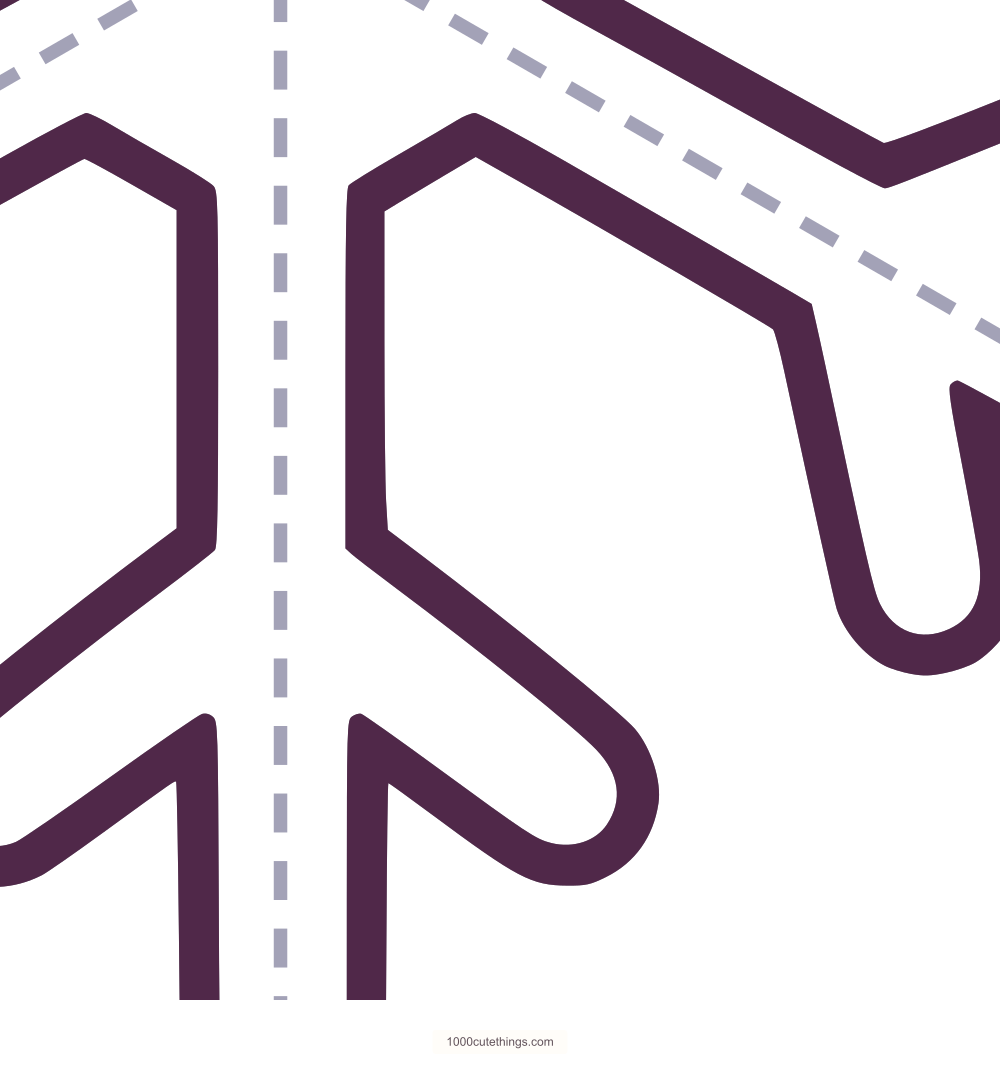
Closer view. The inner join and first twig of the bottom arm.
Closer view
19. Round the bottom tip
Turn at the notch and draw out beside the spoke. Round the main tip, then come back along the other edge toward the second notch.

The rounded main tip and second notch of the bottom arm.
Whole drawing

Closer view. The rounded main tip and second notch of the bottom arm.
Closer view
20. Finish the second twig on the bottom arm
Go out to round the second twig, come back to the stem edge and follow it toward the center. Pause at the same distance in as the previous inner join.

The second twig and returning stem edge of the bottom arm.
Whole drawing

Closer view. The second twig and returning stem edge of the bottom arm.
Closer view
21. Join into the lower-left arm and turn through its first twig
Make the shallow inward V shown near the center. Follow the new spoke outward, leave it to round the first twig, then approach the inside notch. Use the same turns as on the top arm.

The inner join and first twig of the lower-left arm.
Whole drawing

Closer view. The inner join and first twig of the lower-left arm.
Closer view
22. Round the lower-left tip
Turn at the notch and draw out beside the spoke. Round the main tip, then come back along the other edge toward the second notch.

The rounded main tip and second notch of the lower-left arm.
Whole drawing

Closer view. The rounded main tip and second notch of the lower-left arm.
Closer view
23. Finish the second twig on the lower-left arm
Go out to round the second twig, come back to the stem edge and follow it toward the center. Pause at the same distance in as the previous inner join.

The second twig and returning stem edge of the lower-left arm.
Whole drawing

Closer view. The second twig and returning stem edge of the lower-left arm.
Closer view
24. Join into the upper-left arm and turn through its first twig
Make the shallow inward V shown near the center. Follow the new spoke outward, leave it to round the first twig, then approach the inside notch. Use the same turns as on the top arm.

The inner join and first twig of the upper-left arm.
Whole drawing

Closer view. The inner join and first twig of the upper-left arm.
Closer view
25. Round the upper-left tip
Turn at the notch and draw out beside the spoke. Round the main tip, then come back along the other edge toward the second notch.

The rounded main tip and second notch of the upper-left arm.
Whole drawing

Closer view. The rounded main tip and second notch of the upper-left arm.
Closer view
26. Finish the second twig on the upper-left arm
Go out to round the second twig, come back to the stem edge and follow it toward the center. Pause at the same distance in as the previous inner join.

The second twig and returning stem edge of the upper-left arm.
Whole drawing

Closer view. The second twig and returning stem edge of the upper-left arm.
Closer view
Close and clean up the outline
27. Join the last edge to the first
Use one last shallow inward V to meet the point where you began. Follow the whole perimeter with your eye and check that the outline closes.

The last inside V connects the upper-left arm to the top arm.
Whole drawing

Closer view. The last inside V connects the upper-left arm to the top arm.
Closer view
28. Erase the light guides
Keep the closed outline and rub out the three placement lines. Strengthen any faint joins after you are happy with the shape.
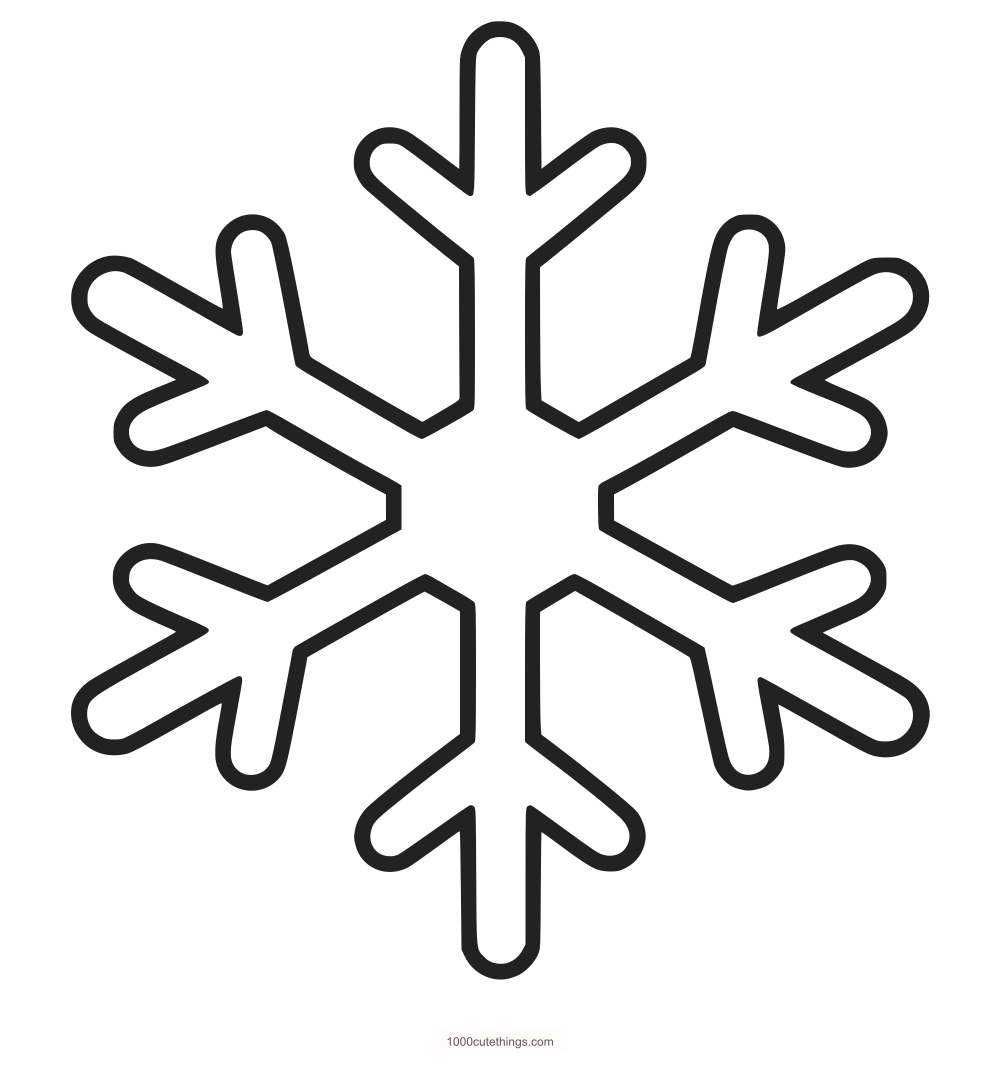
The finished six-arm snowflake outline with all guides erased.
Quick guide
Use these checkpoints to place the guides, outline the arms and finish the drawing. If you get stuck at a twig or a join, use the top-arm walkthrough.
Show the 9-stage Quick guide and PDFs
1. Place six spokes

Three crossing pencil guides make six evenly spaced spokes.
Draw one upright and two diagonals through the same center. Keep the six ends equally far out and leave space for the tips.
2. Outline the top arm

A complete top arm with two little twigs and a long rounded tip.
Start near the center on one side of the guide. Draw a twig and the long rounded tip, then the second twig and the return edge.
3. Add the upper-right arm

A complete upper-right arm with two little twigs and a long rounded tip.
Join in with a shallow V. Repeat the first rounded twig, the long rounded tip and the second twig, then return toward the center.
4. Add the lower-right arm

A complete lower-right arm with two little twigs and a long rounded tip.
Join in with a shallow V. Repeat the first rounded twig, the long rounded tip and the second twig, then return toward the center.
5. Add the bottom arm

A complete bottom arm with two little twigs and a long rounded tip.
Join in with a shallow V. Repeat the first rounded twig, the long rounded tip and the second twig, then return toward the center.
6. Add the lower-left arm

A complete lower-left arm with two little twigs and a long rounded tip.
Join in with a shallow V. Repeat the first rounded twig, the long rounded tip and the second twig, then return toward the center.
7. Add the upper-left arm

A complete upper-left arm with two little twigs and a long rounded tip.
Join in with a shallow V. Repeat the first rounded twig, the long rounded tip and the second twig, then return toward the center.
8. Close the outline

The last inside V connects the upper-left arm to the top arm.
Use one last shallow inward V to meet the point where you began. Follow the whole perimeter with your eye and check that the outline closes.
9. Erase the light guides
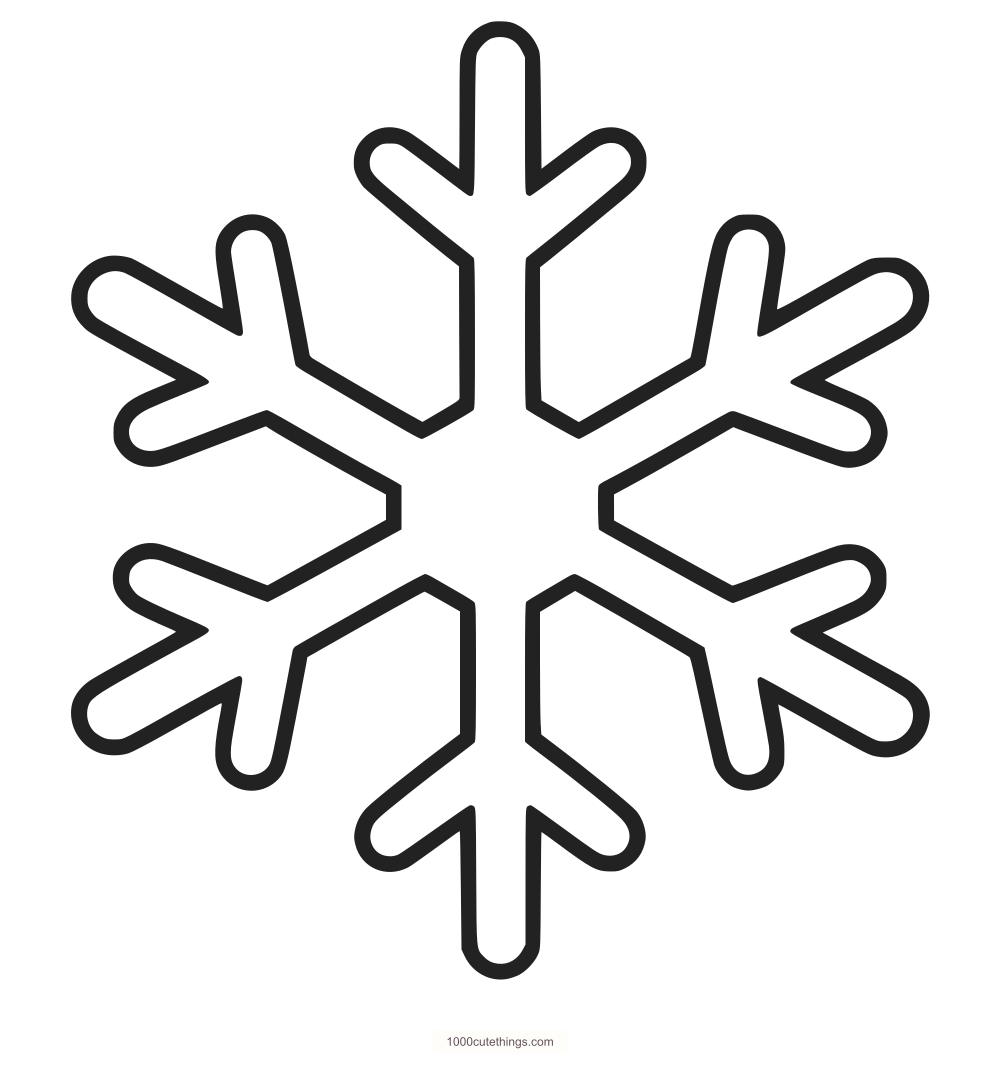
The finished six-arm snowflake outline with all guides erased.
Keep the closed outline and rub out the three placement lines. Strengthen any faint joins after you are happy with the shape.
Keep the arms balanced
If one arm looks longer, compare the distance from the center to its main tip with the distance to the opposite tip. Adjust the longer one while the pencil is still light. Compare widths between the two stem edges too. Each spoke should sit roughly halfway between its edges.
If the paired twigs look uneven, use the two inside notches as landmarks. They should sit about the same distance from the center. A short twig can be slightly rounder or wider than its partner. Keeping both close to the same height makes the pair read as one shape.
If the middle looks crowded, move the inward joins a little farther from the center. Each join is a shallow V with a clear pocket of paper between neighboring arms. The two side joins can have a short flat base. Check those pockets in the whole view before darkening your outline.
How to draw a small snowflake
For a card or gift tag, shorten all six spokes by the same amount and leave a border around the tips. Keep the gaps at the two notches on each arm wide enough to see when you darken your pencil line. If those gaps close up, make the whole outline a little larger.
Try a color idea
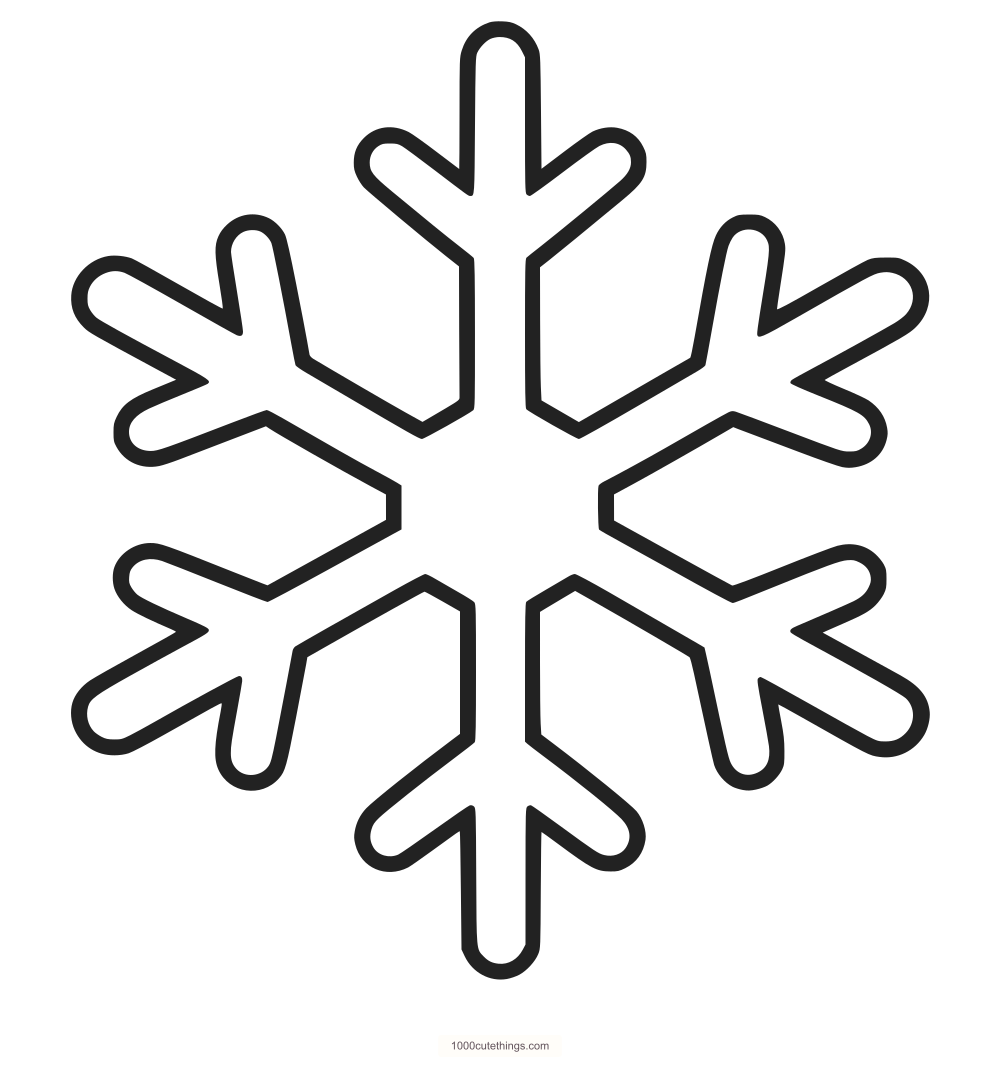
Blank outline
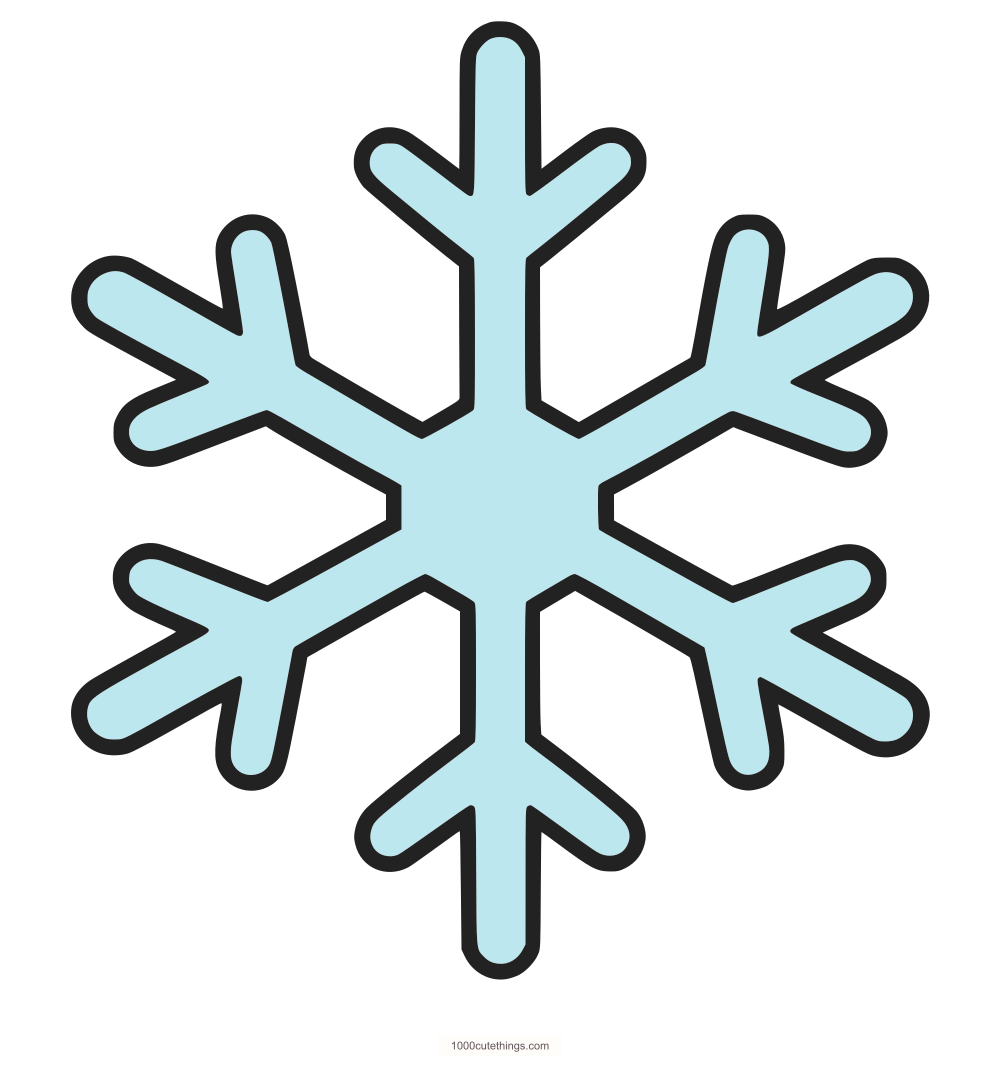
Pale blue snowflake
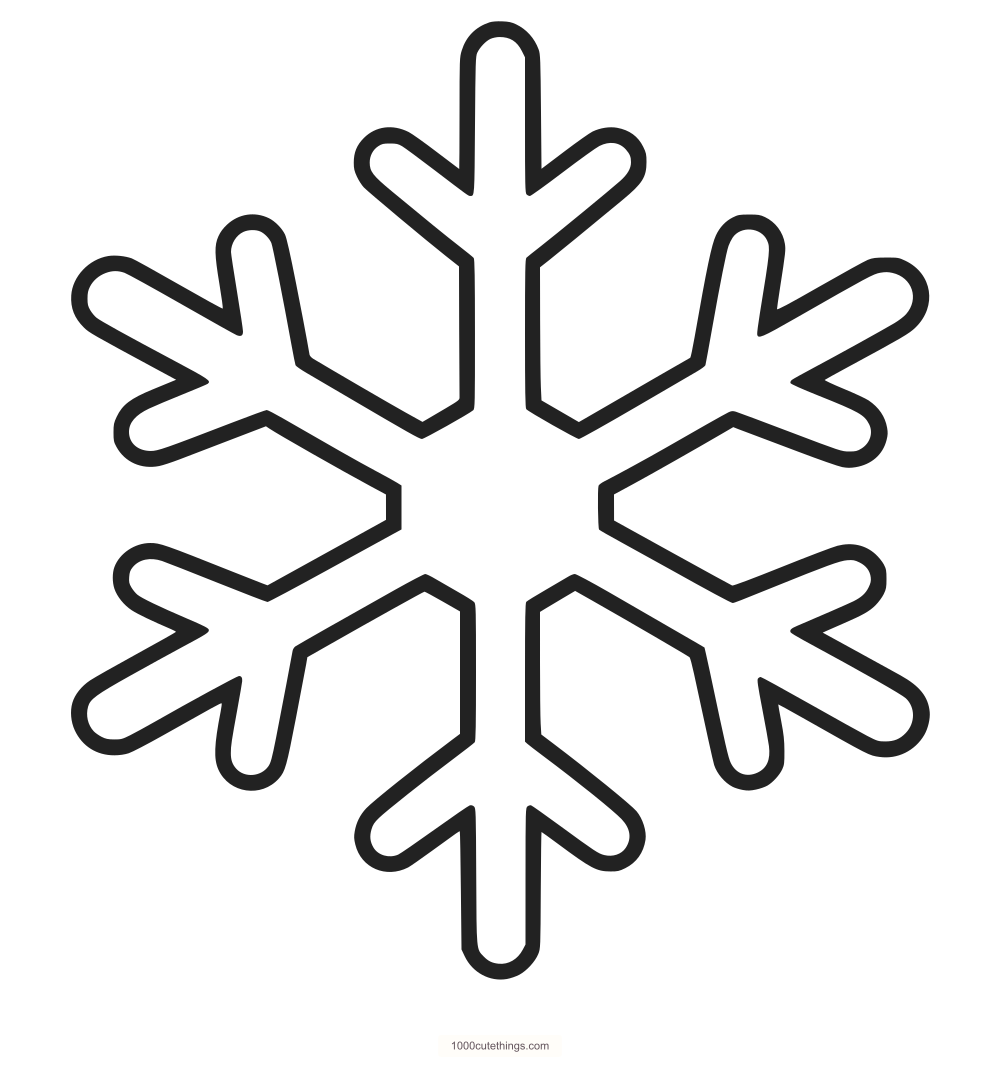
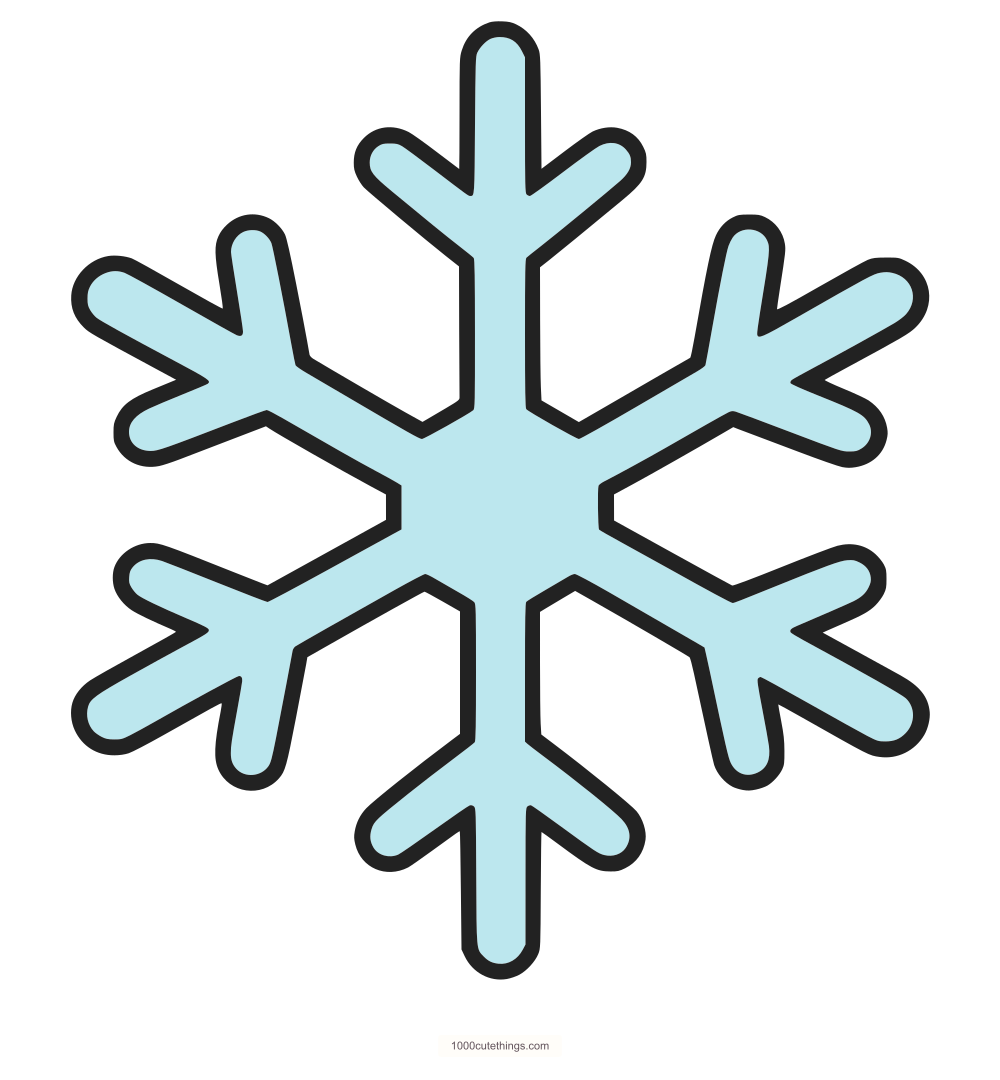
For a cute snowflake drawing, keep the branch tips round and fill the center and all six arms with pale blue. For a two-tone version, shade a little darker at the rounded ends. A colored pencil lets you build up the darker edges a little at a time.
Print your drawing guide
Pick Detailed for close-up views of the turns or Quick for a step-by-step guide you can glance at while drawing. Both snowflake drawing guides are free to print in A4 and US Letter. The last two pages are the full-page blank outline and the matching color reference. Print just the outline to use it as a snowflake coloring page.
The PDF links open in a new tab. Choose the file that matches your paper. Try Actual size / 100% and check the page in your printer preview. If your printer clips the edges, choose Fit to printable area and check again.
Try another winter drawing
Practise a different kind of repeated shape with the Christmas tree drawing lesson, or choose another subject from easy Christmas drawings. The drawing collection has more short lessons for any time of year. If you’d rather start with a finished outline, browse the printable coloring pages.