In this guide
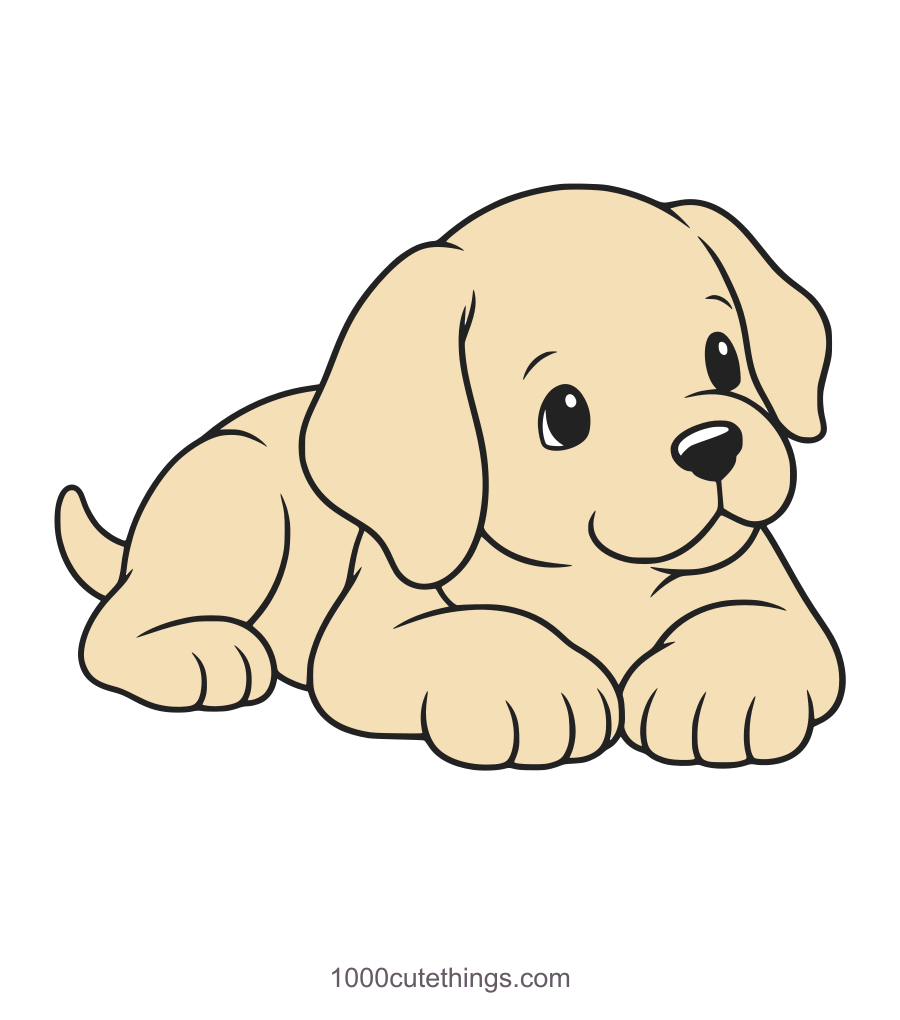
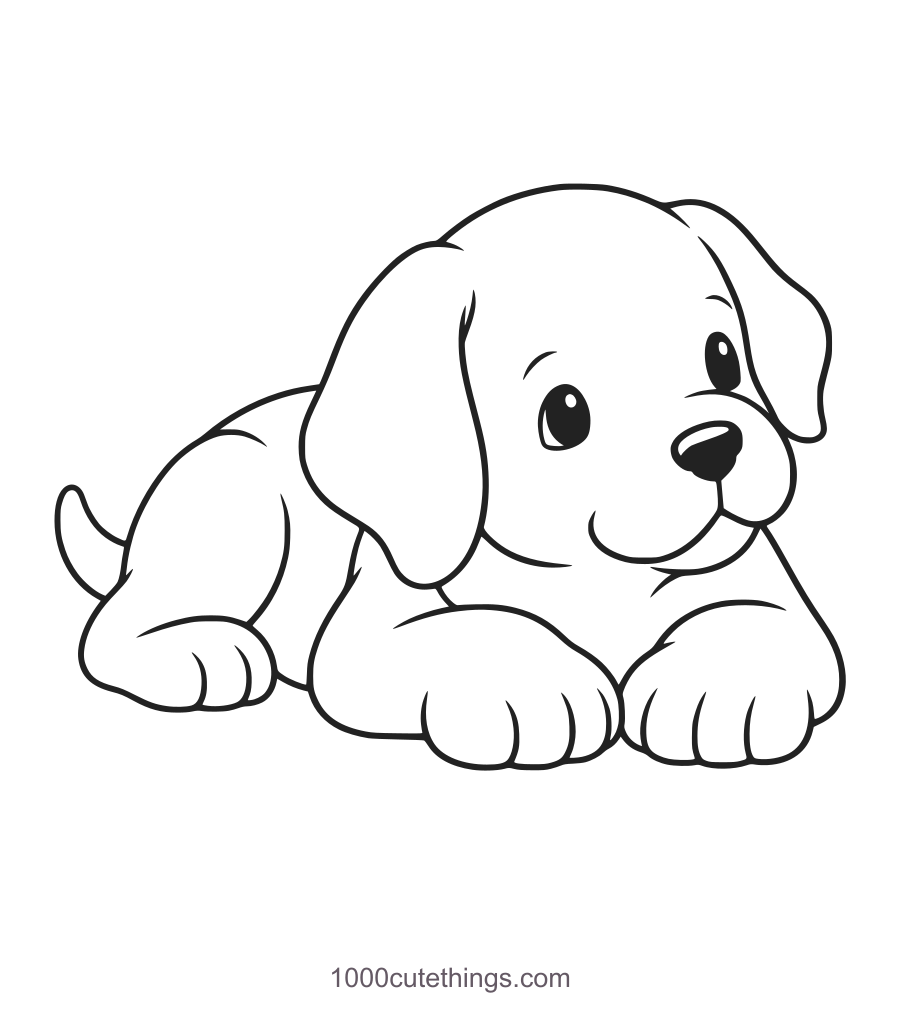
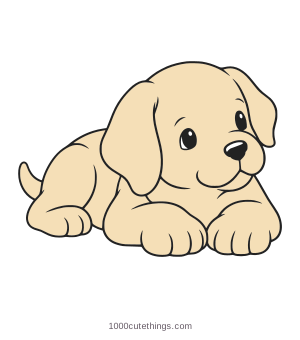
This cute dog is a puppy resting with its head above two broad front paws. Floppy ears frame the face, while the low back and tucked hind leg keep the body close to the ground. The lesson builds that pose before adding the eyes and small fur creases.
Use a pencil and eraser on plain paper. Draw lightly at first so a paw or ear can move without leaving a heavy double outline. Colored pencils or a pen can wait until the body connections feel clear. This is a cartoon puppy exercise; it is not a breed-specific anatomy study.
Make room for the resting pose
Leave a wide space for the body, with the head toward the upper-right part of that space. The tail and hind leg extend to the left. The front paws are the closest parts of the puppy, so keep room beneath the muzzle for their broad rounded shapes.
Lightly mark where the two front paws will meet the paper. Use that shared baseline to avoid making one paw seem to float. The head can tilt above them without changing the ground level.
Follow the ear outlines as curves rather than narrow loops. The nearer ear hangs lower and wider; the far ear is partly hidden by the head. Keep the lower-right face open until the muzzle is added, and leave the front of the body open until the paws join it.
Moderate / 12 stages / PDF links open in a new tab
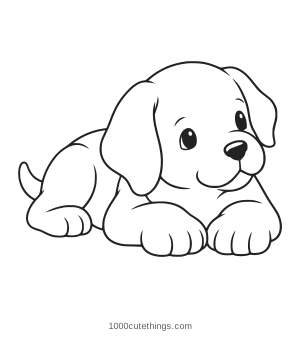
A cute puppy resting on its paws
Press Escape or Close to return to the page.
Draw it step by step
Dark plum lines are new; solid gray lines show what you already drew. Follow the open joins described in each step. Light pencil makes it easier to adjust a join before adding the smaller details.
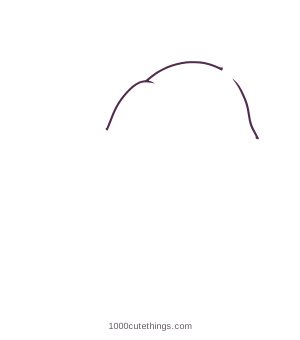
Step 1: Draw the rounded crown and the beginnings of the head sides. Leave openings for the floppy ears and muzzle.
Press Escape or Close to return to the page.
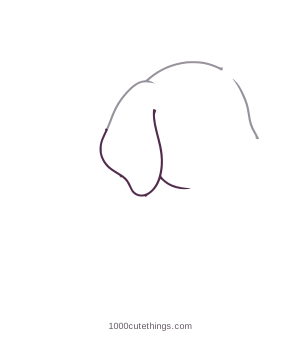
Step 2: Continue the nearer floppy ear down the left side and around its rounded bottom. Add its inner edge and the short cheek curve.
Press Escape or Close to return to the page.
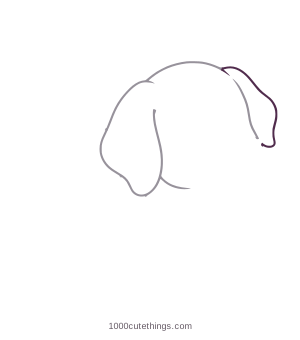
Step 3: Add the farther floppy ear on the right, behind the head. Keep its bottom higher than the nearer ear.
Press Escape or Close to return to the page.
Step 4: Draw the low back, rounded hind leg and tucked hind paw. Leave the body open toward the front.
Press Escape or Close to return to the page.
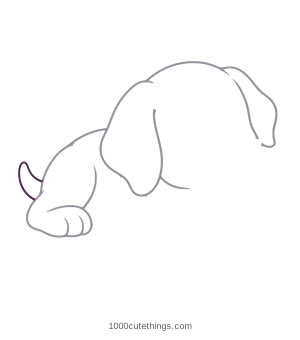
Step 5: Add the small curved tail behind the back. Join its root to the body without drawing through the hind leg.
Press Escape or Close to return to the page.
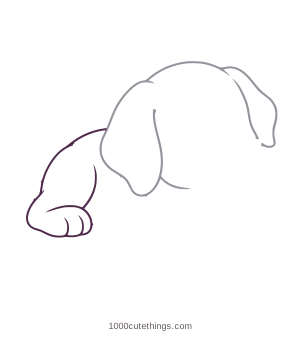
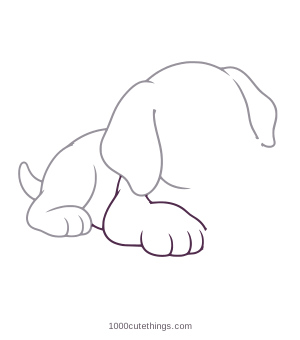
Step 6: Draw the nearer broad front paw and foreleg. Rest the paw on the same ground level as the hind paw.
Press Escape or Close to return to the page.
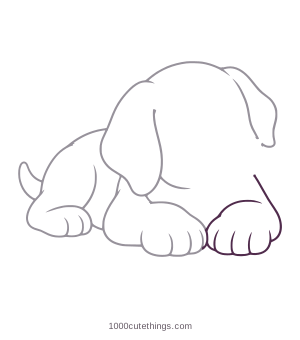
Step 7: Add the second front paw and its foreleg beside the first. Keep the pair broad and close together.
Press Escape or Close to return to the page.
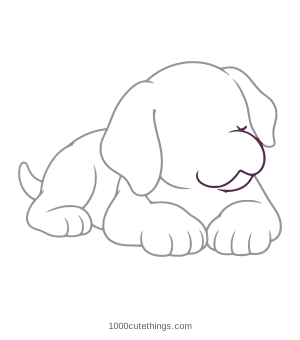
Step 8: Outline the two rounded muzzle lobes above the paws. Leave a small opening where the nose will sit.
Press Escape or Close to return to the page.
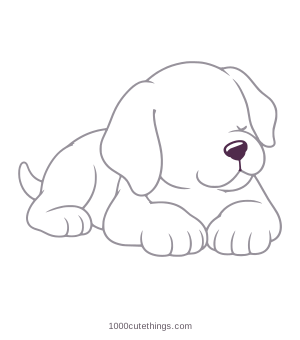
Step 9: Draw and darken the nose, preserving its highlight. Connect it down to the muzzle with the short mouth line.
Press Escape or Close to return to the page.
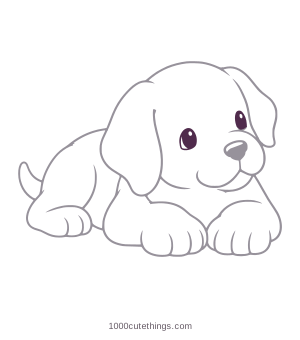
Step 10: Add the two eyes, following the head tilt. The far eye is narrower; keep the small highlights white.
Press Escape or Close to return to the page.
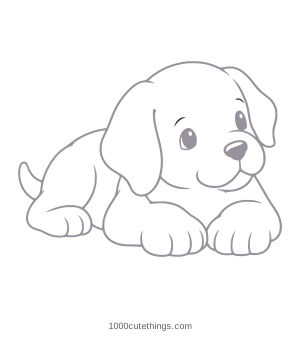
Step 11: Place the two short eyebrow curves above the eyes. Let their angle follow the face.
Press Escape or Close to return to the page.
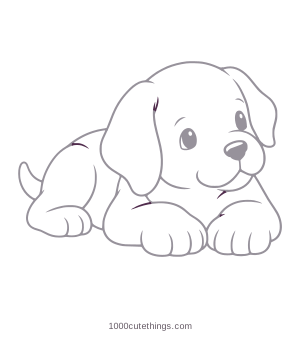
Step 12: Add the small fur creases inside the nearer ear, along the back and beside the front legs. Stop before the outline.
Press Escape or Close to return to the page.
Check the shape. The head sits above the paws. Keep both front paws broad and on the same baseline; the back is lower than the head.
Try another version. Make the eyes gently closed or use one darker ear when you color the finished outline.
Keep the muzzle above the paws
The nose is too low. Place the nose inside the lower face, with room below it for the mouth curves. The muzzle rests above the paws; it should not replace their upper edges.
The puppy looks upright. Compare the back with the top of the head. Keep the back low and let the hind leg fold beside the body. A tall rectangular torso changes this resting pose into a seated one.
One paw is smaller. Sketch their outer rounded shapes lightly before committing to the toe curves. They need a similar visual weight, although the tilted view does not require exact mirror symmetry. Check their bottoms against the same baseline.
The ear and body merge. Trace the nearer ear down from the side of the head and back up its inner edge. The foreleg begins behind it. Avoid extending an extra body line through the ear just to close a gap.
The eyes seem to face different directions. Compare their positions along the tilted face. The far eye is narrower in this view. Place both eyes before filling their dark areas, leaving their small highlights clear.
Add color and character
A cream coat and one brown ear make a simple starting palette. You could also use a gray coat with warm paws, or leave most of the page white and color only the puppy’s ears and nose. Keep any new patches inside the existing outline.
To change the expression, try softly closed eyes after copying the original pose once. Keep the muzzle and paws in the same places while you test the face. If you want a different tail direction later, check that its root still disappears behind the body.
Print the lesson and try again
The A4 and US Letter downloads each contain five pages: three pages of twelve illustrated stages, a large blank coloring outline, and a colored example at the end. PDF links open in another tab so you can keep this guide visible. Print the pages you need, depending on whether you want to draw, color or do both.
For a useful repeat exercise, draw the head and ears once, then the whole pose. Look for one improvement in the next attempt: a wider paw, a lower back or a cleaner ear join. More small fur strokes will not correct those larger shapes.
Try the waving cat for a seated pose, or the published koala lesson for another way to arrange a broad head and paws. You can find other subjects in the drawing collection and more outlines in the coloring pages.
One color idea
Here is one way to color the finished drawing. The pose and outlines match the lesson; this palette is optional, so choose the colors you like.
Colored example: A cute puppy resting on its paws
Press Escape or Close to return to the page.