In this guide
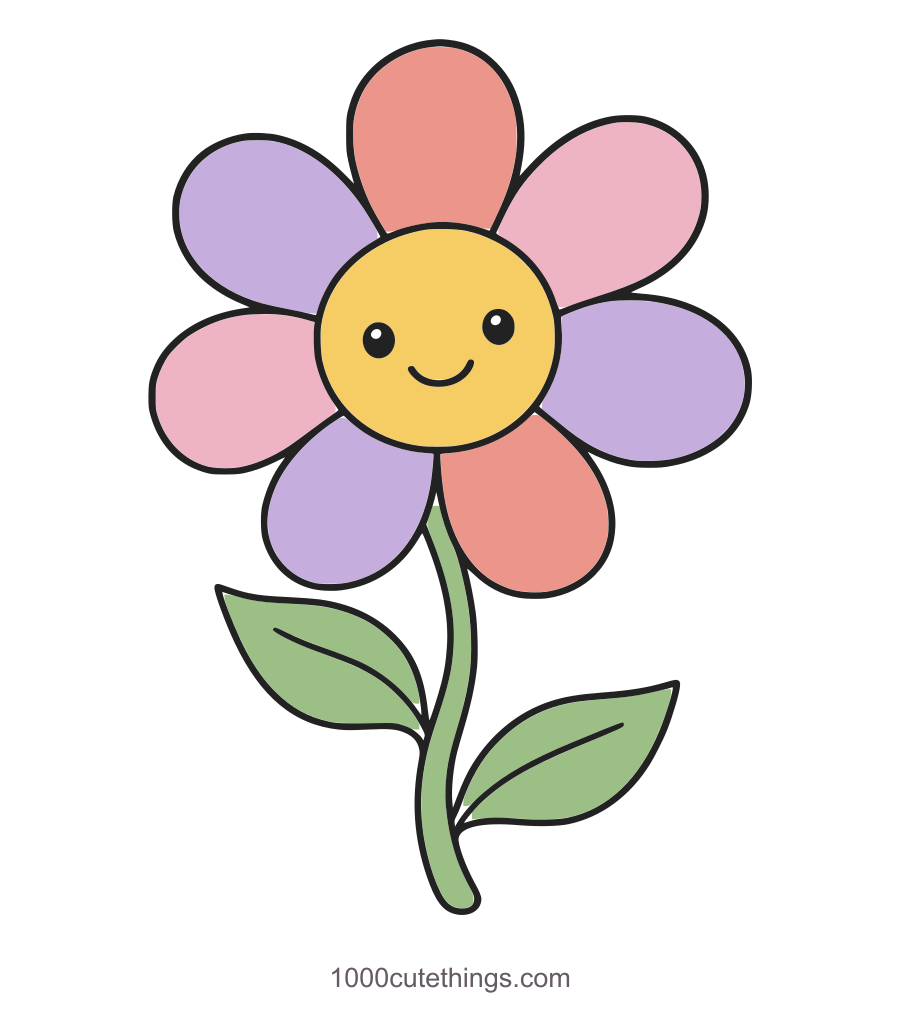
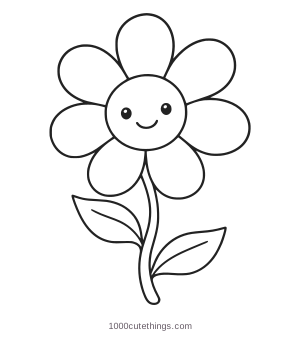
Start with a round center, add seven broad petals, then connect a curved stem and two pointed leaves. A small face is the last optional detail. This simple flower is an original cartoon exercise, so the petals can be friendly and uneven without needing to match a particular botanical species.
Use paper, a pencil and an eraser. Draw the center large enough that the petals have room around it. If the whole flower becomes too small, the leaf joins and narrow spaces beside the stem are harder to keep clear.
Place the center before the petals
Put the center in the upper half of your drawing area, leaving space above it for the tallest petal and below it for the stem. A lightly drawn circle is useful, but a slightly oval center is fine too. Keep it broad enough to hide the petal roots.
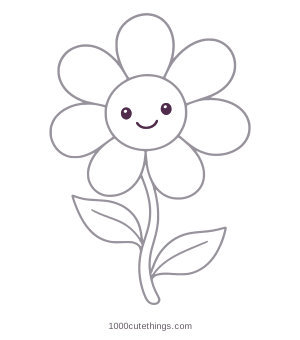
Look at the finished flower: three petals sit across the top, two reach out to the sides and two hang lower. They are not identical stamps. Their shared rounded tips and similar visual weight make them feel like one flower.
Leave the face until the petals and leaves are in place. A plain center works just as well if you want to use the drawing beside a note or as a small floral decoration.
Easy / 13 stages / PDF links open in a new tab
A simple flower with a smiling center
Press Escape or Close to return to the page.
Draw it step by step
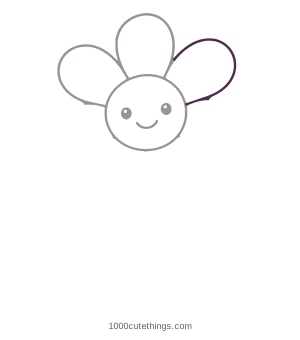
Dark plum lines are new; solid gray lines show what you already drew. Follow the open joins described in each step. The short pale dashed edges on the stem are temporary guides: erase them as the leaves cover those joins.
Step 1: Draw the broad round center in the upper half of the page. Leave room around it for all seven petals.

Press Escape or Close to return to the page.
Step 2: Add the tallest top petal. Curve its two sides back to the round center.

Press Escape or Close to return to the page.
Step 3: Draw the upper-left petal, a little wider and tilted outward. Stop its roots at the center.

Press Escape or Close to return to the page.
Step 4: Add the upper-right petal. Keep its rounded tip outside the flower center.
Press Escape or Close to return to the page.
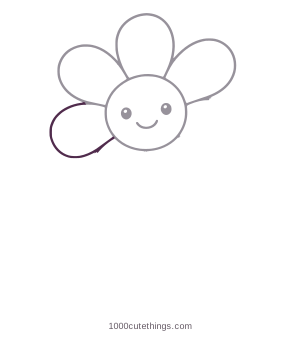
Step 5: Draw the broad middle-left petal between the upper and lower spaces.
Press Escape or Close to return to the page.
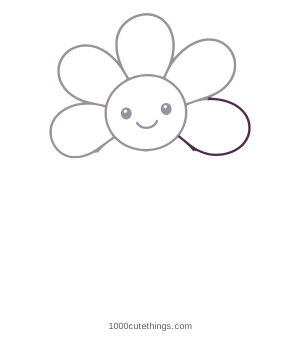
Step 6: Add the middle-right petal. Give it room to spread outward rather than squeezing it into the center.
Press Escape or Close to return to the page.
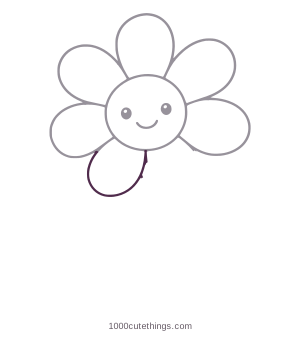
Step 7: Draw the rounded lower-left petal beneath the center. Leave space beside it for the final petal.
Press Escape or Close to return to the page.
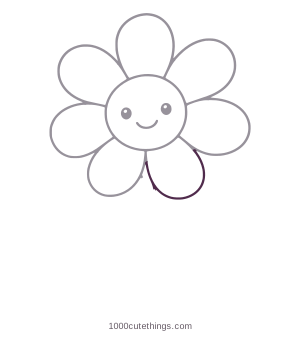
Step 8: Add the lower-right petal to complete the ring of seven. Keep the center in front of the petal roots.
Press Escape or Close to return to the page.
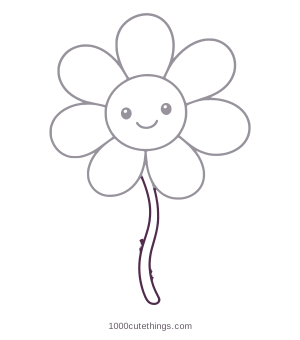
Step 9: Draw the two gently curved stem edges below the petals. The short pale dashed edges at the leaf joins are temporary guides.
Press Escape or Close to return to the page.
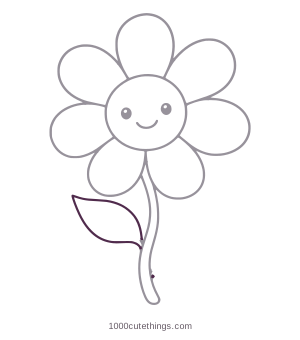
Step 10: Add the pointed left leaf and join it to the stem. Erase the pale dashed edge covered by this leaf.
Press Escape or Close to return to the page.
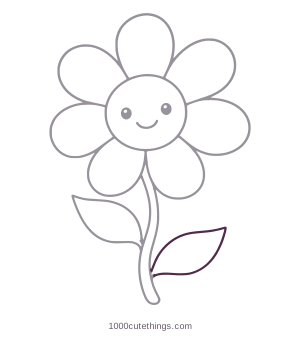
Step 11: Add the longer right leaf. Connect both of its edges to the stem and erase the remaining dashed guide.
Press Escape or Close to return to the page.
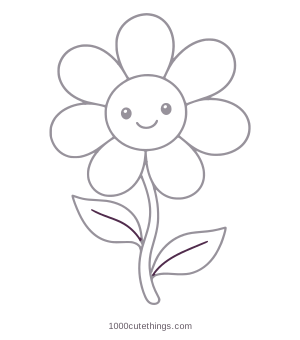
Step 12: Draw one curved vein inside each leaf, from its base toward its pointed tip. Stop each line at the boundary.
Press Escape or Close to return to the page.
Step 13: Add the two small eyes and curved smile, or leave the center plain. Keep plenty of room around the face.
Press Escape or Close to return to the page.
Check the shape. This flower has seven petals. Keep the center in front of their roots and join both leaves to the stem.
Try another version. Leave off the face, widen one petal slightly, or try alternating two petal colors.
Join the petals, stem and leaves
The petals look detached. Follow each inner edge to the round center. Stop the petal where the center covers its root. Do not add a second circle around the center to hide a gap; adjust the petal’s joining curve instead.
One side feels crowded. Check the available space around the center before adding the next petal. A narrower petal can fill a smaller gap, but its tip should still sit outside the center. Turn the paper slightly if a curve is awkward for your hand.
The stem looks like two unrelated lines. Draw both edges along the same gentle bend. Keep a slim strip of white between them. The lower petals cover its upper end; the stem does not need to show through the flower head.
A leaf seems to float. Trace its outer contour from its pointed tip toward the stem. Both leaves must meet the stem. In step nine, the short pale dashed segments bridge the places where the leaves will overlap. Erase the first guide when you add the left leaf in step ten, and erase the second when you add the right leaf in step eleven. Keep the visible stem edges gray.
A vein runs outside a leaf. Stop its line at the leaf tip and base. A single curved vein is enough for this drawing; smaller vein branches are optional after the main shape is clear.
Change the flower without losing its shape
Try yellow petals with an orange center, or alternate two related petal colors. Leave the small highlights in the eyes white if you keep the smiling face. You can also omit the face and use a lightly dotted center.
For a second drawing, change the stem’s curve or make one leaf longer. If you change the number of petals, plan their spacing around the center before completing any of them. This example has seven; a different count should be a deliberate variation rather than a squeezed-in extra petal.
For a more recognizable flower shape, the published tulip lesson shows overlapping petals and long leaves. The drawing collection includes more plants and animals to try.
Print a flower to draw or color
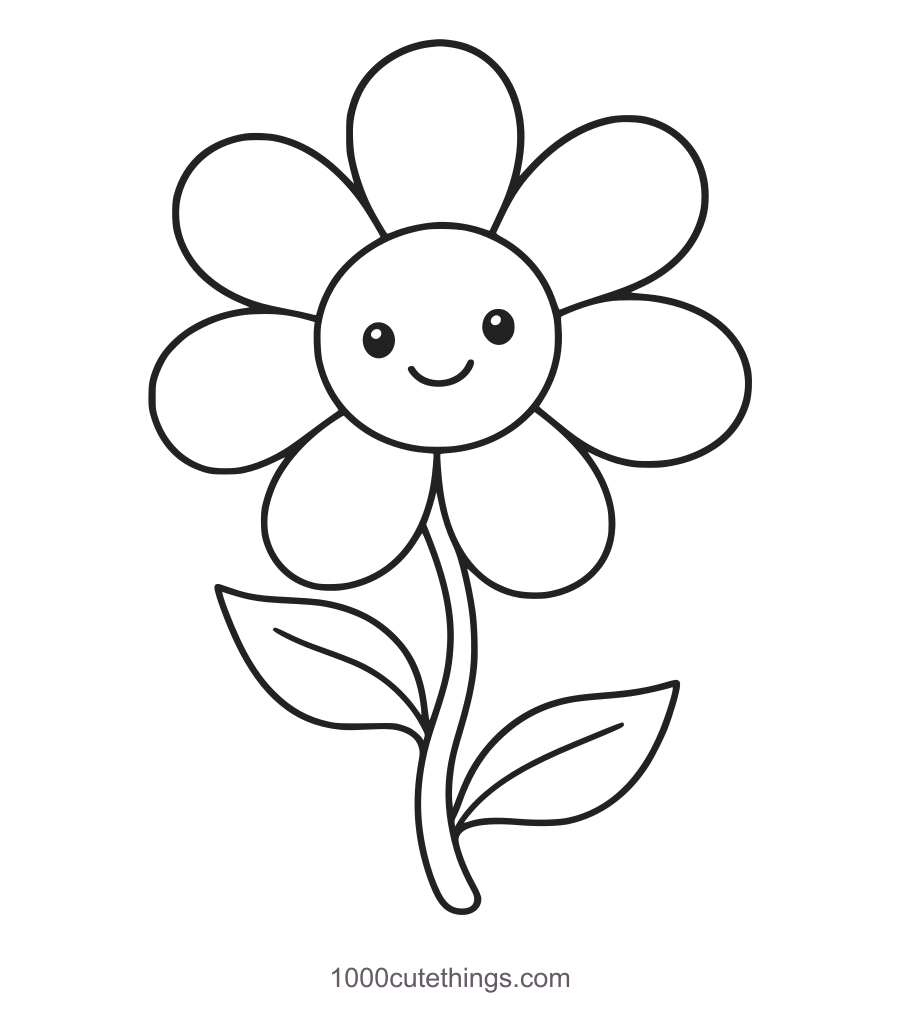
Choose the A4 or US Letter PDF to match your paper. The first four pages contain thirteen teaching panels and short instructions. Page five is a large blank coloring outline, and page six shows a colored example of the same flower. Print in grayscale if you only need the drawing exercise.
Keep the finished outline beside a blank sheet and try drawing the center and petals without the stage panels. Then check whether each leaf is connected and whether the stem still has space between its two edges. For an activity focused on color, browse the printable coloring collection.
One color idea
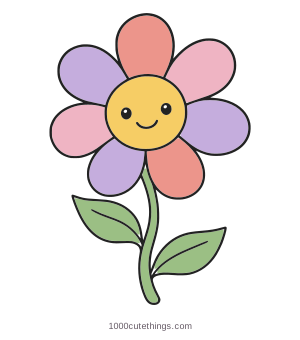
Here is one way to color the finished drawing. The pose and outlines match the lesson; this palette is optional, so choose the colors you like.
Colored example: A simple flower with a smiling center
Press Escape or Close to return to the page.