
In this guide
To draw this tulip, build the flower from overlapping petals, add its narrow stem, then sweep two pointed leaves upward from the base. The leaves have different heights, giving the drawing a gentle lean without needing a background or extra decoration.
Use a pencil for the first attempt. You will erase short construction edges where the leaves overlap the stem, so it helps to keep those early marks light. The printable pack below includes the same six stages and a large outline for coloring.
Before you draw the tulip
Set aside a tall space on your paper. The flower occupies the top portion; the leaves need room to spread on both sides below it. Mark the highest petal tip and the bottom of the stem lightly, then compare the space between them with the finished example.
Look for three useful relationships: the flower is wider than the stem, the petal curves meet at a narrow base, and the taller right leaf reaches toward the flower without touching it. Keeping those gaps visible matters more than making both sides symmetrical.
PDF links open in a new tab.
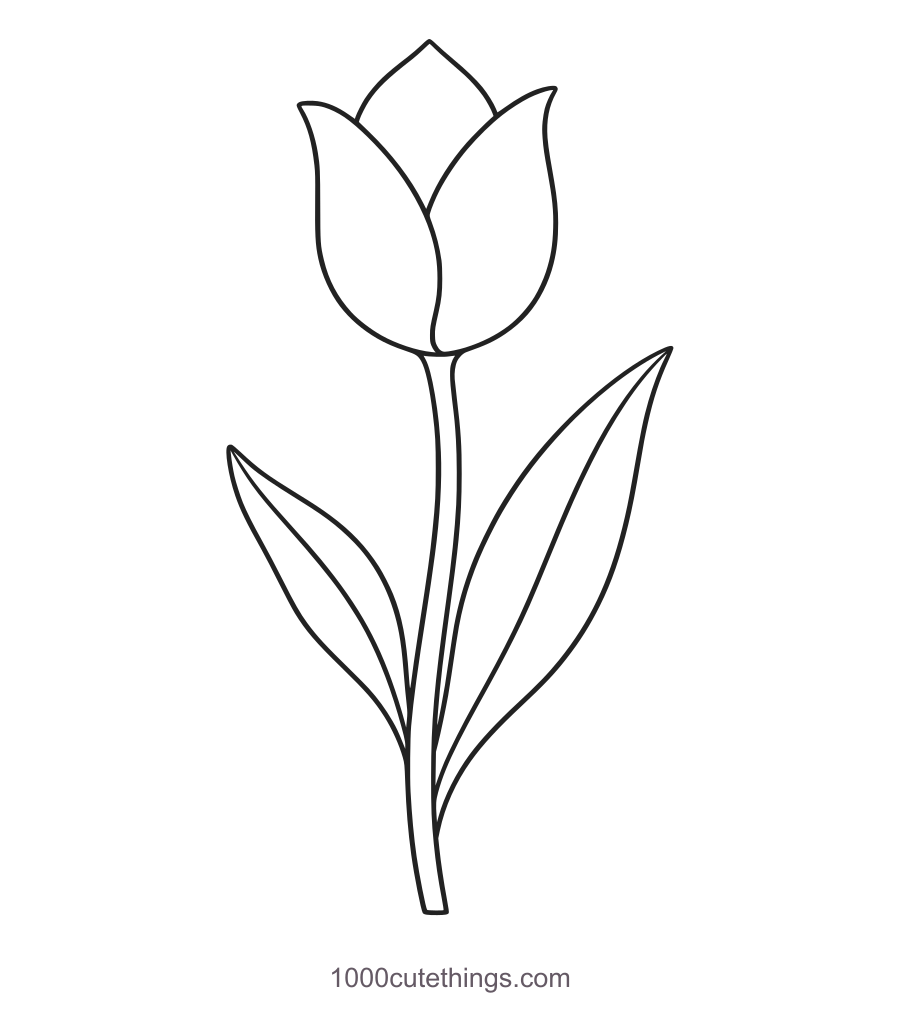
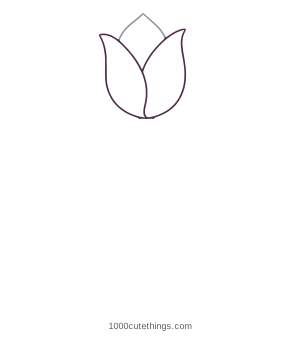
Draw it in six stages
Dark plum marks are new. Solid gray marks show what you drew earlier. Pale dashed marks are temporary construction guides: erase them where the instructions say an overlapping part covers them.

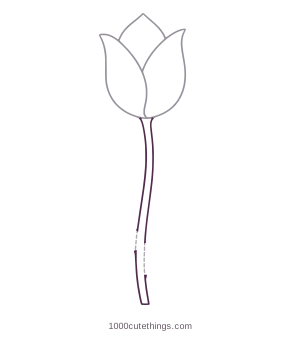
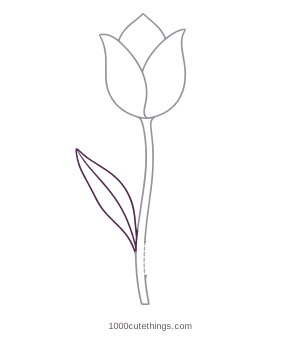
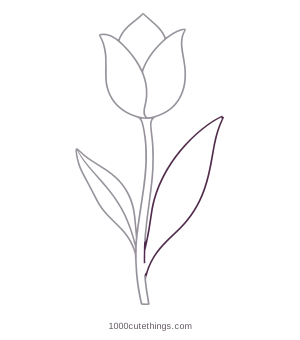
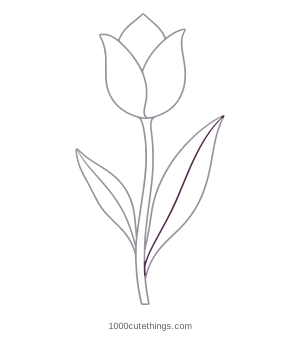
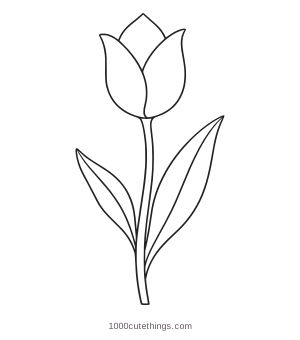
Check the finished shape. Keep the flower base narrow. Both leaves must join the stem. Erase the dashed stem edges as leaves cover them.
Make a second version. Try a shorter stem or a more closed flower after copying the original.
Check the flower and leaves
Follow each leaf from its pointed tip back to its base. Both edges should return to the plant, rather than stopping as a detached shape beside the stem. Where a leaf covers a temporary stem edge, erase the dashed construction part instead of drawing a dark line through the leaf.
If the flower looks like a wide bowl, bring its lower sides inward before refining the petal tips. If a leaf feels stiff, redraw the outer sweep in one light movement and add the return curve afterward. Avoid trying to correct the whole edge with many short dark strokes.
The center veins are the final details. Let each follow its leaf’s main direction. They should support the shape you already have, rather than dividing it into several tiny coloring spaces.
Try a second tulip
Make one change: shorten the stem, close the front petals a little more, or lower the left leaf. Keep the flower base and leaf joins intact as you experiment. Once the shape works, outline it with a pen if you like and erase the remaining pencil guides after the ink dries.
For color, try a darker petal edge with a lighter center, or keep the petals a single color and vary the greens in the leaves. The matching outline is available in the download above. You can find more plant and animal prompts in cute things to draw or choose a complete page from the coloring collection.