
In this guide
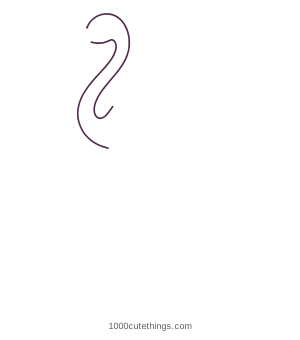
Draw the small head and long neck first, then continue into the body. The wing sits inside the body outline, and the two legs have different jobs in the pose: one supports the bird while the other folds upward.
This drawing needs more care with narrow spaces than the tulip or seated koala. Work large enough to leave white space between the two neck curves and between nearby leg lines. A pencil lets you adjust those gaps before committing to a dark outline.
Leave room for the long neck
Mark the top of the head, the underside of the body and the bottom of the supporting foot. Compare those three heights before you begin. If the body sits too low, you may run out of room for the leg even when the neck itself looks right.
Follow the neck’s gesture in the finished example. Its two contours travel together, keeping a slim strip of white between them as they bend. The neck then widens naturally into the rounded body; it should not look like a separate tube attached to a ball.
PDF links open in a new tab.
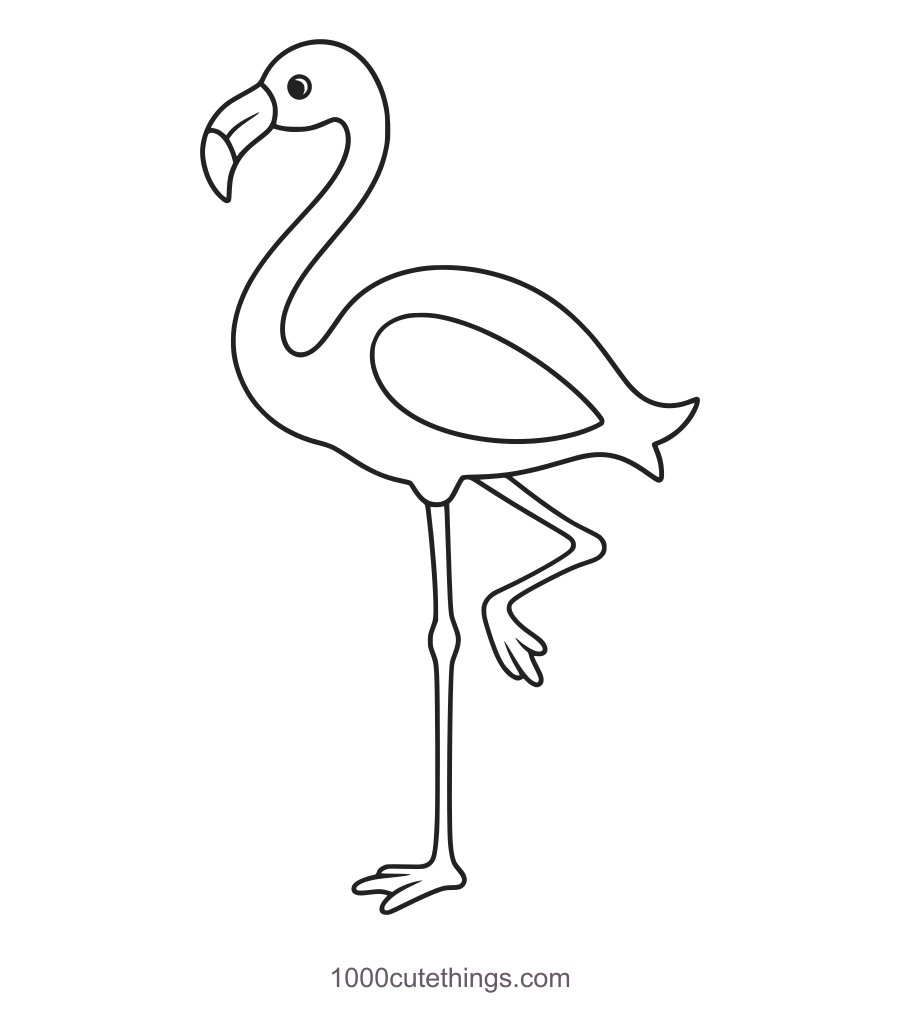
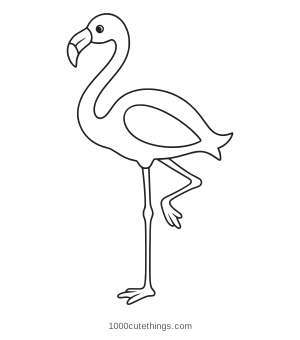
Draw it in six stages
Dark plum marks are new. Solid gray marks show what you drew earlier. Pale dashed marks are temporary construction guides: erase them where the instructions say an overlapping part covers them.
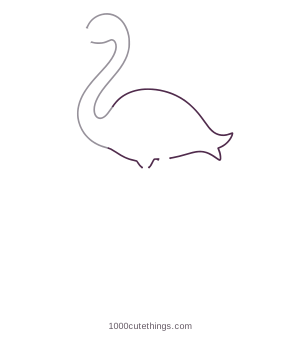
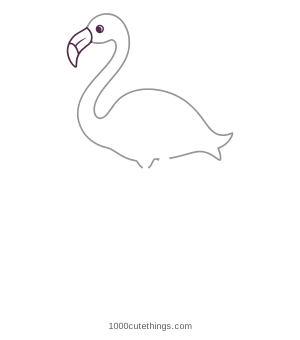
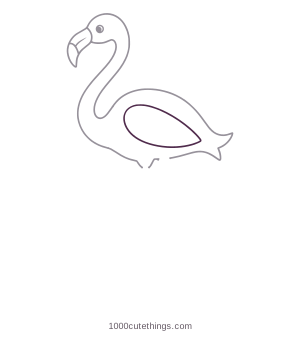
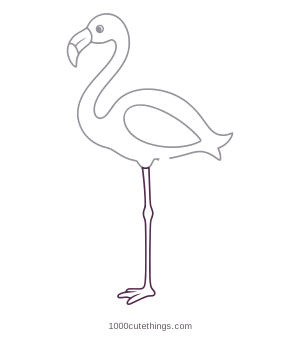
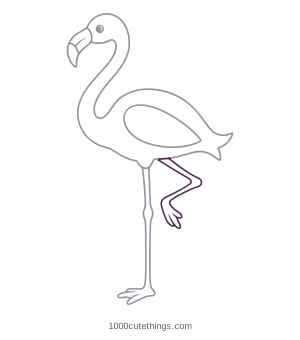
Check the finished shape. Keep the neck slim, the wing inside the body and each leg connected to its own root.
Make a second version. After copying the pose, try a smaller wing or a slightly different head angle.
Check the legs and balance
Start each leg from its own opening under the body. Follow the supporting leg down to its spread foot. Then check that the second leg folds clearly upward and that its foot remains above the ground. The two leg shapes should not merge into one unexplained loop.
If the bird feels unstable, compare the supporting foot with the body above it. Adjust the main leg direction before adding more detail to the toes. A larger drawing can also help you keep the narrow contours separate.
Keep the teardrop wing entirely inside the body. If its point touches the outer contour, it may read as another tail rather than a folded wing. The short bill division is a detail near the face; it should not continue back into the neck.
Make a small variation
Change the wing size slightly or adjust the head angle on your next attempt. Keep the same leg arrangement while you learn the pose. Trying a different stance is a separate drawing problem and may need a fresh look at where the feet support the body.
Color the finished outline pink, coral or a color of your own. Leave the open spaces around the neck and legs clear so the pose stays readable. For a compact animal shape next, try the seated koala. For more printable options, visit cute coloring pages or return to all drawing ideas.