
In this guide
A good place to begin is a subject you can recognize in a few clear curves: a tulip leaning above its leaves, a koala sitting with its feet turned out, or a flamingo balancing on one leg. Pick one that makes you want to put pencil to paper. You can add a second drawing later.
This collection has 27 complete guided drawing lessons: the original eight Starter, eight Easy and eight Moderate lessons, plus the tulip, koala and flamingo tutorials. There are also 22 finished examples for drawing from observation. Each has a matching outline if you would like to color first. The lessons show new marks separately, so you can see how the finished subject develops rather than guessing what changed between pictures.
Choose a guided drawing
Start with the tulip for a small number of long curves. Choose the koala if you enjoy a face and a seated pose. The flamingo asks for a little more care with narrow spaces and connected legs.
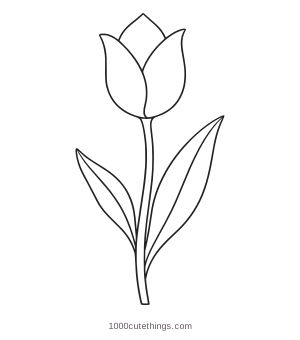
A tulip with two sweeping leaves
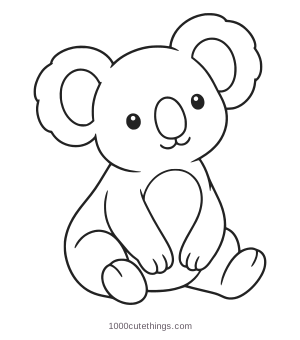
A koala with a tilted head
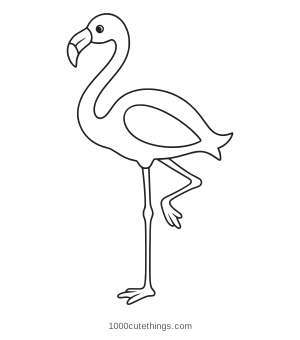
A flamingo resting one leg
The difficulty labels describe the shapes in these examples. They are a guide to choosing, not a test of your ability. A larger version of a moderate drawing may feel easier than a tiny version of a simple one.
Gather a simple drawing kit
Use ordinary paper, a pencil and an eraser. A black fineliner is optional: it is useful after you are happy with the pencil outline. Colored pencils give you another way to finish, but they are not needed to learn the shape.
Give the subject more room than you think it needs. Mark a light top, bottom and two side limits on the paper before starting. Leave space for the details that reach outward, such as the koala’s ears or the flamingo’s foot. These quiet boundary marks are easier to adjust than a whole drawing that has reached the edge of the sheet.
Read the new and earlier lines
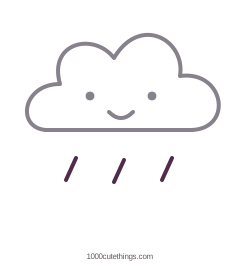
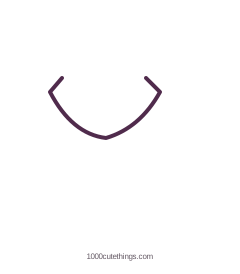
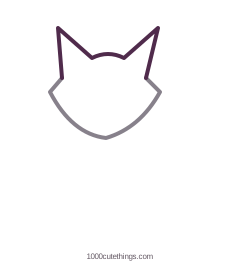
In the lessons, dark plum lines are the marks to add now. Solid gray lines are the drawing you already have. The tulip, koala and flamingo lessons also use pale dashed lines for temporary construction guides. Erase guides and hidden edges where the instructions say that an overlapping part covers them.
Look at the finished example before starting. Then follow one stage at a time. Notice where the new line begins and ends, not only its general direction. A petal should meet the flower base; a paw should join the body; each leg needs its own attachment point.
Keep your first pencil marks light. Once the shape reads clearly, choose the line you want to keep and erase the spare marks. If you use a pen, let the ink dry before erasing underneath it.
Original 24 drawing lessons
Choose from the original three groups of eight: Starter drawings with four stages, Easy drawings with six, and Moderate drawings with eight. Open a lesson to see every stage, a useful correction and an idea for a second version.
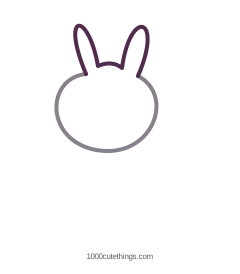
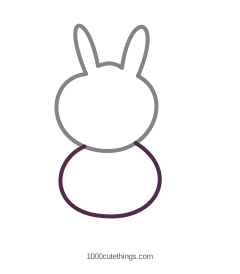
Dark plum marks are new; gray marks show the earlier drawing. Keep earlier visible lines and erase edges hidden behind an overlapping part. The optional color example suggests one palette.
Starter: eight drawing lessons
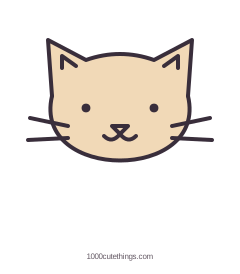 A curious catAnimals / 4 illustrated stagesOpen the lesson
Start with a wide cheek curve, then give it two ears. The little gap between the eyes and the nose keeps the face readable when you draw it small.
Practise: Open curves and pointed corners
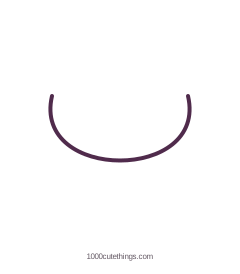
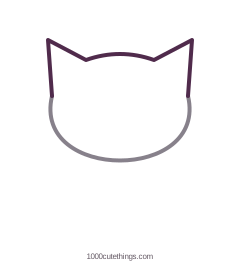
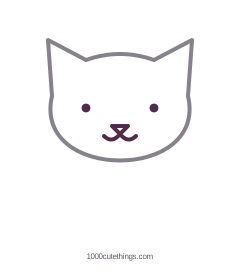
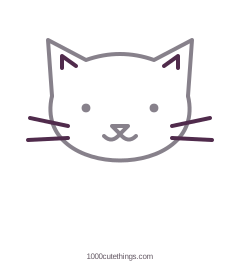
A curious cat: one color idea
Press Escape or Close to return to the page.
A curious cat: coloring outline
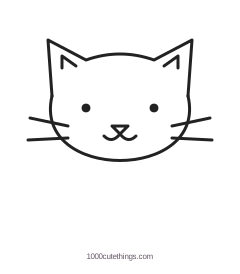
Press Escape or Close to return to the page.
If it looks different: If the cat looks stretched, bring the eyes a little closer together before adding whiskers. Keep both eyes at a similar height.
Make it yours: Make one ear slightly lower, or swap the round eyes for two sleepy curves.
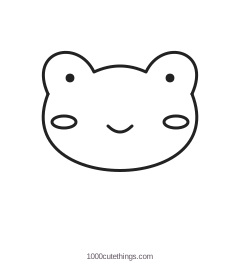
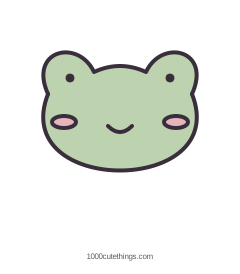 A little frogAnimals / 4 illustrated stagesOpen the lesson
The two raised eye bumps make this face work. You can keep the rest simple: a broad lower curve, two dots and a relaxed smile.
Practise: Wide curves and paired bumps
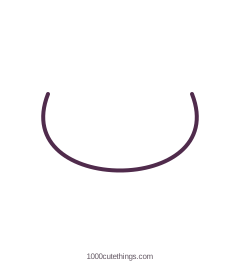
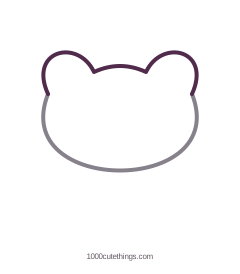


A little frog: one color idea
Press Escape or Close to return to the page.
A little frog: coloring outline
Press Escape or Close to return to the page.
If it looks different: If it looks like a bear, make the eye bumps wider and put the eyes higher inside them.
Make it yours: Try a tiny straight mouth, then a bigger curved smile. Compare the expression before adding anything else.
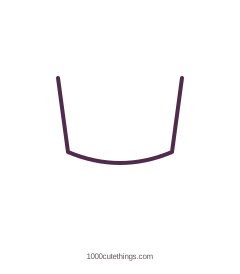
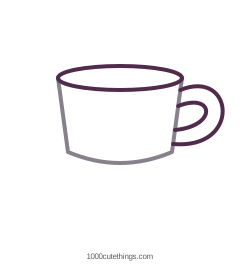
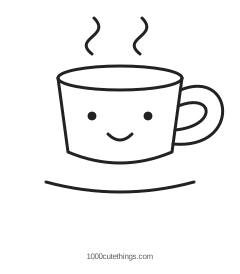
 A cheerful teacupObjects / 4 illustrated stagesOpen the lesson
A cup gives you a useful lesson in placing one shape beside another. The handle belongs outside the cup; the face belongs inside it.
Practise: Curved rectangles and an oval rim


A cheerful teacup: one color idea
Press Escape or Close to return to the page.
A cheerful teacup: coloring outline
Press Escape or Close to return to the page.
If it looks different: If the handle looks like a second cup, make its opening smaller and attach both ends to the cup side.
Make it yours: Leave out the steam and decorate the cup with one stripe instead.
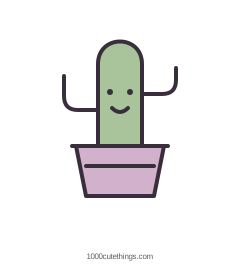 A cactus in a potObjects / 4 illustrated stagesOpen the lesson
Build the pot first so the plant has somewhere to sit. Short branch lines and a face are enough to turn a few shapes into a tiny desk character.
Practise: Straight edges and one rounded top
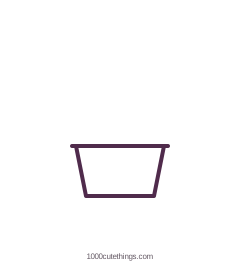
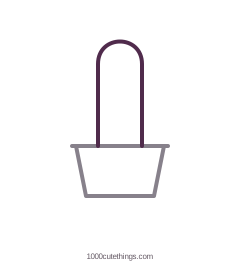
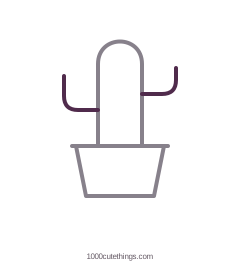
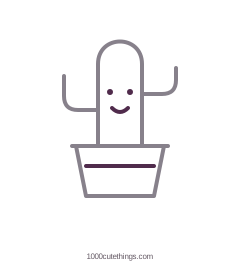
A cactus in a pot: one color idea
Press Escape or Close to return to the page.
A cactus in a pot: coloring outline
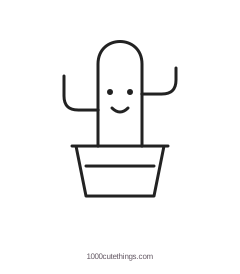
Press Escape or Close to return to the page.
If it looks different: If the cactus looks crowded, shorten the arms or widen the gap between the plant and pot edges.
Make it yours: Try a tall cactus and a short cactus in the same pot shape.
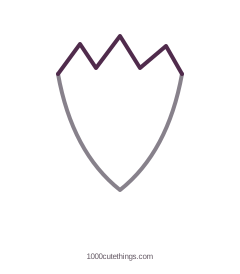
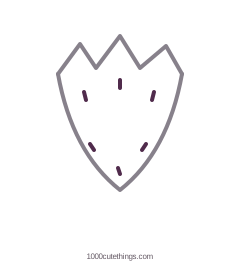
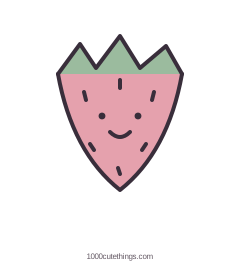 A small strawberryNature / 4 illustrated stagesOpen the lesson
A strawberry can be made from one open-topped shape and a leafy crown. The seeds give you a way to practise spacing without filling every gap.
Practise: A soft point and a zigzag crown
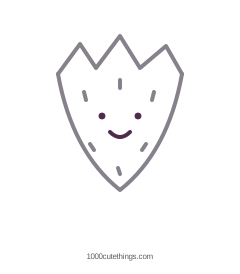
A small strawberry: one color idea
Press Escape or Close to return to the page.
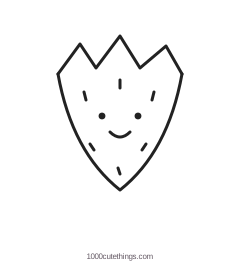
A small strawberry: coloring outline
Press Escape or Close to return to the page.
If it looks different: If it looks like a carrot, widen the shoulders and shorten the point. The fruit should be broad near the leaves.
Make it yours: Replace the face with a few more seeds for a simple botanical version.
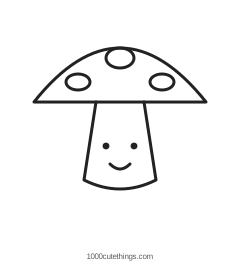
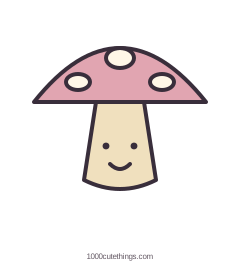 A spotted mushroomNature / 4 illustrated stagesOpen the lesson
Make the cap much wider than the stem. That single proportion makes the mushroom recognizable before you add spots or a face.
Practise: A broad arch over a short stem
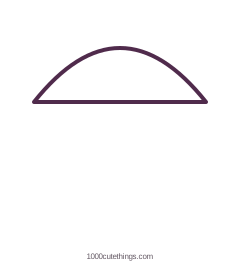
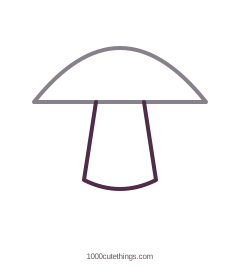
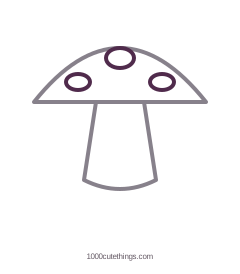

A spotted mushroom: one color idea
Press Escape or Close to return to the page.
A spotted mushroom: coloring outline
Press Escape or Close to return to the page.
If it looks different: If it looks like an umbrella, shorten and widen the stem, then soften the cap corners.
Make it yours: Use uneven spots or leave the face off. Keep the large cap-to-small-stem relationship.
 A little rain cloudNature / 4 illustrated stagesOpen the lesson
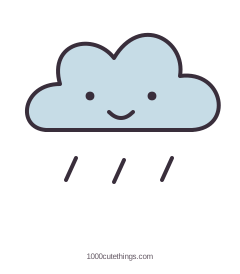
A flat bottom gives the cloud a simple anchor. Let the top bumps vary slightly so it feels soft rather than like a row of equal circles.
Practise: Joining round bumps to a baseline


A little rain cloud: one color idea
Press Escape or Close to return to the page.
A little rain cloud: coloring outline
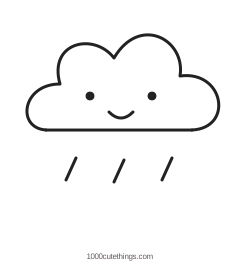
Press Escape or Close to return to the page.
If it looks different: If the outline looks busy, remove a bump. Three or four clear lobes are enough.
Make it yours: Try sleepy eyes and no rain, or draw a small sun beside the cloud.
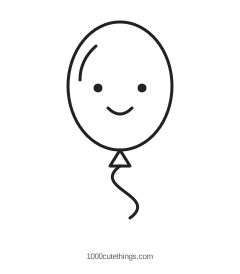
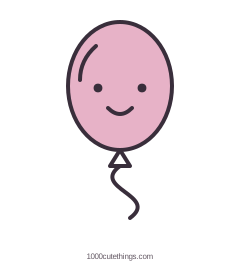 A floating balloonObjects / 4 illustrated stagesOpen the lesson
This is a good place to begin if you want fewer lines. The string can be uneven; its loose curve makes the balloon feel lighter.
Practise: An oval, a tiny triangle and a loose curve

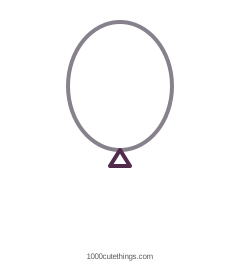

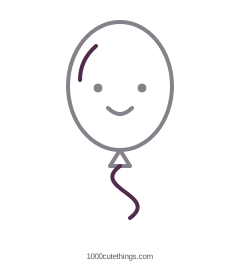
A floating balloon: one color idea
Press Escape or Close to return to the page.
A floating balloon: coloring outline
Press Escape or Close to return to the page.
If it looks different: If the knot takes over, make the triangle much smaller than the balloon. Let the string begin at the knot.
Make it yours: Change the string into a gentle S, or draw two balloons at different heights.
Easy: eight drawing lessons
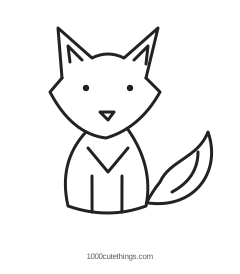
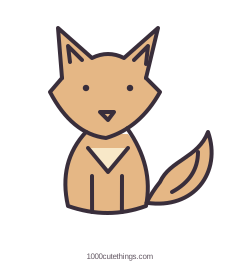 A sitting foxAnimals / 6 illustrated stagesOpen the lesson
Keep the head wide and the seated body short. The tail sits beside the body rather than crossing the face.
Practise: A pointed face, seated body and wrapped tail
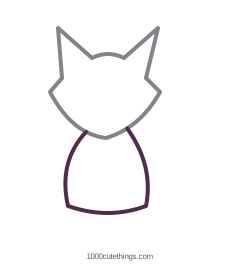
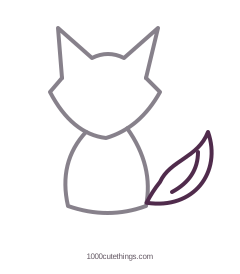
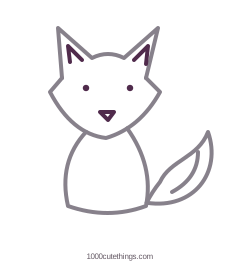
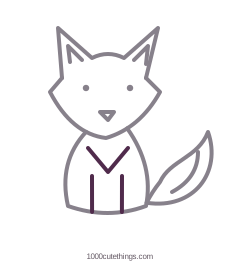
A sitting fox: one color idea
Press Escape or Close to return to the page.
A sitting fox: coloring outline
Press Escape or Close to return to the page.
If it looks different: If the fox looks like a cat, lengthen the cheek points slightly and make the tail broader.
Make it yours: Tilt one ear or swap the tail tip from pale cream to white.
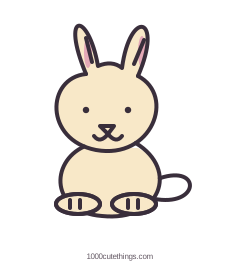 A tucked-in bunnyAnimals / 6 illustrated stagesOpen the lesson
Make the ears tall and the body compact. A pair of small feet shows how the bunny is sitting.
Practise: Long ears over a compact body

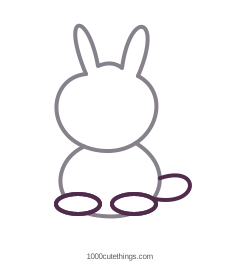
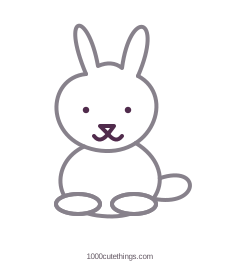
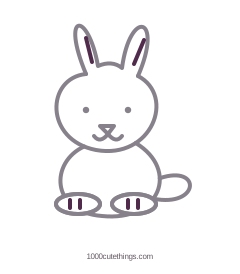
A tucked-in bunny: one color idea
Press Escape or Close to return to the page.
A tucked-in bunny: coloring outline
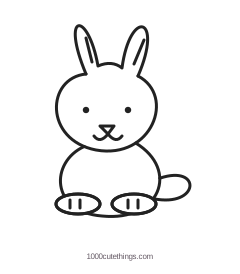
Press Escape or Close to return to the page.
If it looks different: If the ears look heavy, narrow them rather than making the head larger.
Make it yours: Bend the end of one ear, or use closed sleepy eyes.
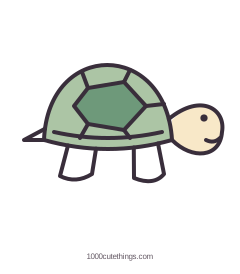 A patterned turtleAnimals / 6 illustrated stagesOpen the lesson
The shell is the largest shape. Add the small head and feet around it before filling the shell with a pattern.
Practise: A shell, side profile and simple pattern
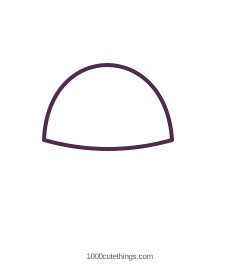
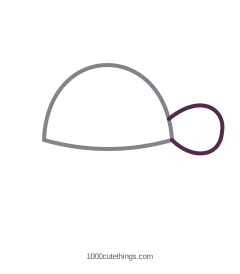
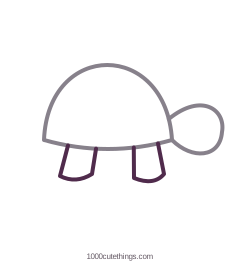
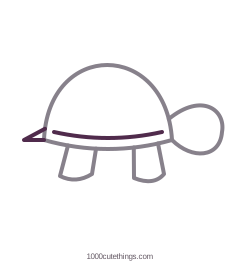
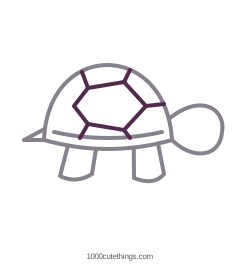
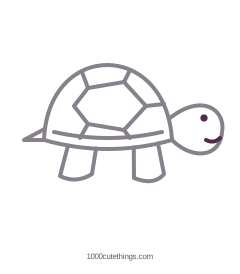
A patterned turtle: one color idea
Press Escape or Close to return to the page.
A patterned turtle: coloring outline
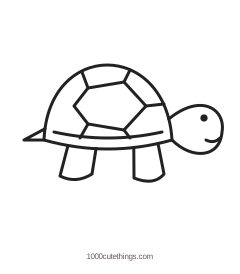
Press Escape or Close to return to the page.
If it looks different: If it looks top-heavy, flatten the arch and keep the head below the shell top.
Make it yours: Fill the shell with broad stripes instead of patches.
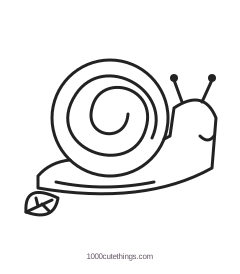
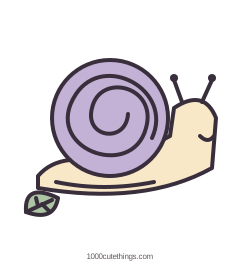 A leaf-side snailAnimals / 6 illustrated stagesOpen the lesson
Give the snail a long foot and a generous shell. A loose spiral is enough to suggest the shell without packing it with lines.
Practise: A spiral inside a rounded shell
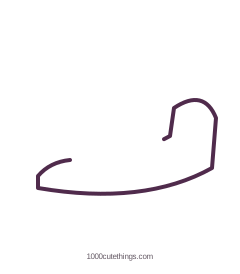
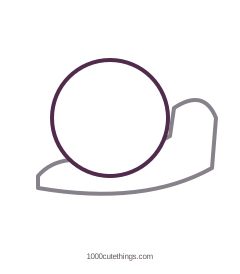
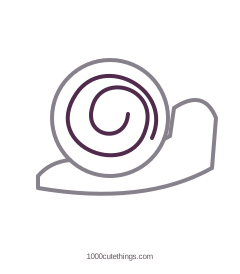
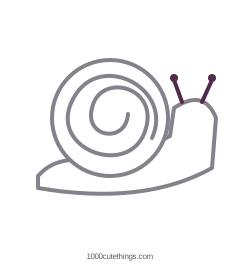
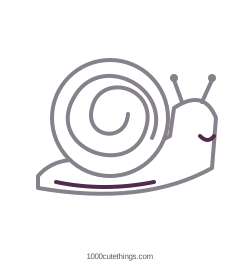
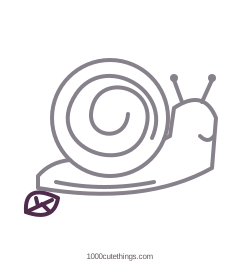
A leaf-side snail: one color idea
Press Escape or Close to return to the page.
A leaf-side snail: coloring outline
Press Escape or Close to return to the page.
If it looks different: Leave a gap between the spiral turns. If they touch, make the shell larger on the next attempt.
Make it yours: Change the shell to a striped pattern, keeping the body shape.
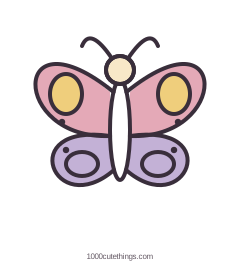 A patterned butterflyNature / 6 illustrated stagesOpen the lesson
The wings do not have to be perfect mirror images. Keep their sizes similar and leave broad spaces for coloring.
Practise: Paired wings with room for color
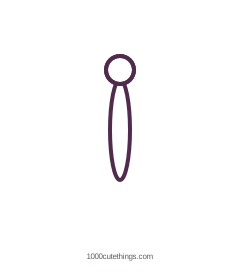

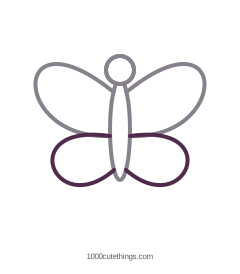
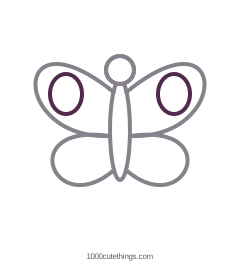
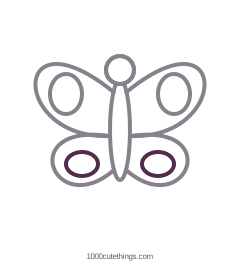
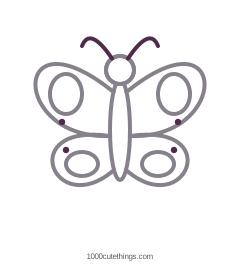
A patterned butterfly: one color idea
Press Escape or Close to return to the page.
A patterned butterfly: coloring outline
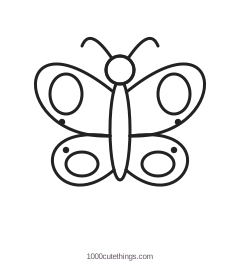
Press Escape or Close to return to the page.
If it looks different: If the wings feel cramped, make the outer shapes larger before adding pattern.
Make it yours: Use stripes in one pair of wings and spots in the other.
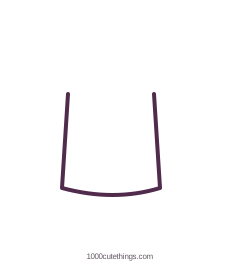
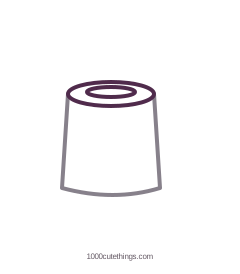
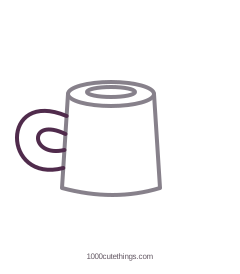
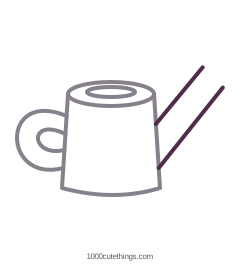
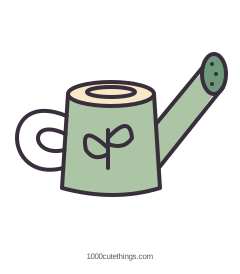 A small watering canObjects / 6 illustrated stagesOpen the lesson
Think of the can as three pieces: the container, the spout and the handle. Clear gaps make the construction easy to read.
Practise: A vessel, angled spout and open handle
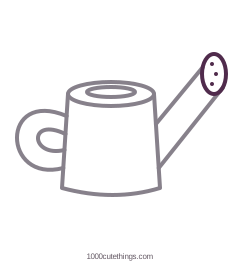
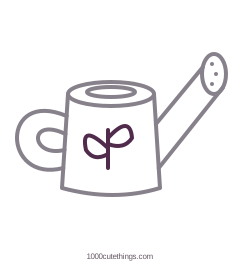
A small watering can: one color idea
Press Escape or Close to return to the page.
A small watering can: coloring outline
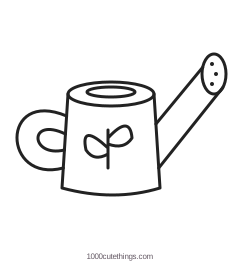
Press Escape or Close to return to the page.
If it looks different: If the handle looks solid, widen its inner opening. Keep the spout clear of the top rim.
Make it yours: Try broad stripes or leave the body plain.
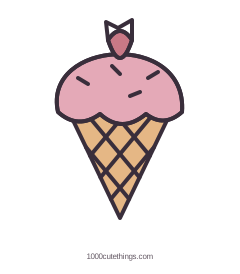 A strawberry ice creamObjects / 6 illustrated stagesOpen the lesson
Keep the scoop wider than the cone. The crisscross lines can be irregular and still suggest a waffle texture.
Practise: A scalloped scoop over a pointed cone



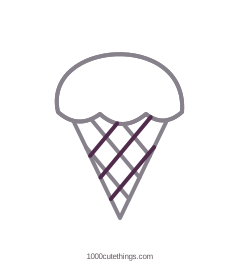
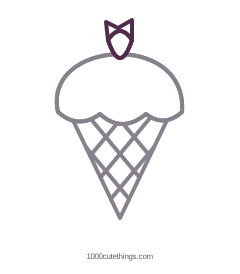
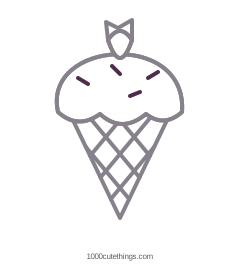
A strawberry ice cream: one color idea
Press Escape or Close to return to the page.
A strawberry ice cream: coloring outline
Press Escape or Close to return to the page.
If it looks different: Keep the waffle lines inside the cone. Shorten them as you approach the point.
Make it yours: Change the scoop color or replace the berry with a small cherry.
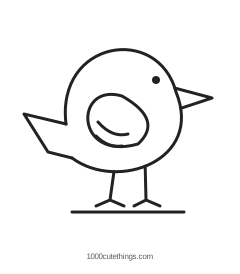
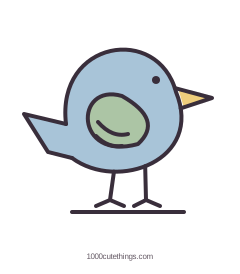 A little garden birdAnimals / 6 illustrated stagesOpen the lesson
Build a side view from one rounded outline. A small beak and one visible eye are enough to show the direction the bird faces.
Practise: A side silhouette and a folded wing
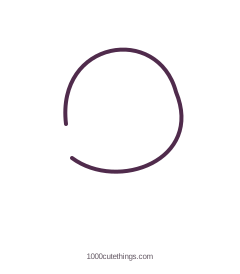
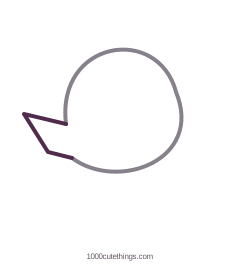
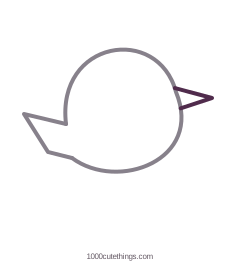
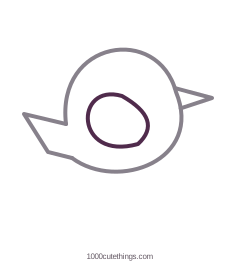
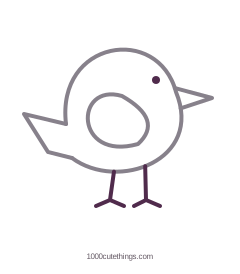
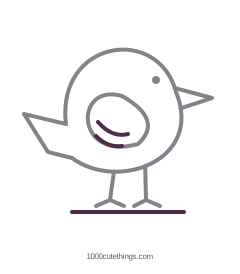
A little garden bird: one color idea
Press Escape or Close to return to the page.
A little garden bird: coloring outline
Press Escape or Close to return to the page.
If it looks different: If the bird looks flat, round the breast more and shorten the tail.
Make it yours: Raise the tail slightly or turn the beak in the other direction by mirroring the whole silhouette.
Moderate: eight drawing lessons
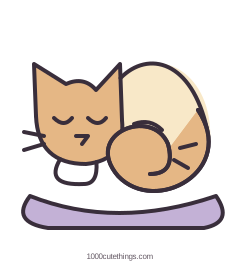 A curled-up catAnimals / 8 illustrated stagesOpen the lesson
The back, face and tail each have a clear place. Keep the tail on the right so its curve can wrap around the sleeping body.
Practise: A sleeping pose built around a broad curl
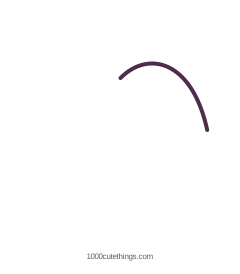
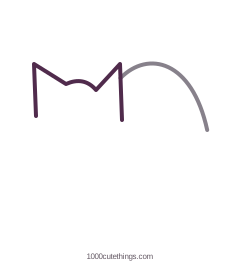
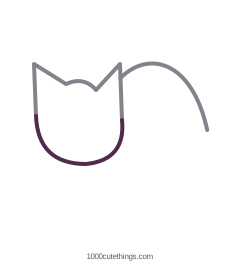
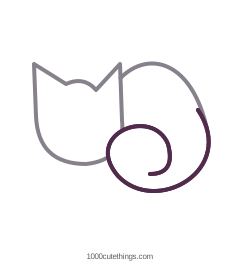
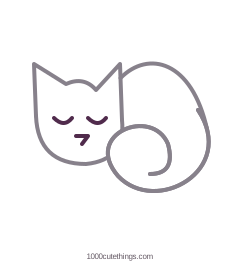
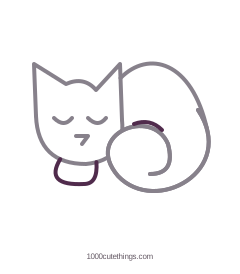
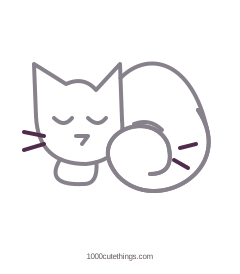
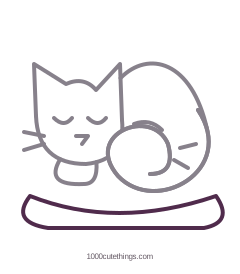
A curled-up cat: one color idea
Press Escape or Close to return to the page.
A curled-up cat: coloring outline
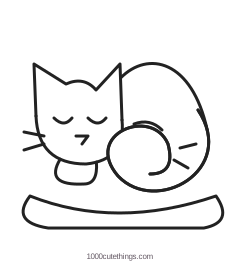
Press Escape or Close to return to the page.
If it looks different: If the pose is hard to read, enlarge the tail curl and remove extra body marks. The back should be one clear arc.
Make it yours: Use stripes on the tail or a patch over one ear.
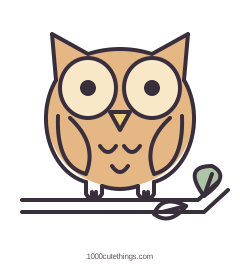 An owl on a branchAnimals / 8 illustrated stagesOpen the lesson
The owl has a clear center line without needing a drawn guide. Keep the eyes at the same height and let the branch carry the feet.
Practise: Face discs, folded wings and a leafy perch
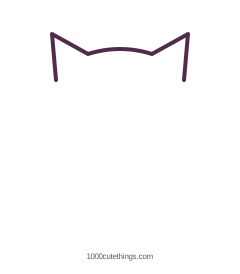
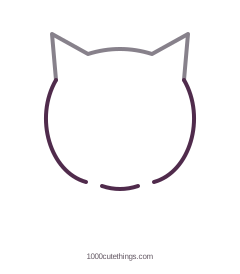
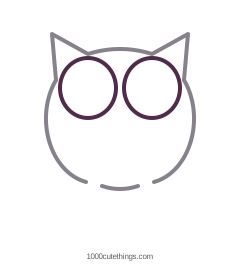
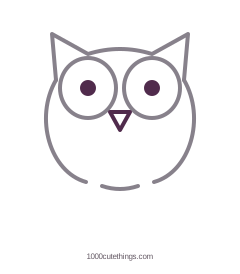
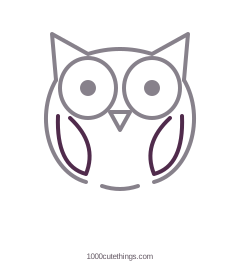
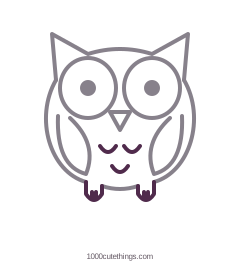
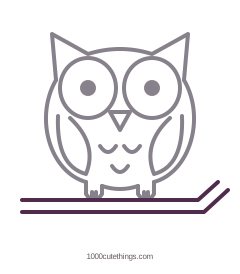
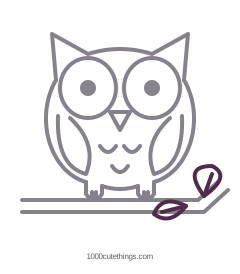
An owl on a branch: one color idea
Press Escape or Close to return to the page.
An owl on a branch: coloring outline
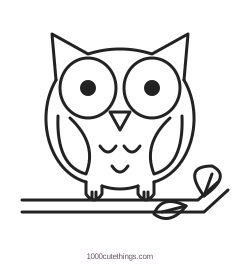
Press Escape or Close to return to the page.
If it looks different: If the eyes feel crowded, reduce the pupils before changing the face discs. Keep the beak between, not inside, the discs.
Make it yours: Turn one leaf downward or try crescent-shaped sleepy eyes.
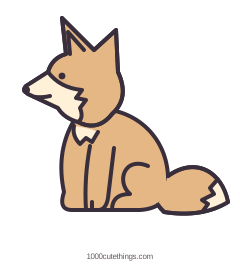 A fox sitting in profileAnimals / 8 illustrated stagesOpen the lesson
This fox is sitting quietly, facing left. Its front paw points down, the rounded haunch stays behind it, and the bushy tail rests on the ground beside the body.
Practise: A seated silhouette, a pointed muzzle and a resting tail
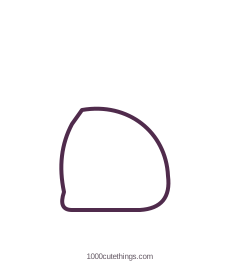
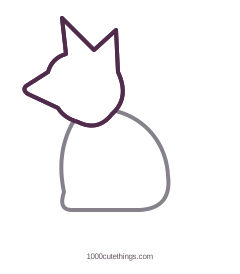
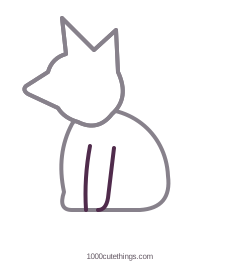
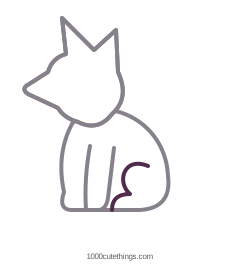
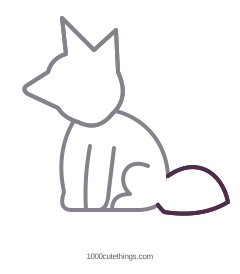
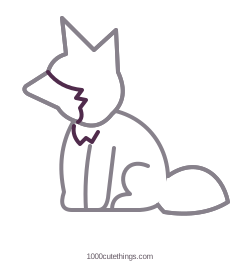
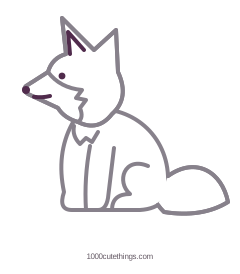
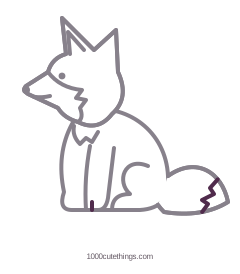
A fox sitting in profile: one color idea
Press Escape or Close to return to the page.
A fox sitting in profile: coloring outline
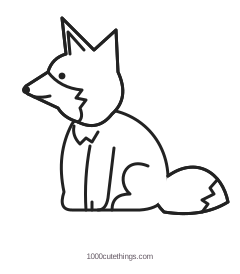
Press Escape or Close to return to the page.
If it looks different: Keep the chest upright and the paw directly below it. The haunch should be rounded, and the tail should rest on the same ground level as the body.
Make it yours: Try a closed eye for a sleepy expression, or add a small leaf beside the resting tail.
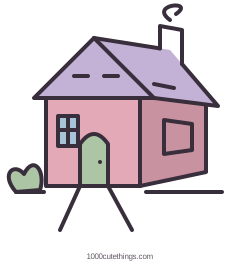 A cottage with a little pathScenes / 8 illustrated stagesOpen the lesson
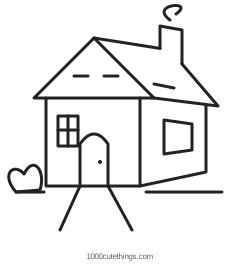
Use one front wall and a narrow side wall to suggest depth. The path grows wider toward the bottom of the page.
Practise: A roof, side wall and simple depth
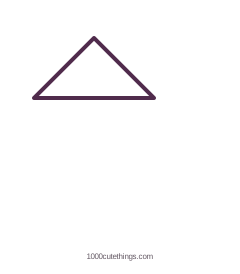
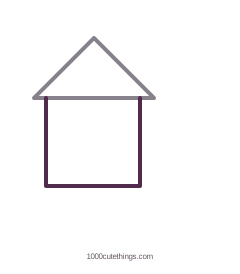
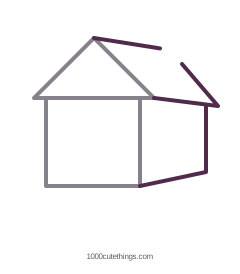
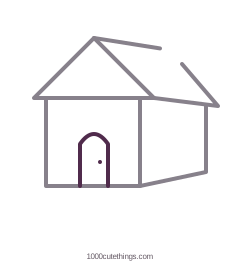
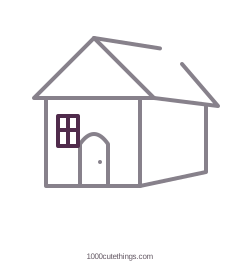
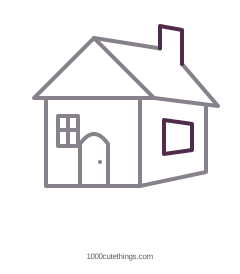
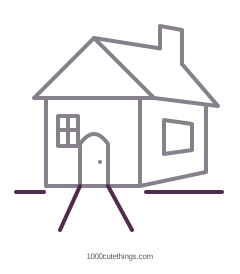
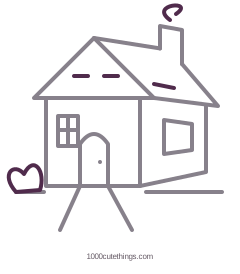
A cottage with a little path: one color idea
Press Escape or Close to return to the page.
A cottage with a little path: coloring outline
Press Escape or Close to return to the page.
If it looks different: If the side wall looks too wide, bring its far edge closer. Keep the front wall as the main face of the house.
Make it yours: Change the door color or replace the bush with a small pot.
 Books and a quiet teacupScenes / 8 illustrated stagesOpen the lesson
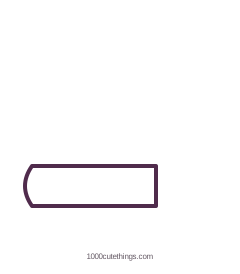
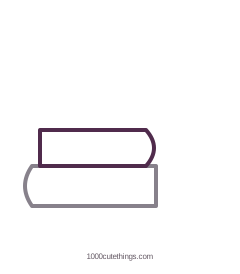
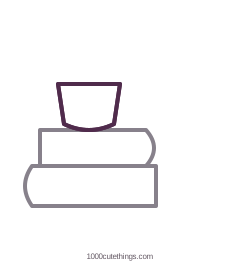
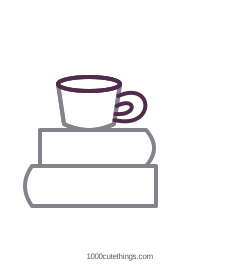
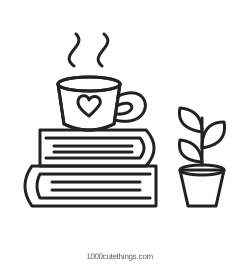
Two broad books support a modest teacup. A small plant sits beside the stack, with a clear gap around its leaves and the cup handle.
Practise: Recognizable book spines, page blocks and a small still life
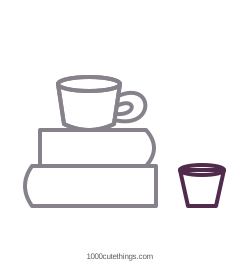
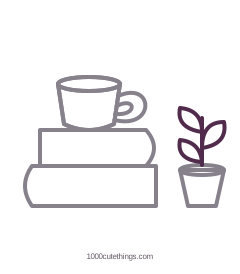


Books and a quiet teacup: one color idea
Press Escape or Close to return to the page.
Books and a quiet teacup: coloring outline
Press Escape or Close to return to the page.
If it looks different: Keep each book wider than the cup. Page lines belong between the covers, and the little plant should not reach above the steam.
Make it yours: Use contrasting book covers and a plain cup, or change the cup decoration to a small initial.
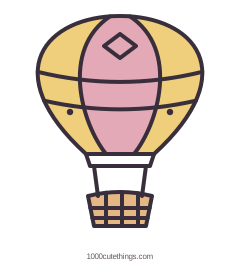 A patterned hot-air balloonObjects / 8 illustrated stagesOpen the lesson
Give the balloon a broad top and a narrower lower edge. The curved panel lines describe its volume before any pattern is added.
Practise: A rounded envelope, panels and suspended basket
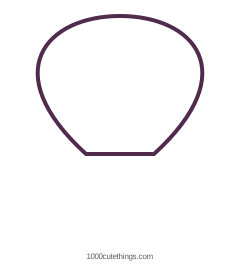
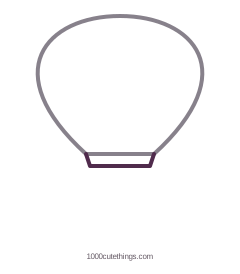
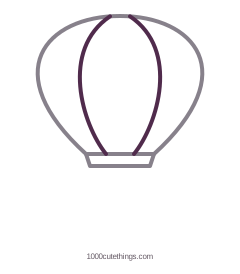



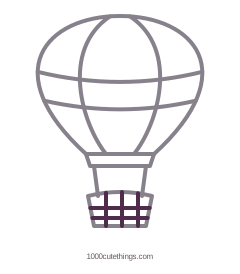

A patterned hot-air balloon: one color idea
Press Escape or Close to return to the page.
A patterned hot-air balloon: coloring outline
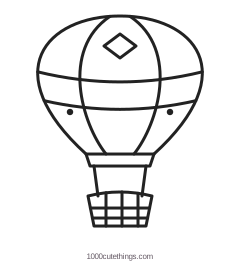
Press Escape or Close to return to the page.
If it looks different: If the balloon looks flat, curve the panel lines toward the outer edges instead of drawing them straight.
Make it yours: Use alternating panel colors or one large stripe.
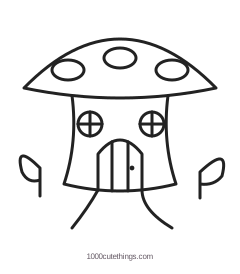
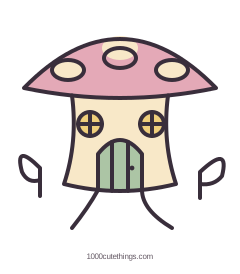 A tiny mushroom houseScenes / 8 illustrated stagesOpen the lesson
The cap becomes a roof and the stem becomes a tiny room. Keep the windows and door large enough to color comfortably.
Practise: A cap roof, curved walls and a winding path
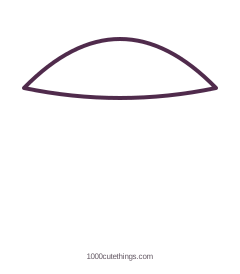
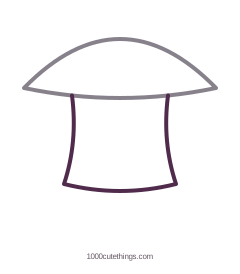
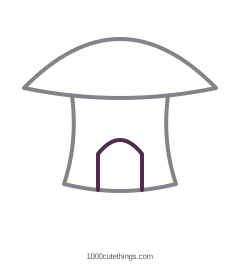
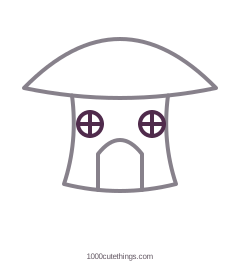
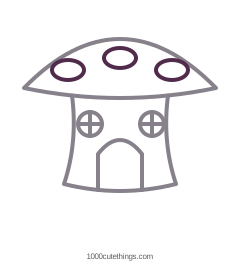
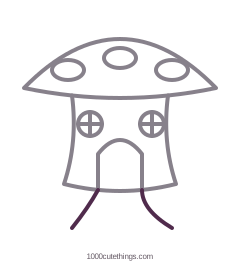
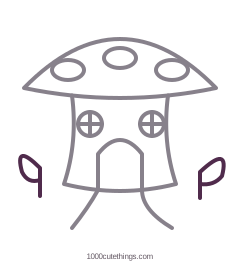
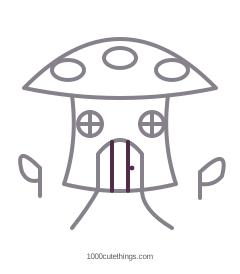
A tiny mushroom house: one color idea
Press Escape or Close to return to the page.
A tiny mushroom house: coloring outline
Press Escape or Close to return to the page.
If it looks different: If the house feels cramped, reduce the roof spots and enlarge the door. Keep a clear border around the windows.
Make it yours: Use a plain roof with stripes or change the path to stepping stones.
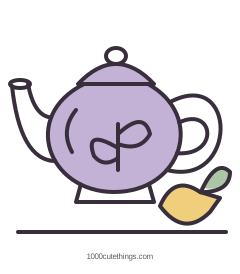 A teapot and a lemonScenes / 8 illustrated stagesOpen the lesson
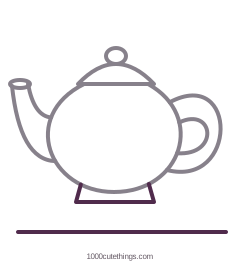
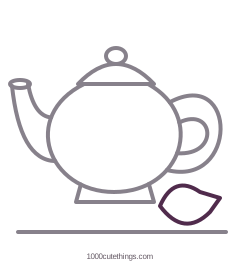
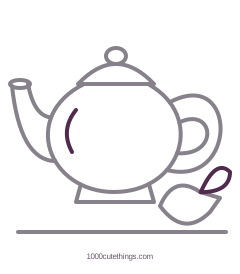
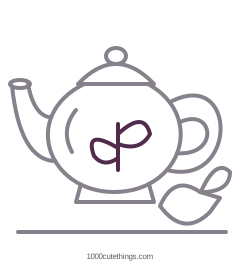
The teapot is a rounded body with three attached parts: the lid, handle and spout. A lemon gives the scene a second shape without crowding it.
Practise: A rounded vessel with an open handle and spout
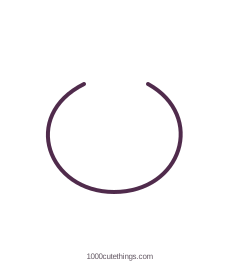
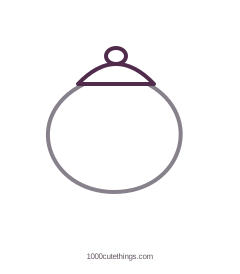
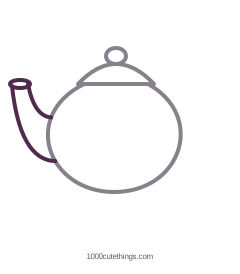
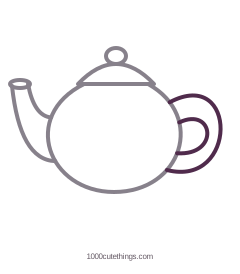
A teapot and a lemon: one color idea
Press Escape or Close to return to the page.
A teapot and a lemon: coloring outline
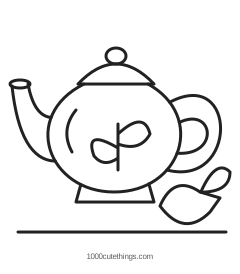
Press Escape or Close to return to the page.
If it looks different: If the handle merges into the pot, move its outer curve farther right. Leave a clear gap inside the loop.
Make it yours: Choose a plain pot and patterned tabletop, or keep the table blank and decorate the pot.
22 more cute drawing ideas
Use these finished drawings as observation prompts. They have matching coloring outlines; the guided lessons above provide the step-by-step teaching sequences.
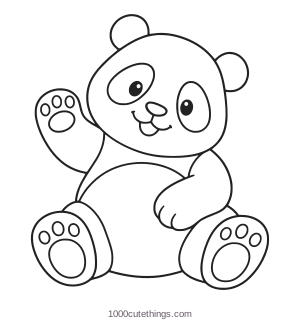
A panda with a relaxed wave
A panda with a relaxed wave in black outline on white
Press Escape or Close to return to the page.
Tilt the head before placing the ears; leave room beside it for the raised paw.
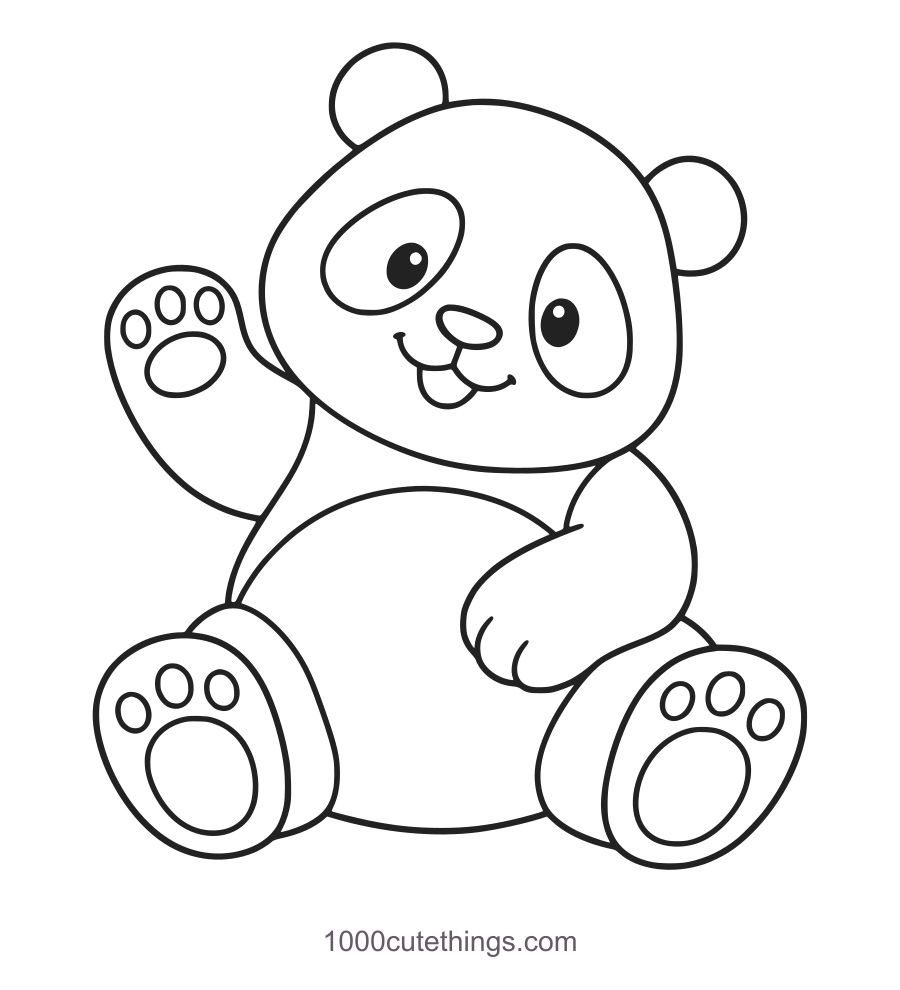
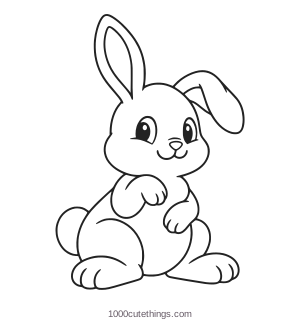
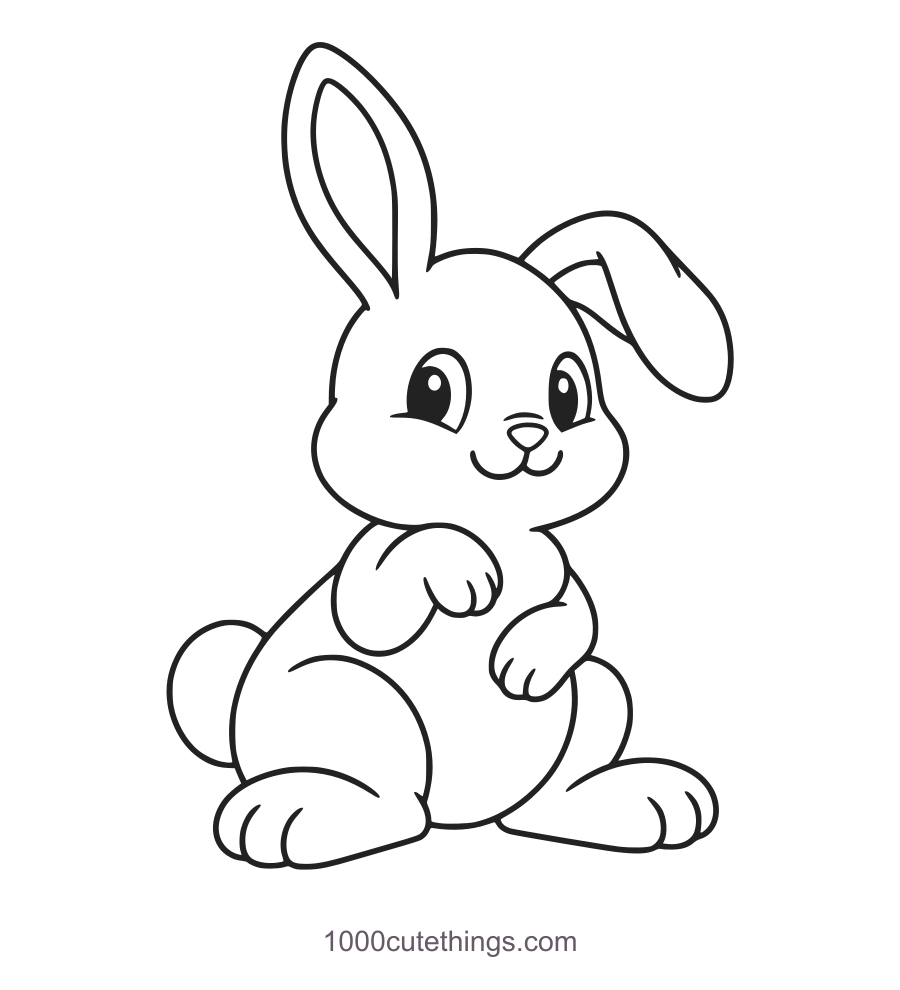
A bunny with one folded ear
A bunny with one folded ear in black outline on white
Press Escape or Close to return to the page.
Compare the two ear directions first, then keep the folded ear broad at its bend.
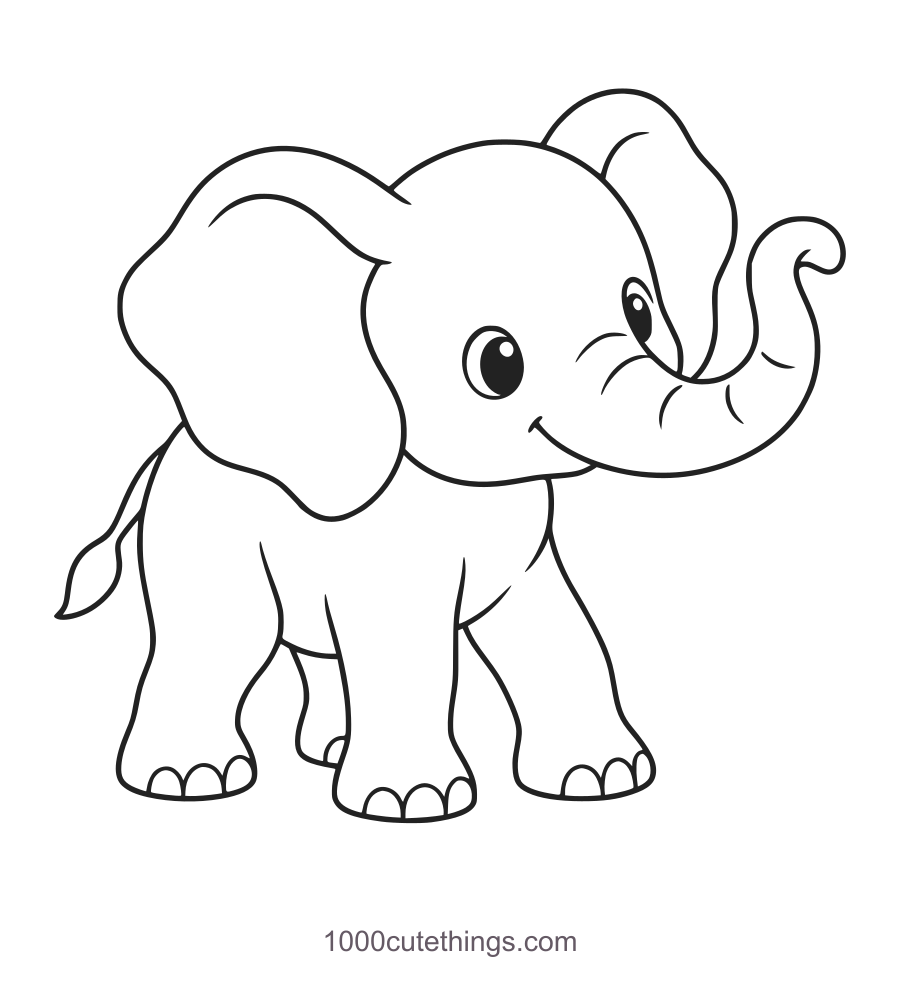
An elephant with a lifted trunk
An elephant with a lifted trunk in black outline on white
Press Escape or Close to return to the page.
Leave a clear opening inside the trunk curl and connect each foot to a leg.
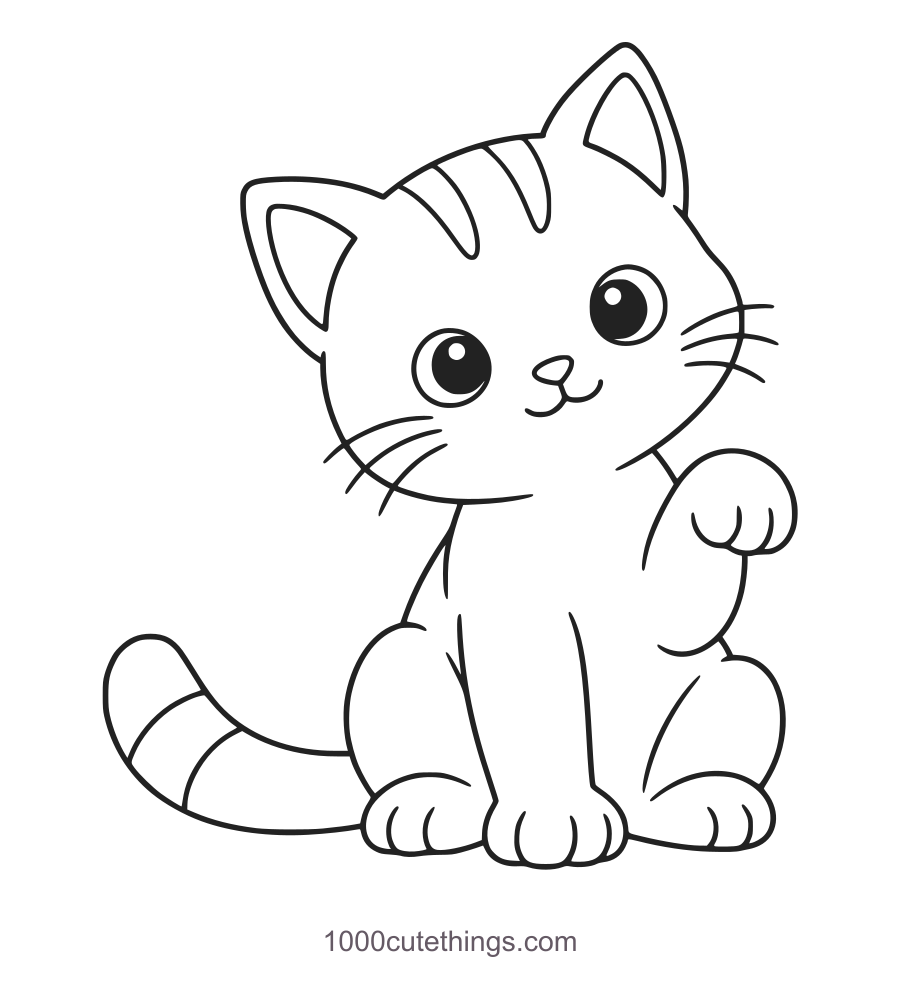
A tabby saying a small hello
A tabby saying a small hello in black outline on white
Press Escape or Close to return to the page.
Keep the raised paw beside the shoulder and let the tail rest along the ground.
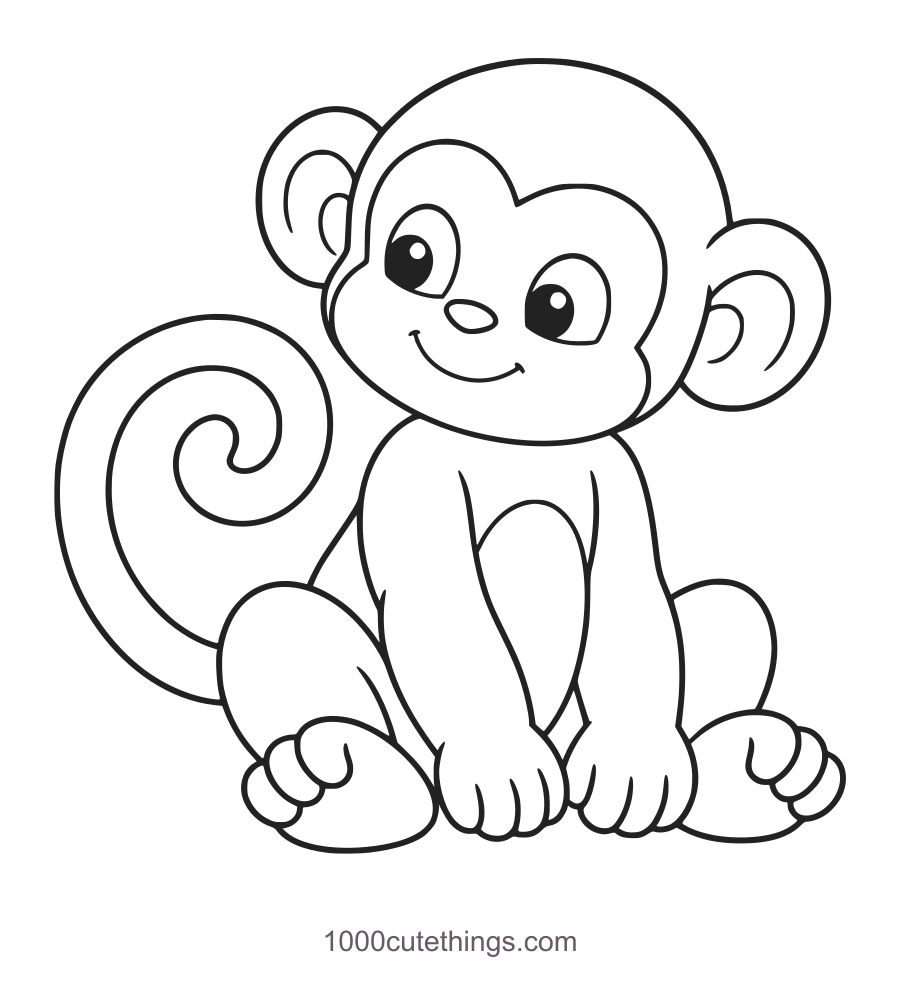
A monkey and its open tail curl
A monkey and its open tail curl in black outline on white
Press Escape or Close to return to the page.
Draw the tail curl with open space inside it, then join it behind the seated body.
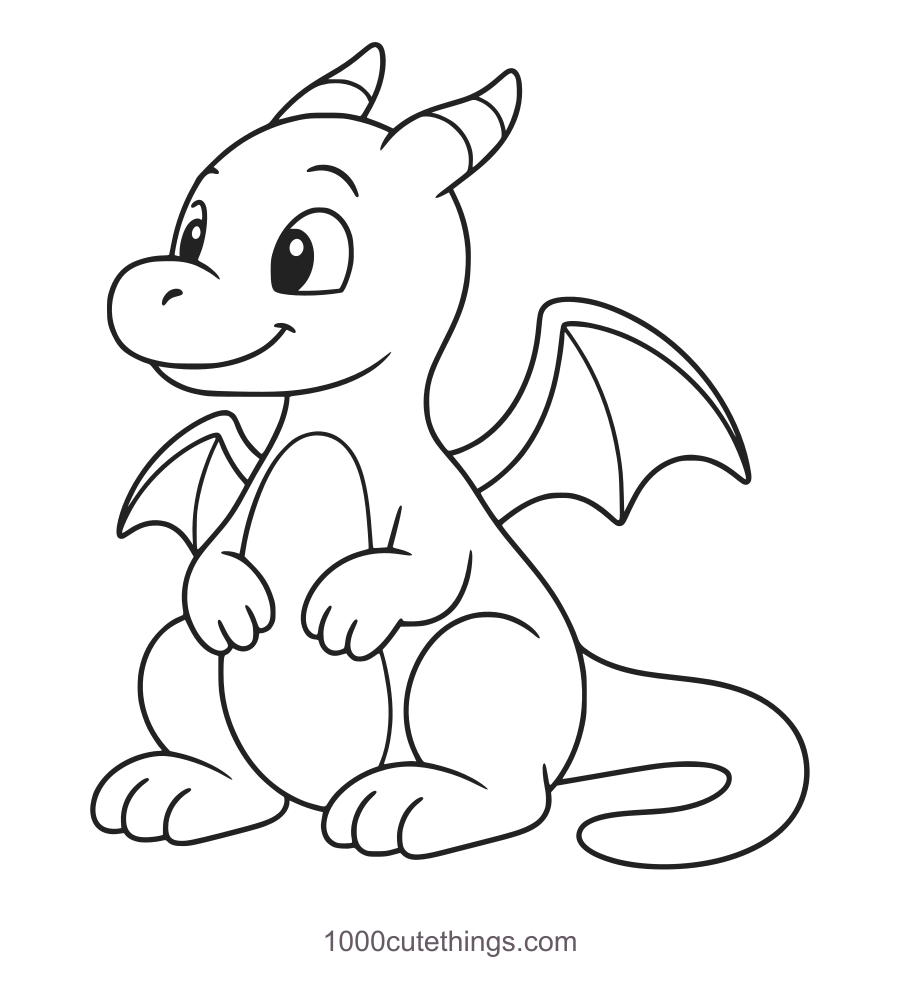
A dragon with uneven little wings
A dragon with uneven little wings in black outline on white
Press Escape or Close to return to the page.
Place the belly and feet before fitting the small wings behind the shoulders.
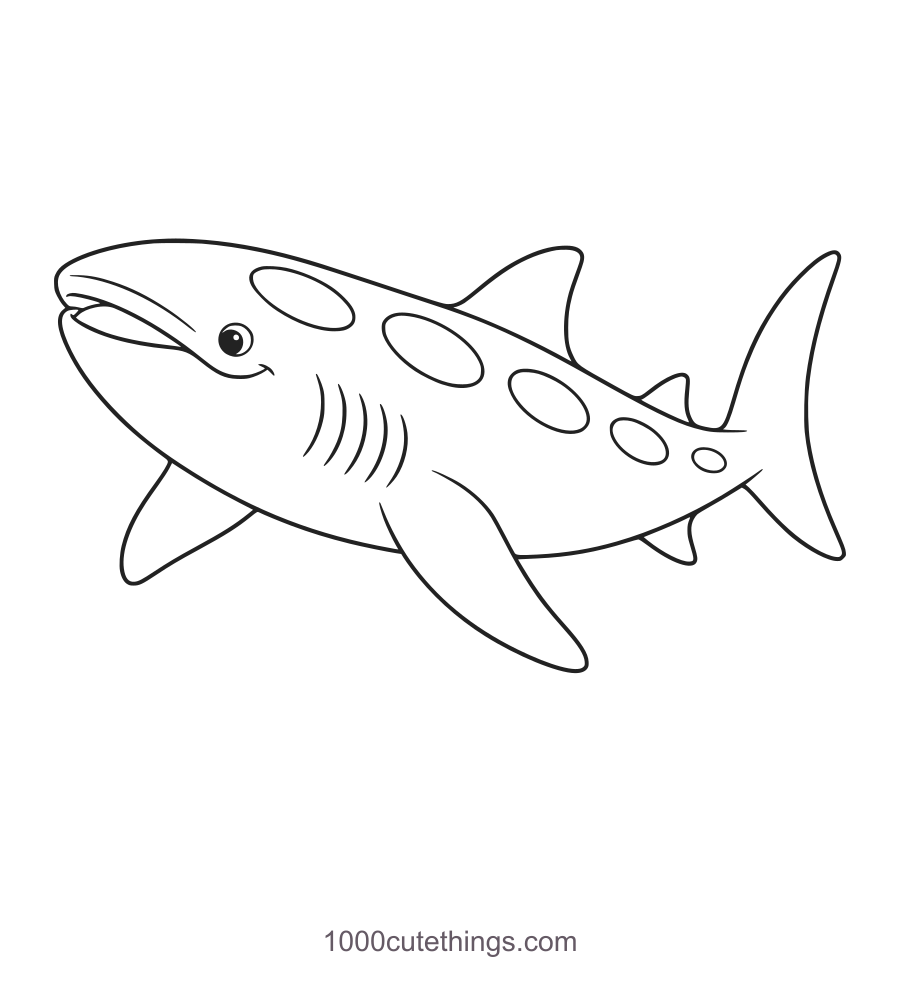
A gentle spotted shark
A gentle spotted shark in black outline on white
Press Escape or Close to return to the page.
Start with the long swimming silhouette; add the spots after the fins are placed.
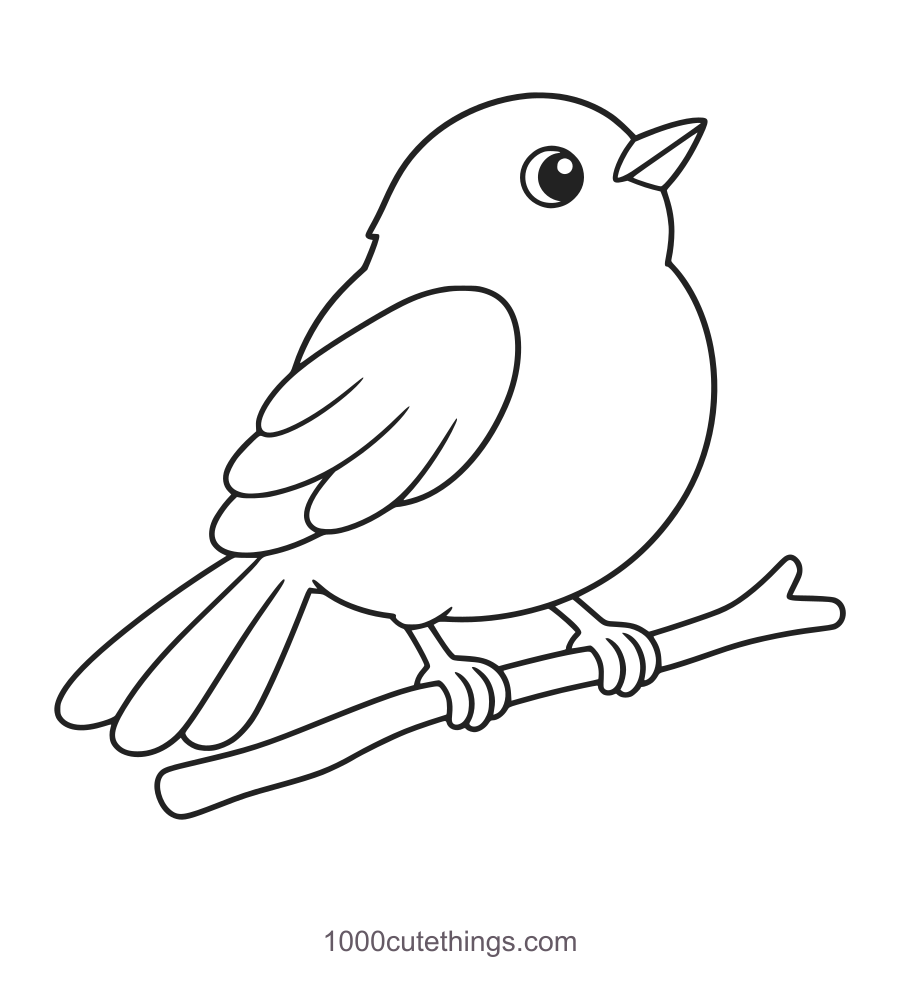
A songbird looking upward
A songbird looking upward in black outline on white
Press Escape or Close to return to the page.
Set the branch angle first so both feet can grip the same perch.
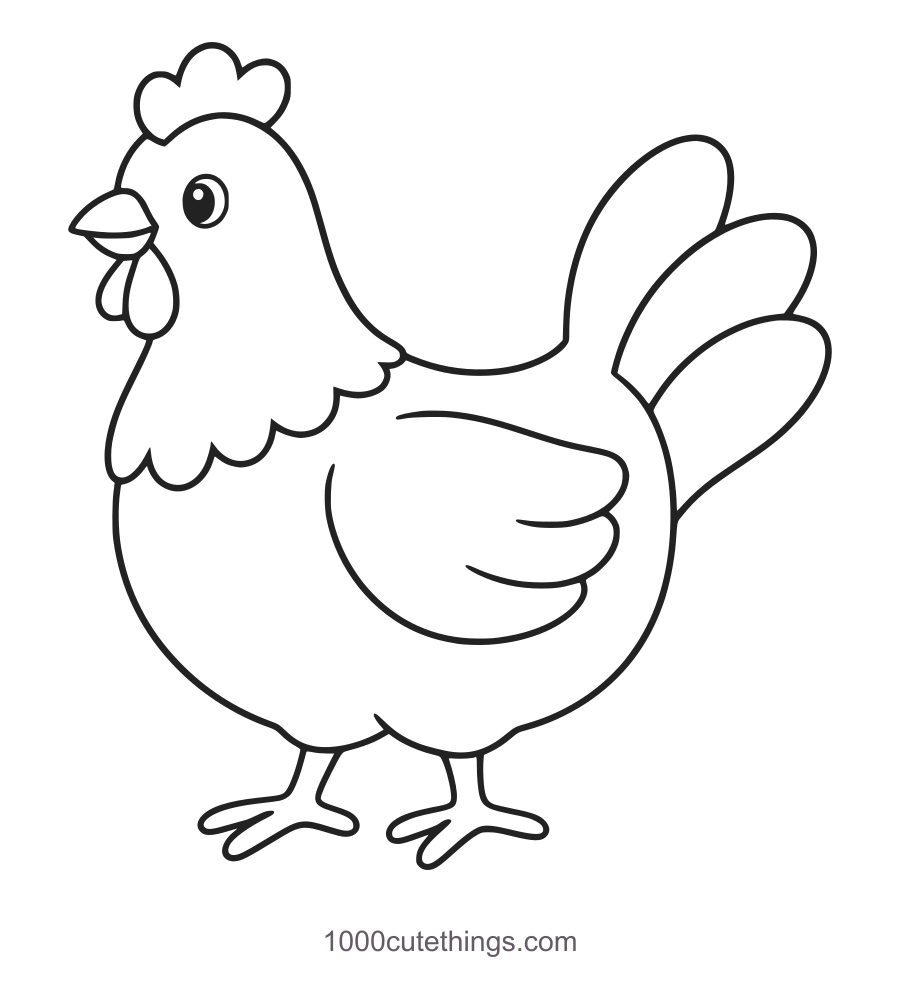
A little hen with a lifted tail
A little hen with a lifted tail in black outline on white
Press Escape or Close to return to the page.
Keep the hen’s neck flowing into the rounded body; add the lifted tail at the back.
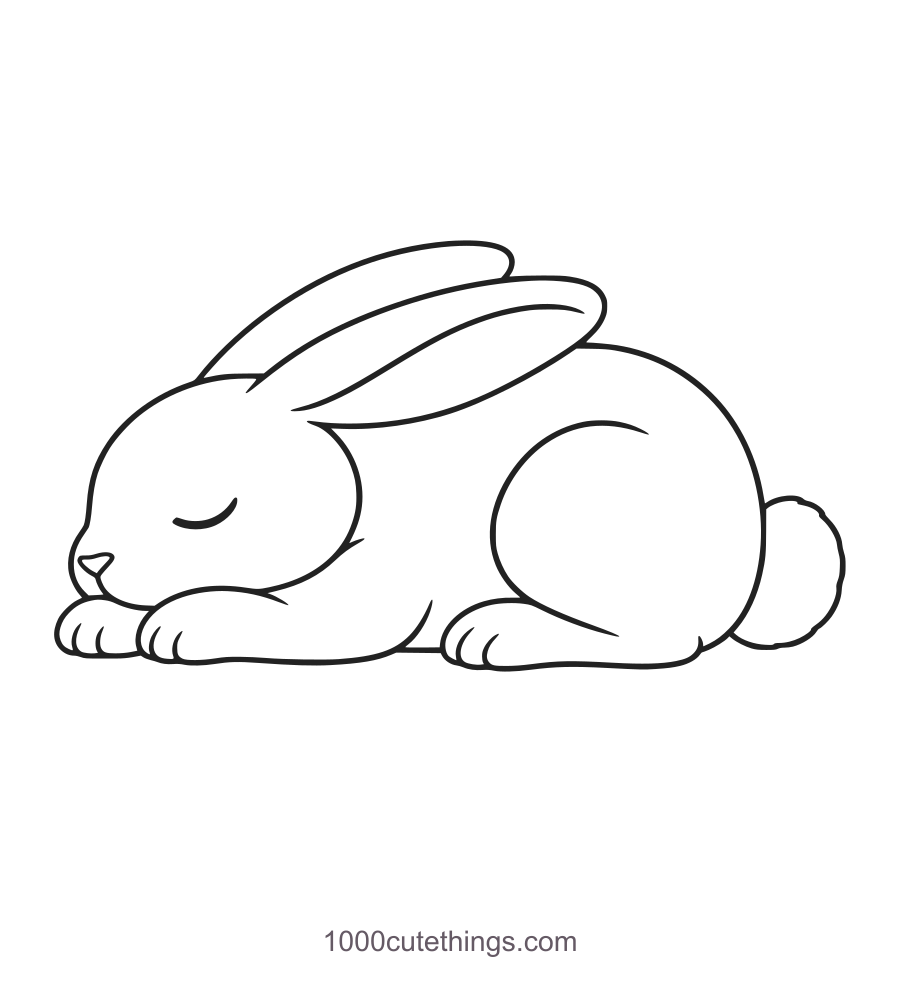
A bunny curled up for a nap
A bunny curled up for a nap in black outline on white
Press Escape or Close to return to the page.
Use a low body shape and lay both ears along the back rather than pointing upward.
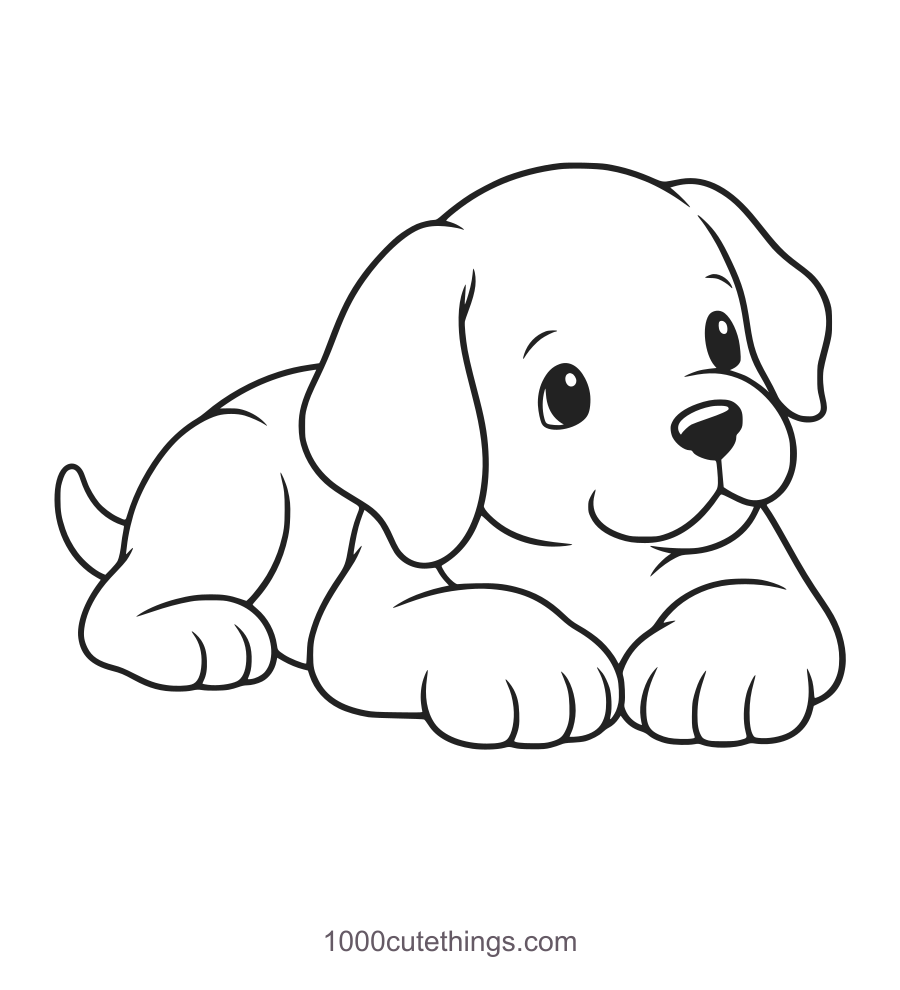
A puppy resting its chin
A puppy resting its chin in black outline on white
Press Escape or Close to return to the page.
Place the broad front paws first and settle the muzzle just above them.
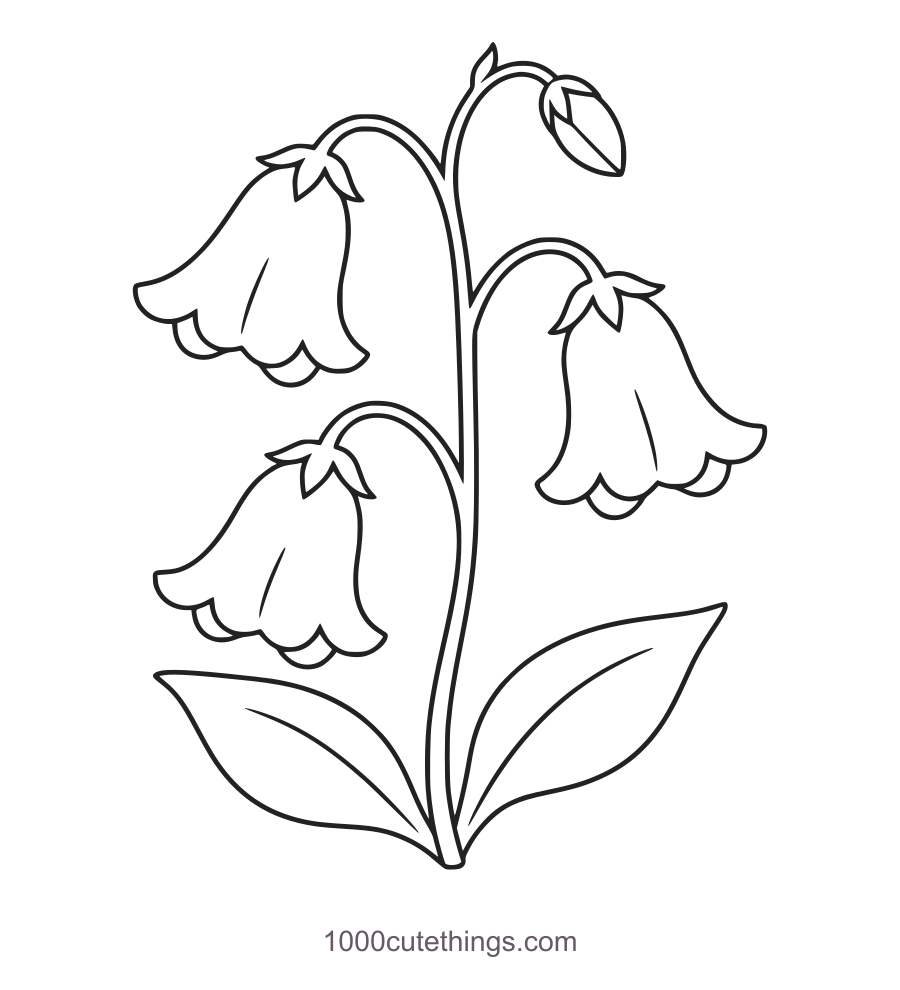
Three bellflowers on a curved stem
Three bellflowers on a curved stem in black outline on white
Press Escape or Close to return to the page.
Follow the main stem from bottom to top before adding each curved flower stalk.
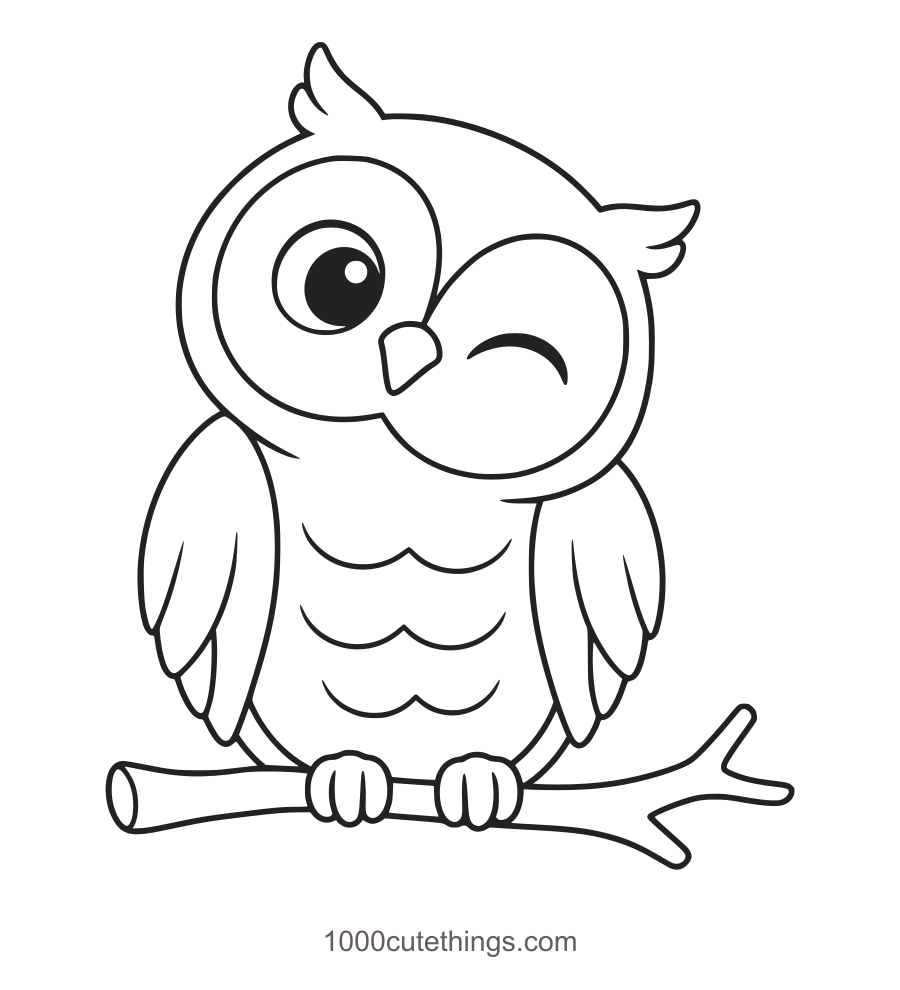
An owl with one sleepy eye
An owl with one sleepy eye in black outline on white
Press Escape or Close to return to the page.
Tip the face discs together so the open and closed eyes follow the head angle.
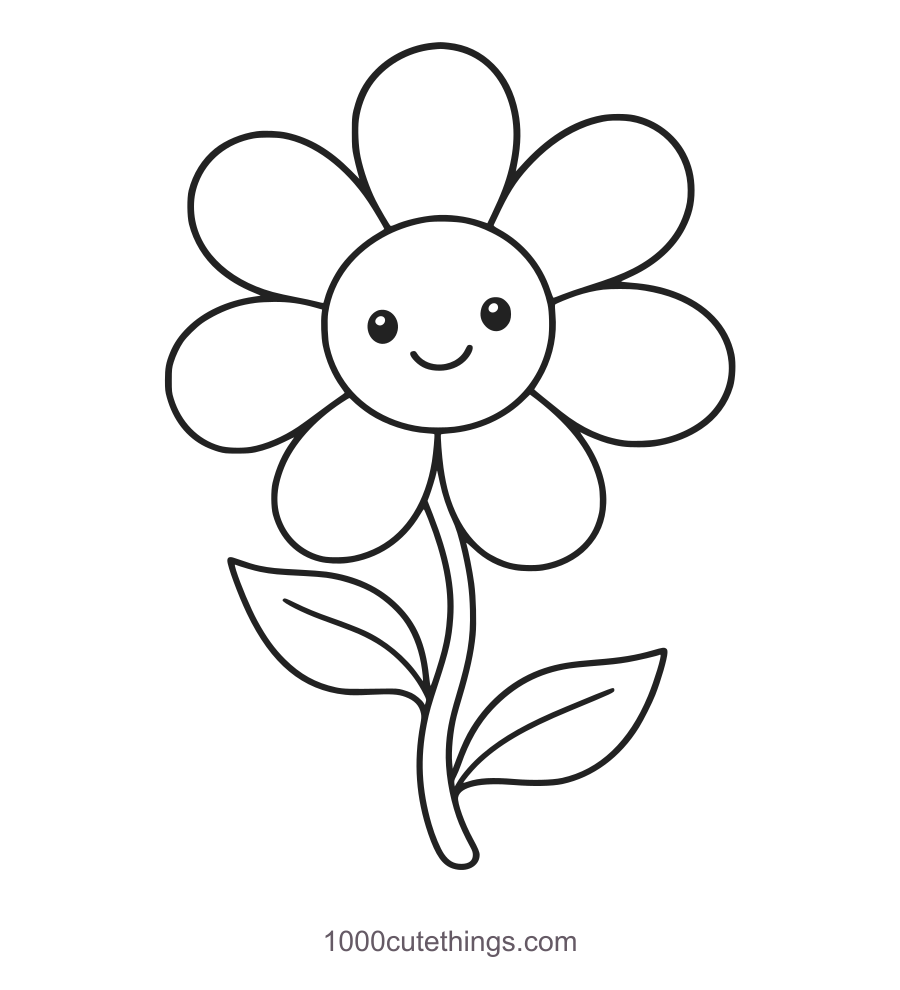
A flower with seven soft petals
A flower with seven soft petals in black outline on white
Press Escape or Close to return to the page.
Space the petals around the center, then let the lower ones hide the top of the stem.
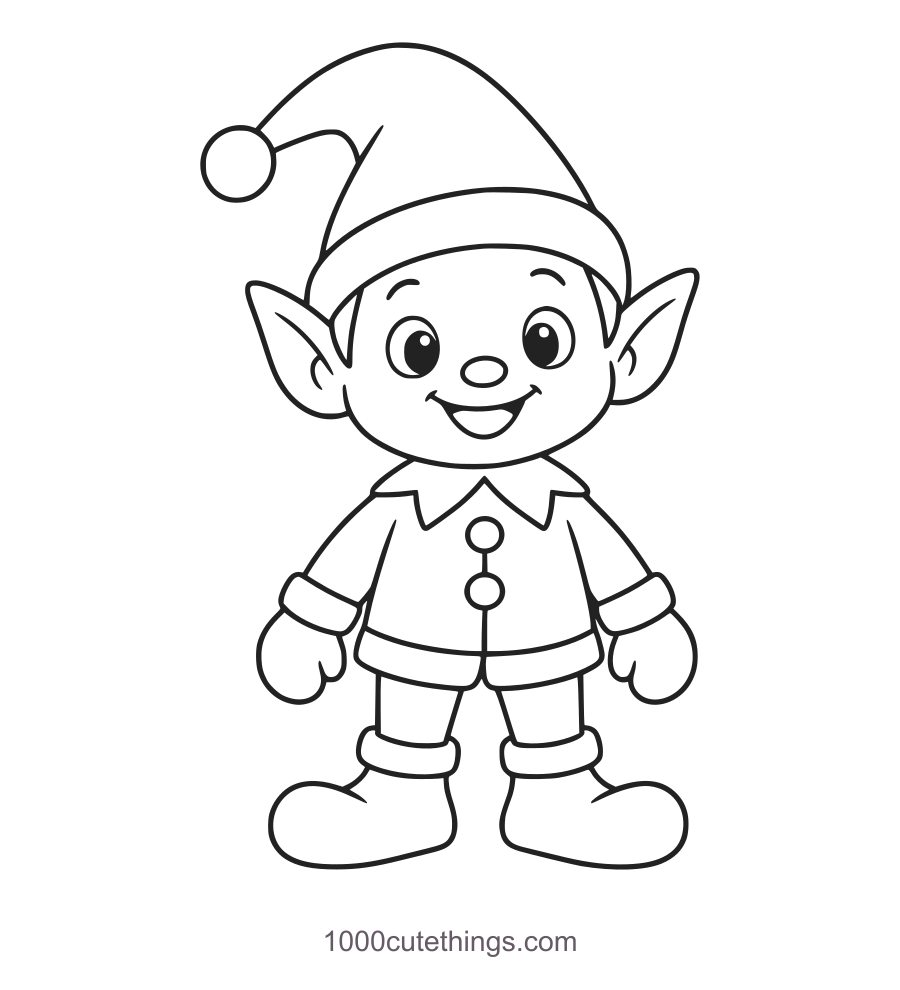
An elf with a sideways hat
An elf with a sideways hat in black outline on white
Press Escape or Close to return to the page.
Fit the pointed ears below the brim and keep both boots beneath the coat.
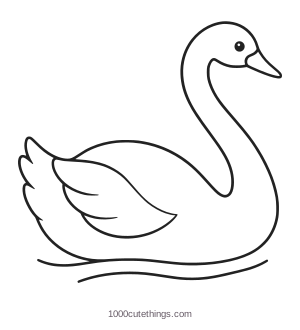
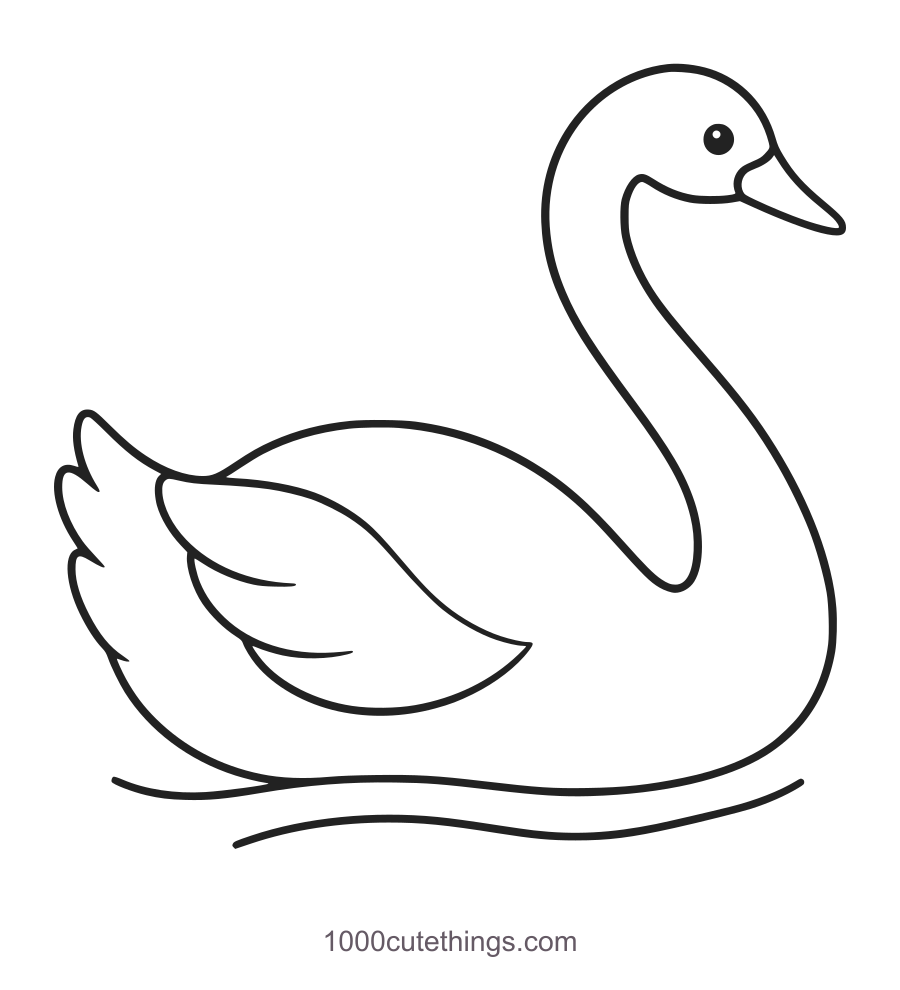
A swan gliding to the right
A swan gliding to the right in black outline on white
Press Escape or Close to return to the page.
Keep a narrow strip of white between the two neck curves as they join the body.
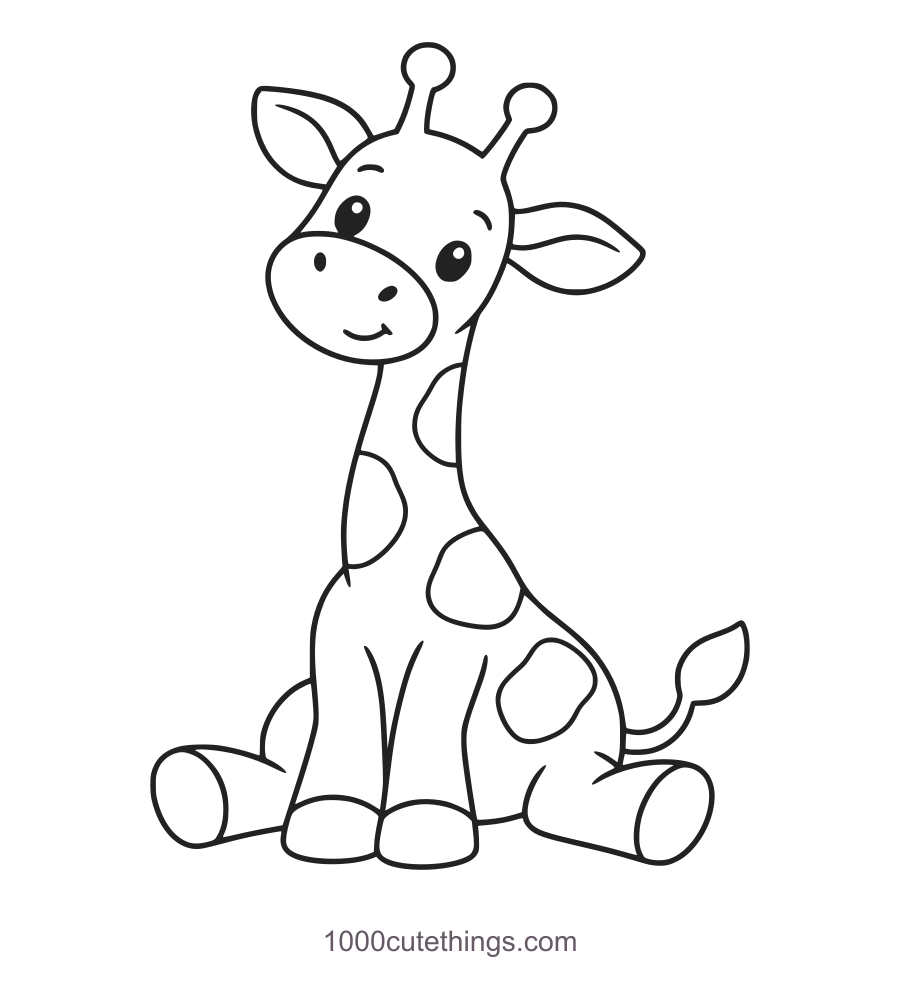
A giraffe with a gentle head tilt
A giraffe with a gentle head tilt in black outline on white
Press Escape or Close to return to the page.
Use the long neck as the main gesture; place a few large patches after the outline.
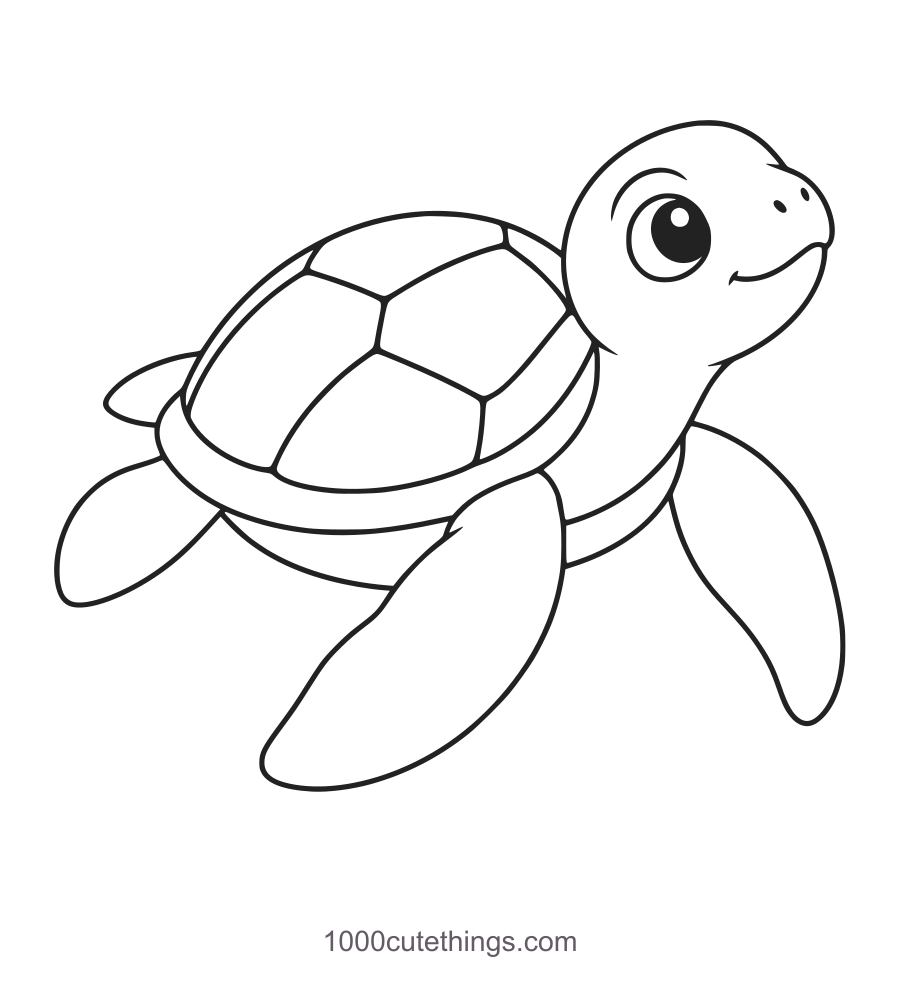
A sea turtle swimming upward
A sea turtle swimming upward in black outline on white
Press Escape or Close to return to the page.
Compare the flippers before adding shell plates; the far pair appears smaller.
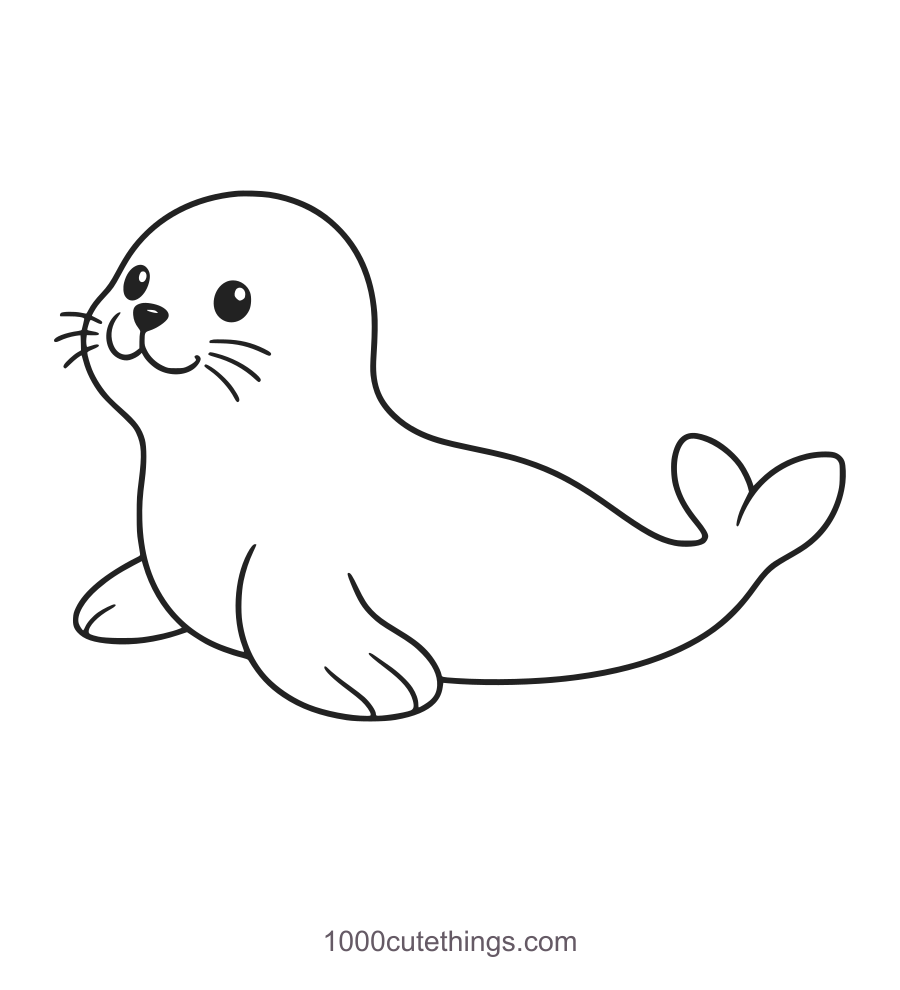
A seal lifting its head
A seal lifting its head in black outline on white
Press Escape or Close to return to the page.
Let the back fall gradually from the raised head into the paired rear flippers.
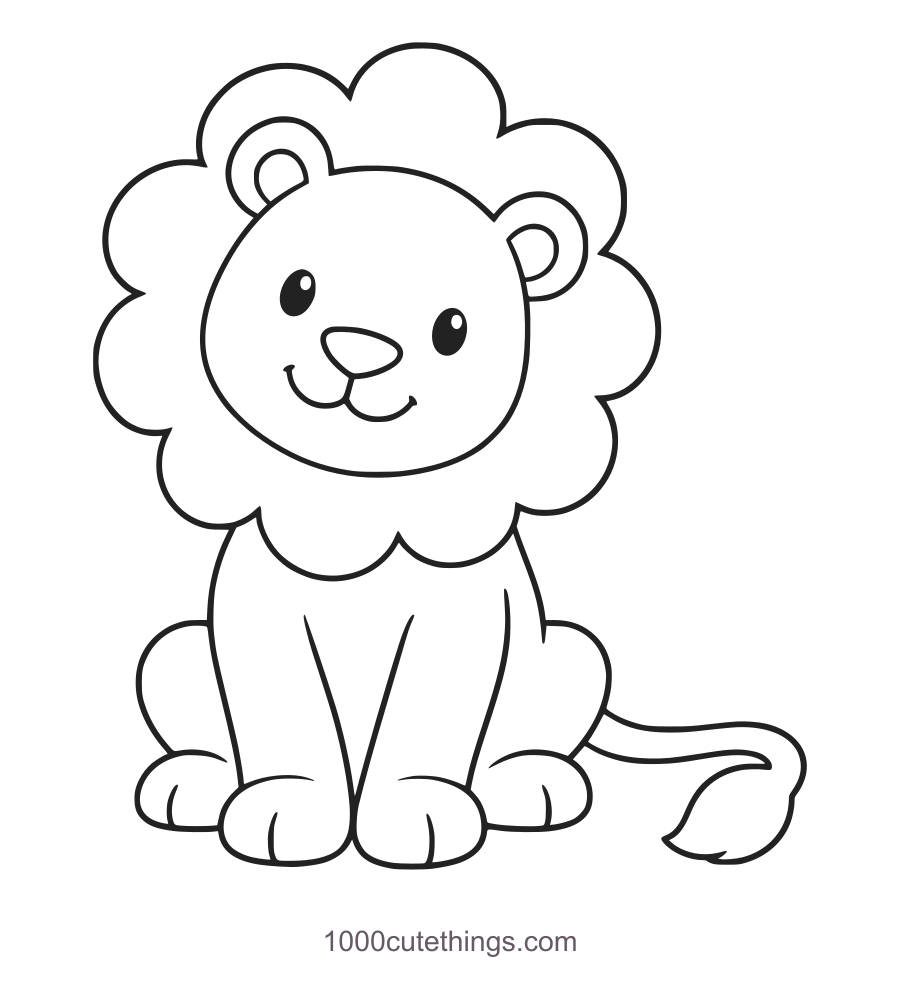
A lion with a lopsided little mane
A lion with a lopsided little mane in black outline on white
Press Escape or Close to return to the page.
Draw the tilted face inside the mane before placing the short seated body.
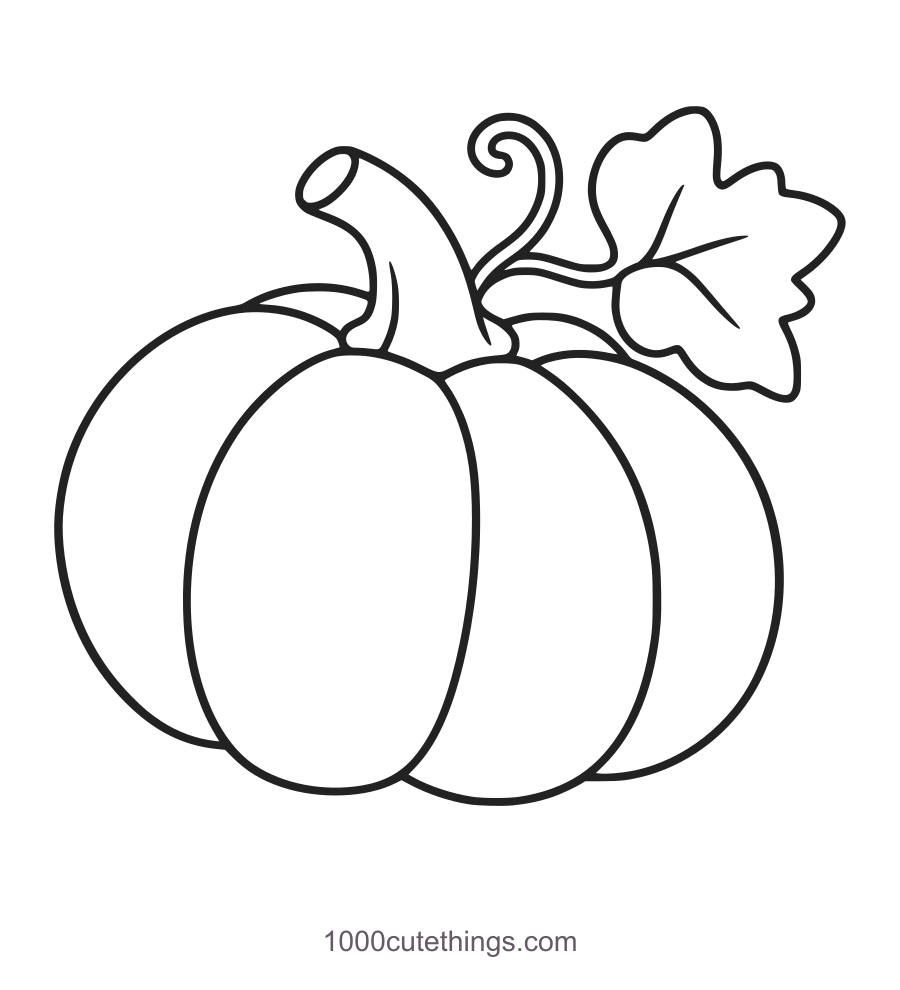
A pumpkin and one broad leaf
A pumpkin and one broad leaf in black outline on white
Press Escape or Close to return to the page.
Keep the center lobe broad and attach the leaf beside the stem.
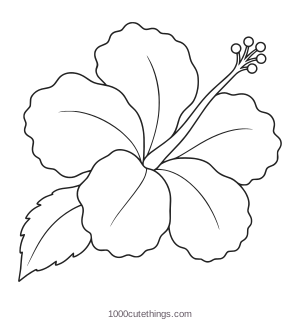
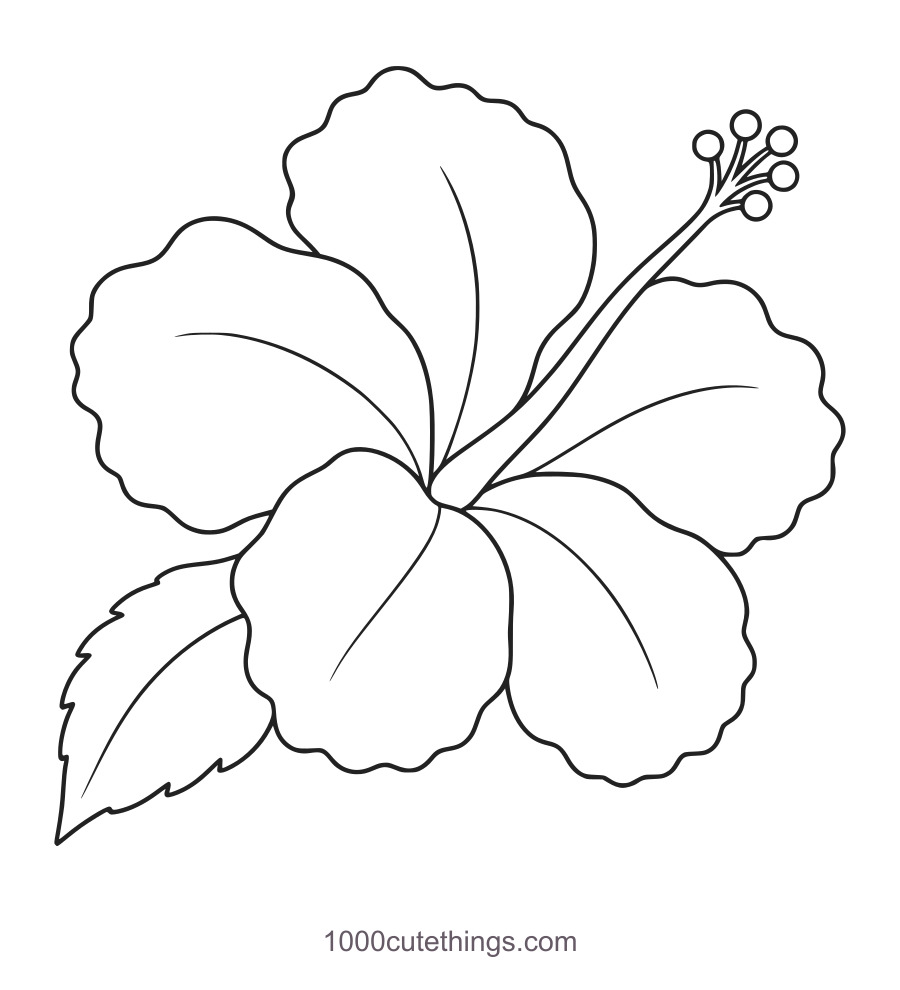
A hibiscus with a small side leaf
A hibiscus with a small side leaf in black outline on white
Press Escape or Close to return to the page.
Mark the center first, then spread five petals around it and extend the stamen outward.
Make the drawing your own
Copy a subject once to understand how it fits together. On your next attempt, change one visible feature while keeping the important connections: fold the rabbit’s other ear, shift the flower’s leaf, turn a smile into a quiet closed mouth, or make the pumpkin wider.
Change one thing at a time. If you alter the head, body, pose and expression together, it becomes harder to work out which choice caused an awkward result. A small series of three related drawings can be more useful than three unrelated attempts.
Try putting a finished doodle to work. A flower can sit beside a short note; a small animal can mark a journal section. If you want a gift to go with it, add a drawing to a card beside a pressed-flower bookmark or tuck the card into a fabric-wrapped book.
Print a lesson or coloring page
PDF links open in a new tab, so you can keep this guide open while you print.
Choose the paper size that matches your printer. The original practice workbook has one page for each of the 24 lessons, with stages, tracing and space for your own attempts. Its matching coloring book has 24 large outlines. Each expandable lesson above also has an individual two-page lesson and coloring PDF.
The separate three-lesson pack contains the tulip, koala and flamingo teaching sequences and their large matching coloring outlines. For all the original and newer coloring collections in one place, use the 58 printable coloring pages.
For these drawing exercises, fitting the page to your printer’s printable area is fine: no part depends on an exact physical scale. Start in grayscale if you want an economical lesson copy. On screen, the gray and plum colors help distinguish the marks; the instructions also describe what to add.
When a drawing looks awkward
The subject feels squeezed. Compare its overall width and height with the example before changing small details. Move the main outline first; a better eye will not fix a body that has run out of room.
The parts look detached. Find the actual join. Does the stem enter the flower? Does the tail disappear behind the body? Extend or shorten that joining contour before adding more decoration.
Two lines run together. Draw the subject larger and widen the white space between the contours. This is especially helpful for a narrow stem, a curled tail or the flamingo’s neck.
The face looks different from the example. Check where both eyes sit relative to the head’s tilt. Place the nose and mouth only after the eye spacing feels settled. Keep the expression simple while you work on the proportions.
Keep your first attempt beside the next one. The useful comparison is whether you can now see and draw the connection that was difficult before.