Inside this story
A good bookmark disappears into a book until you need it. A pressed-flower bookmark has a little extra pleasure: when the pages open, a tiny piece of a garden appears with them.
To make one, arrange completely dried, flattened flowers on a slim card, attach them sparingly and protect the surface with a thin clear covering. The useful design challenge is keeping it flat. Thick stems, heavy decorations and bulky tassels can turn a pretty object into an awkward page marker.
Make a single bookmark first. Once you know how your paper, flowers and covering behave together, repeat the design for gifts or turn the spare petals into something different.
Start with flowers that are ready
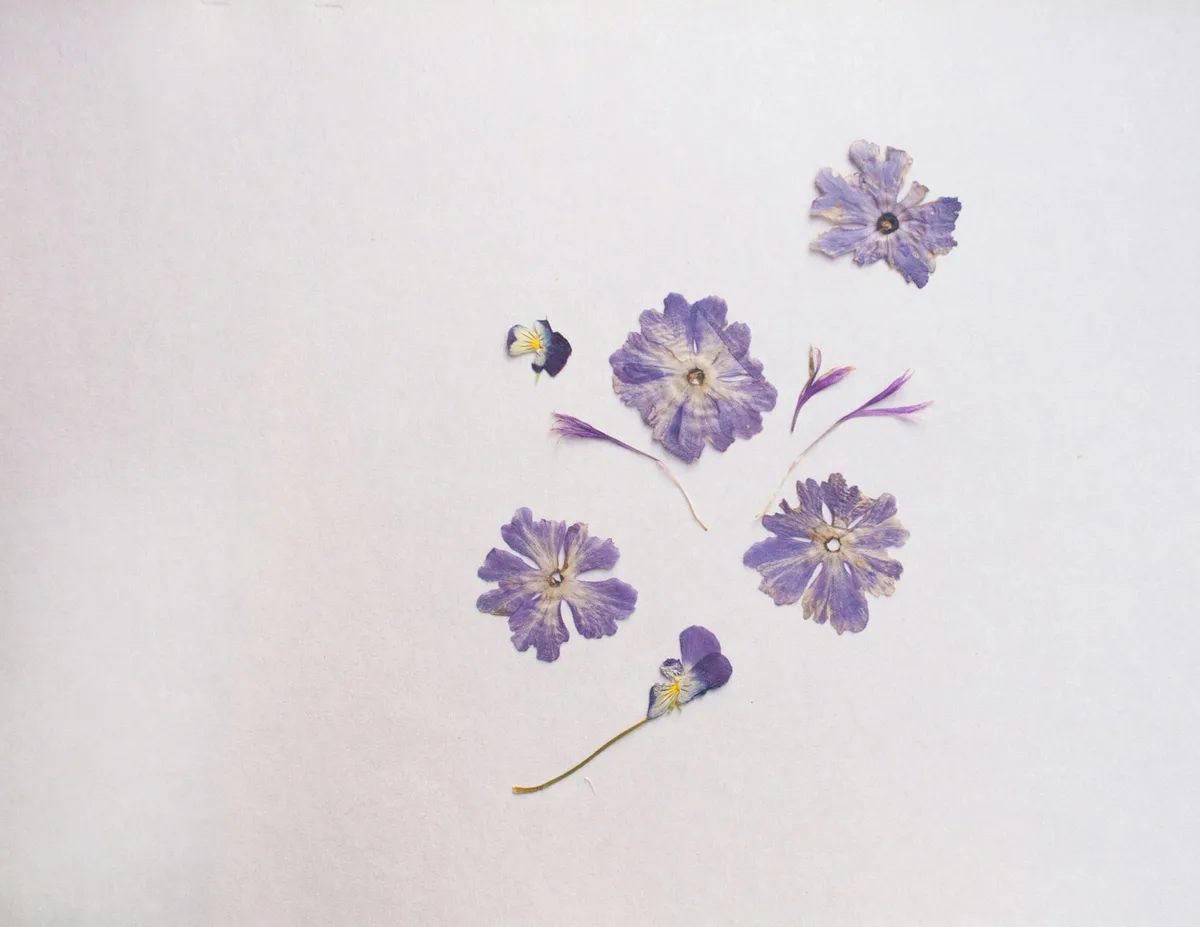
Fresh petals do not belong inside a finished bookmark. Press and dry them first, or use purchased pressed flowers that are ready for crafting. Look for thin material that lies naturally flat; trim away a thick section of stem rather than forcing it under the covering.
The RHS flower-pressing activity explains the book method: plant material sits between absorbent paper under pressure in a warm, dry place. It allows two to four weeks for drying. Treat that as planning time, not a guarantee that a particularly thick bloom will be ready on a chosen date.
Use plants you can identify and are permitted to collect. A few petals from your own flowers are enough for the project. If a piece still feels damp or fleshy, leave it out and continue drying it separately.
Gather a small useful kit
- Fully dried, pressed flowers or leaves, including a spare piece for a test.
- A pencil, ruler and scissors.
- Plain card; start around 2 × 6 inches, or 5 × 15 cm, and adjust to the book.
- A small amount of clear-drying paper-craft adhesive.
- Tweezers or a soft brush for positioning delicate pieces.
- Thin, clear self-adhesive covering film suitable for paper crafts.
- A scrap of backing paper for a layout trial.
Choose card that supports the flowers without becoming stiff and bulky. Before using a precious petal, test the adhesive and covering on an ordinary spare. Check for staining, wrinkling or a cloudy finish after it has dried according to the product instructions.
Three bookmark layouts
One stem, plenty of paper
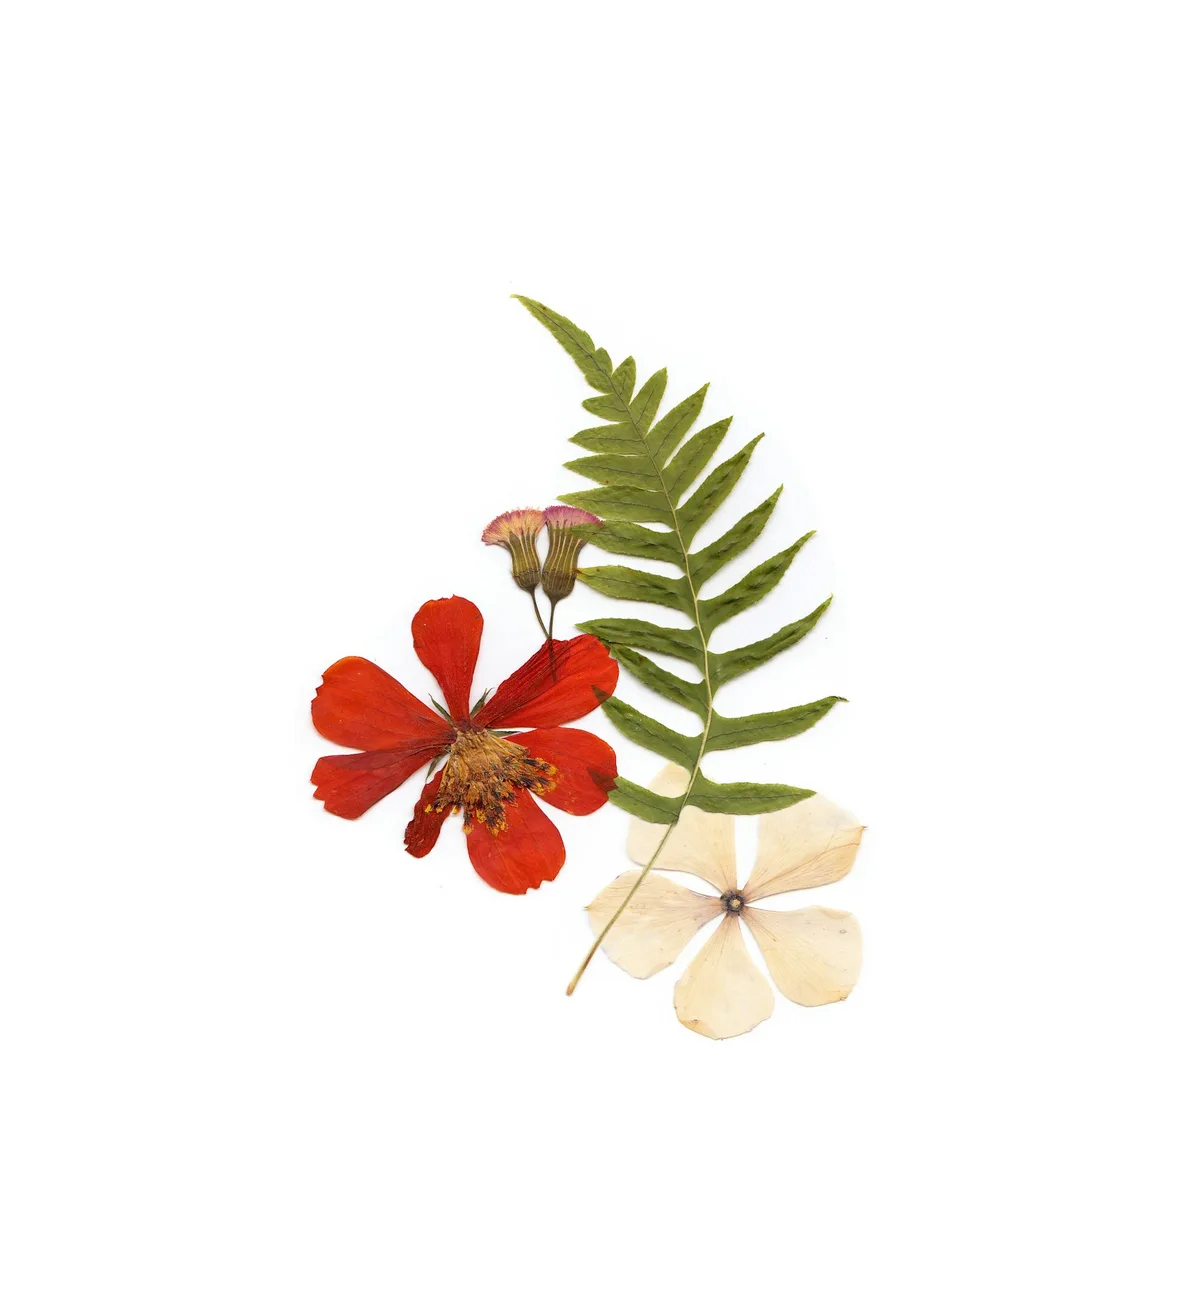
Place a slender stem a little to one side, with the flower in the upper third. Let it lean slightly rather than forcing a ruler-straight position. This is a lovely option for a reader who prefers quiet things, and it leaves space for initials on the reverse.
A pocket-sized meadow
Arrange three small flower heads at different heights near the lower edge. Suggest stems with the real fine stems if they are thin enough, or leave the heads separate as a little floating group. Keep a clear border so the protective film can seal around the design.
A trail of petals
Move a few individual petals diagonally from one corner toward the opposite side. Leave gaps between them. This is especially useful when a pressed flower has broken: you can give the fragments a deliberate arrangement instead of trying to reconstruct the original bloom.
Plan it before the glue
Try the flowers on both cream and white scrap paper. A subtle petal can disappear on one and show its edges beautifully on the other. Make that decision before adding glue.
Make and finish the bookmark
- Cut the card and plan the border. Keep the edge area clear of plant material. Round the corners slightly if you prefer a softer shape.
- Arrange everything dry. Try one of the layouts above, then take a quick reference photo so you can lift the pieces without losing the composition.
- Attach with very little adhesive. Lift one piece at a time. Use only enough to hold it, and avoid soaking the petals. Let it dry fully before covering.
- Cover the front gradually. Following the film instructions, peel back a little backing and smooth from one short edge toward the other. Work slowly; thin petals are easier to place once than to lift repeatedly.
- Protect the reverse and finish the edge. Use the film’s recommended overlap or sealed margin. Do not trim through a flower or cut away all the sealing border.
- Check it in an ordinary book. Close the book gently. The bookmark should lie flat without holding the pages noticeably apart. Reserve thicker experiments for a gift tag or framed piece.
If the film wrinkles, make the next attempt with a smaller section of backing exposed at once. If petals lift, check whether the adhesive had fully dried. If the design feels too thick, simplify it: another clear layer will usually add bulk rather than solve it.
Give it a little meaning
On the reverse, write a short note linked to the recipient: the book you would like to discuss, a place you visited together or the month the flowers came from your garden. A sentence with a specific memory is more personal than a long printed quotation.
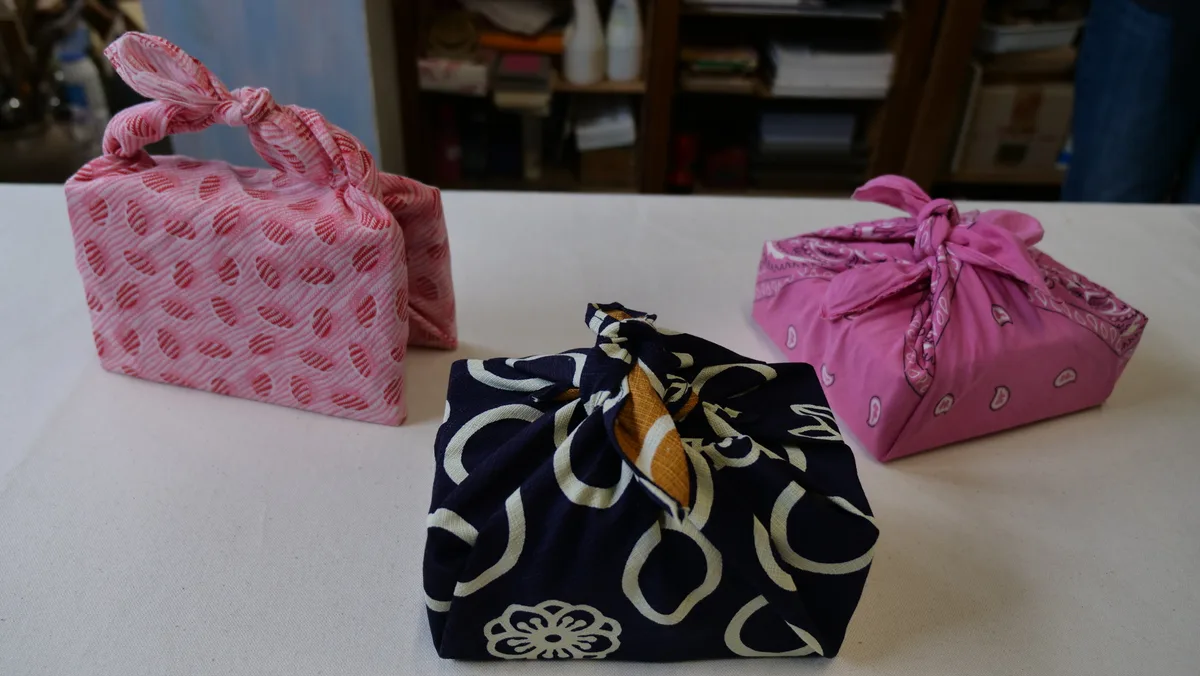
For a book-club gift, make the same layout in several colors and let each reader choose. For a thank-you, slip one into a small card. A flat bookmark also pairs neatly with our fabric gift-wrapping idea when you are giving a book.
Keep a spare petal and a note of the paper and adhesive you used. If you want to make more later, that tiny record is more useful than trying to remember which combination worked.
Pressed flower bookmark questions
Do I need a laminating machine?
No. A thin self-adhesive craft covering is an option. Follow its instructions and test your materials first. Heat lamination is a separate method; do not assume every dried flower or adhesive tolerates it in the same way.
Will the flowers keep their exact color?
Do not plan around that promise. Pressing and later exposure can change their appearance. Store spare pieces away from strong light and choose a composition that still looks attractive if the tones soften.
Can I add ribbon or beads?
A short, flat ribbon at the top can work if it stays outside the closed pages. Keep beads, thick knots and other hard embellishments off the section that sits inside the book.