Inside this story
A decorated cookie gives you a picture. A piñata cookie adds a reveal: open it and discover the little sweets hidden inside. For Halloween, that surprise pairs naturally with a smiling pumpkin, a friendly ghost or a round moon.
The fun is in the idea, but the structure matters. Plan the shape, filling and assembly before decorating. For ingredient quantities, baking temperatures and timing, start with a reliable cookie recipe that suits your occasion.
What makes a cookie a piñata cookie
The basic concept is a small edible container. Front and back pieces enclose a hollow center, leaving space for a filling. Sandra Denneler’s piñata-cookie recipe published by Parade describes a layered construction and credits SheKnows as its source. That is a useful starting point for understanding the mechanism.
Once you understand the hidden compartment, choose the decoration around it. A broad, simple silhouette gives more space to work with than a shape with narrow legs, wings or a delicate tail. The outside should still look appealing before anyone discovers what is inside.
Choose a forgiving Halloween shape
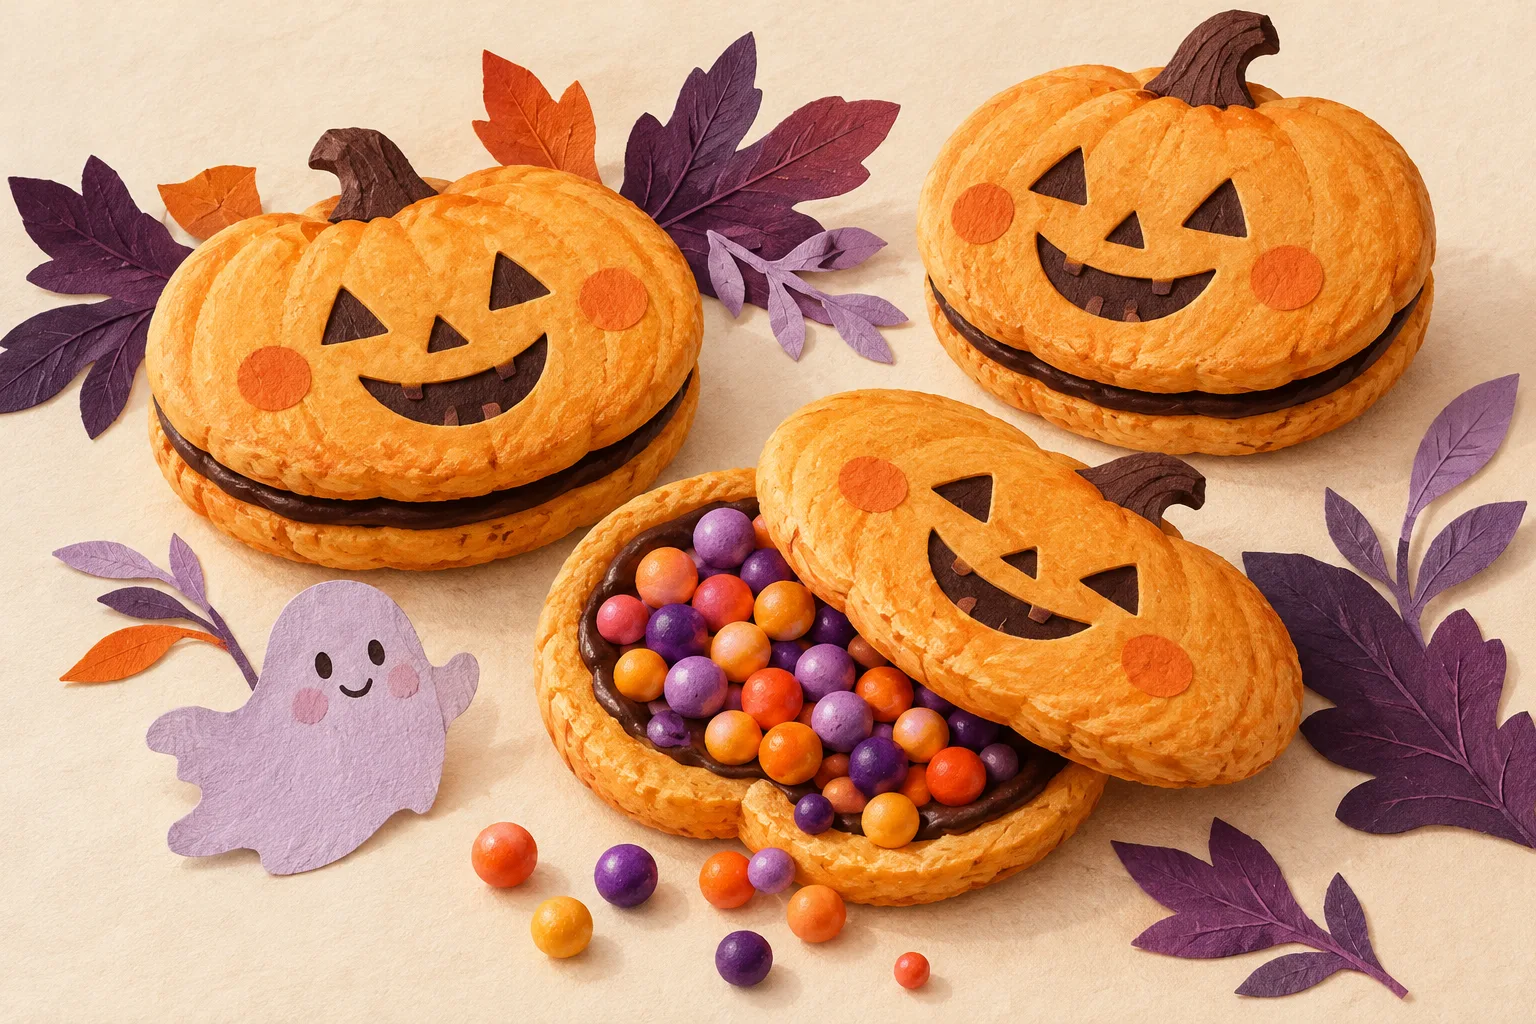
A pumpkin offers a generous round body and an easy face. You can suggest the character with a few features rather than a complicated pattern of icing. Avoid making the stem the part guests have to hold.
A friendly ghost can work as a broad shape with two eyes and a small mouth. Keep any lower scallops wide enough to survive handling. An intricate edge can look lovely in a drawing but become frustrating during assembly.
A moon or simple round monster gives you even more freedom. Change the expression, the color or the wrapping rather than changing the underlying construction every time. A small collection can feel varied without needing five different cutters.
Swipe to explore, or choose an example below.
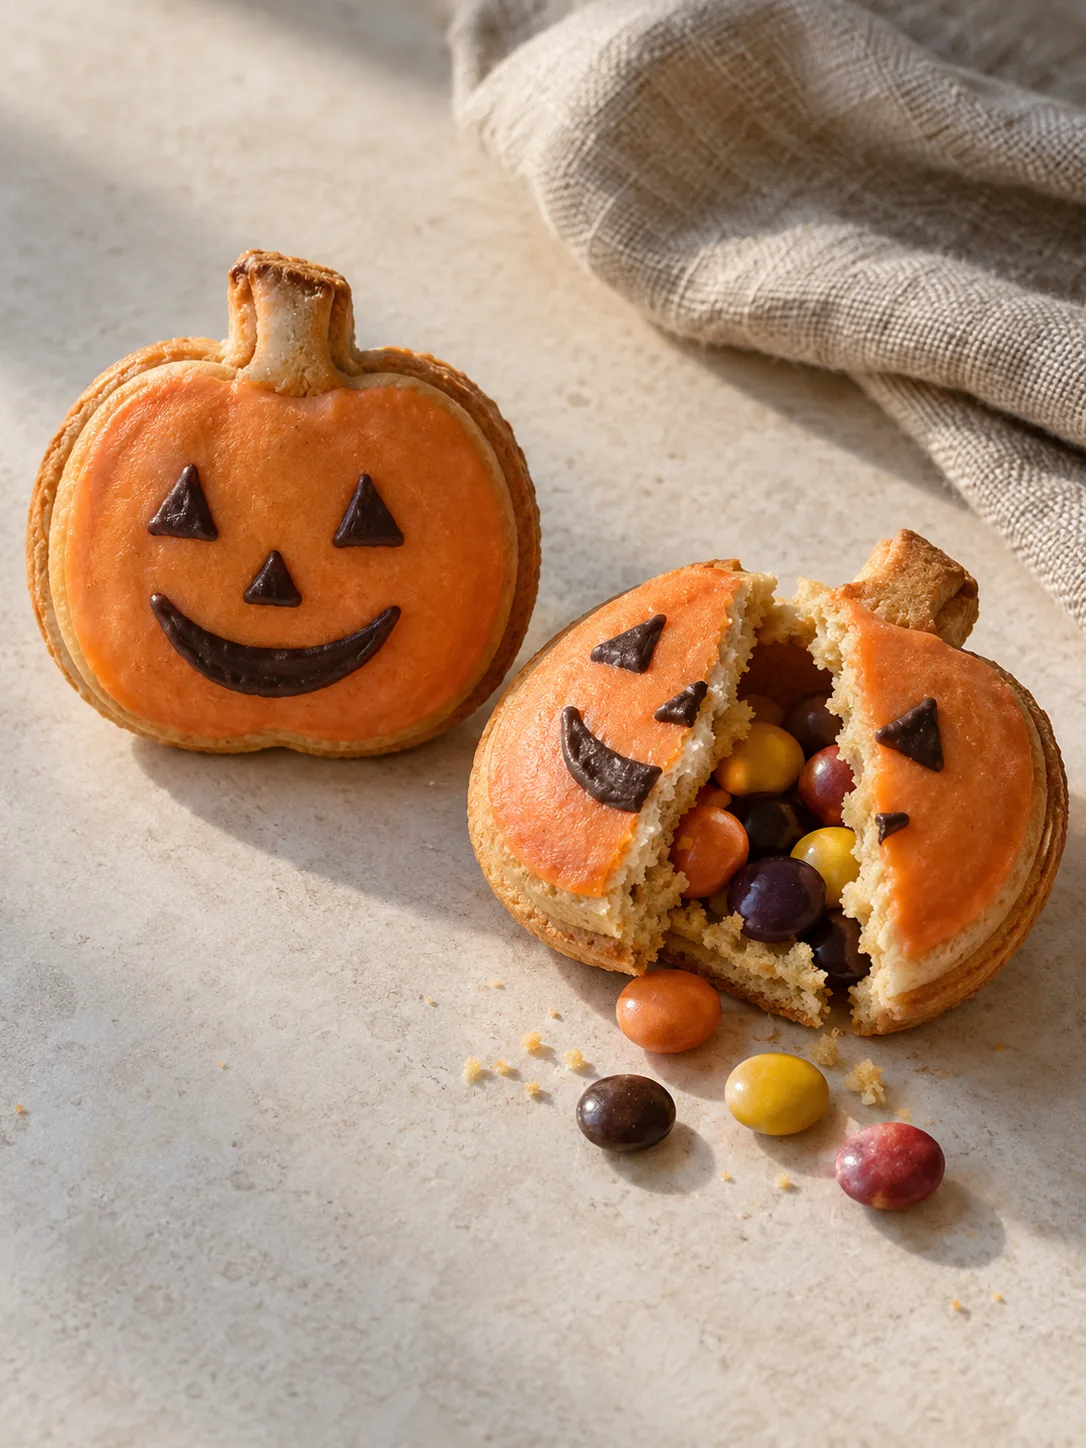
The smiling pumpkin
A broad round body gives the hidden compartment room. Keep the stem short and sturdy, and let a simple face do the decorating.
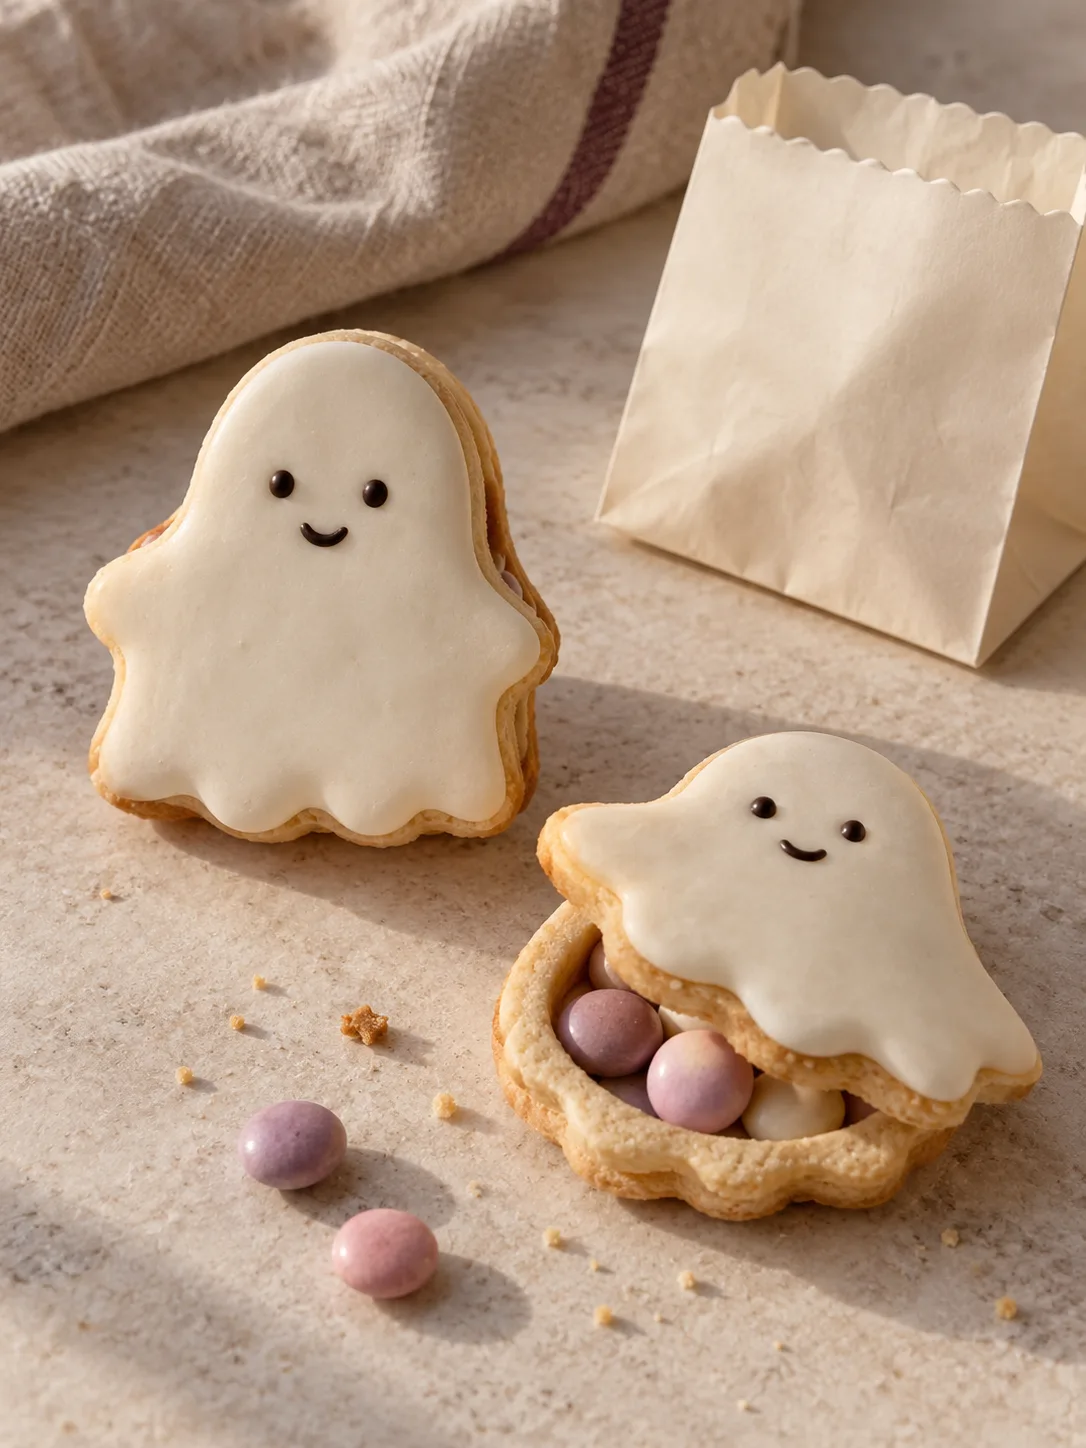
The friendly ghost
Use a generous body and wide lower scallops. The character comes from two eyes and a small smile rather than fragile narrow edges.
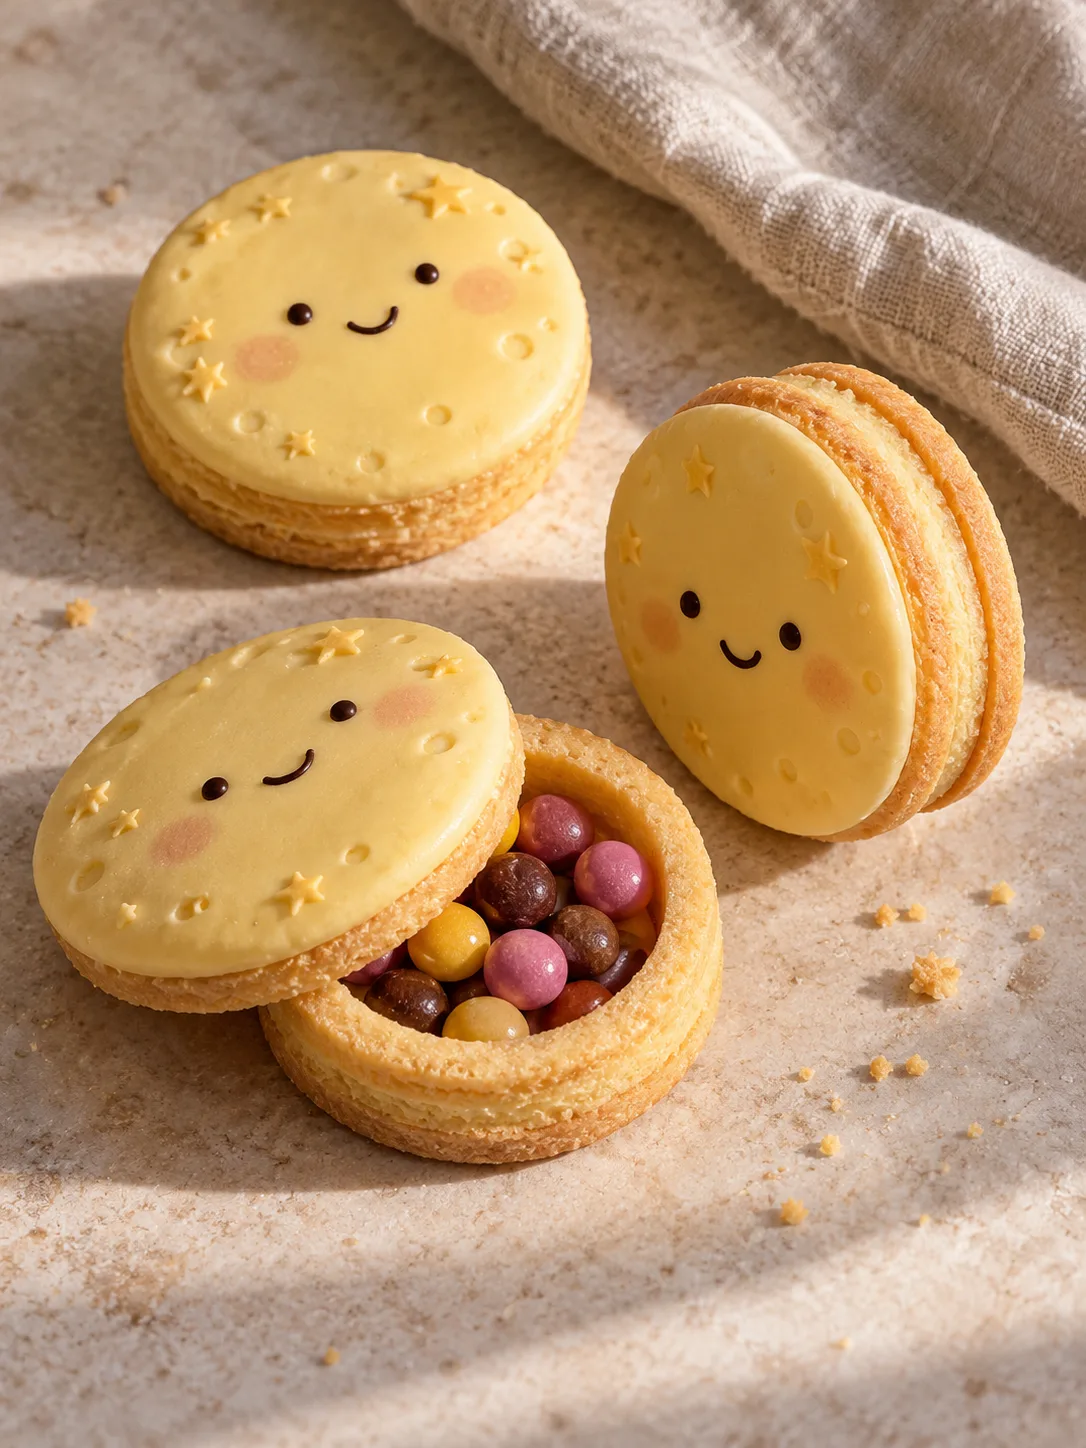
The little moon
A round cutter keeps the structure simple. Change the expression or color while keeping the same roomy shape for the filling.
Plan the assembly before the party
Make one complete sample before preparing a large batch. Check that the pieces align, the filling fits, and the chosen edible adhesive sets firmly enough for the way you plan to serve or package it. Allow the time specified by your recipe rather than assuming a decorative layer is ready because its surface looks dry.
Keep the filling simple and appropriate for the people receiving it. Check ingredient and allergen labels for the cookies, decorations and filling. Small hard sweets are not an appropriate surprise for every age group. Tell guests what is inside; the reveal should be a visual surprise, not a surprise ingredient.
A useful preparation checklist is:
- a tested base recipe and a sturdy shape;
- completely cooled pieces before assembly;
- a trial fit and a small sample filling;
- setting time, storage and serving instructions from the recipe;
- clear ingredient information for guests.
A small celebration with less fuss
Let the cookie be the focal point. A plain paper sleeve, a small handwritten name card and one repeated accent color can be enough. Keep anything that is not edible clearly separate from the food.
If the layered version feels too involved, serve ordinary decorated cookies with a separately wrapped little treat. You keep the playful reveal without turning the whole afternoon into a construction project.