In this guide
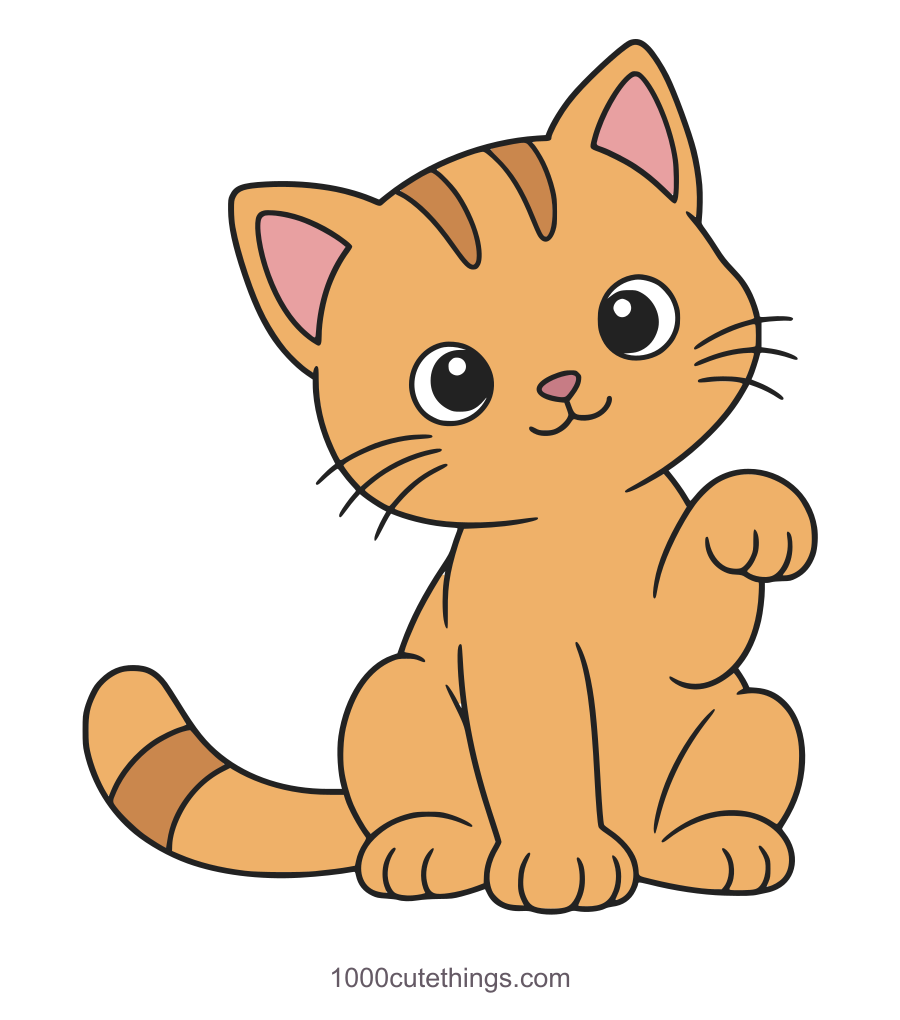
This cute cat sits on broad feet, tips its head and lifts one paw beside its cheek. You will draw the larger outlines first, then place the face and add a few tabby markings. The waving pose has more joins than a simple cat face, so give it a generous patch of paper rather than squeezing it into a tiny corner.
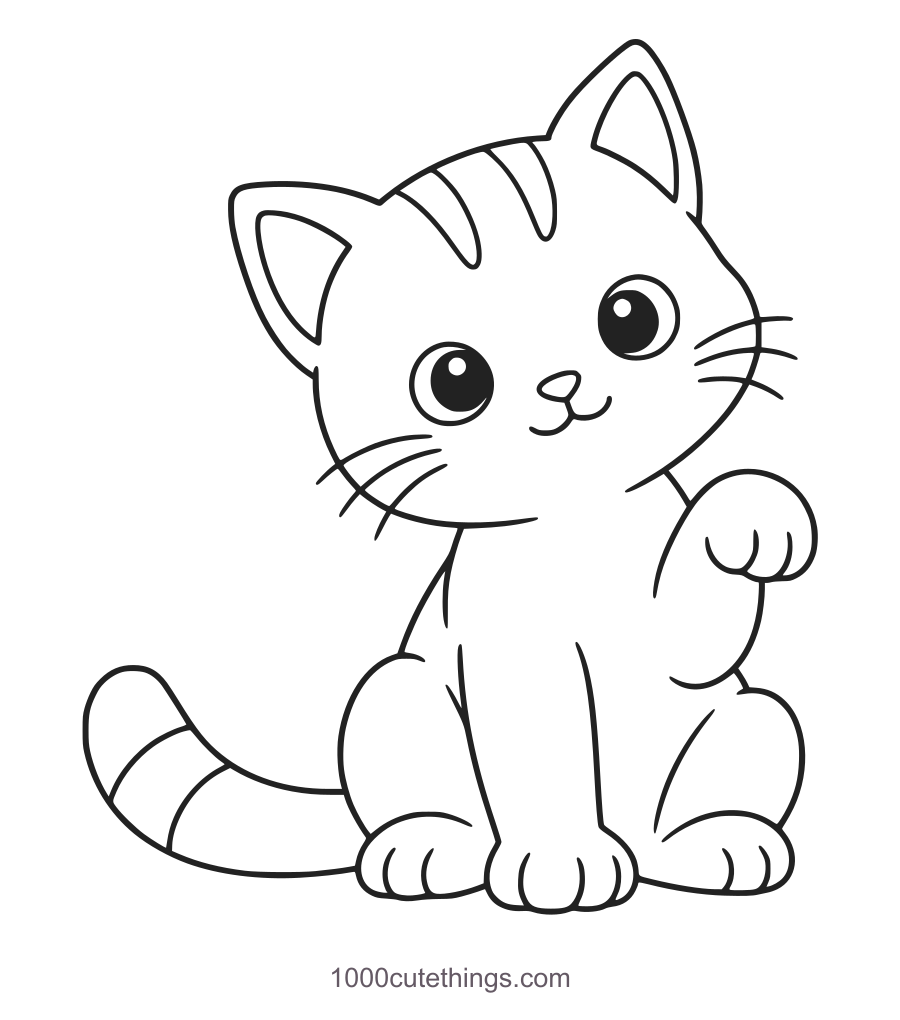
A pencil, ordinary paper and an eraser are enough. A fineliner and colored pencils are optional finishing tools. The twelve panels use the same finished cat throughout; the larger outline and printable sheets show the matching pose.
Plan the head and the wave
Mark the top ear tip and the bottom of the paws lightly. Leave extra room on the left for the tail and on the right for the waving paw. The head leans, but the feet sit along one ground line. Keeping those two decisions separate helps the cat look relaxed rather than as though it is falling sideways.
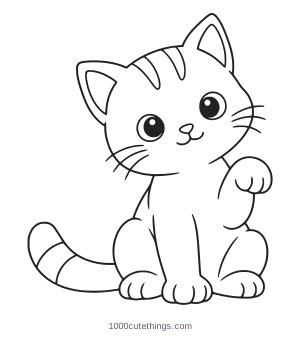
Look at the finished example before starting. The ears are pointed and the cheeks are broad. The raised paw stays beside the head, with white space between them. One foreleg reaches down the front of the body; the hind feet sit on either side of it.
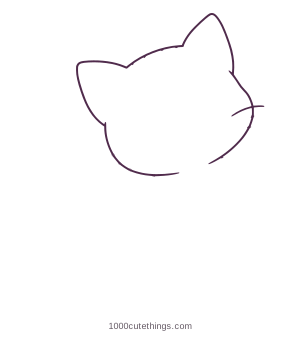
The head outline includes the upper right cheek whisker. The other whiskers arrive with the final markings. Leave the small neck opening where the body will meet the lower-right cheek; it is an intentional join, not a missing section to close with a heavy line.
Moderate / 12 stages / PDF links open in a new tab
A cute cat with a little wave
Press Escape or Close to return to the page.
Draw it step by step
Dark plum lines are new; solid gray lines show what you already drew. Follow the open joins described in each step. Light pencil makes it easier to adjust a join before adding the smaller details.
Step 1: Outline the tilted head and its pointed ears. Include the first right cheek whisker and leave the neck opening.
Press Escape or Close to return to the page.
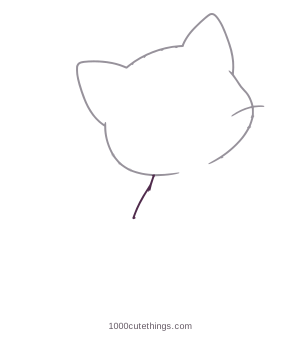
Step 2: Add the short left shoulder and body curve below the head. Leave the bottom open for the haunch.
Press Escape or Close to return to the page.
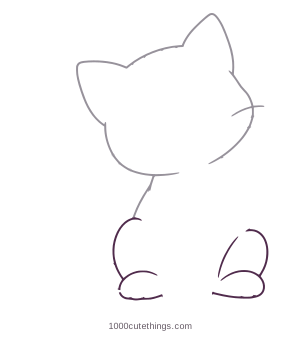
Step 3: Draw the rounded hind legs and both broad hind feet. Keep their bottoms along the same ground line.
Press Escape or Close to return to the page.
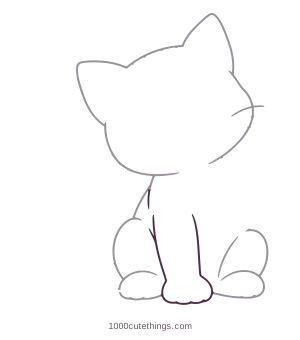
Step 4: Add the long resting foreleg and its front paw, between the hind feet. Leave the small toe details for later.
Press Escape or Close to return to the page.
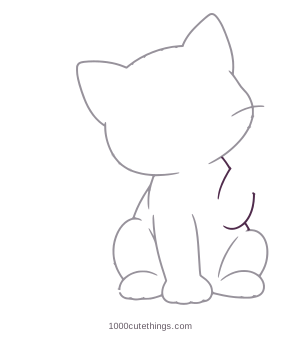
Step 5: Draw the raised forearm beside the right cheek, joining its lower curve to the body. Leave its top open.
Press Escape or Close to return to the page.
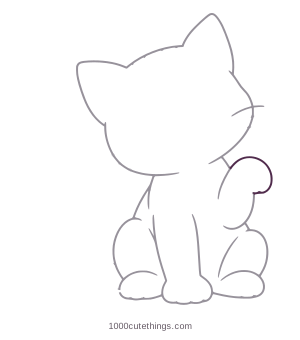
Step 6: Round off the waving paw above that forearm. Keep a clear gap between the paw and the cheek.
Press Escape or Close to return to the page.
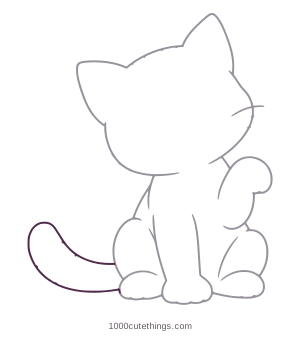
Step 7: Add the broad tail curling left behind the haunch. Stop its base where the hind foot hides it.
Press Escape or Close to return to the page.
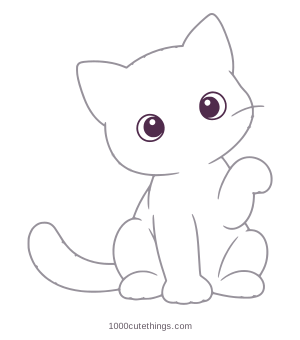
Step 8: Place the two round eyes along the head tilt. Fill the dark pupils while preserving the white highlights.
Press Escape or Close to return to the page.
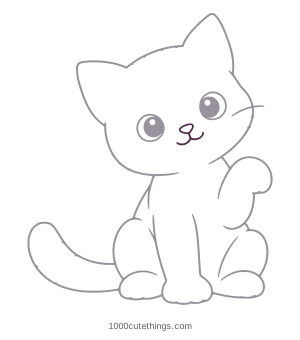
Step 9: Add the small nose between the eyes, then the short connection and two mouth curves below it.
Press Escape or Close to return to the page.
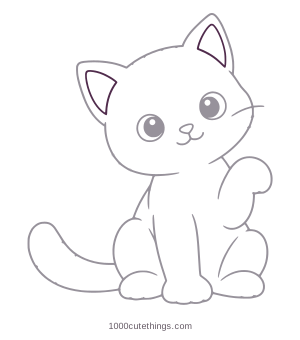
Step 10: Draw one inner-ear shape inside each pointed ear. Leave a visible border between the inner and outer edges.
Press Escape or Close to return to the page.
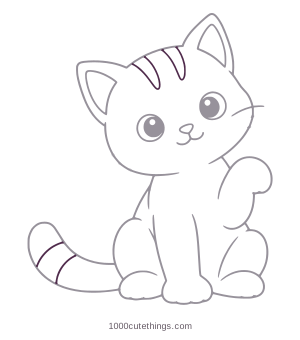
Step 11: Add two forehead stripes and two bands across the tail. Keep each marking inside its outline.
Press Escape or Close to return to the page.
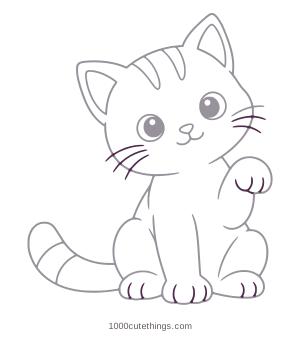
Step 12: Finish with the other whiskers, the waving-paw divisions and short toe marks. Add these little details slowly.
Press Escape or Close to return to the page.
Check the shape. Keep the eyes on the same tilted face line. The waving paw needs space beside the cheek; the tail must join behind the haunch.
Try another version. Try a plain coat or two curved closed eyes while keeping the same seated pose.
Fix the eyes, paws and tail
The eyes look uneven. Compare them along the head’s tilt, not against the bottom of the page. Put in light dots for their centers before drawing the eye outlines. Preserve the small white highlights if you darken the pupils.
The wave touches the cheek. Move the paw outward or draw the whole cat larger. The forearm curves back into the body; a narrow gap between the head and paw makes that connection easier to see.
The feet look detached. Follow each outer contour from the haunch into its foot before adding the toe marks. Keep the central foreleg in front of the lower body. Do not draw a new horizontal body edge across it.
The tail seems stuck on. Let its base disappear behind the haunch and foot. Its broad leftward curve is more useful than a tightly wound spiral in this pose. Add the bands after the tail outline is settled.
Color the cat or make a second version
Try a warm orange coat with a cream muzzle, or keep the coat plain and color only the inner ears. You do not need to fill every area. Use the outline on the blank outline page in the printable pack when you want to experiment with palettes without redrawing the cat.
For a new drawing, change one feature first: close both eyes into gentle curves, leave off the stripes, or lower the wave slightly. Keep the main head, body and paw joins until the pose feels familiar. A small series of cats with different expressions can become a set of journal markers or a friendly note.
Print and practise
Choose A4 or US Letter to match your paper. The first three pages contain twelve teaching panels and short instructions. Page four is the large blank coloring outline, and page five shows a colored example. Fit-to-page is suitable because this exercise does not depend on an exact physical scale.
Try the sequence once while looking at each panel, then draw a second cat with only the finished outline beside you. Compare the position of the ears, the gap beside the wave and the paws’ ground line. Adjust one of those larger relationships before adding extra fur details.
For another animal pose, try the resting puppy lesson or the published koala drawing lesson. The drawing collection has more subjects, and the coloring collection has their printable outlines.
One color idea
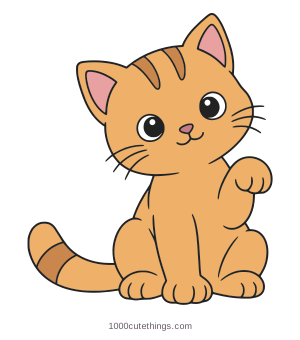
Here is one way to color the finished drawing. The pose and outlines match the lesson; this palette is optional, so choose the colors you like.
Colored example: A cute cat with a little wave
Press Escape or Close to return to the page.