
In this guide


A decorated green Christmas tree with a star, garlands and five baubles over a subtle tree pattern.
This Christmas tree begins with a five-point star. Four softly scalloped tiers grow wider underneath it, then a short trunk anchors the base. Three garland ribbons cross the foliage, and five baubles fill the larger spaces between them.
The Detailed guide has 33 small actions. Each action shows the whole drawing beside a closer view of the new lines. The 10-stage Quick guide combines those same actions into larger checkpoints. Both finish with exactly the same tree, blank outline and optional color reference.
Make room for the tree
Use a pencil, an eraser and plain paper. Leave more room below the star than above it: most of the drawing is foliage. The broadest tier reaches much farther sideways than the star, so avoid putting the topper close to a side margin.
Before beginning, look at the finished tree in the coloring pair near the end of the guide. Notice three relationships: the star and trunk share a rough center line; each lower tier is wider; and the baubles sit inside the foliage rather than on its outer tips. You can lightly mark the overall height and width on your own paper before starting. Those placement marks are optional and should be erased before you finish.
Draw the outer tiers lightly. Some small spaces in the garlands are deliberately reserved for bauble caps; the later decoration steps fill them. Follow the complete whole view as well as the closer view so you can distinguish a reserved space from a misplaced line.
Draw the tree
Four scalloped foliage tiers grow wider toward the bottom. The star stays above the narrow top and the trunk sits below the broadest tier.
Detailed guide
Add only the dark plum lines in each step. Gray lines show earlier work. The whole view keeps the new part in position; the closer view shows its shape. Draw lightly in pencil first. No temporary lines are part of the finished outline.
PDFs open in a new tab. Choose A4 or US Letter to match your paper. The Detailed pack includes 33 actions, a blank outline and the matching color reference.
Step 1 of 33
Start the star at its top
Draw the top point and the two upper shoulders of the star. Leave the lower sides open.
Whole drawing

Step 1, whole drawing: Draw the top point and the two upper shoulders of the star. Leave the lower sides open.
This step, closer

Step 1, closer: Draw the top point and the two upper shoulders of the star. Leave the lower sides open.
Step 2 of 33
Bring down the left star side
Follow the left arm down to its lower point. Stop before the inward notch.
Whole drawing

Step 2, whole drawing: Follow the left arm down to its lower point. Stop before the inward notch.
This step, closer
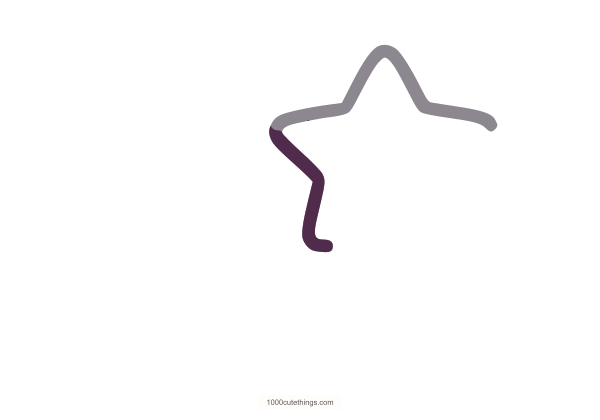
Step 2, closer: Follow the left arm down to its lower point. Stop before the inward notch.
Step 3 of 33
Bring down the right star side
Mirror the broad direction on the right, keeping the star wide enough to see.
Whole drawing

Step 3, whole drawing: Mirror the broad direction on the right, keeping the star wide enough to see.
This step, closer

Step 3, closer: Mirror the broad direction on the right, keeping the star wide enough to see.
Step 4 of 33
Close the star underneath
Join the two lower points with a shallow inward V. The star is now a closed shape.
Whole drawing

Step 4, whole drawing: Join the two lower points with a shallow inward V. The star is now a closed shape.
This step, closer

Step 4, closer: Join the two lower points with a shallow inward V. The star is now a closed shape.
Step 5 of 33
Sweep down the first left branch
From the star’s lower left, curve outward and down to the first rounded branch tip.
Whole drawing

Step 5, whole drawing: From the star’s lower left, curve outward and down to the first rounded branch tip.
This step, closer

Step 5, closer: From the star’s lower left, curve outward and down to the first rounded branch tip.
Step 6 of 33
Sweep down the first right branch
Begin beneath the star’s right side and curve out to the matching branch tip. Turn back slightly underneath.
Whole drawing
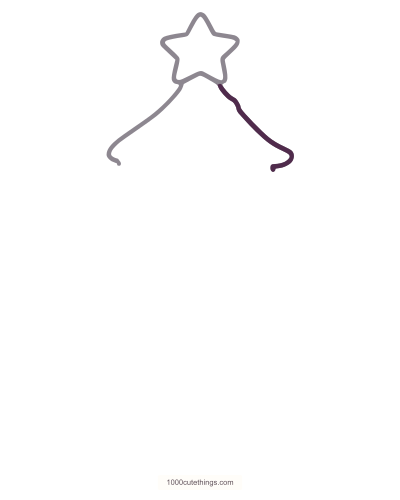
Step 6, whole drawing: Begin beneath the star’s right side and curve out to the matching branch tip. Turn back slightly underneath.
This step, closer

Step 6, closer: Begin beneath the star’s right side and curve out to the matching branch tip. Turn back slightly underneath.
Step 7 of 33
Widen the next tier on the left
Continue the left edge down and outward to the second rounded tip. Keep this tip farther from the center.
Whole drawing
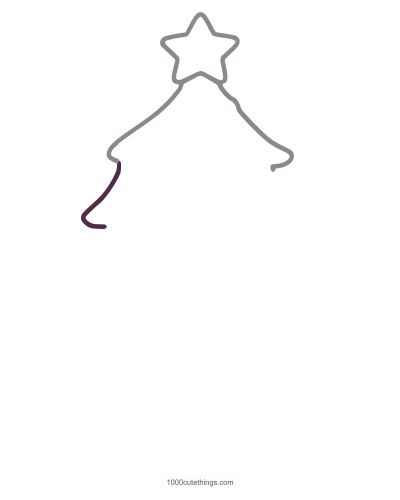
Step 7, whole drawing: Continue the left edge down and outward to the second rounded tip. Keep this tip farther from the center.
This step, closer

Step 7, closer: Continue the left edge down and outward to the second rounded tip. Keep this tip farther from the center.
Step 8 of 33
Widen the next tier on the right
Continue the right edge to the second tip and turn it gently inward underneath.
Whole drawing
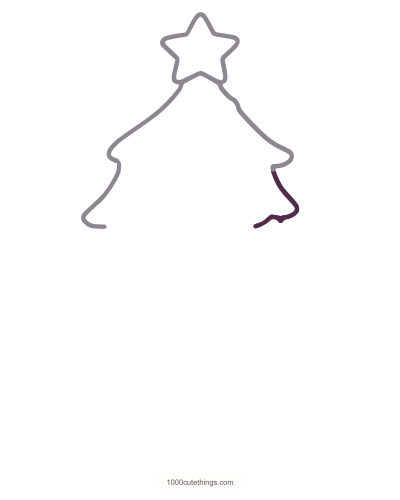
Step 8, whole drawing: Continue the right edge to the second tip and turn it gently inward underneath.
This step, closer

Step 8, closer: Continue the right edge to the second tip and turn it gently inward underneath.
Step 9 of 33
Add the left scallops
Draw the left half of the second tier’s soft scalloped lower edge.
Whole drawing
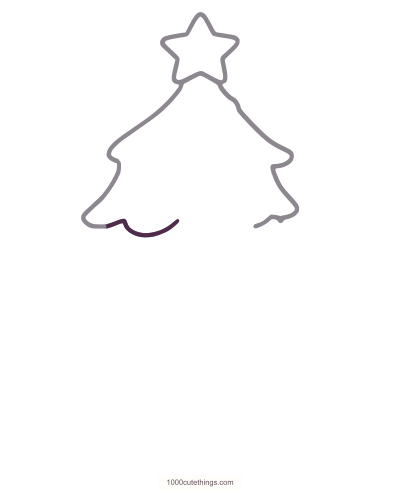
Step 9, whole drawing: Draw the left half of the second tier’s soft scalloped lower edge.
This step, closer

Step 9, closer: Draw the left half of the second tier’s soft scalloped lower edge.
Step 10 of 33
Finish that scalloped edge
Continue the scallops across to the right. Use broad curves rather than many tiny bumps.
Whole drawing
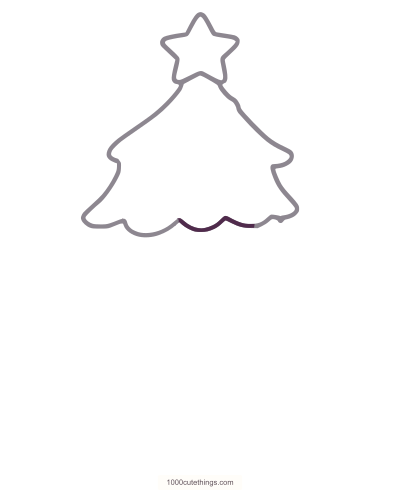
Step 10, whole drawing: Continue the scallops across to the right. Use broad curves rather than many tiny bumps.
This step, closer

Step 10, closer: Continue the scallops across to the right. Use broad curves rather than many tiny bumps.
Step 11 of 33
Add the third left branch
Make another outward sweep on the left, reaching farther than the tier above.
Whole drawing
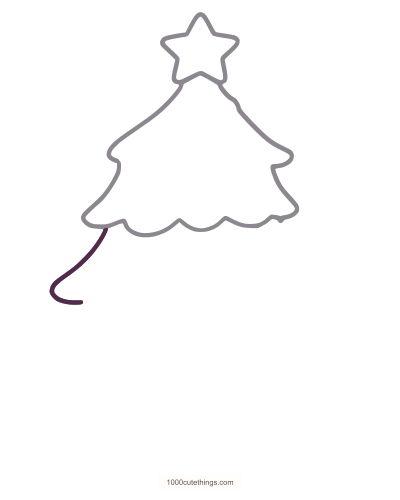
Step 11, whole drawing: Make another outward sweep on the left, reaching farther than the tier above.
This step, closer

Step 11, closer: Make another outward sweep on the left, reaching farther than the tier above.
Step 12 of 33
Add the third right branch
Curve outward on the right, then turn back at the rounded tip.
Whole drawing
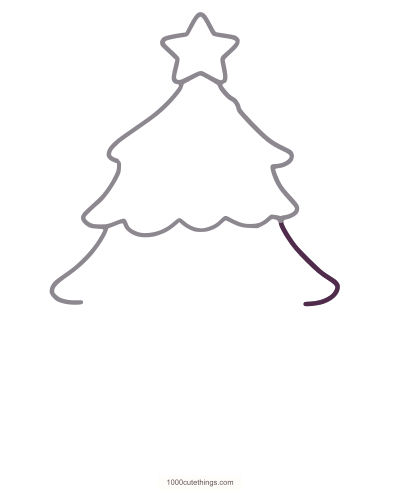
Step 12, whole drawing: Curve outward on the right, then turn back at the rounded tip.
This step, closer

Step 12, closer: Curve outward on the right, then turn back at the rounded tip.
Step 13 of 33
Round the third tier underneath
Draw the left half of its scalloped lower edge. Leave room below for the broadest tier.
Whole drawing
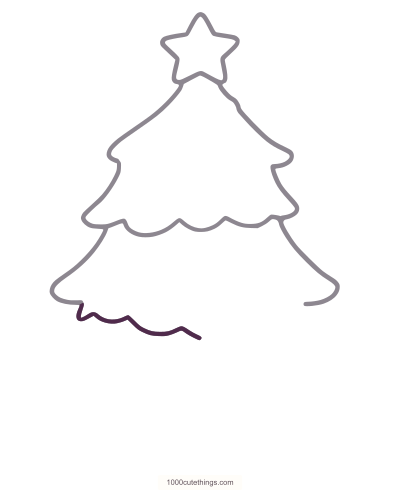
Step 13, whole drawing: Draw the left half of its scalloped lower edge. Leave room below for the broadest tier.
This step, closer

Step 13, closer: Draw the left half of its scalloped lower edge. Leave room below for the broadest tier.
Step 14 of 33
Join the right-hand scallops
Complete this tier’s lower edge across the right half.
Whole drawing
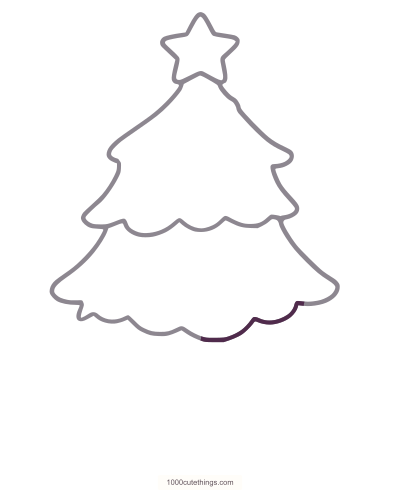
Step 14, whole drawing: Complete this tier’s lower edge across the right half.
This step, closer

Step 14, closer: Complete this tier’s lower edge across the right half.
Step 15 of 33
Make the broad lower left side
Sweep out to the lowest left tip, then round the first part of the base.
Whole drawing
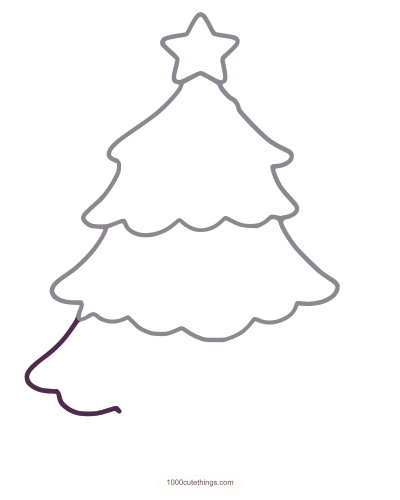
Step 15, whole drawing: Sweep out to the lowest left tip, then round the first part of the base.
This step, closer

Step 15, closer: Sweep out to the lowest left tip, then round the first part of the base.
Step 16 of 33
Make the broad lower right side
Sweep down to the lowest right tip and follow the base inward.
Whole drawing
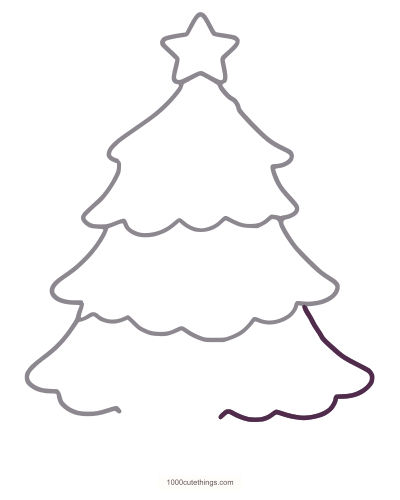
Step 16, whole drawing: Sweep down to the lowest right tip and follow the base inward.
This step, closer

Step 16, closer: Sweep down to the lowest right tip and follow the base inward.
Step 17 of 33
Join the base on the left
Add the small lower curves just left of the trunk position.
Whole drawing
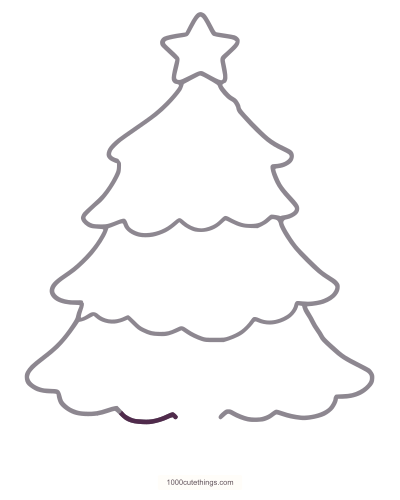
Step 17, whole drawing: Add the small lower curves just left of the trunk position.
This step, closer

Step 17, closer: Add the small lower curves just left of the trunk position.
Step 18 of 33
Join the base at the center
Draw the central scallop above the trunk, joining the remaining foliage edge.
Whole drawing
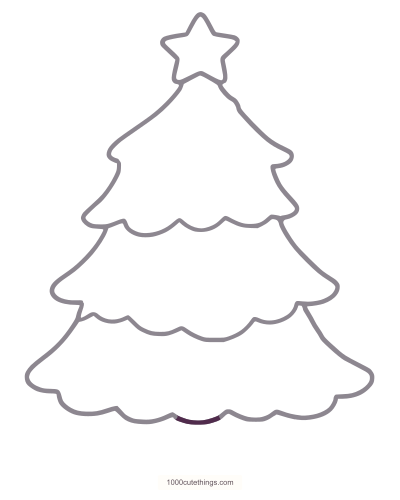
Step 18, whole drawing: Draw the central scallop above the trunk, joining the remaining foliage edge.
This step, closer

Step 18, closer: Draw the central scallop above the trunk, joining the remaining foliage edge.
Step 19 of 33
Add the short trunk
Drop a short side below the foliage, curve across the bottom and bring the other side up.
Whole drawing
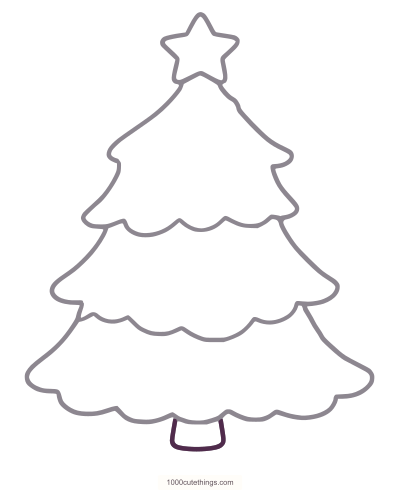
Step 19, whole drawing: Drop a short side below the foliage, curve across the bottom and bring the other side up.
This step, closer
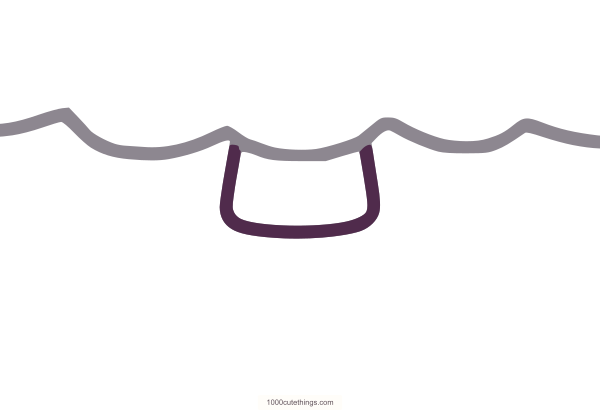
Step 19, closer: Drop a short side below the foliage, curve across the bottom and bring the other side up.
Step 20 of 33
Start the upper garland
Curve a long line diagonally across the upper foliage, following the direction shown.
Whole drawing
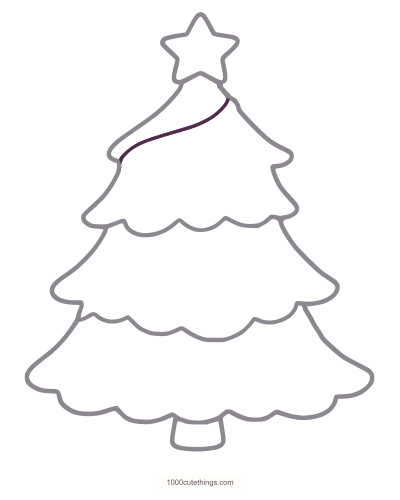
Step 20, whole drawing: Curve a long line diagonally across the upper foliage, following the direction shown.
This step, closer

Step 20, closer: Curve a long line diagonally across the upper foliage, following the direction shown.
Step 21 of 33
Give the upper garland its width
Add the second edge below the first. Join the short section at its left end.
Whole drawing
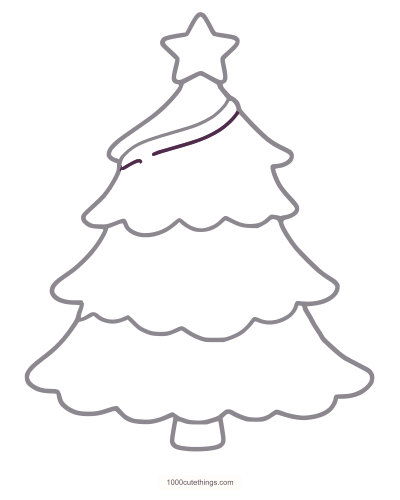
Step 21, whole drawing: Add the second edge below the first. Join the short section at its left end.
This step, closer

Step 21, closer: Add the second edge below the first. Join the short section at its left end.
Step 22 of 33
Start the middle garland
Sweep another gentle diagonal across the middle of the tree.
Whole drawing
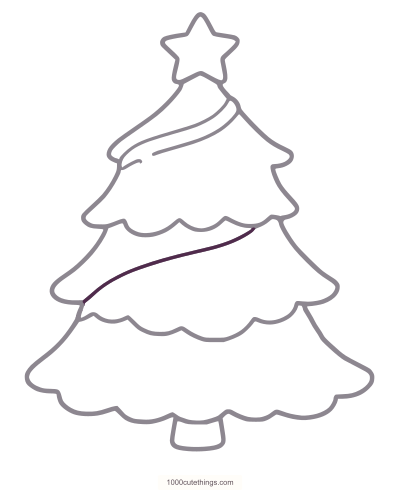
Step 22, whole drawing: Sweep another gentle diagonal across the middle of the tree.
This step, closer
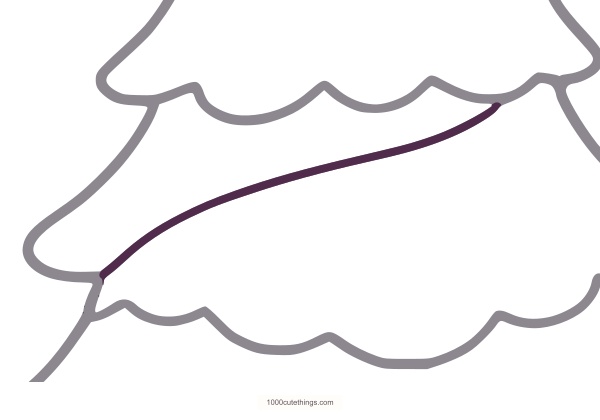
Step 22, closer: Sweep another gentle diagonal across the middle of the tree.
Step 23 of 33
Close the middle ribbon
Draw its second edge, leaving the small bauble opening shown in the center.
Whole drawing
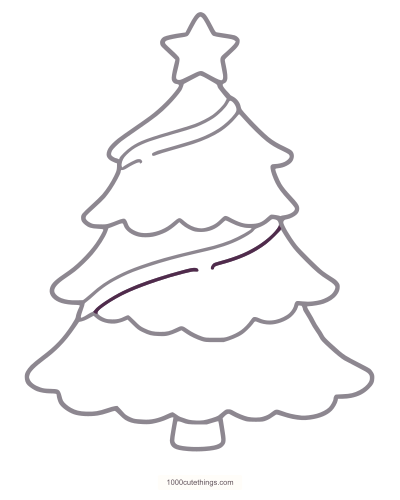
Step 23, whole drawing: Draw its second edge, leaving the small bauble opening shown in the center.
This step, closer
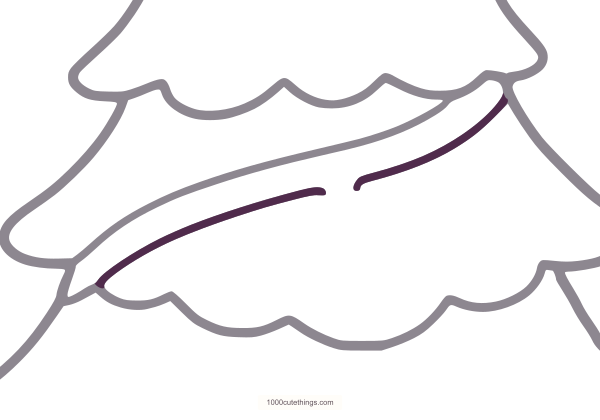
Step 23, closer: Draw its second edge, leaving the small bauble opening shown in the center.
Step 24 of 33
Start the lower garland
Draw a broad diagonal across the lowest tier, leaving plenty of white space around it.
Whole drawing
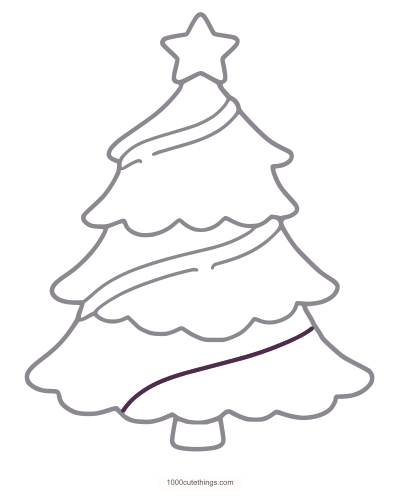
Step 24, whole drawing: Draw a broad diagonal across the lowest tier, leaving plenty of white space around it.
This step, closer
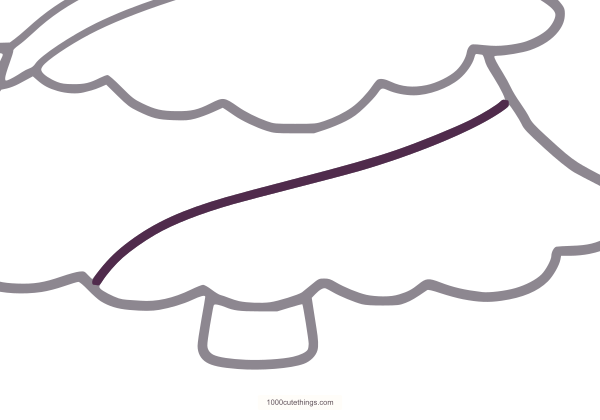
Step 24, closer: Draw a broad diagonal across the lowest tier, leaving plenty of white space around it.
Step 25 of 33
Finish the lower ribbon
Add its lower edge in the visible sections. It passes behind the right bauble position.
Whole drawing
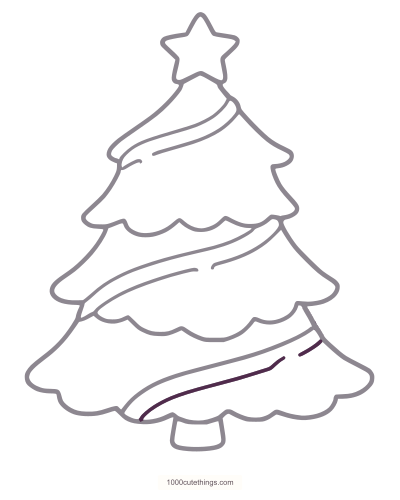
Step 25, whole drawing: Add its lower edge in the visible sections. It passes behind the right bauble position.
This step, closer
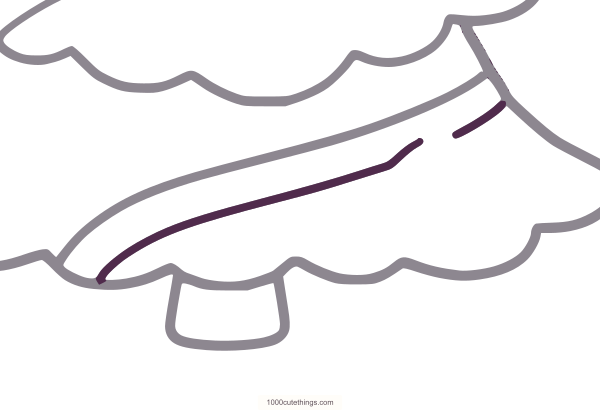
Step 25, closer: Add its lower edge in the visible sections. It passes behind the right bauble position.
Step 26 of 33
Place the upper left bauble cap
Draw the small rounded cap just below the first garland on the left.
Whole drawing
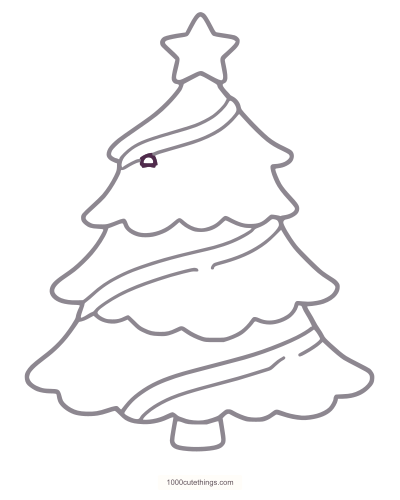
Step 26, whole drawing: Draw the small rounded cap just below the first garland on the left.
This step, closer
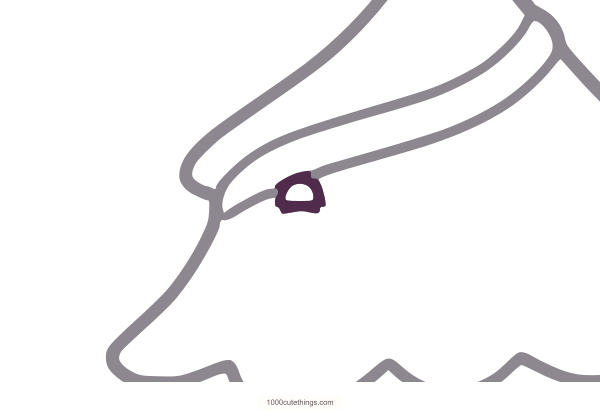
Step 26, closer: Draw the small rounded cap just below the first garland on the left.
Step 27 of 33
Round the first bauble
Close a large circle beneath that cap. Keep the center empty for coloring.
Whole drawing
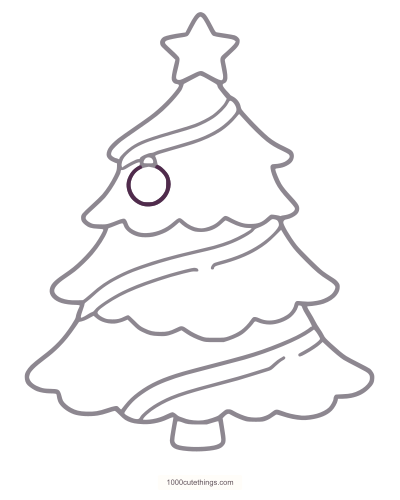
Step 27, whole drawing: Close a large circle beneath that cap. Keep the center empty for coloring.
This step, closer
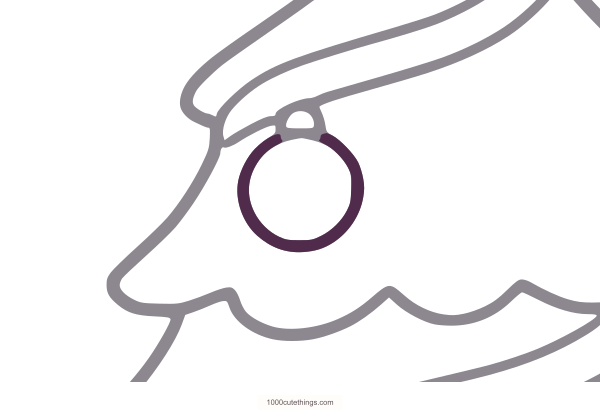
Step 27, closer: Close a large circle beneath that cap. Keep the center empty for coloring.
Step 28 of 33
Add the upper right cap
Draw a small inverted U above the right-hand bauble position.
Whole drawing
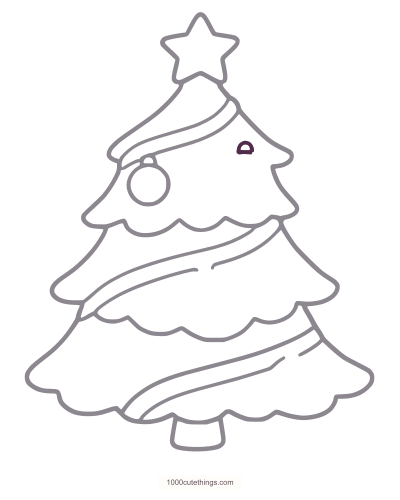
Step 28, whole drawing: Draw a small inverted U above the right-hand bauble position.
This step, closer

Step 28, closer: Draw a small inverted U above the right-hand bauble position.
Step 29 of 33
Round the second bauble
Close the right-hand circle below its cap.
Whole drawing
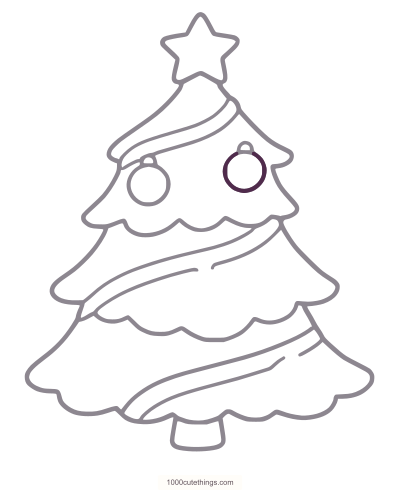
Step 29, whole drawing: Close the right-hand circle below its cap.
This step, closer
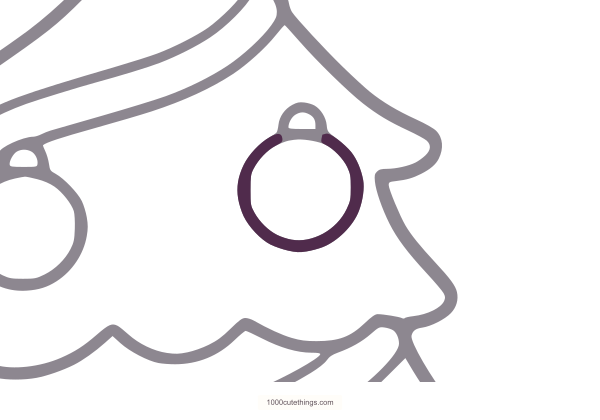
Step 29, closer: Close the right-hand circle below its cap.
Step 30 of 33
Add the middle cap
Draw the small cap at the break in the middle garland.
Whole drawing
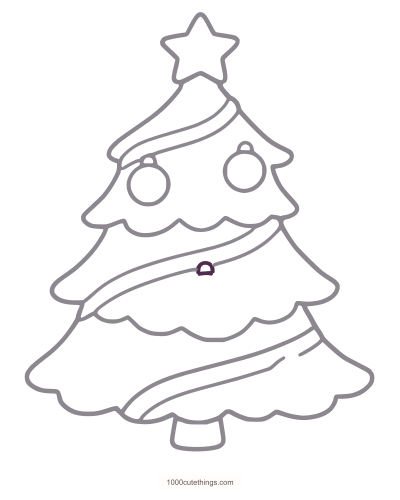
Step 30, whole drawing: Draw the small cap at the break in the middle garland.
This step, closer
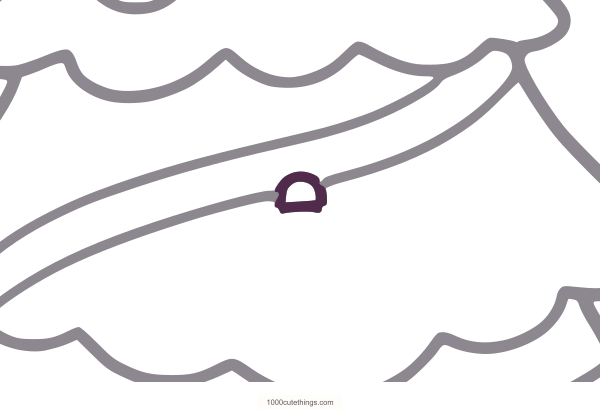
Step 30, closer: Draw the small cap at the break in the middle garland.
Step 31 of 33
Round the middle bauble
Close a circle under that cap, leaving white space above the scallops.
Whole drawing
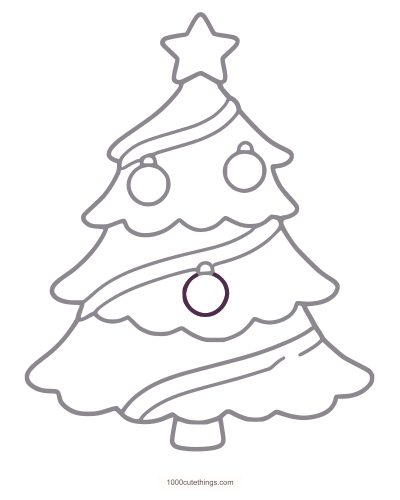
Step 31, whole drawing: Close a circle under that cap, leaving white space above the scallops.
This step, closer

Step 31, closer: Close a circle under that cap, leaving white space above the scallops.
Step 32 of 33
Add the lower left bauble
Draw its little cap first, then close the round outline beneath it.
Whole drawing

Step 32, whole drawing: Draw its little cap first, then close the round outline beneath it.
This step, closer
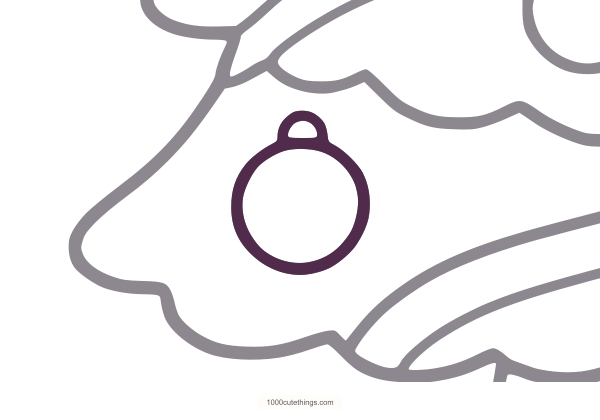
Step 32, closer: Draw its little cap first, then close the round outline beneath it.
Step 33 of 33
Add the lower right bauble
Draw the last small cap and the circle hanging in front of the lower ribbon.
Whole drawing

Step 33, whole drawing: Draw the last small cap and the circle hanging in front of the lower ribbon.
This step, closer

Step 33, closer: Draw the last small cap and the circle hanging in front of the lower ribbon.
Quick guide
Use these larger checkpoints once the parts make sense. Return to the Detailed guide whenever a join or decoration needs more explanation.
Show the 10-stage Quick guide and its PDFs
PDFs open in a new tab. Choose A4 or US Letter to match your paper. The Quick pack ends with the same blank outline and color reference.
Stage 1: Star topper

Quick stage 1: Draw the five-point star and close its lower inward notch.
Draw the five-point star and close its lower inward notch.
Stage 2: Upper foliage
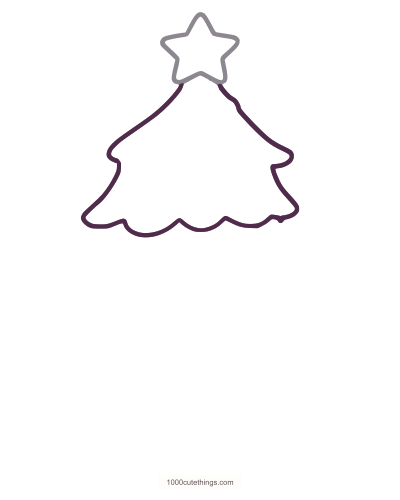
Quick stage 2: Sweep out the upper two foliage tiers, then join the scalloped edge. Keep the second tier wider.
Sweep out the upper two foliage tiers, then join the scalloped edge. Keep the second tier wider.
Stage 3: Third tier
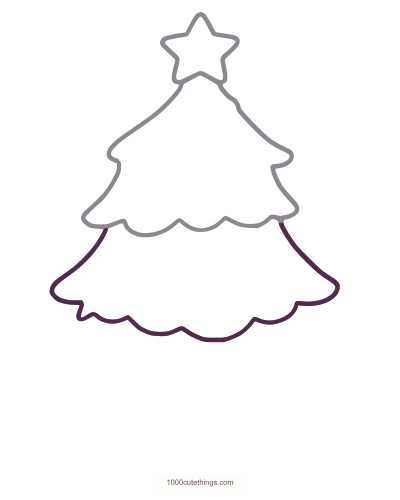
Quick stage 3: Add the third outward tier and its broad scalloped lower edge.
Add the third outward tier and its broad scalloped lower edge.
Stage 4: Broad base
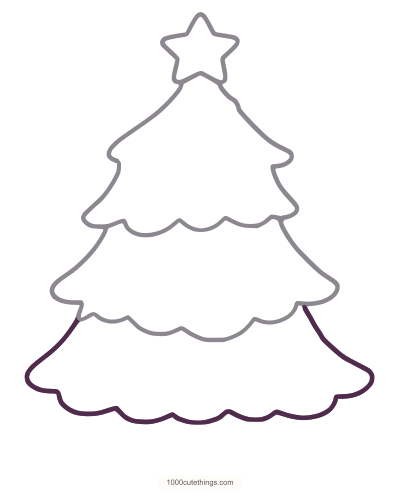
Quick stage 4: Make the widest lower tier. Join the rounded base, leaving room beneath for the trunk.
Make the widest lower tier. Join the rounded base, leaving room beneath for the trunk.
Stage 5: Short trunk
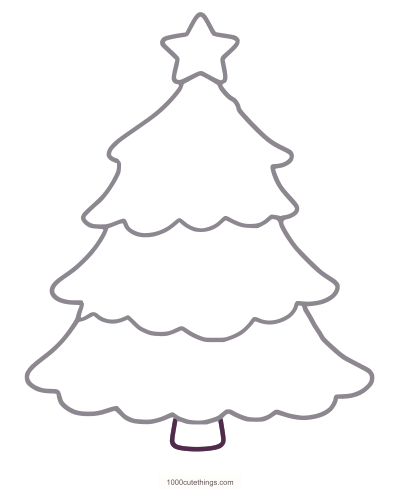
Quick stage 5: Add a short trunk with a rounded bottom below the foliage.
Add a short trunk with a rounded bottom below the foliage.
Stage 6: Upper garland
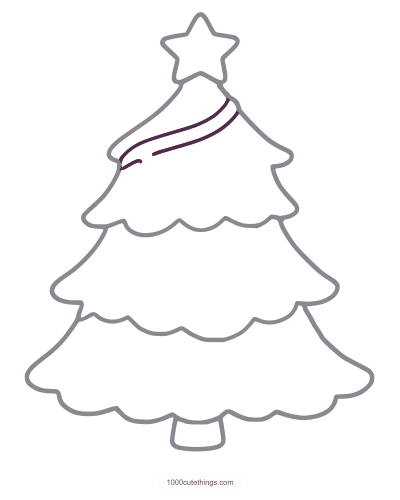
Quick stage 6: Draw two curved diagonal edges for the upper garland.
Draw two curved diagonal edges for the upper garland.
Stage 7: Middle garland
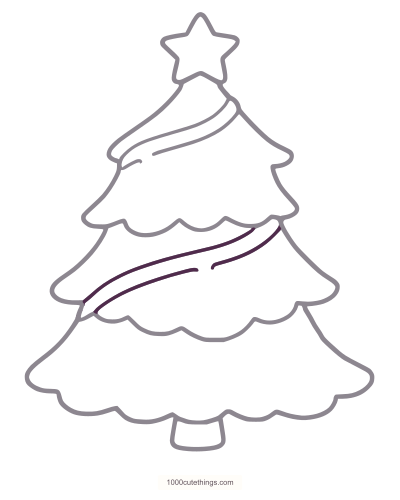
Quick stage 7: Repeat the two-edge garland through the middle tier. Leave the bauble-cap space shown.
Repeat the two-edge garland through the middle tier. Leave the bauble-cap space shown.
Stage 8: Lower garland
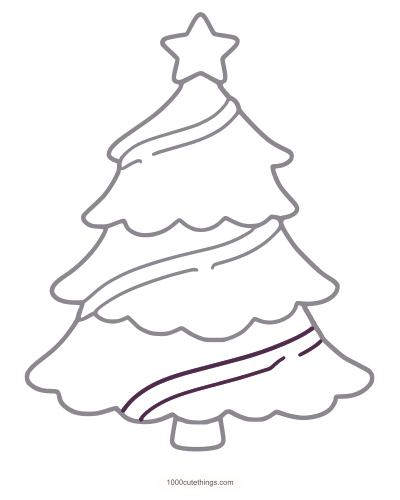
Quick stage 8: Draw the lowest garland, leaving the right bauble space in front of it.
Draw the lowest garland, leaving the right bauble space in front of it.
Stage 9: Upper baubles
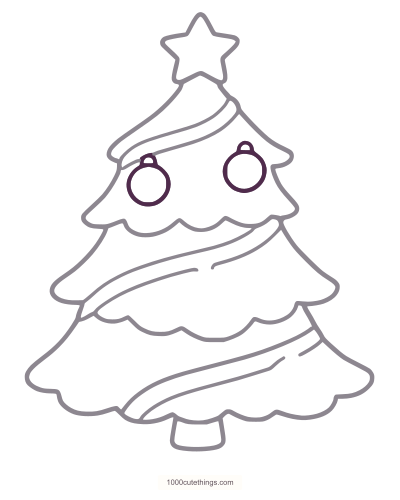
Quick stage 9: Draw two upper baubles: a small rounded cap, then a broad circle beneath each.
Draw two upper baubles: a small rounded cap, then a broad circle beneath each.
Stage 10: Last three baubles

Quick stage 10: Add the middle and two lower baubles, each with its own cap. Keep their circles inside the foliage.
Add the middle and two lower baubles, each with its own cap. Keep their circles inside the foliage.
Finished outline and one color idea
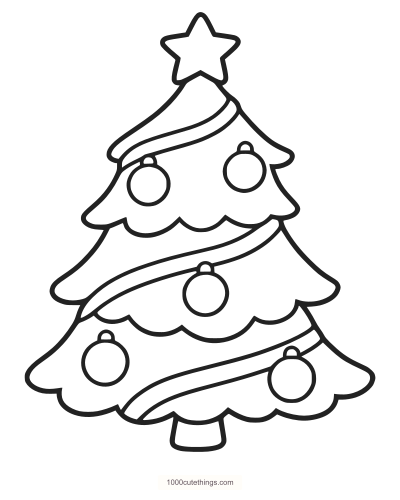
Finished blank outline: A decorated Christmas tree

Same-contour colored reference: A decorated Christmas tree
Use green for the foliage, one warm color for the garlands and a few bright baubles. Keep the trunk distinct.
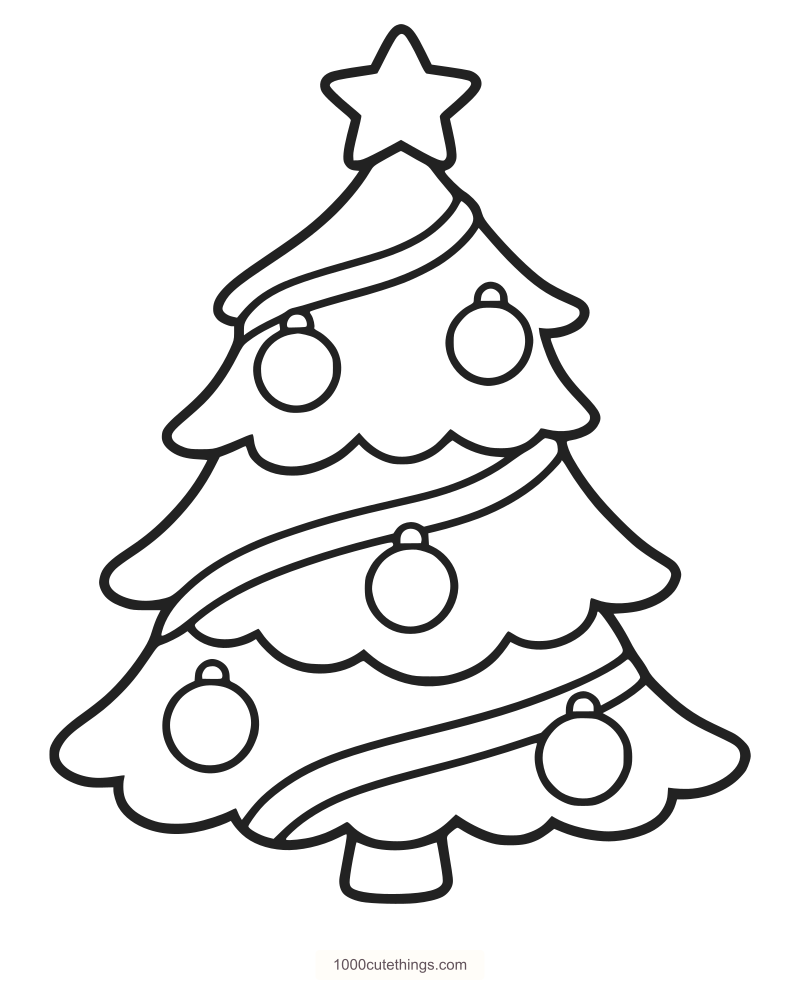

Check the tricky parts
If the tree leans, compare the star, trunk and middle bauble against a light vertical pencil guide. Each lower tier should reach farther out than the one above. Keep the baubles inside the foliage; reduce a circle before squeezing it against an edge.
Keep the same outline and vary the bauble colors, or leave the garlands white. The five baubles can use only two alternating colors for a quieter finish.
Keep the tiers balanced
If one side spreads faster than the other, pause at the end of that tier and compare the two tips. They do not need to be mirror images, but both should sit farther from the center than the tier above. Correct a branch while its pencil line is light, before filling the tree with decorations.
Let the scallops stay broad. A long row of tiny bumps can make the base look crowded and leave too little room for the garlands. The closer views show where each new curve joins an earlier one; use the whole view to judge its width.
For a garland that looks uneven, check the spacing between its two edges rather than darkening one edge repeatedly. The baubles can be slightly different sizes. Keep a clear circle interior, join each cap to its own circle, and leave a little room between the circle and the scalloped edge below it.
When the drawing is complete, erase your optional placement marks and strengthen the lines you want to keep. The color example uses green foliage, warm garlands and several bauble colors, but a two-color ornament palette also works.
Print your drawing guide
Choose the Detailed A4 or US Letter PDF for all 33 actions with whole/closer views. Choose the Quick PDF for ten larger stages. Each guide finishes with a full-page blank tree and then its matching colored reference. Links are beside the corresponding guide and open in a new tab.
Select the paper size that matches your printer and check Actual size / 100% in the print preview. If the printer cannot keep the margins at that setting, use fit-to-printable-area and inspect the whole page before printing. Print only the instruction pages you need; the outline and color reference can be used separately.
The Christmas coloring collection also offers this tree as an individual one-page coloring PDF, plus five other Christmas designs.
Try another Christmas picture
Try the snowman and gingerbread lessons for rounded shapes, scarf overlaps and icing bands. For something beyond Christmas, the main drawing collection offers animals, flowers and small everyday subjects.
Keep the finished tree as a reference for a new drawing on a card or gift note. Draw that version at the size you need, leaving the words outside the branch tips so the star and outline remain clear.