
In this guide


A pattern of small Christmas tree, snowman, gingerbread, stocking, bauble and present outlines.
A scarfed snowman, a smiling gingerbread figure and a decorated tree each practice a different kind of line. Choose one subject and follow it through to a complete drawing. The snowman and gingerbread lessons are here; the tree has its own complete step-by-step lesson.
These guides offer small actions rather than asking you to copy a finished picture in one jump. Each subject has a Detailed guide, a shorter Quick guide, a blank coloring outline and an optional colored reference using the same contours.
Choose your Christmas drawing
| Drawing | What you practice | Where to begin |
|---|---|---|
| Snowman | Rounded head and body, a tilted hat, scarf overlaps and two twig arms | 33-action snowman guide or its 10-stage Quick guide |
| Gingerbread figure | One connected body outline, two separate feet and broad icing bands | 27-action gingerbread guide or its 8-stage Quick guide |
| Christmas tree | Four widening tiers, scalloped edges, garlands and round baubles | Complete tree lesson with 33 actions and a 10-stage Quick guide |
The gingerbread figure has fewer separate parts, while the snowman adds overlaps where the scarf sits in front of the body. The tree has more repeated curves and smaller decorations. Choose the shape you want to practice rather than racing through all three.
Before you start
Use plain paper, a pencil and an eraser. Look at the finished outline before drawing, then leave enough space for the widest parts: the snowman’s twig arms, the gingerbread figure’s raised hands, or the tree’s lowest branches.
Keep the early lines light. Dark plum in a diagram means the lines introduced in that step; gray means earlier work. Your own pencil drawing can stay one color. The larger view isolates the current area, while the whole view shows where it belongs.
It is fine to stop at a checkpoint and return later. Use the Detailed guide when the Quick guide combines too much into one action. A short step count is not a requirement for a successful drawing.
Draw a snowman
A small round head sits above a larger snowball. The hat covers the top of the head; the scarf overlaps the body and the two twig arms emerge at its sides.
Detailed guide
Add only the dark plum lines in each step. Gray lines show earlier work. The whole view keeps the new part in position; the closer view shows its shape. Draw lightly in pencil first. No temporary lines are part of the finished outline.
PDFs open in a new tab. Choose A4 or US Letter to match your paper. The Detailed pack includes 33 actions, a blank outline and the matching color reference.
Step 1 of 33
Draw the tilted brim’s upper edge
Make the long shallow curve that runs across the top of the folded hat brim.
Whole drawing

Step 1, whole drawing: Make the long shallow curve that runs across the top of the folded hat brim.
This step, closer
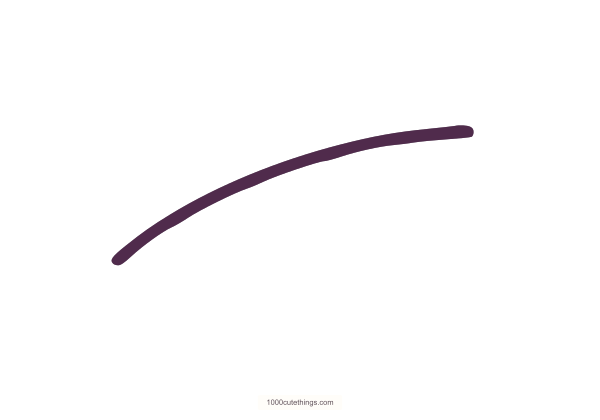
Step 1, closer: Make the long shallow curve that runs across the top of the folded hat brim.
Step 2 of 33
Round the brim on the right
Curve around the right end of the brim and turn back underneath.
Whole drawing
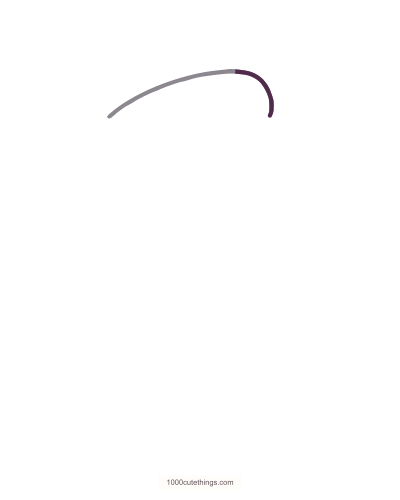
Step 2, whole drawing: Curve around the right end of the brim and turn back underneath.
This step, closer
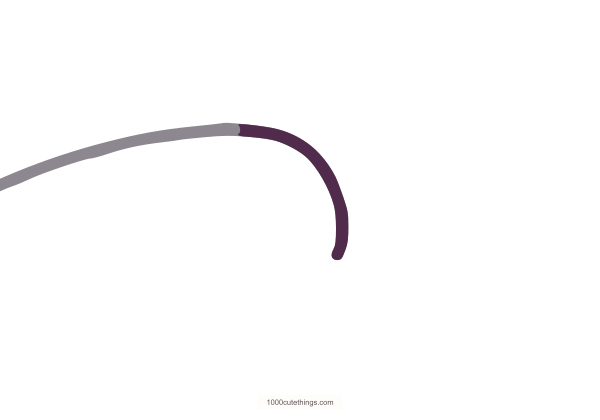
Step 2, closer: Curve around the right end of the brim and turn back underneath.
Step 3 of 33
Follow the brim underneath
Draw the lower brim edge from right to left. Keep a broad band between the two edges.
Whole drawing
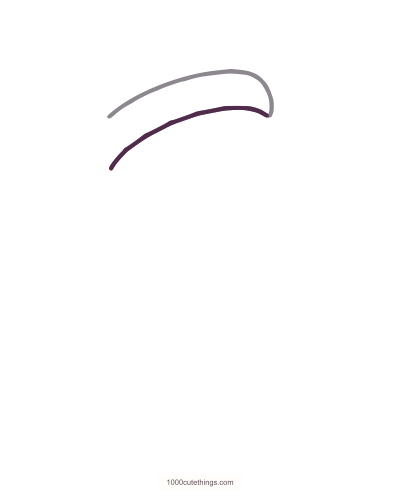
Step 3, whole drawing: Draw the lower brim edge from right to left. Keep a broad band between the two edges.
This step, closer
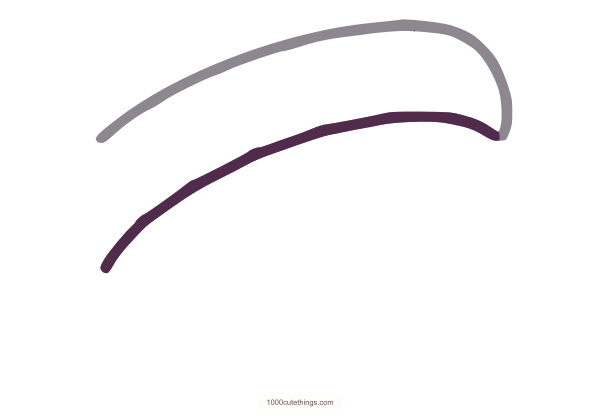
Step 3, closer: Draw the lower brim edge from right to left. Keep a broad band between the two edges.
Step 4 of 33
Close the brim on the left
Round the left end upward to join the top edge.
Whole drawing
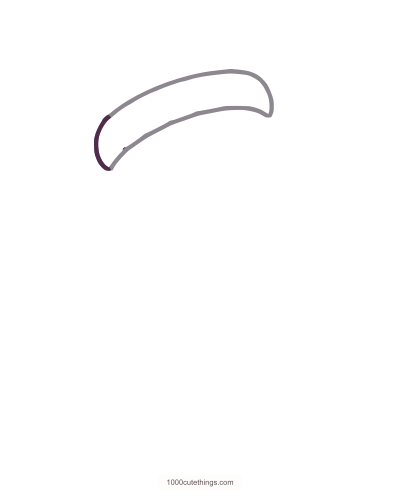
Step 4, whole drawing: Round the left end upward to join the top edge.
This step, closer
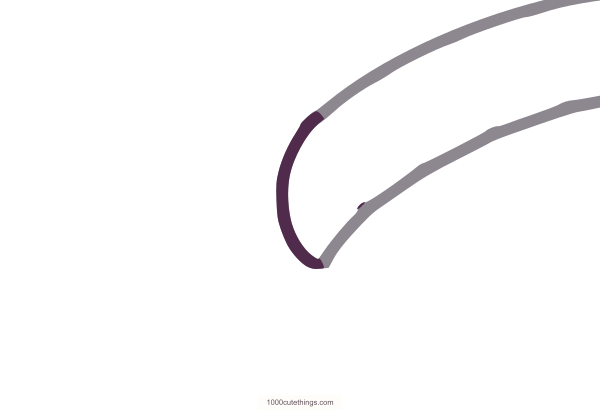
Step 4, closer: Round the left end upward to join the top edge.
Step 5 of 33
Add the soft hat crown
Curve over the top of the hat and bring the left side down to the brim.
Whole drawing
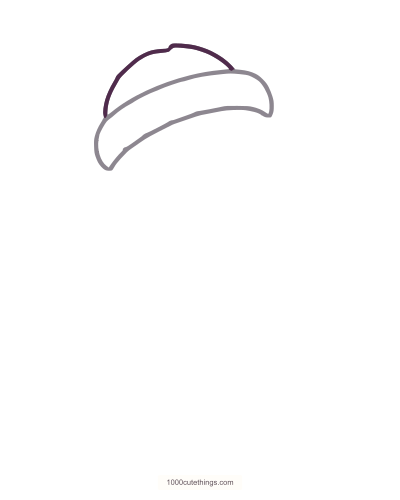
Step 5, whole drawing: Curve over the top of the hat and bring the left side down to the brim.
This step, closer
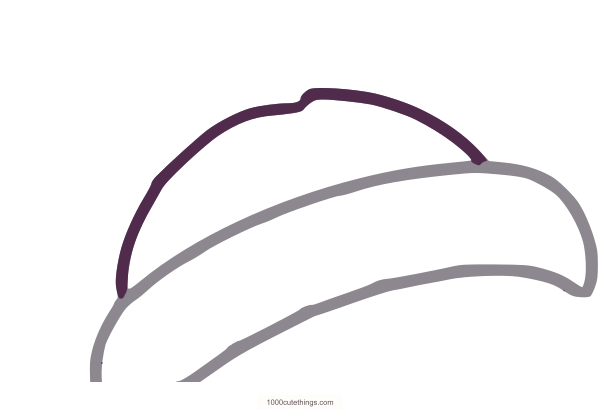
Step 5, closer: Curve over the top of the hat and bring the left side down to the brim.
Step 6 of 33
Add a fluffy pompom
Close a rounded, gently bumpy pompom above the left side of the hat.
Whole drawing
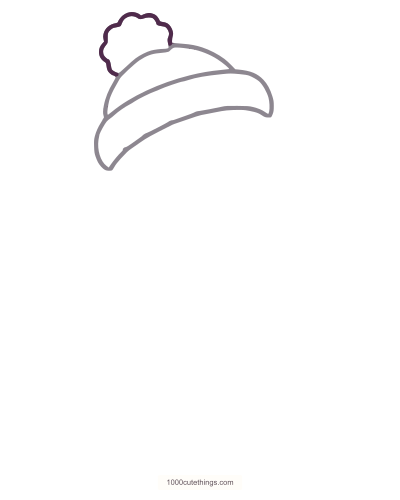
Step 6, whole drawing: Close a rounded, gently bumpy pompom above the left side of the hat.
This step, closer
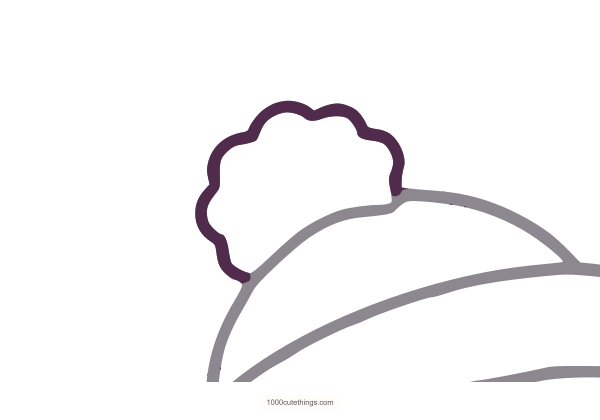
Step 6, closer: Close a rounded, gently bumpy pompom above the left side of the hat.
Step 7 of 33
Add the first rib
Draw one curved rib line near the left end of the brim.
Whole drawing
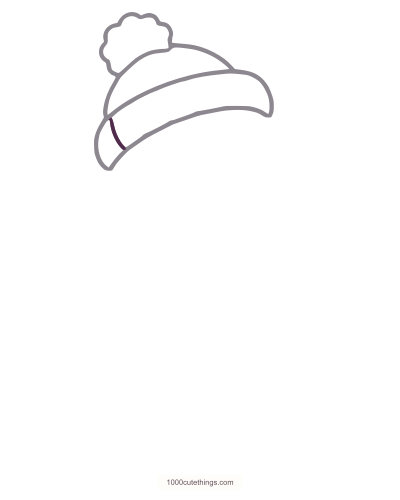
Step 7, whole drawing: Draw one curved rib line near the left end of the brim.
This step, closer
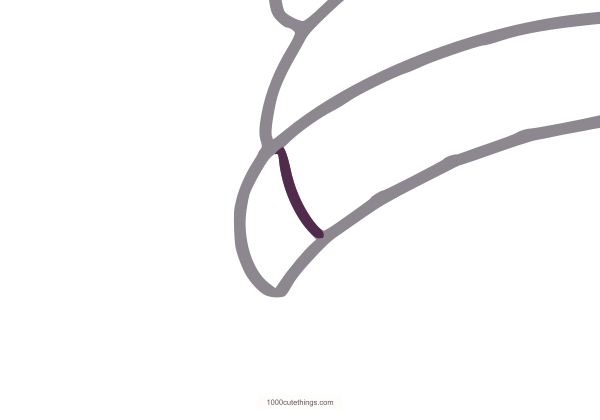
Step 7, closer: Draw one curved rib line near the left end of the brim.
Step 8 of 33
Add the second rib
Place the next curved line farther right, following the brim’s tilt.
Whole drawing
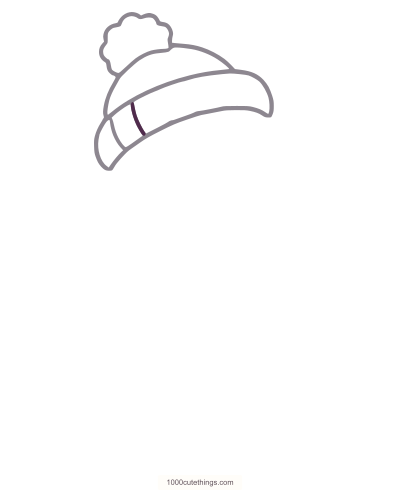
Step 8, whole drawing: Place the next curved line farther right, following the brim’s tilt.
This step, closer
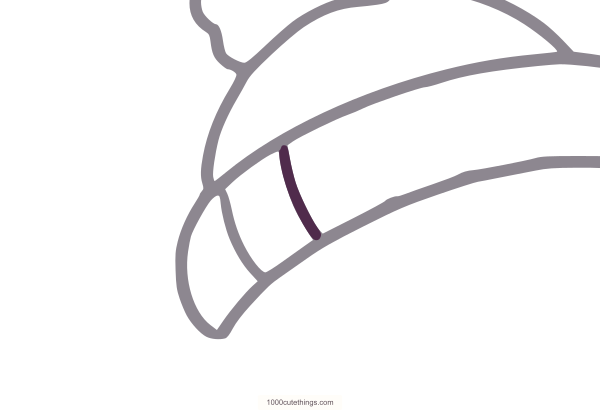
Step 8, closer: Place the next curved line farther right, following the brim’s tilt.
Step 9 of 33
Add the middle rib
Continue the spaced rib pattern through the middle of the brim.
Whole drawing
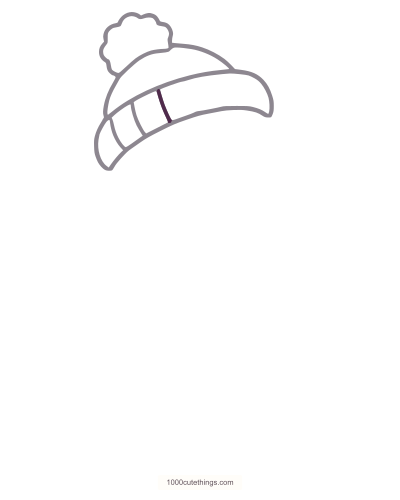
Step 9, whole drawing: Continue the spaced rib pattern through the middle of the brim.
This step, closer
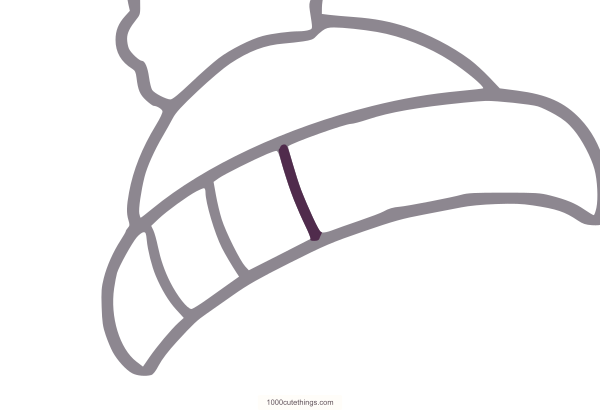
Step 9, closer: Continue the spaced rib pattern through the middle of the brim.
Step 10 of 33
Add the next rib
Draw another curved rib, keeping the gaps comfortably wide.
Whole drawing
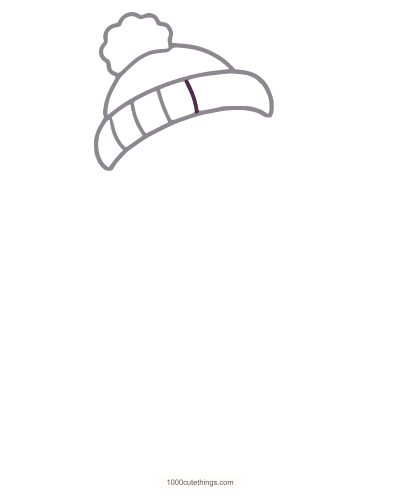
Step 10, whole drawing: Draw another curved rib, keeping the gaps comfortably wide.
This step, closer
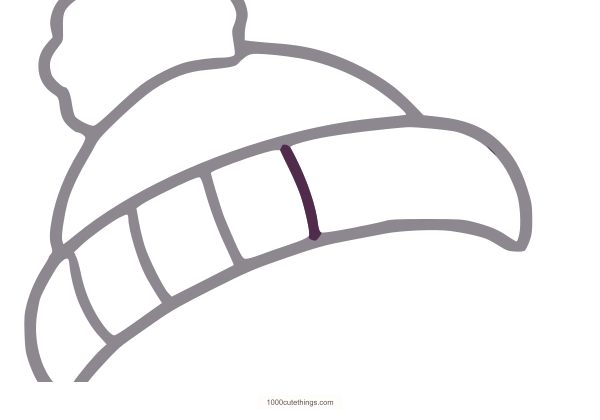
Step 10, closer: Draw another curved rib, keeping the gaps comfortably wide.
Step 11 of 33
Finish the brim ribs
Add the last two curved lines on the right.
Whole drawing
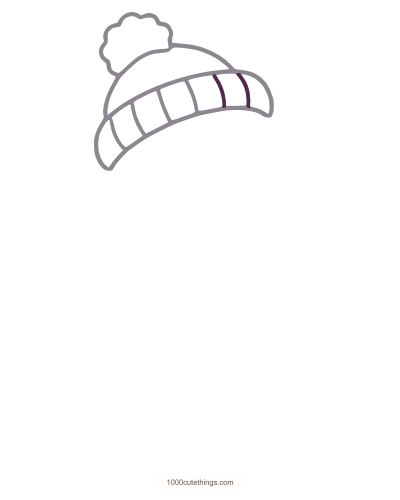
Step 11, whole drawing: Add the last two curved lines on the right.
This step, closer
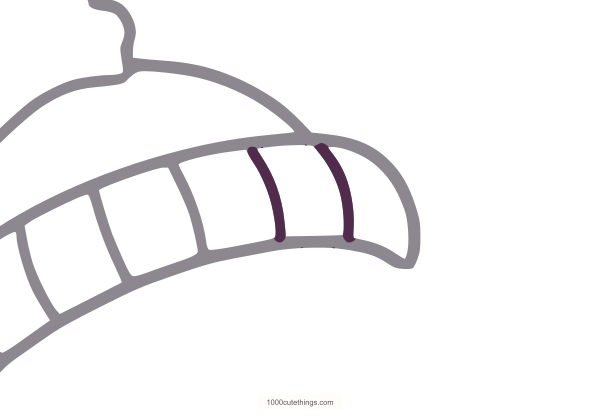
Step 11, closer: Add the last two curved lines on the right.
Step 12 of 33
Curve down the right cheek
Start beneath the brim and curve down around the right side of the head.
Whole drawing
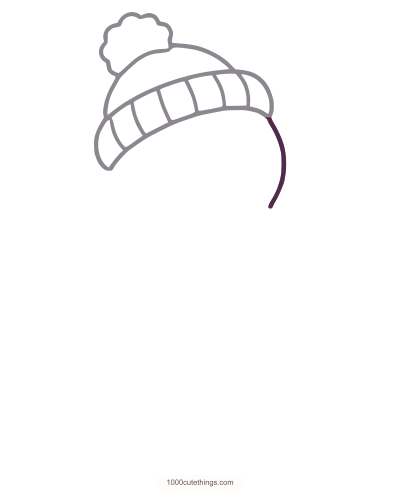
Step 12, whole drawing: Start beneath the brim and curve down around the right side of the head.
This step, closer
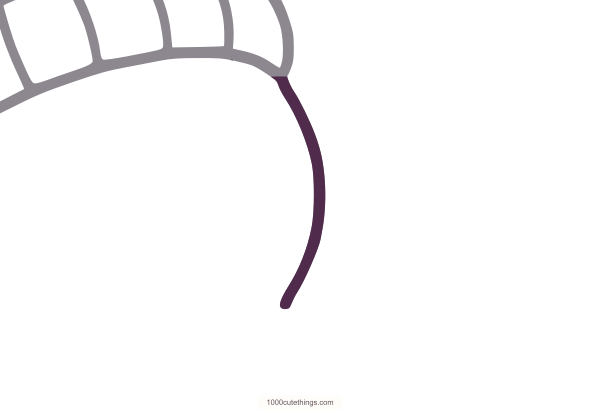
Step 12, closer: Start beneath the brim and curve down around the right side of the head.
Step 13 of 33
Round the chin
Continue a broad rounded chin across the bottom of the head.
Whole drawing
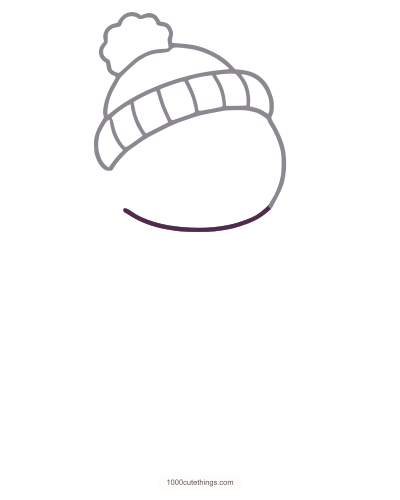
Step 13, whole drawing: Continue a broad rounded chin across the bottom of the head.
This step, closer

Step 13, closer: Continue a broad rounded chin across the bottom of the head.
Step 14 of 33
Join the left cheek
Curve up the left side to meet the hat brim.
Whole drawing
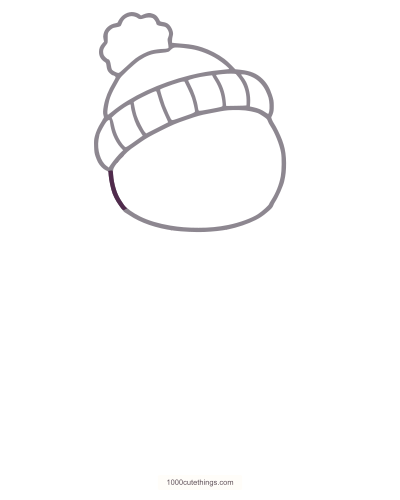
Step 14, whole drawing: Curve up the left side to meet the hat brim.
This step, closer
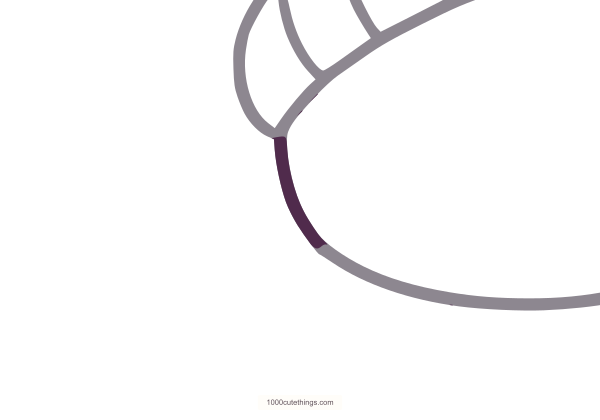
Step 14, closer: Curve up the left side to meet the hat brim.
Step 15 of 33
Place the left eye
Draw a small round dot below the brim. Leave a gap between it and the head edge.
Whole drawing
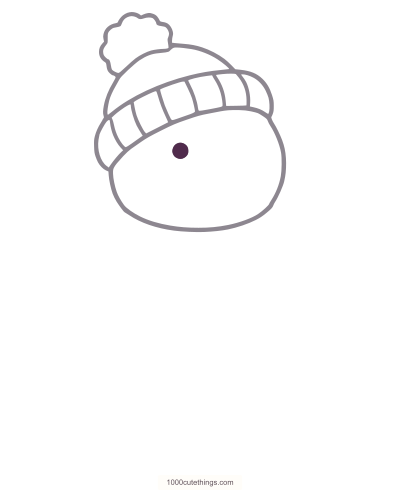
Step 15, whole drawing: Draw a small round dot below the brim. Leave a gap between it and the head edge.
This step, closer
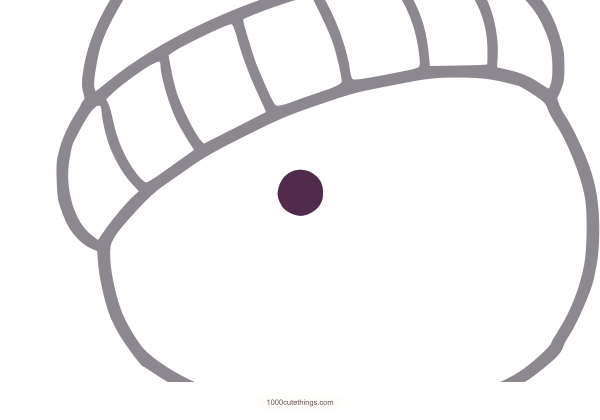
Step 15, closer: Draw a small round dot below the brim. Leave a gap between it and the head edge.
Step 16 of 33
Place the right eye
Add the second small dot on the other side. It sits slightly higher with the tilted hat.
Whole drawing
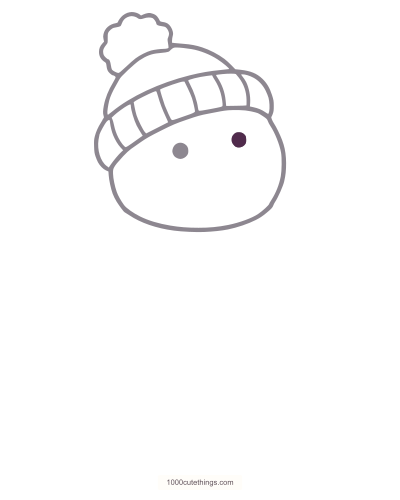
Step 16, whole drawing: Add the second small dot on the other side. It sits slightly higher with the tilted hat.
This step, closer
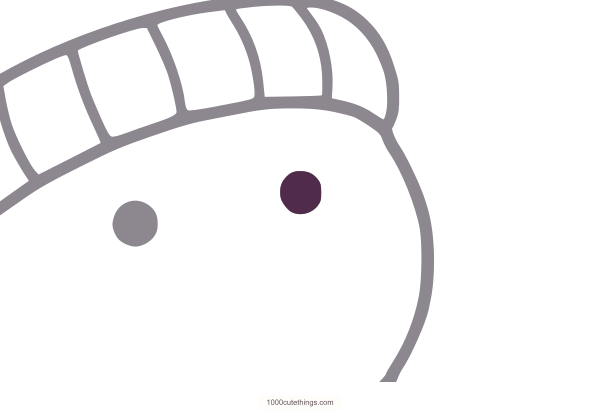
Step 16, closer: Add the second small dot on the other side. It sits slightly higher with the tilted hat.
Step 17 of 33
Give the snowman a carrot
Draw a rounded carrot outline pointing to the right, and close it at the root.
Whole drawing
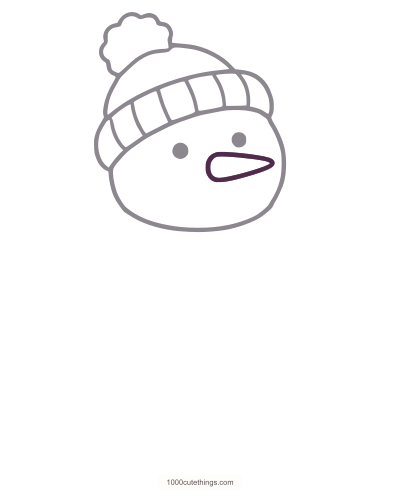
Step 17, whole drawing: Draw a rounded carrot outline pointing to the right, and close it at the root.
This step, closer
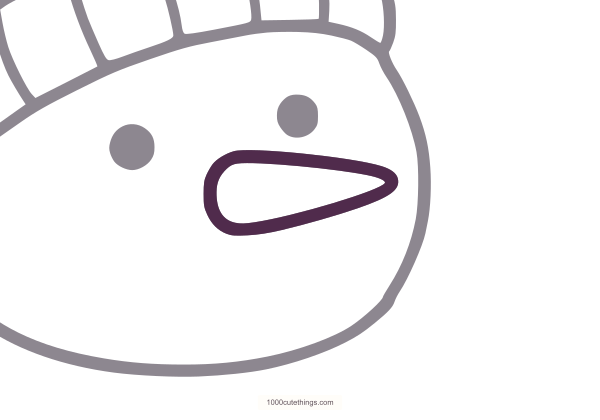
Step 17, closer: Draw a rounded carrot outline pointing to the right, and close it at the root.
Step 18 of 33
Add a curved smile
Place a broad smile below the carrot, away from the chin.
Whole drawing
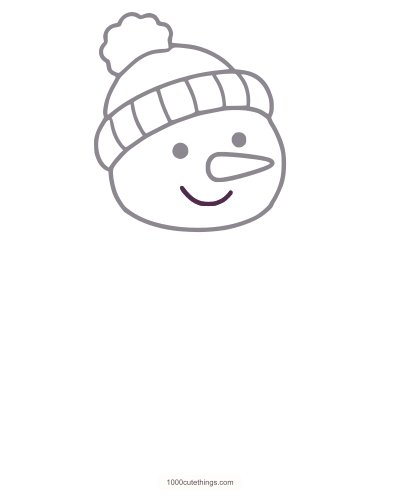
Step 18, whole drawing: Place a broad smile below the carrot, away from the chin.
This step, closer
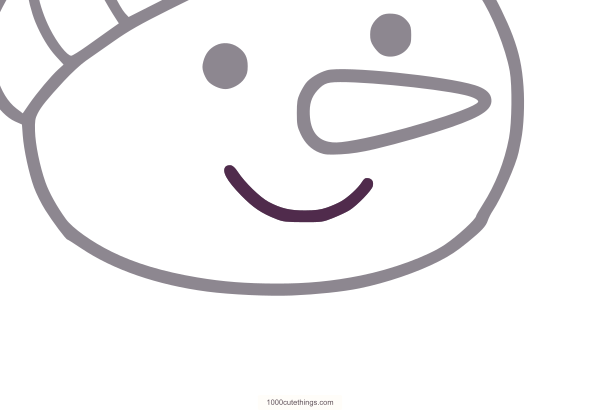
Step 18, closer: Place a broad smile below the carrot, away from the chin.
Step 19 of 33
Round the scarf’s sides
Draw the short outer curve on each side immediately below the head.
Whole drawing
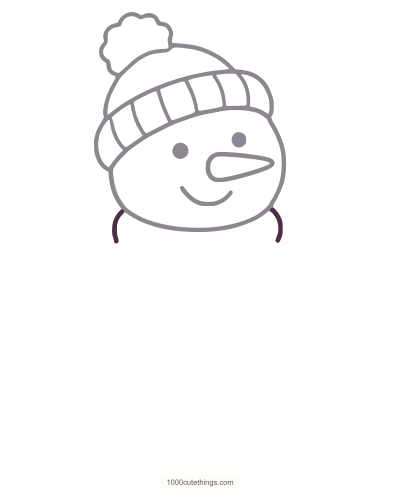
Step 19, whole drawing: Draw the short outer curve on each side immediately below the head.
This step, closer
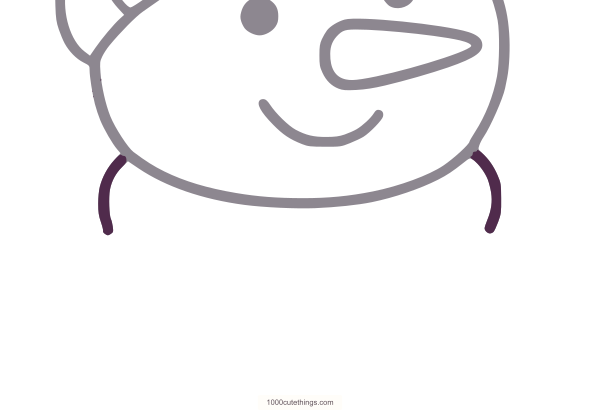
Step 19, closer: Draw the short outer curve on each side immediately below the head.
Step 20 of 33
Join the scarf underneath
Add its lower edge. The short visible pieces join behind the two hanging ends.
Whole drawing
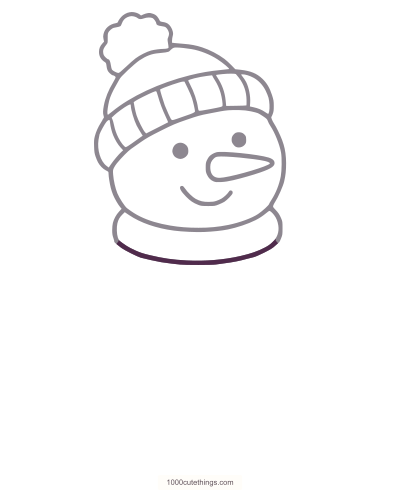
Step 20, whole drawing: Add its lower edge. The short visible pieces join behind the two hanging ends.
This step, closer
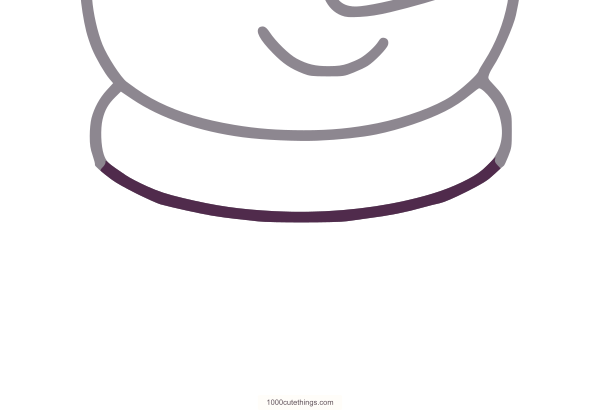
Step 20, closer: Add its lower edge. The short visible pieces join behind the two hanging ends.
Step 21 of 33
Start the left scarf end
Draw down the left side of the hanging end and around the left half of its bottom.
Whole drawing
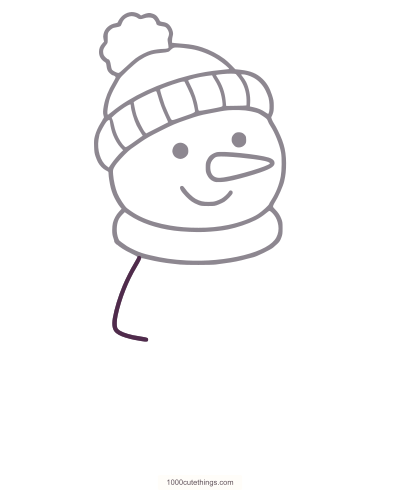
Step 21, whole drawing: Draw down the left side of the hanging end and around the left half of its bottom.
This step, closer
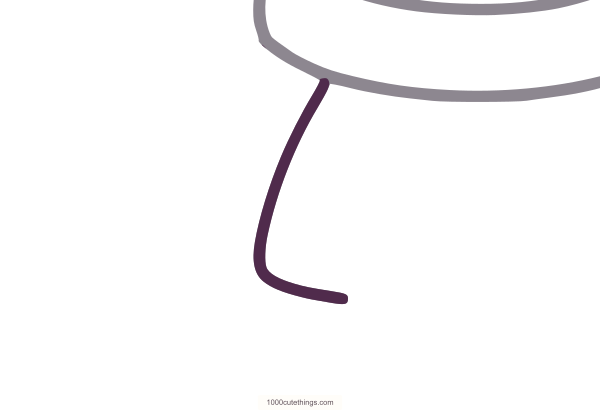
Step 21, closer: Draw down the left side of the hanging end and around the left half of its bottom.
Step 22 of 33
Close the left scarf end
Bring the inner edge up from the rounded bottom to the scarf band.
Whole drawing
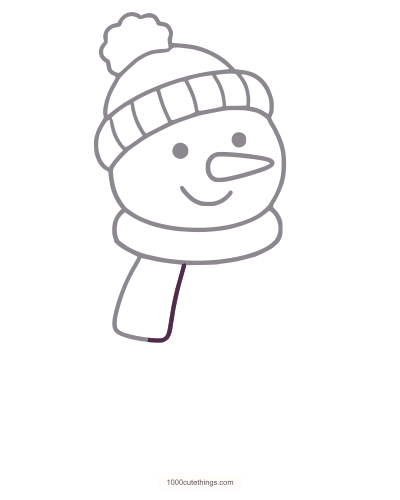
Step 22, whole drawing: Bring the inner edge up from the rounded bottom to the scarf band.
This step, closer
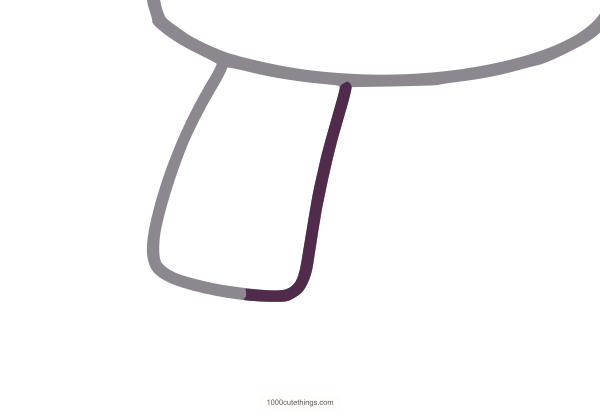
Step 22, closer: Bring the inner edge up from the rounded bottom to the scarf band.
Step 23 of 33
Start the right scarf end
Draw the inner edge down from the scarf and curve around its lower left corner.
Whole drawing
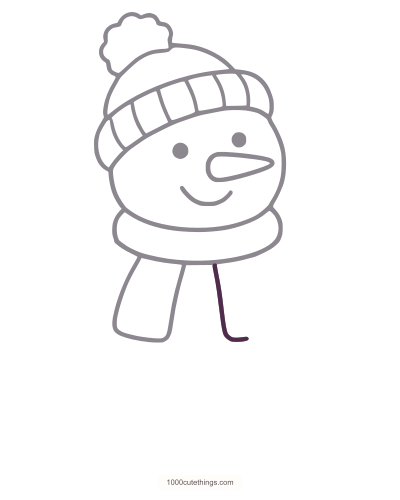
Step 23, whole drawing: Draw the inner edge down from the scarf and curve around its lower left corner.
This step, closer
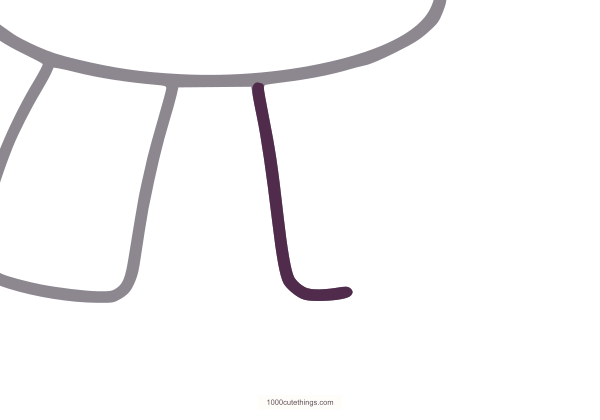
Step 23, closer: Draw the inner edge down from the scarf and curve around its lower left corner.
Step 24 of 33
Close the right scarf end
Round the bottom and bring the outer edge back up to the scarf.
Whole drawing
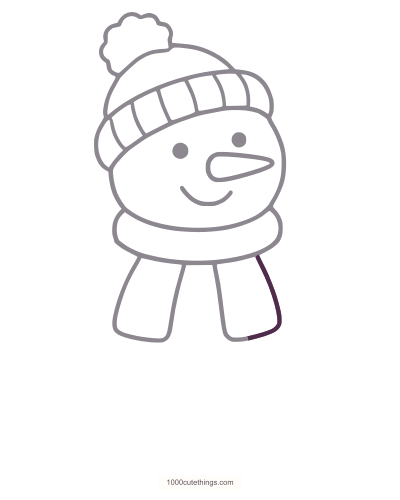
Step 24, whole drawing: Round the bottom and bring the outer edge back up to the scarf.
This step, closer
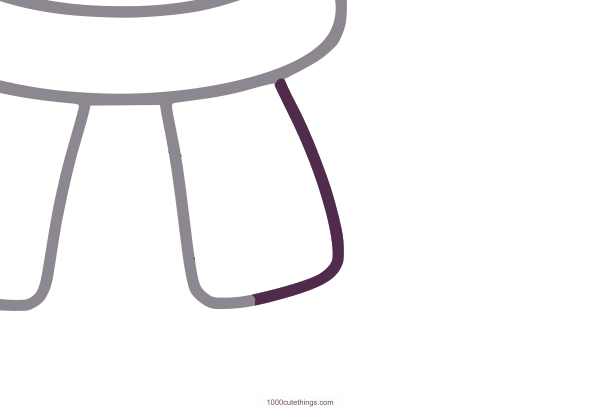
Step 24, closer: Round the bottom and bring the outer edge back up to the scarf.
Step 25 of 33
Curve down the body’s right side
Begin below the scarf and sweep around the right side of the large snowball.
Whole drawing
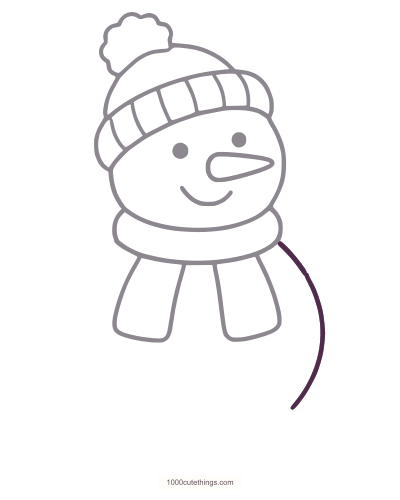
Step 25, whole drawing: Begin below the scarf and sweep around the right side of the large snowball.
This step, closer
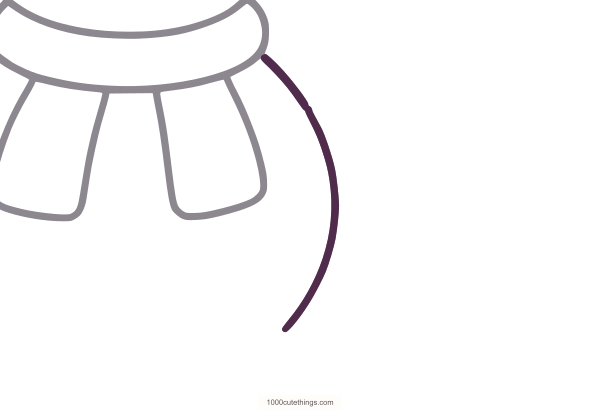
Step 25, closer: Begin below the scarf and sweep around the right side of the large snowball.
Step 26 of 33
Round the bottom snowball
Continue the broad bottom curve. The body is wider than the head.
Whole drawing
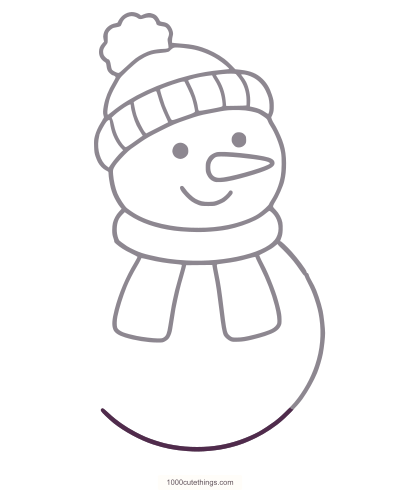
Step 26, whole drawing: Continue the broad bottom curve. The body is wider than the head.
This step, closer

Step 26, closer: Continue the broad bottom curve. The body is wider than the head.
Step 27 of 33
Join the body on the left
Bring the left side upward to the scarf. Keep the round shape behind the hanging ends.
Whole drawing
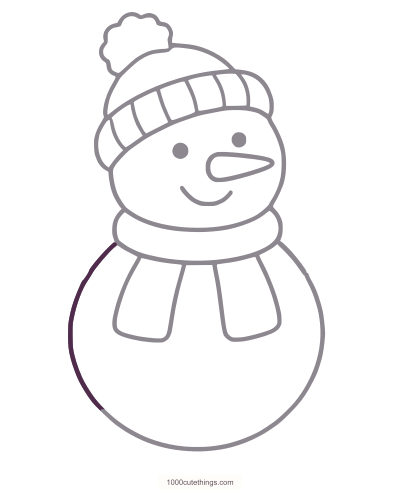
Step 27, whole drawing: Bring the left side upward to the scarf. Keep the round shape behind the hanging ends.
This step, closer
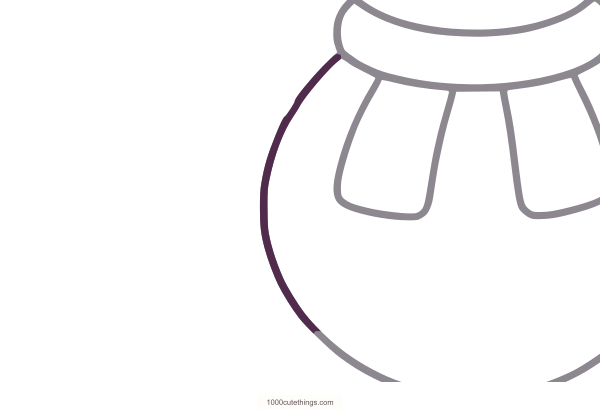
Step 27, closer: Bring the left side upward to the scarf. Keep the round shape behind the hanging ends.
Step 28 of 33
Add the left twig hand
Draw the forked outer end of the left twig, leaving its stem opening toward the body.
Whole drawing
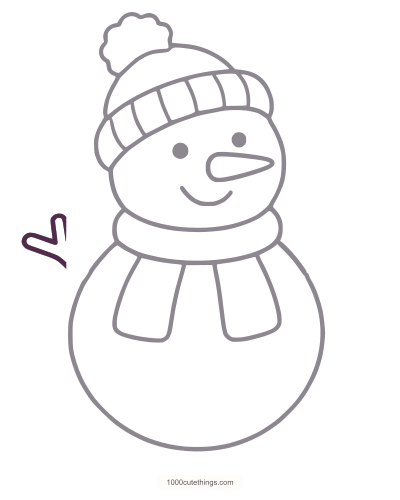
Step 28, whole drawing: Draw the forked outer end of the left twig, leaving its stem opening toward the body.
This step, closer
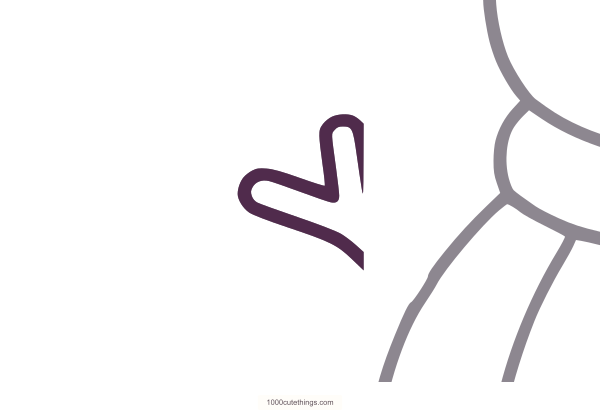
Step 28, closer: Draw the forked outer end of the left twig, leaving its stem opening toward the body.
Step 29 of 33
Join the left twig to the body
Complete the two short stem edges back to the snowball.
Whole drawing
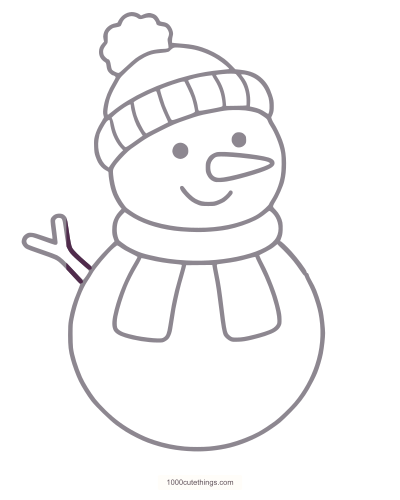
Step 29, whole drawing: Complete the two short stem edges back to the snowball.
This step, closer
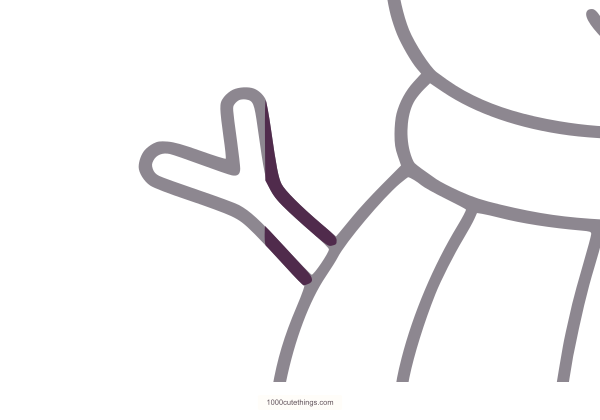
Step 29, closer: Complete the two short stem edges back to the snowball.
Step 30 of 33
Draw the right twig’s upper fork
Start at the body-side stem and round the upright twig tip.
Whole drawing
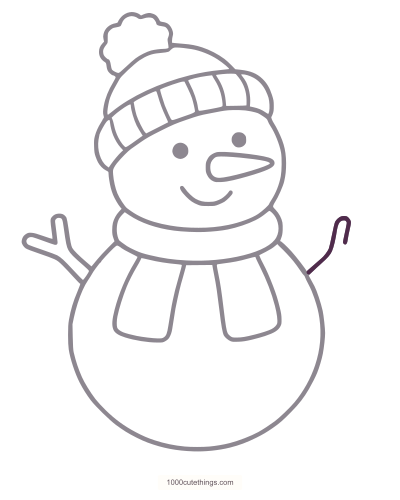
Step 30, whole drawing: Start at the body-side stem and round the upright twig tip.
This step, closer
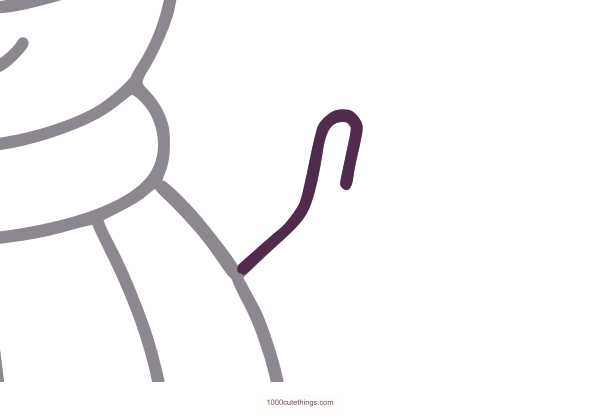
Step 30, closer: Start at the body-side stem and round the upright twig tip.
Step 31 of 33
Finish the right twig hand
Add the outward fork and join its lower stem edge back to the body.
Whole drawing
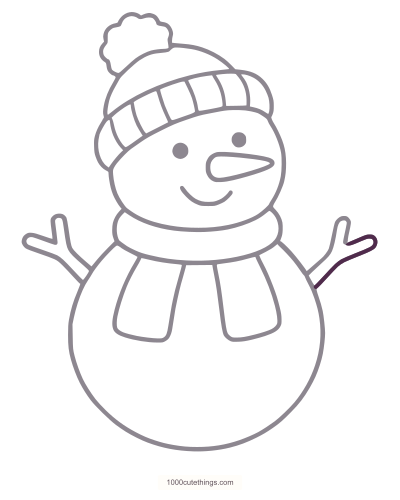
Step 31, whole drawing: Add the outward fork and join its lower stem edge back to the body.
This step, closer
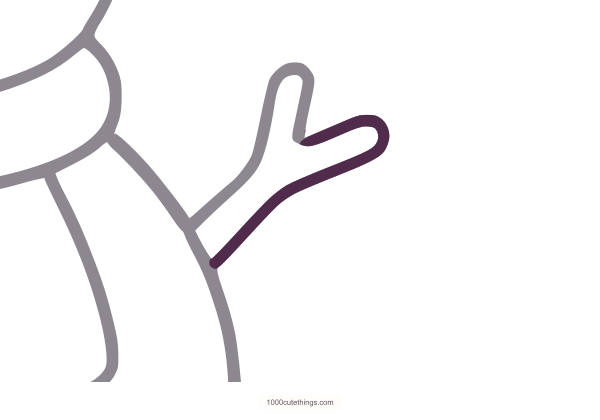
Step 31, closer: Add the outward fork and join its lower stem edge back to the body.
Step 32 of 33
Draw the upper button
Close a broad empty circle below the scarf ends.
Whole drawing
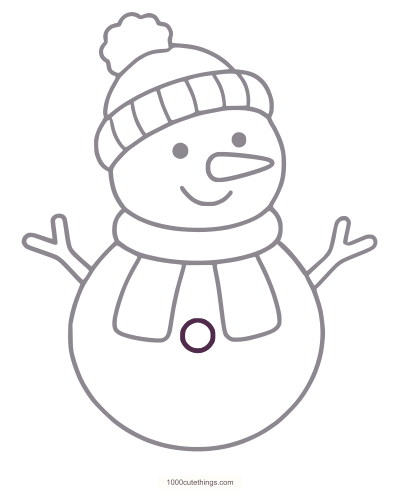
Step 32, whole drawing: Close a broad empty circle below the scarf ends.
This step, closer
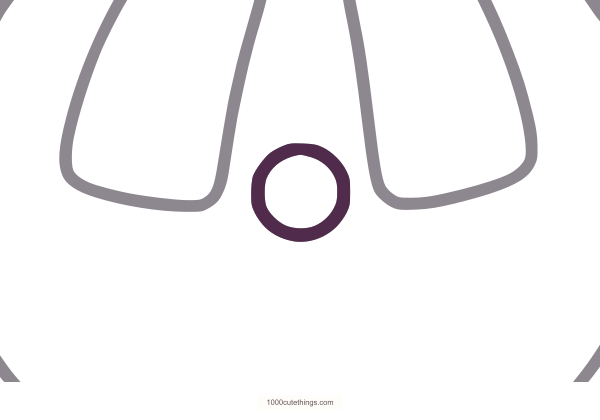
Step 32, closer: Close a broad empty circle below the scarf ends.
Step 33 of 33
Draw the lower button
Add another circle underneath it. Keep both inside the body.
Whole drawing
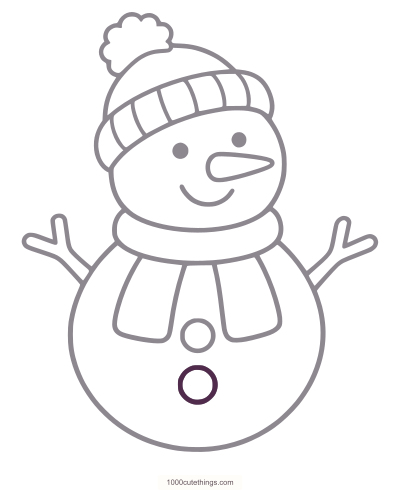
Step 33, whole drawing: Add another circle underneath it. Keep both inside the body.
This step, closer
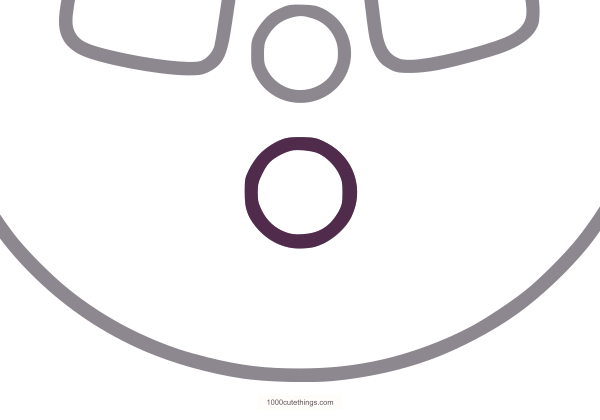
Step 33, closer: Add another circle underneath it. Keep both inside the body.
Quick guide
Use these larger checkpoints once the parts make sense. Return to the Detailed guide whenever a join or decoration needs more explanation.
Show the 10-stage Quick guide and its PDFs
PDFs open in a new tab. Choose A4 or US Letter to match your paper. The Quick pack ends with the same blank outline and color reference.
Stage 1: Folded hat brim
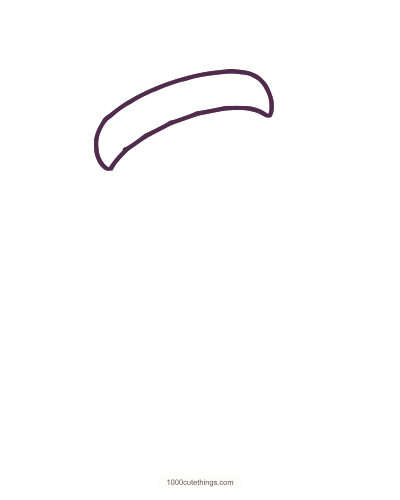
Quick stage 1: Close the broad tilted hat brim.
Close the broad tilted hat brim.
Stage 2: Crown and pompom
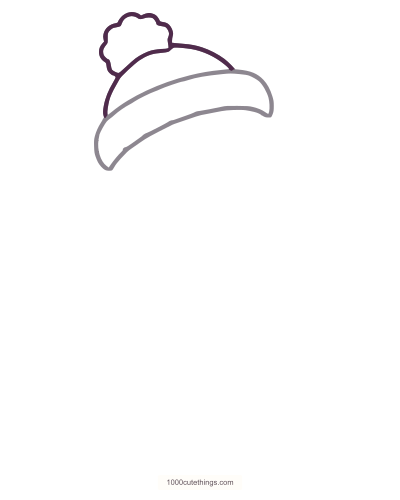
Quick stage 2: Add the curved crown and the rounded pompom.
Add the curved crown and the rounded pompom.
Stage 3: Hat ribs
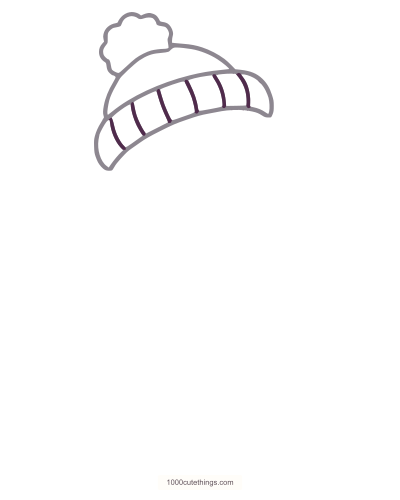
Quick stage 3: Space six curved rib lines along the brim.
Space six curved rib lines along the brim.
Stage 4: Round head
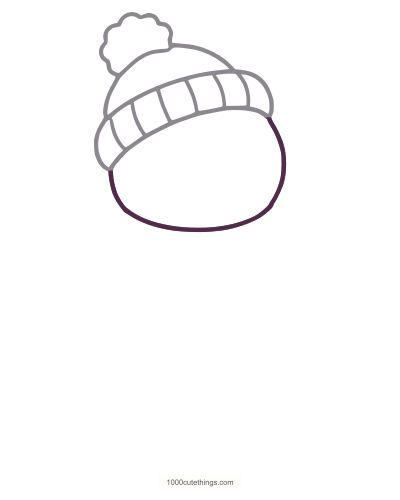
Quick stage 4: Curve the round head beneath the hat and close its chin.
Curve the round head beneath the hat and close its chin.
Stage 5: Face
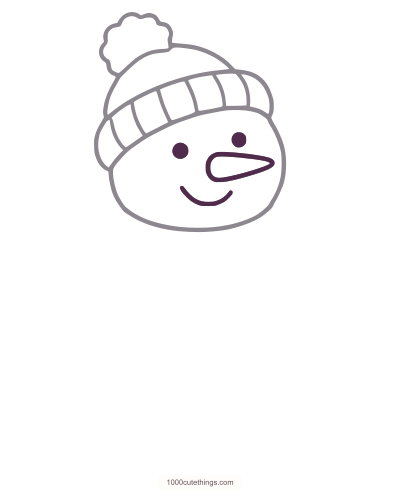
Quick stage 5: Place two dark eyes, a closed carrot outline and a curved smile.
Place two dark eyes, a closed carrot outline and a curved smile.
Stage 6: Scarf band
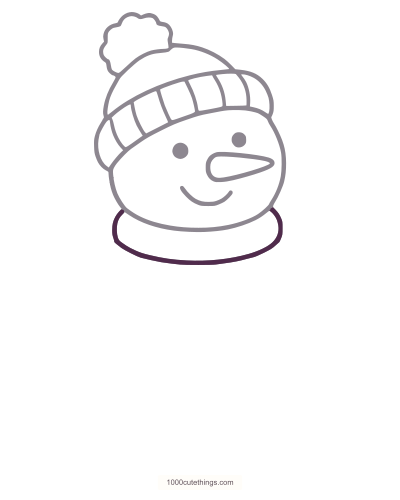
Quick stage 6: Round the scarf below the head, joining its lower visible edge.
Round the scarf below the head, joining its lower visible edge.
Stage 7: Hanging scarf ends
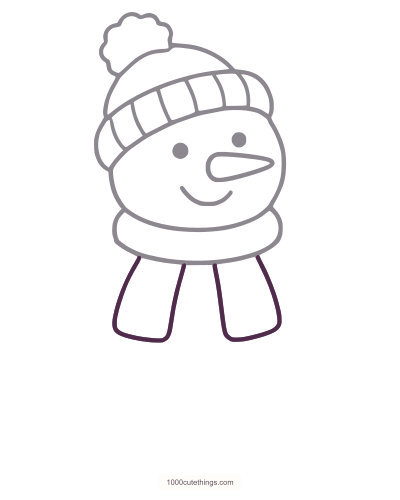
Quick stage 7: Draw two broad hanging scarf ends, closing each with a rounded bottom.
Draw two broad hanging scarf ends, closing each with a rounded bottom.
Stage 8: Large snowball
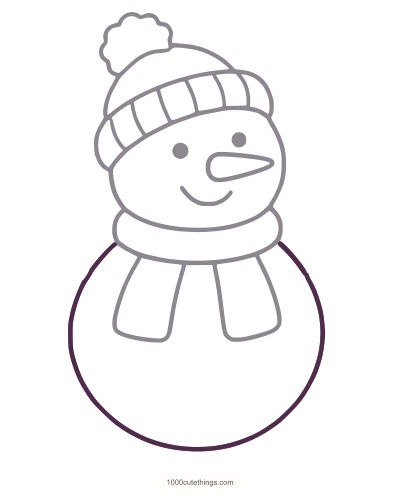
Quick stage 8: Curve a larger snowball behind the scarf ends and join its broad base.
Curve a larger snowball behind the scarf ends and join its broad base.
Stage 9: Twig arms
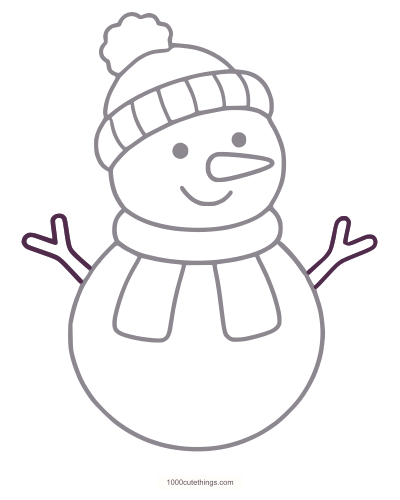
Quick stage 9: Add a forked twig arm on each side, joining both stem edges to the body.
Add a forked twig arm on each side, joining both stem edges to the body.
Stage 10: Buttons
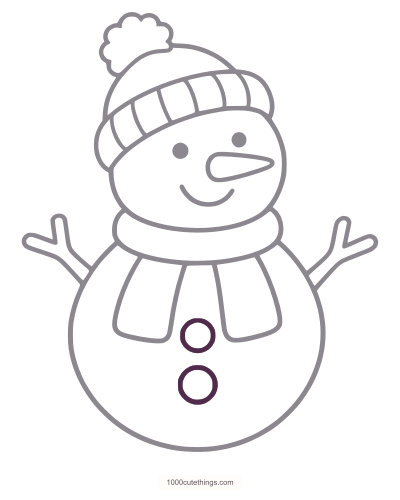
Quick stage 10: Place two empty button circles below the scarf ends.
Place two empty button circles below the scarf ends.
Finished outline and one color idea
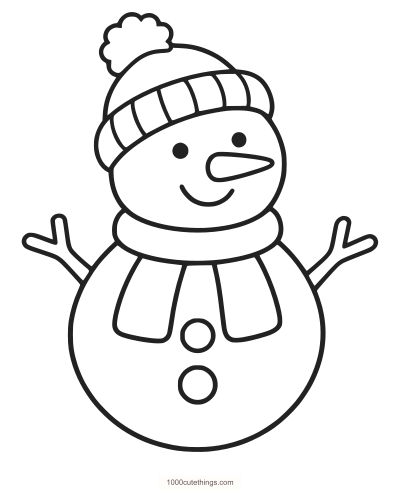
Finished blank outline: A snowman in a hat and scarf

Same-contour colored reference: A snowman in a hat and scarf
Leave the snow white. The hat and scarf offer broad areas for two contrasting colors.
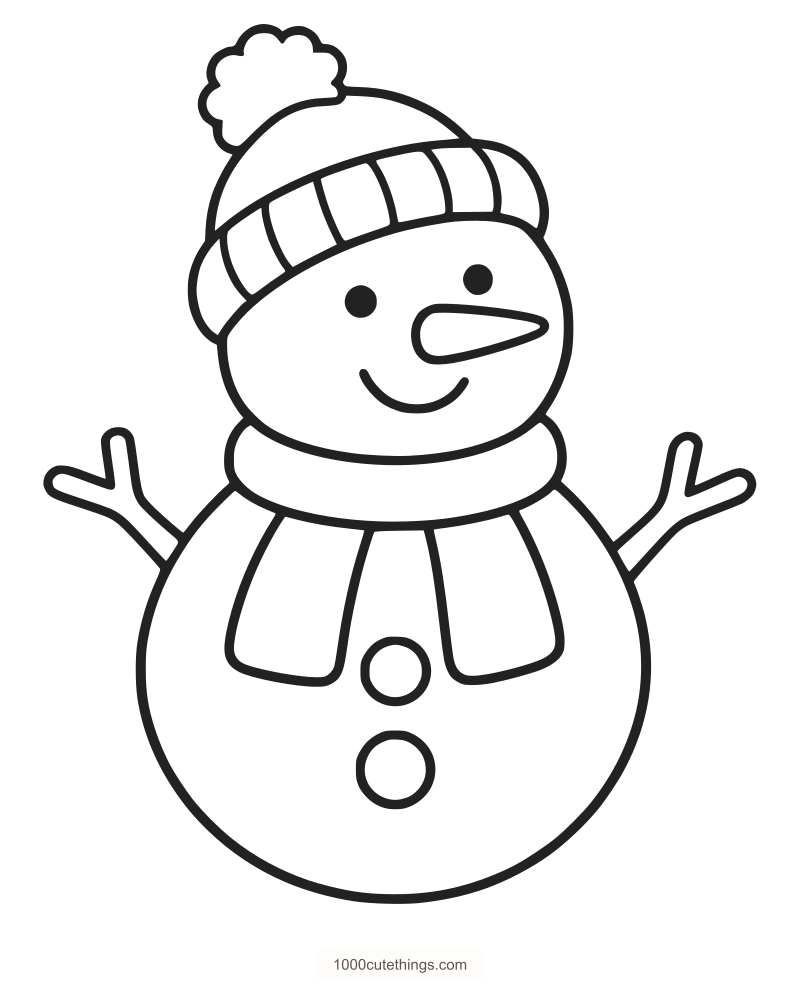

Check the tricky parts
If the scarf ends look detached, check that their upper edges meet the scarf band. Keep the body outline behind them. Make the body visibly larger than the head and leave the two buttons clear of the hanging ends.
Keep the snow white and try different hat and scarf colors. Add a faint pale-blue edge inside the snowballs only after the outlines are complete.
Draw a gingerbread figure
The round head flows into two lifted arms. The torso widens into two rounded feet, with a clear arch separating the legs.
Detailed guide
Add only the dark plum lines in each step. Gray lines show earlier work. The whole view keeps the new part in position; the closer view shows its shape. Draw lightly in pencil first. No temporary lines are part of the finished outline.
PDFs open in a new tab. Choose A4 or US Letter to match your paper. The Detailed pack includes 27 actions, a blank outline and the matching color reference.
Step 1 of 27
Curve over the left side of the head
Start at the top center and curve around the upper left quarter of the head.
Whole drawing

Step 1, whole drawing: Start at the top center and curve around the upper left quarter of the head.
This step, closer
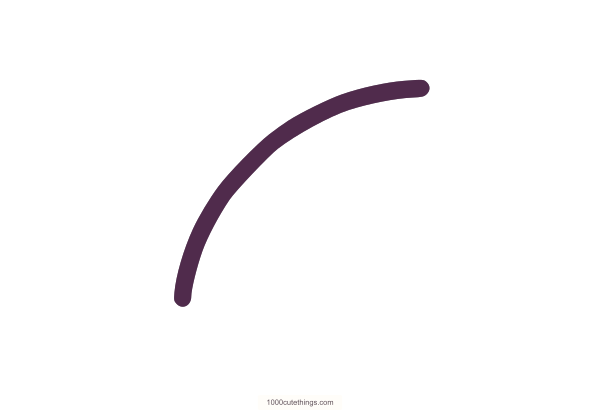
Step 1, closer: Start at the top center and curve around the upper left quarter of the head.
Step 2 of 27
Curve over the right side of the head
Join the top center and follow the upper right quarter downward.
Whole drawing

Step 2, whole drawing: Join the top center and follow the upper right quarter downward.
This step, closer

Step 2, closer: Join the top center and follow the upper right quarter downward.
Step 3 of 27
Bring down the left cheek
Continue down the left cheek and inward to the short shoulder turn.
Whole drawing
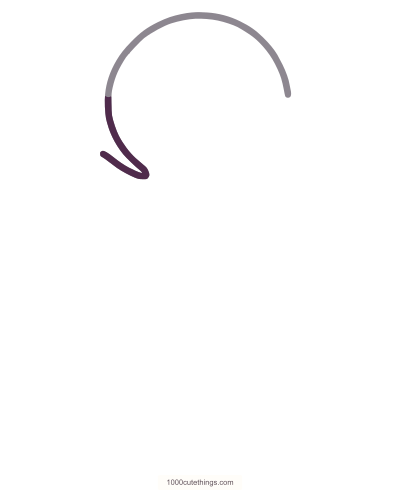
Step 3, whole drawing: Continue down the left cheek and inward to the short shoulder turn.
This step, closer

Step 3, closer: Continue down the left cheek and inward to the short shoulder turn.
Step 4 of 27
Bring down the right cheek
Follow the matching curve down the right side and inward at the shoulder.
Whole drawing
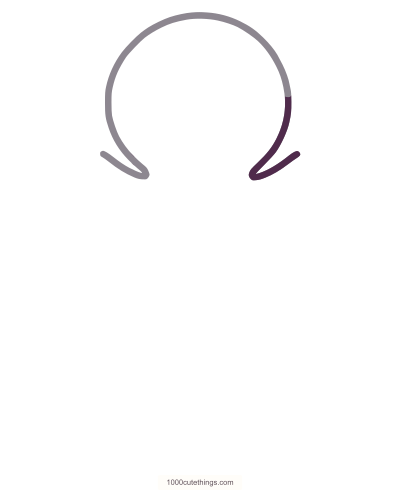
Step 4, whole drawing: Follow the matching curve down the right side and inward at the shoulder.
This step, closer
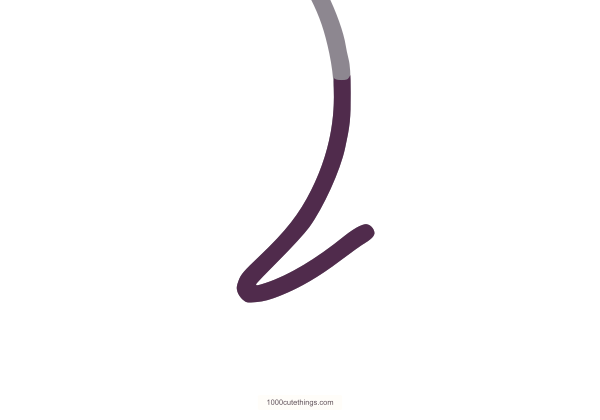
Step 4, closer: Follow the matching curve down the right side and inward at the shoulder.
Step 5 of 27
Round the raised left hand
Curve outward from the shoulder, over the raised hand and around its rounded end.
Whole drawing
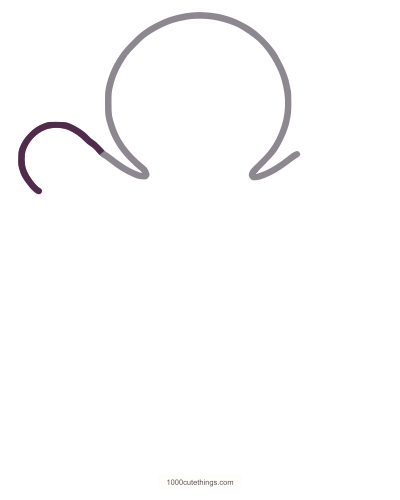
Step 5, whole drawing: Curve outward from the shoulder, over the raised hand and around its rounded end.
This step, closer
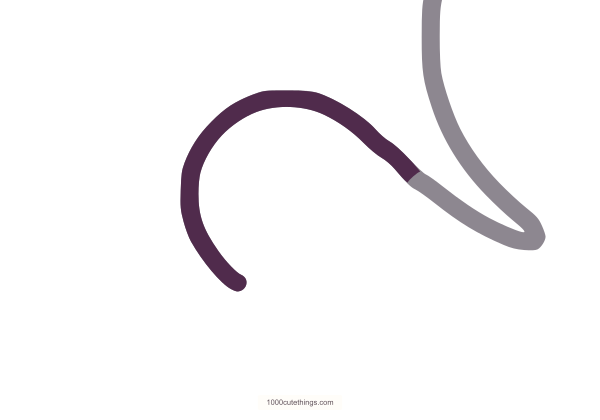
Step 5, closer: Curve outward from the shoulder, over the raised hand and around its rounded end.
Step 6 of 27
Turn beneath the left arm
Join the lower hand edge, then bring the underside of the arm inward toward the body.
Whole drawing
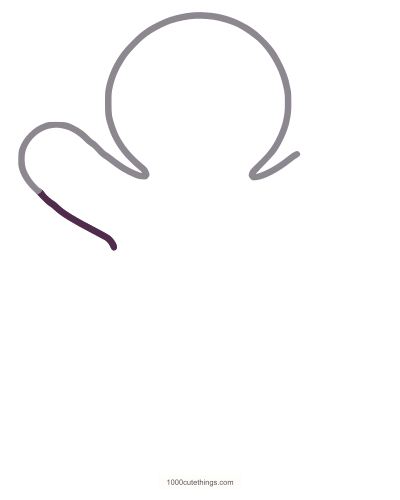
Step 6, whole drawing: Join the lower hand edge, then bring the underside of the arm inward toward the body.
This step, closer
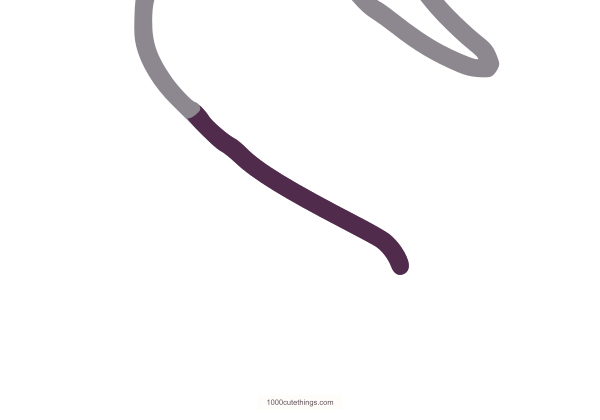
Step 6, closer: Join the lower hand edge, then bring the underside of the arm inward toward the body.
Step 7 of 27
Curve down the left side
Continue the torso’s left edge toward the upper ankle position.
Whole drawing
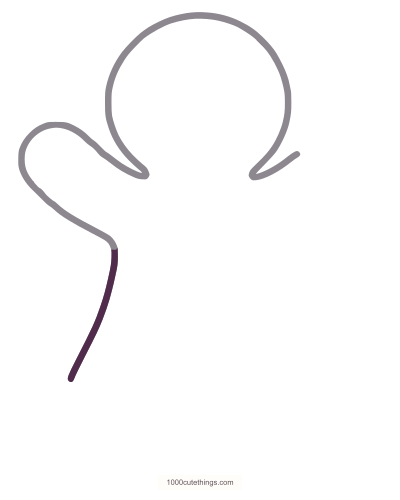
Step 7, whole drawing: Continue the torso’s left edge toward the upper ankle position.
This step, closer
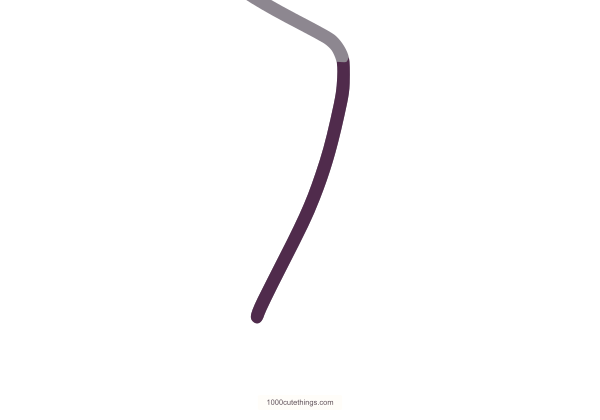
Step 7, closer: Continue the torso’s left edge toward the upper ankle position.
Step 8 of 27
Round the raised right hand
Curve up and around the right hand, keeping the arm attached at its shoulder.
Whole drawing
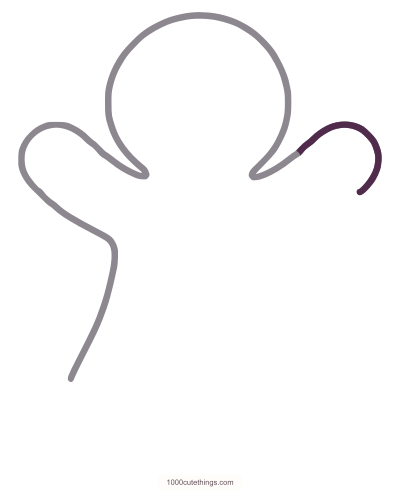
Step 8, whole drawing: Curve up and around the right hand, keeping the arm attached at its shoulder.
This step, closer
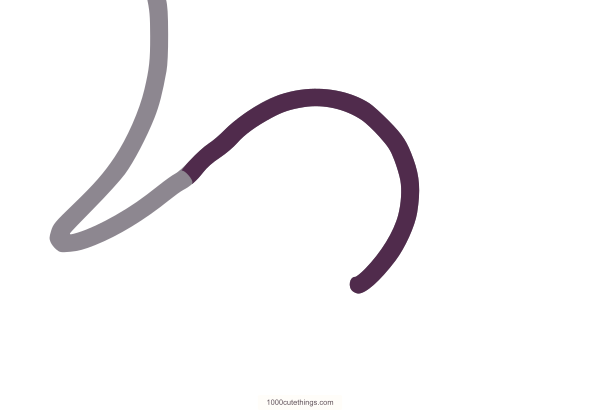
Step 8, closer: Curve up and around the right hand, keeping the arm attached at its shoulder.
Step 9 of 27
Turn beneath the right arm
Bring the underside inward to meet the body side.
Whole drawing
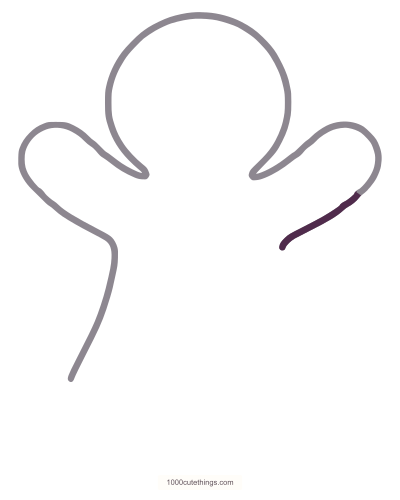
Step 9, whole drawing: Bring the underside inward to meet the body side.
This step, closer
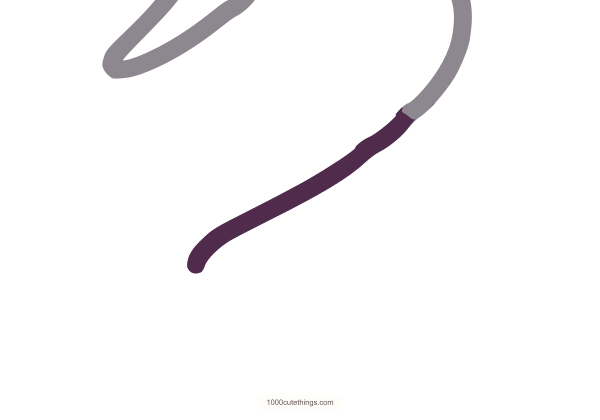
Step 9, closer: Bring the underside inward to meet the body side.
Step 10 of 27
Curve down the right side
Continue down the right torso edge toward the ankle.
Whole drawing
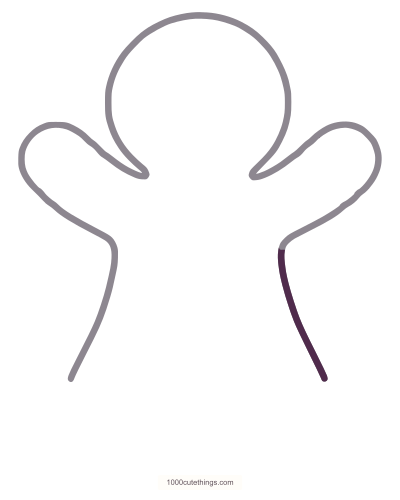
Step 10, whole drawing: Continue down the right torso edge toward the ankle.
This step, closer
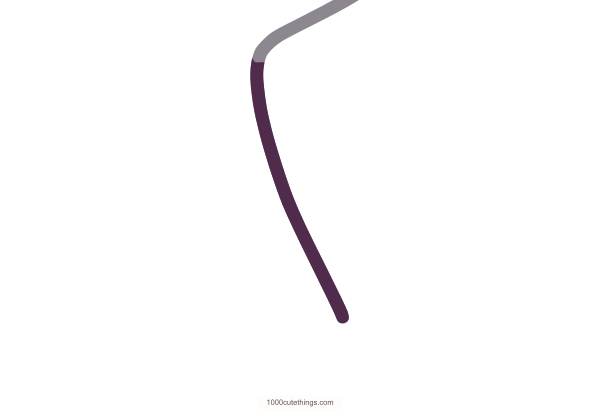
Step 10, closer: Continue down the right torso edge toward the ankle.
Step 11 of 27
Start the space between the legs
Curve upward from the inner left leg toward the top of the arch.
Whole drawing
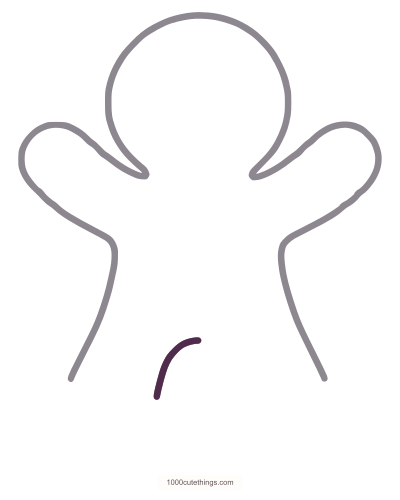
Step 11, whole drawing: Curve upward from the inner left leg toward the top of the arch.
This step, closer
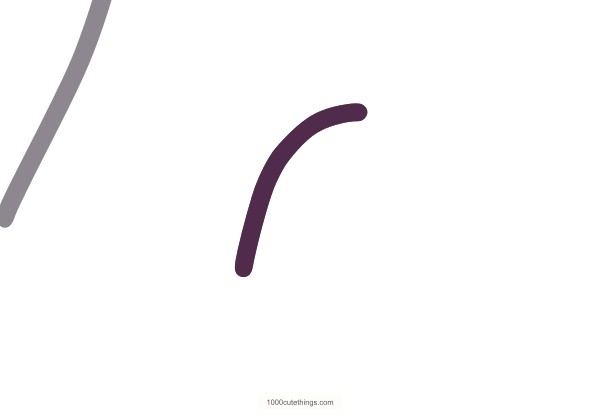
Step 11, closer: Curve upward from the inner left leg toward the top of the arch.
Step 12 of 27
Finish the inner arch
Round over the top and come down the right inner leg. Keep this space open to the background.
Whole drawing
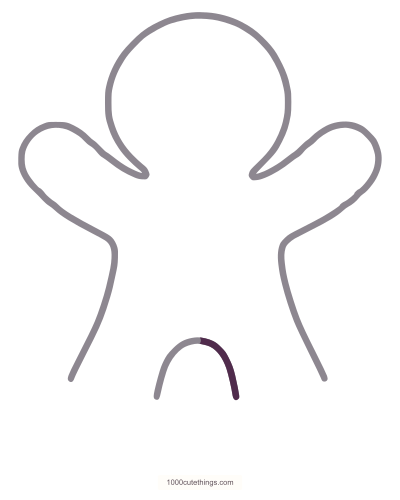
Step 12, whole drawing: Round over the top and come down the right inner leg. Keep this space open to the background.
This step, closer
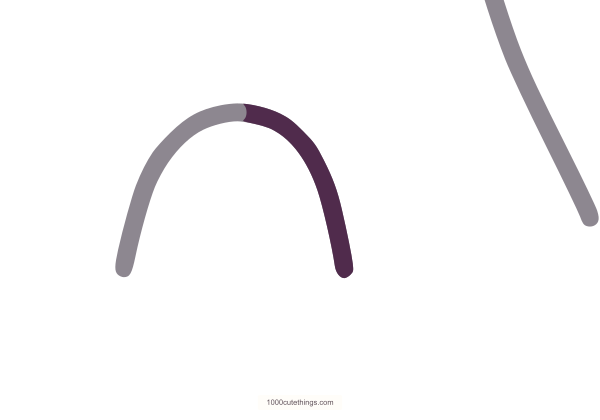
Step 12, closer: Round over the top and come down the right inner leg. Keep this space open to the background.
Step 13 of 27
Round the left foot
Join the outer left ankle to the inner leg with a broad rounded foot.
Whole drawing
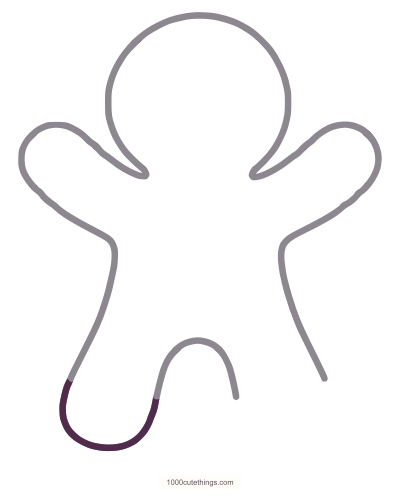
Step 13, whole drawing: Join the outer left ankle to the inner leg with a broad rounded foot.
This step, closer

Step 13, closer: Join the outer left ankle to the inner leg with a broad rounded foot.
Step 14 of 27
Round the right foot
Make the second rounded foot and join it to the inner arch.
Whole drawing
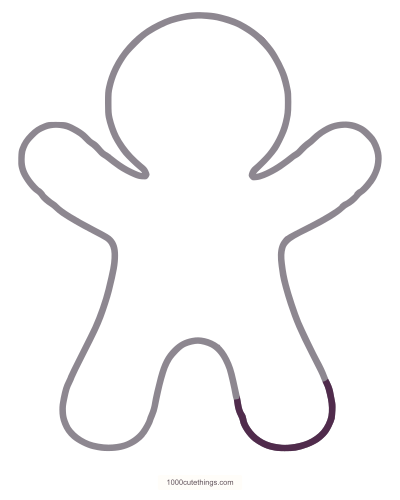
Step 14, whole drawing: Make the second rounded foot and join it to the inner arch.
This step, closer

Step 14, closer: Make the second rounded foot and join it to the inner arch.
Step 15 of 27
Start the left wrist icing
Draw one soft wavy line across the raised left wrist.
Whole drawing
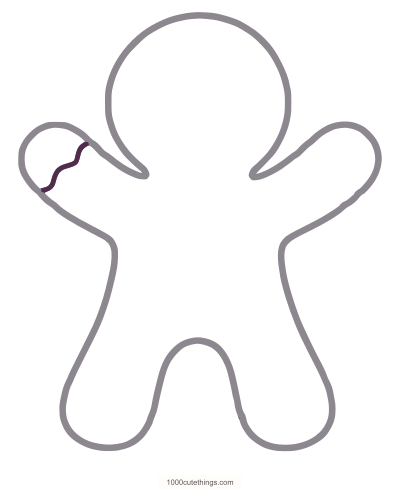
Step 15, whole drawing: Draw one soft wavy line across the raised left wrist.
This step, closer
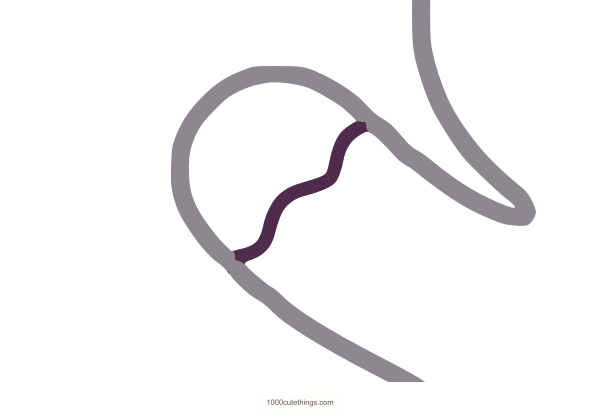
Step 15, closer: Draw one soft wavy line across the raised left wrist.
Step 16 of 27
Give that icing its width
Add a second wavy line beside it. Keep a clear white band between them.
Whole drawing
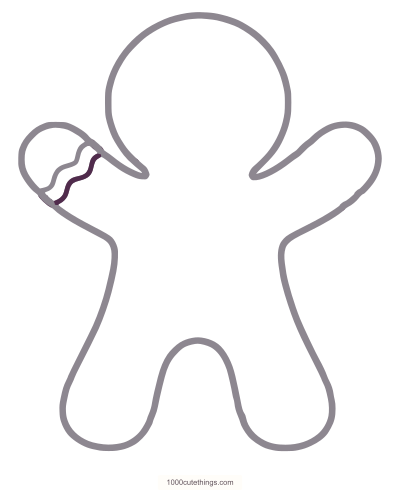
Step 16, whole drawing: Add a second wavy line beside it. Keep a clear white band between them.
This step, closer
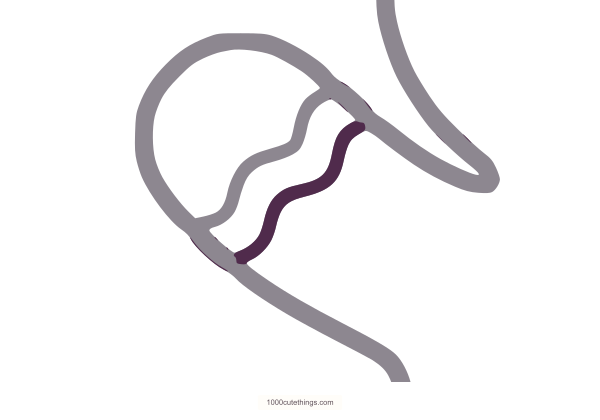
Step 16, closer: Add a second wavy line beside it. Keep a clear white band between them.
Step 17 of 27
Start the right wrist icing
Repeat the first wavy edge on the opposite wrist.
Whole drawing
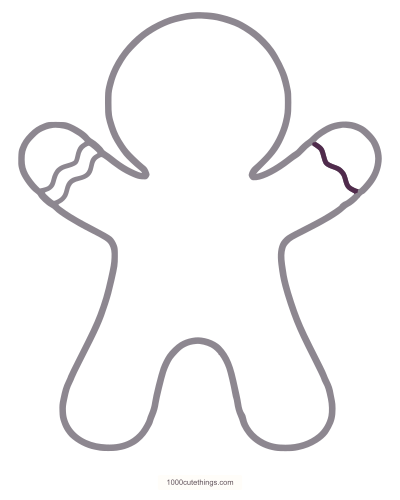
Step 17, whole drawing: Repeat the first wavy edge on the opposite wrist.
This step, closer
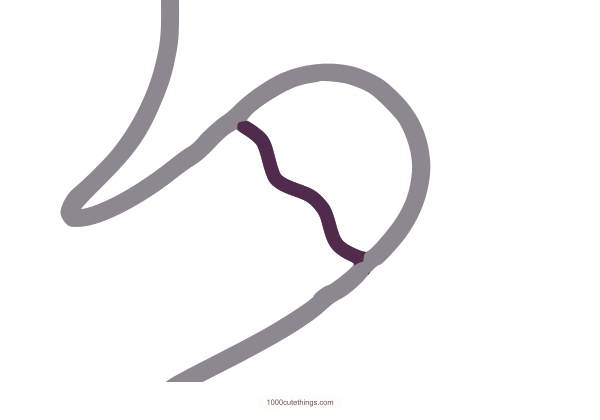
Step 17, closer: Repeat the first wavy edge on the opposite wrist.
Step 18 of 27
Finish the right wrist band
Draw the second wavy edge across that wrist.
Whole drawing
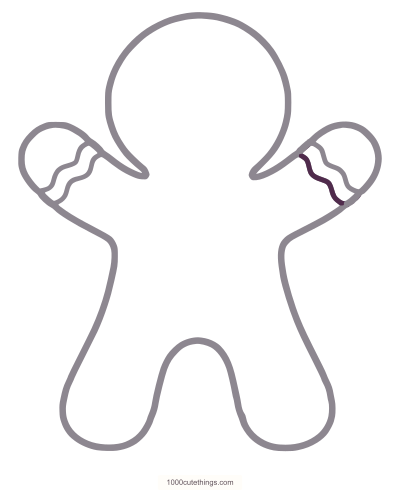
Step 18, whole drawing: Draw the second wavy edge across that wrist.
This step, closer
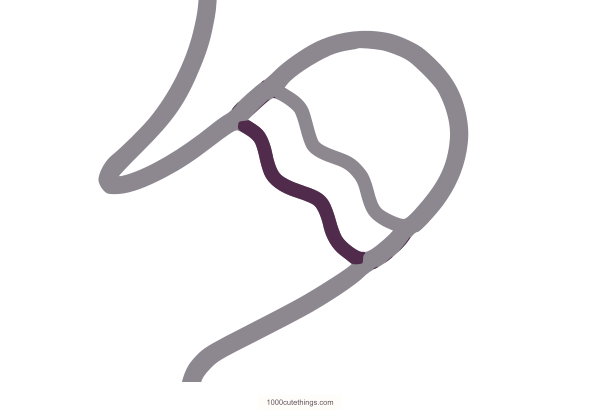
Step 18, closer: Draw the second wavy edge across that wrist.
Step 19 of 27
Start the left ankle icing
Draw the upper wavy edge across the left ankle.
Whole drawing
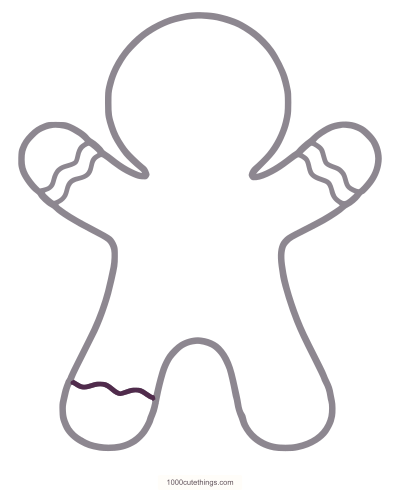
Step 19, whole drawing: Draw the upper wavy edge across the left ankle.
This step, closer
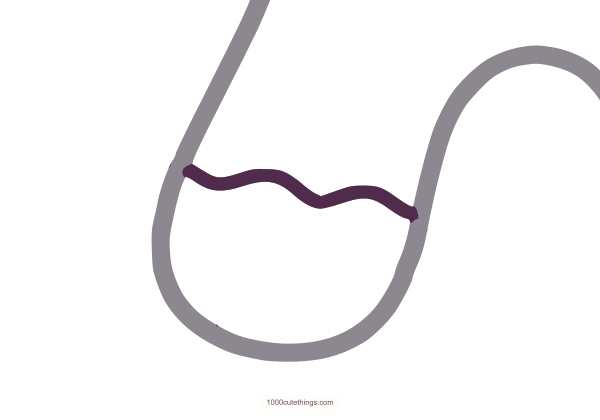
Step 19, closer: Draw the upper wavy edge across the left ankle.
Step 20 of 27
Finish the left ankle band
Place the lower wavy edge beneath it, leaving the rounded foot clear.
Whole drawing
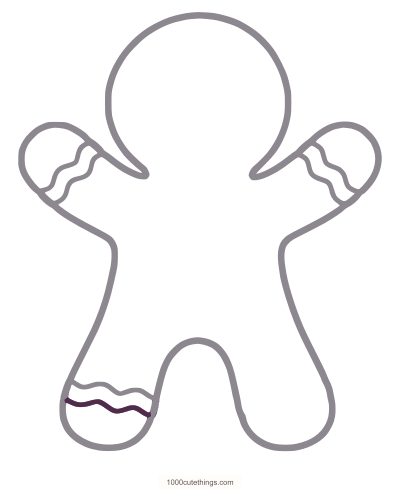
Step 20, whole drawing: Place the lower wavy edge beneath it, leaving the rounded foot clear.
This step, closer
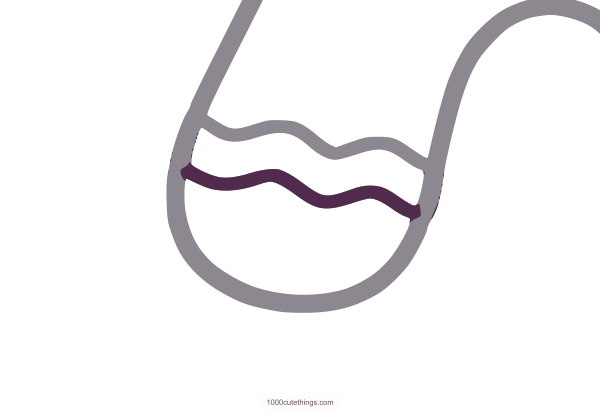
Step 20, closer: Place the lower wavy edge beneath it, leaving the rounded foot clear.
Step 21 of 27
Start the right ankle icing
Add the upper wavy edge across the right ankle.
Whole drawing
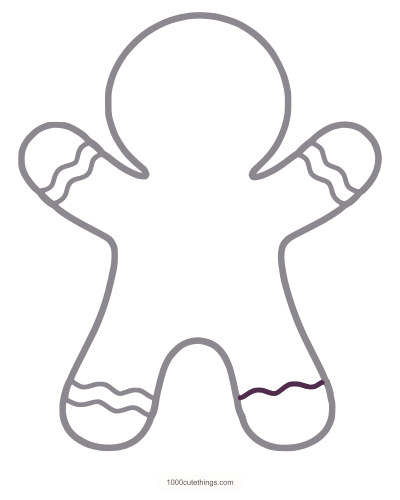
Step 21, whole drawing: Add the upper wavy edge across the right ankle.
This step, closer
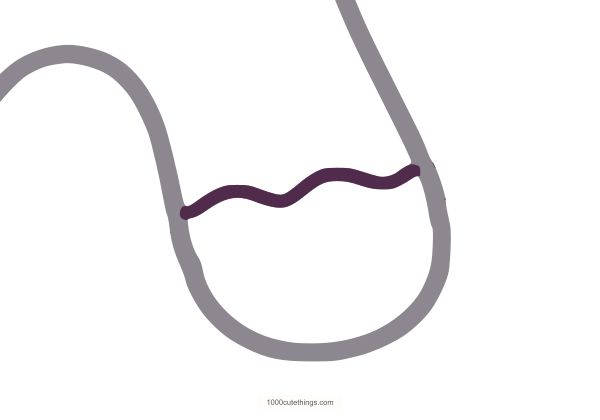
Step 21, closer: Add the upper wavy edge across the right ankle.
Step 22 of 27
Finish the right ankle band
Add its lower edge. Keep the two foot bands similarly broad.
Whole drawing
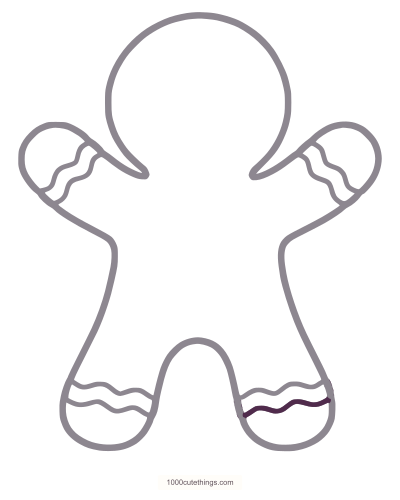
Step 22, whole drawing: Add its lower edge. Keep the two foot bands similarly broad.
This step, closer
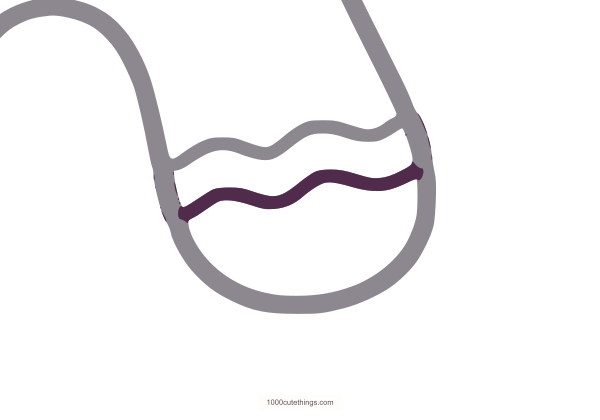
Step 22, closer: Add its lower edge. Keep the two foot bands similarly broad.
Step 23 of 27
Place the left eye
Make a small round dark eye inside the head.
Whole drawing
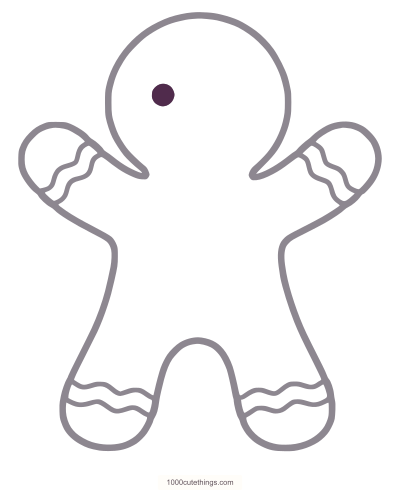
Step 23, whole drawing: Make a small round dark eye inside the head.
This step, closer

Step 23, closer: Make a small round dark eye inside the head.
Step 24 of 27
Place the right eye
Add the second eye with a comfortable gap between them.
Whole drawing
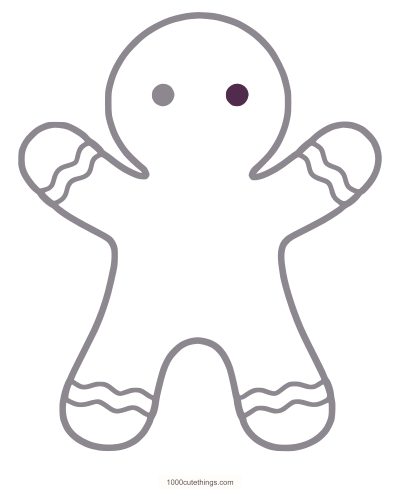
Step 24, whole drawing: Add the second eye with a comfortable gap between them.
This step, closer

Step 24, closer: Add the second eye with a comfortable gap between them.
Step 25 of 27
Add the smile
Draw a small curved smile below the eyes, away from the neck.
Whole drawing
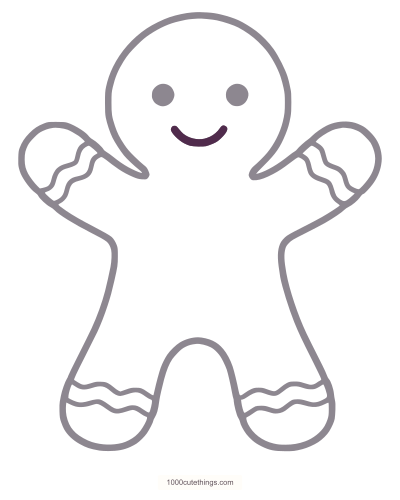
Step 25, whole drawing: Draw a small curved smile below the eyes, away from the neck.
This step, closer

Step 25, closer: Draw a small curved smile below the eyes, away from the neck.
Step 26 of 27
Draw the upper button
Close a large empty circle in the upper torso.
Whole drawing
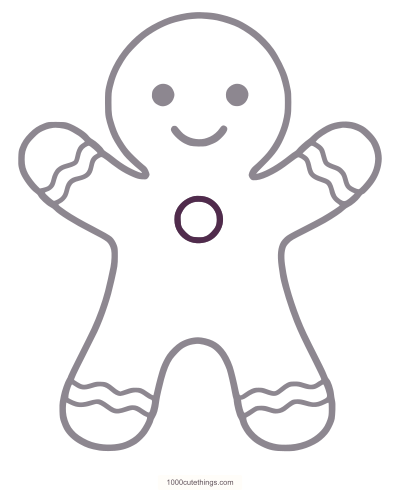
Step 26, whole drawing: Close a large empty circle in the upper torso.
This step, closer
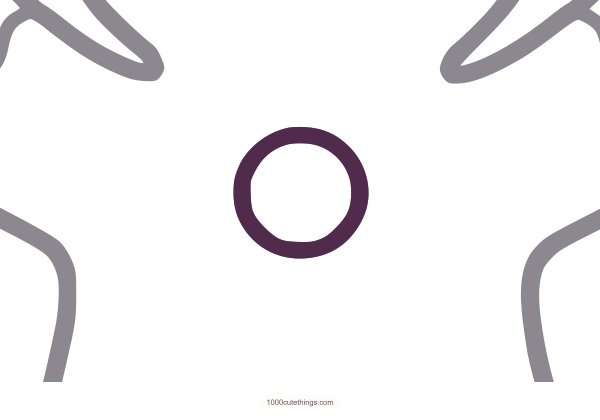
Step 26, closer: Close a large empty circle in the upper torso.
Step 27 of 27
Draw the lower button
Add a second circle below it, leaving a gap above the leg arch.
Whole drawing
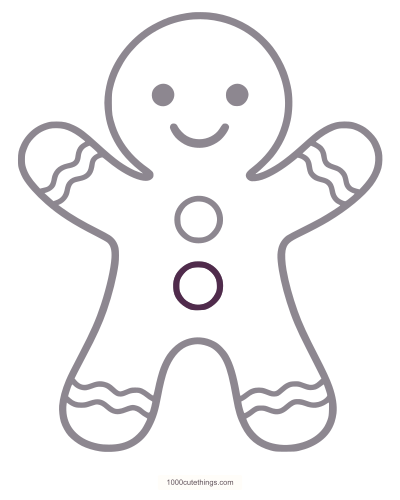
Step 27, whole drawing: Add a second circle below it, leaving a gap above the leg arch.
This step, closer
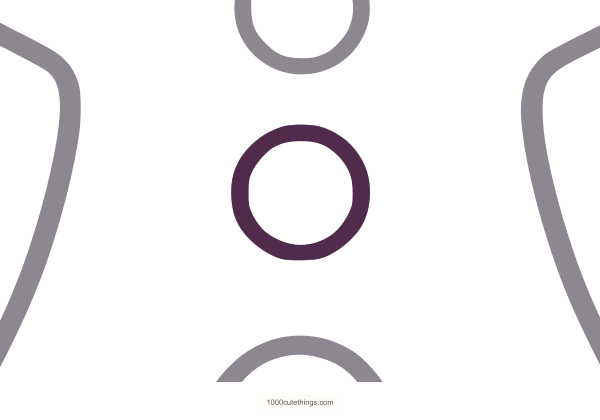
Step 27, closer: Add a second circle below it, leaving a gap above the leg arch.
Quick guide
Use these larger checkpoints once the parts make sense. Return to the Detailed guide whenever a join or decoration needs more explanation.
Show the 8-stage Quick guide and its PDFs
PDFs open in a new tab. Choose A4 or US Letter to match your paper. The Quick pack ends with the same blank outline and color reference.
Stage 1: Round head
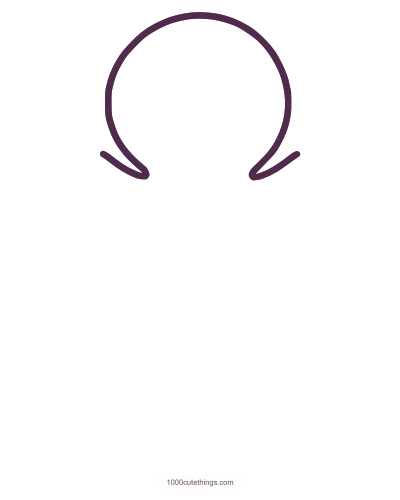
Quick stage 1: Draw the round head, turning inward briefly at both shoulders.
Draw the round head, turning inward briefly at both shoulders.
Stage 2: Left arm and side
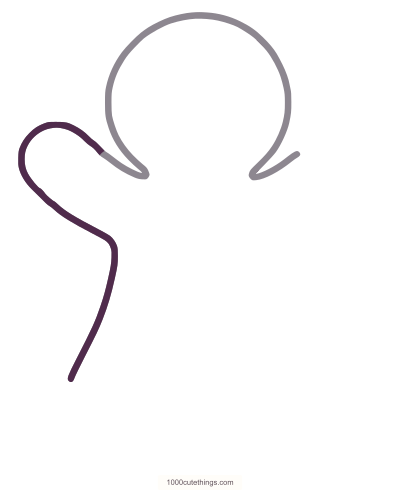
Quick stage 2: Round the raised left hand, turn under its arm and curve down the left torso.
Round the raised left hand, turn under its arm and curve down the left torso.
Stage 3: Right arm and side
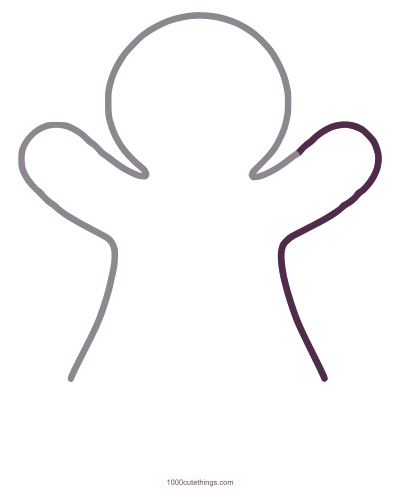
Quick stage 3: Repeat the raised hand, underarm and torso curve on the right.
Repeat the raised hand, underarm and torso curve on the right.
Stage 4: Legs and feet
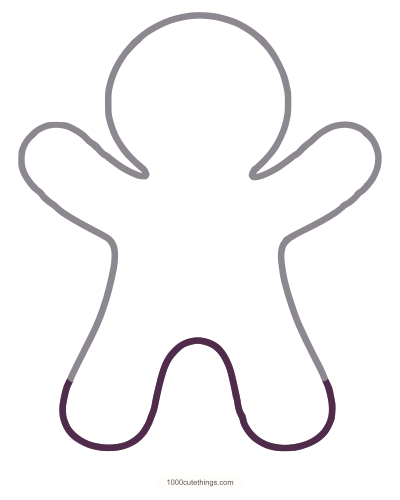
Quick stage 4: Make an open arch between the legs, then round each foot to join its outer ankle.
Make an open arch between the legs, then round each foot to join its outer ankle.
Stage 5: Wrist icing
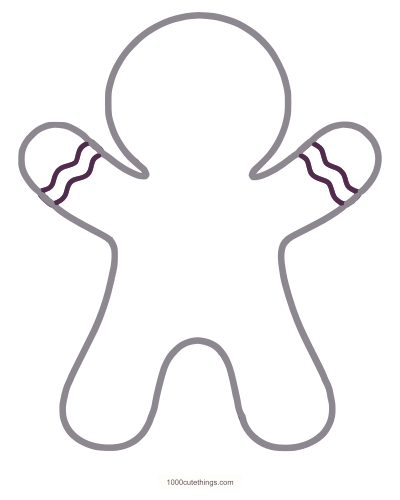
Quick stage 5: Add two parallel wavy edges at each wrist to make icing bands.
Add two parallel wavy edges at each wrist to make icing bands.
Stage 6: Ankle icing
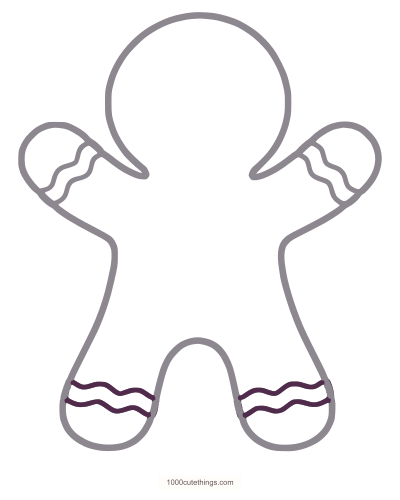
Quick stage 6: Repeat the two-edge icing bands across both ankles.
Repeat the two-edge icing bands across both ankles.
Stage 7: Eyes and smile
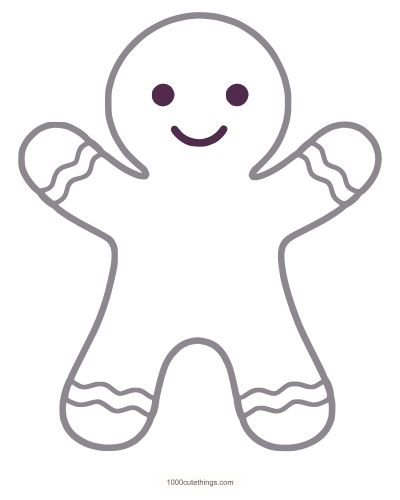
Quick stage 7: Place two dark eyes and a small curved smile inside the head.
Place two dark eyes and a small curved smile inside the head.
Stage 8: Two buttons
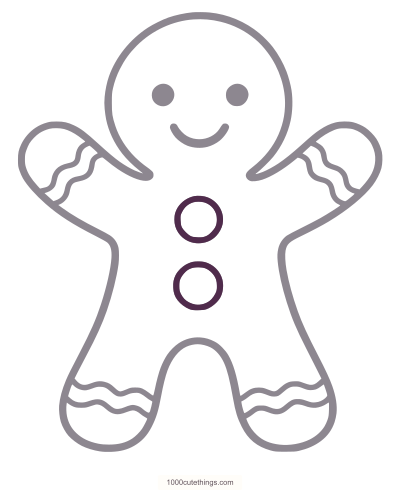
Quick stage 8: Close two broad button circles in the torso, with a gap above the leg arch.
Close two broad button circles in the torso, with a gap above the leg arch.
Finished outline and one color idea
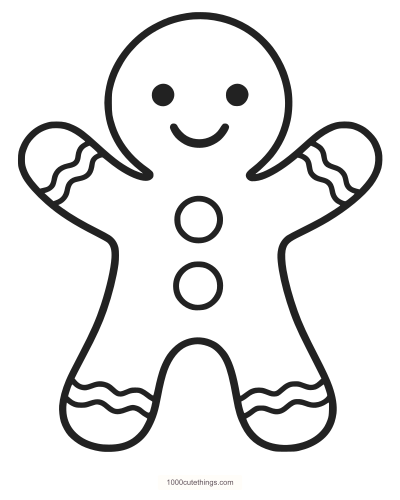
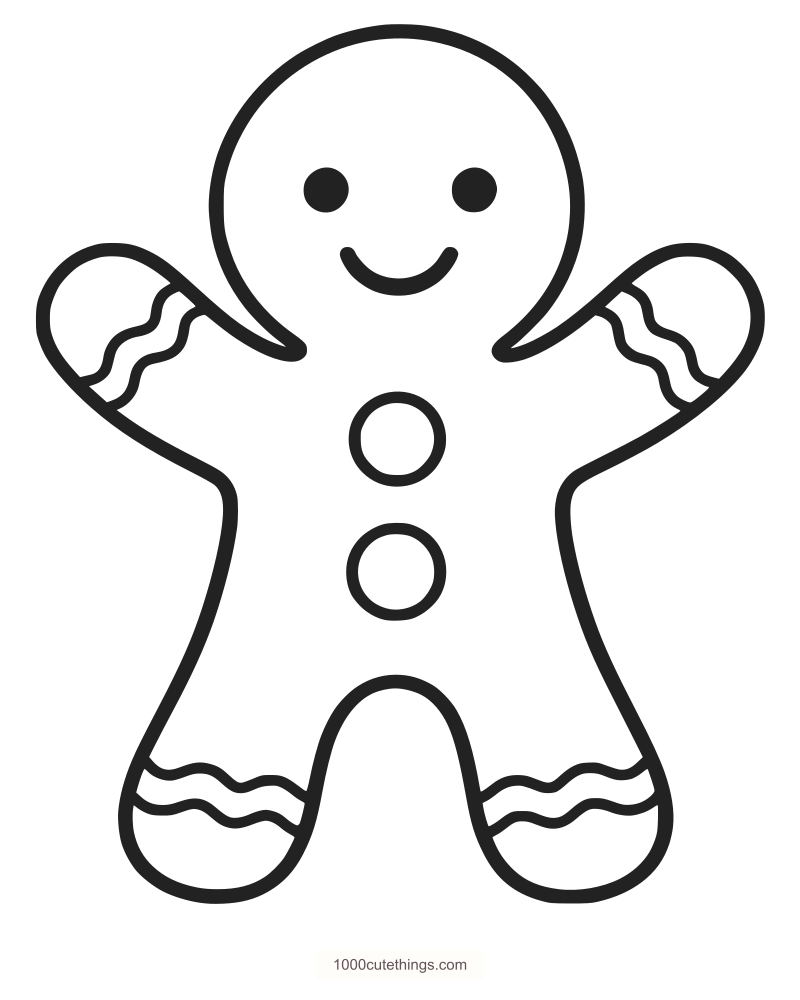
Finished blank outline: A smiling gingerbread figure
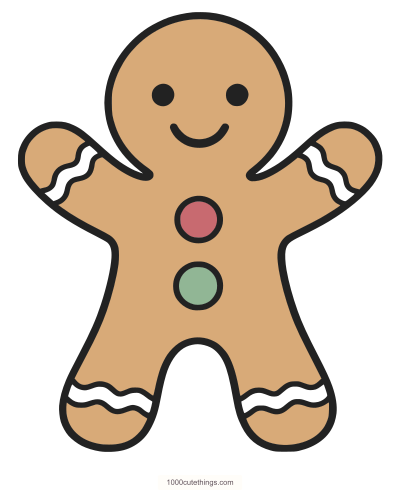
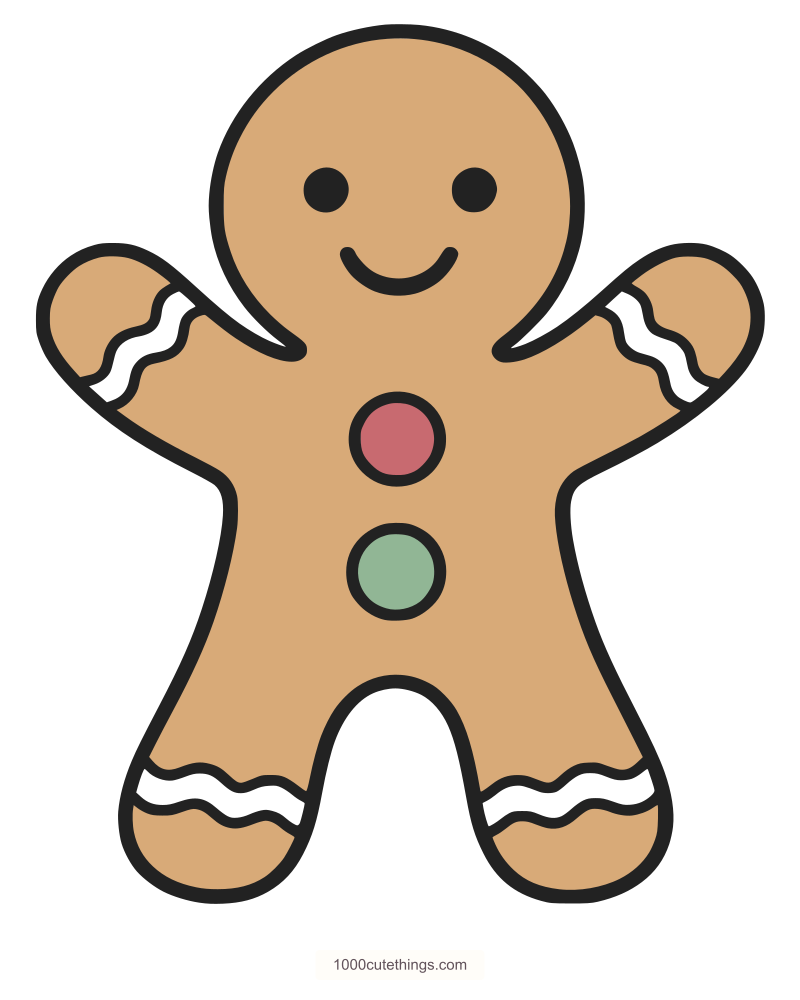
Same-contour colored reference: A smiling gingerbread figure
Try a biscuit-colored body with white icing. Color the two buttons before filling the larger body area.
Check the tricky parts
If the feet merge, deepen the open arch between them before finishing the foot curves. Keep each icing band between two lines and inside its own limb. The eyes and smile sit in the head; the buttons belong on the torso.
Try a warm biscuit color with white icing and red or green buttons. You can also leave the cookie white and use colored pencils only for the icing bands.
Follow the Christmas-tree lesson
The tree starts at the star and grows down through four branching tiers. Each lower tier reaches farther sideways. The garlands come next, followed by five baubles and their small caps.

The full tree lesson keeps its Detailed and Quick guides together on one page.
Open how to draw a Christmas tree for all 33 actions, ten Quick stages and matching A4/US Letter guide PDFs. The preview here shows the result; the complete teaching sequence stays on that lesson page.
Turn a drawing into a small greeting
Once you can place the subject comfortably, try a smaller version on a blank card or gift note. Reserve space for the words first. Put the drawing beside the greeting rather than squeezing the writing between the snowman’s arms or the tree’s branches.
Repeat one accent color across the picture and the greeting. A scarf color can become the lettering color; a gingerbread button color can become a simple border dot. Keep any decoration away from the subject’s eyes, open leg arch or small bauble caps so the drawing remains easy to read.
If you would rather begin with a ready-made outline, use the six Christmas coloring pages. The evergreen drawing collection offers more subjects when you want a change from Christmas.