In this guide
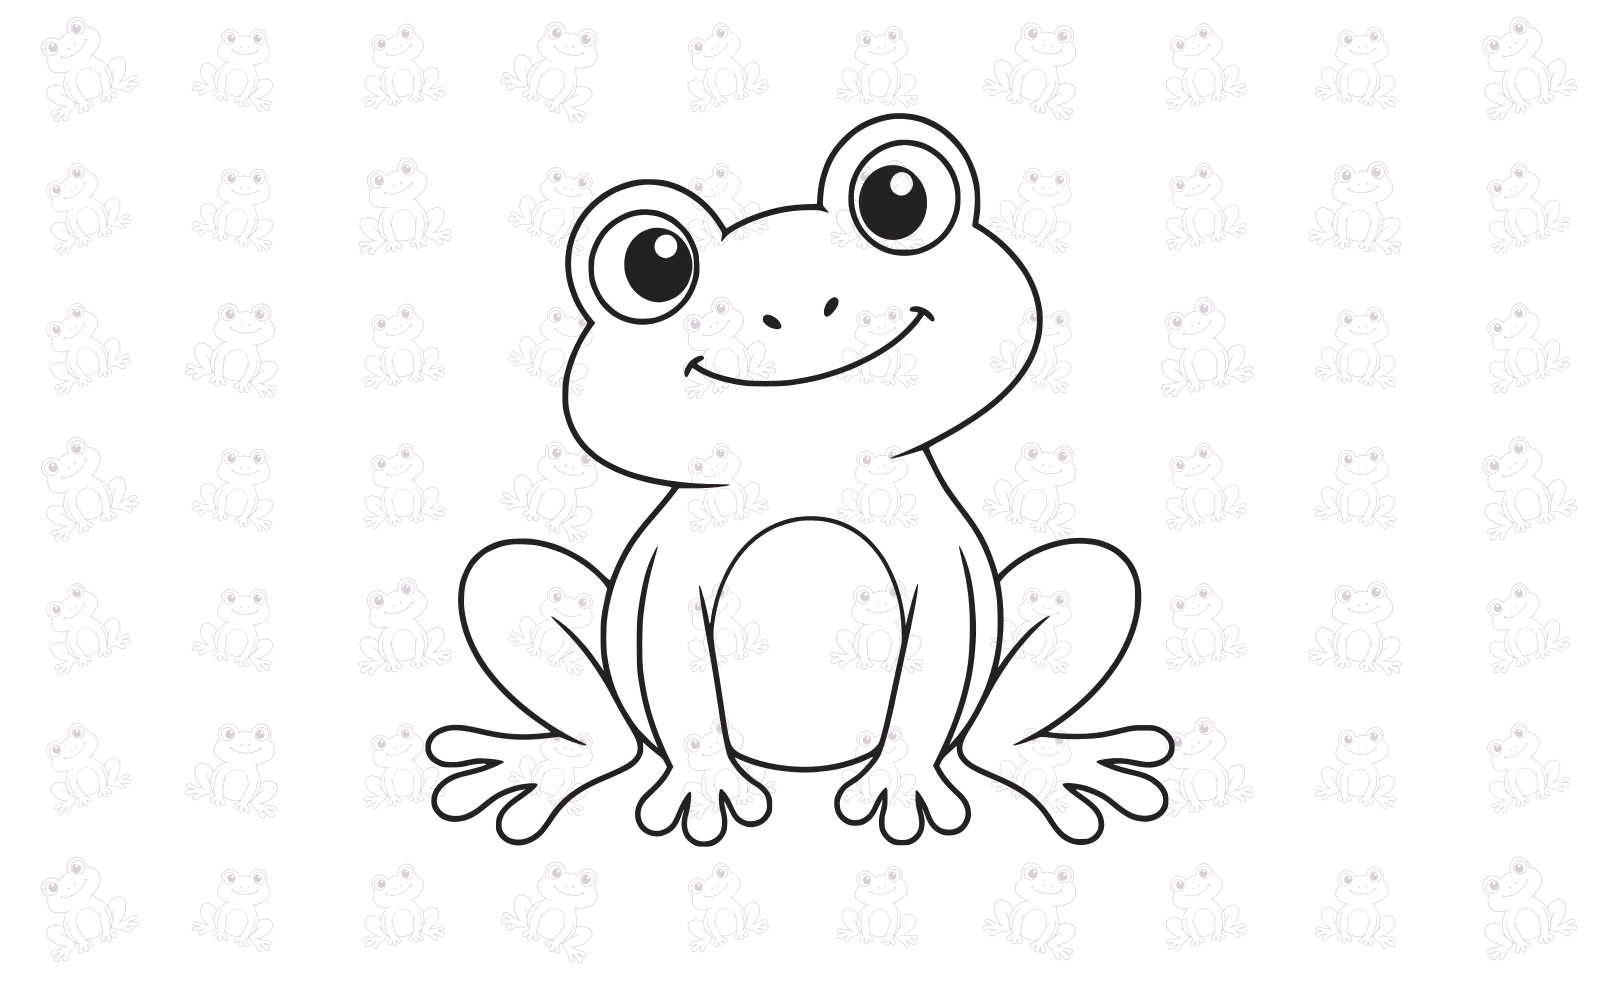

To draw this cute frog, build the tilted head first, leave an opening for the body, then add the short front arms and folded hind legs. Finish with the eye rims, pupils and broad smile. The front hands sit close together; the larger back feet point outward on either side.
A pencil, plain paper and an eraser are enough. Use a fineliner only after you are happy with the joins. This is a complete seated frog, with more curves than the small face-only frog in our drawing collection. Give it room on the page rather than squeezing the hands into a tiny corner.
Leave room for the eyes and back feet
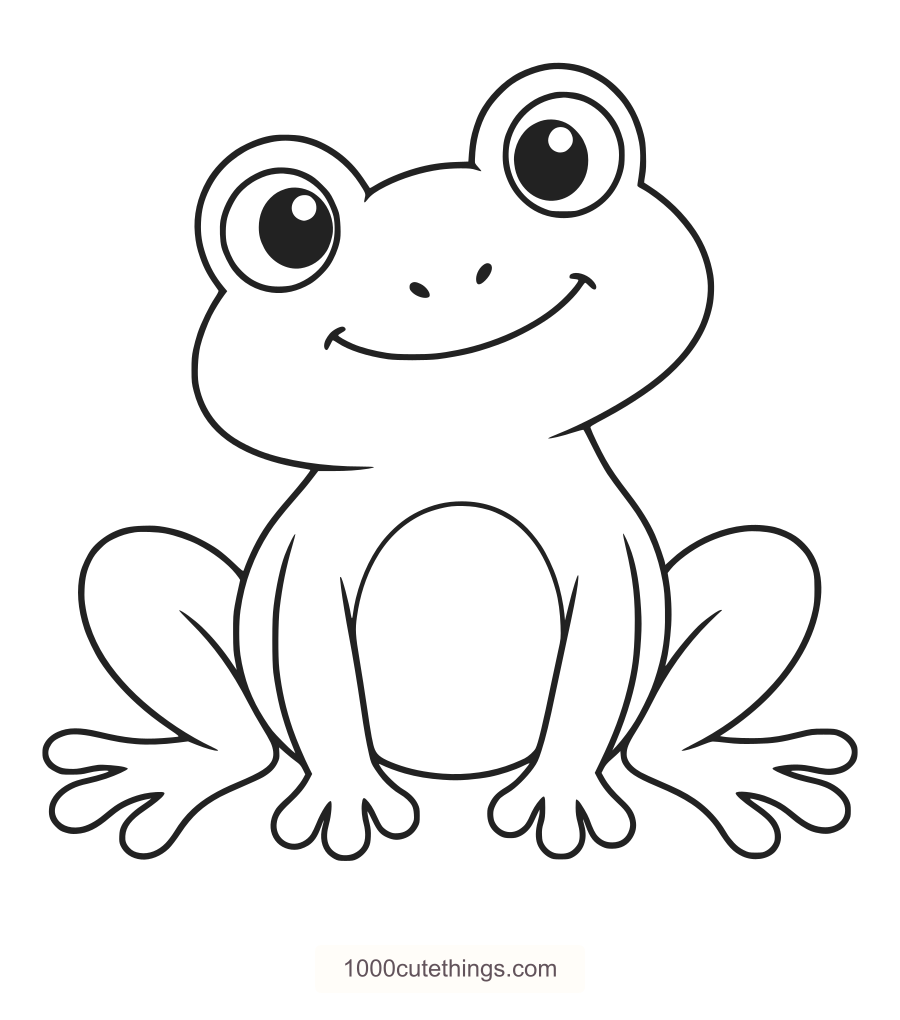
Look at the finished outline before you start. The right eye bump sits higher than the left because the head tilts. The eye rims follow that tilt; the hands and feet still settle toward one ground line.
Lightly mark the top of the higher eye bump and the bottom of the fingers. Leave space outside the body for both folded thighs and the broad back feet. The head is wider than the torso. A body as wide as the head will leave little room for those side legs.
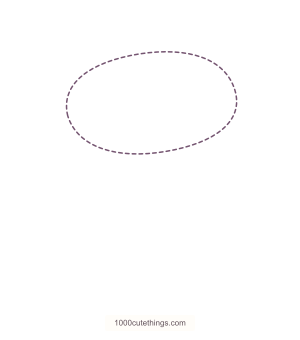
The pale dashed head oval is only a placement guide. Keep the finished head open underneath where it meets the body. Erase the oval at step 7. The second oval and baseline help place the limbs; erase them at step 32, after the back feet are connected.
The three rounded tips on each front hand are drawing simplifications. Follow their contours one at a time instead of trying to draw a complete hand in one fast loop. The Detailed guide separates these turns and shows a larger view beside the whole frog.
Draw it step by step
Choose how much guidance you want. Both guides use the same frog and finish with the same outline.
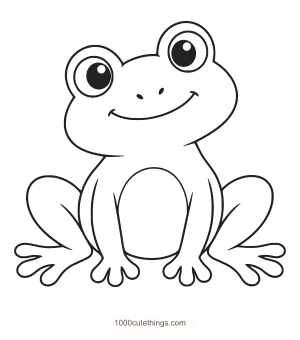
Finished seated frog: two front hands between two broad back feet.
Press Escape to return to the page.
Detailed guide
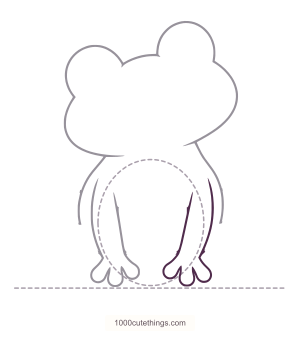
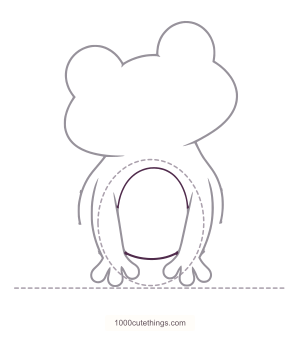
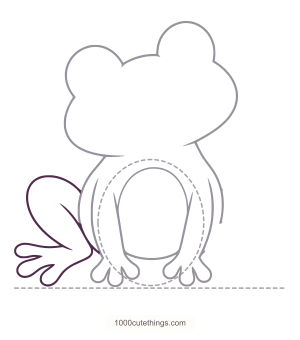
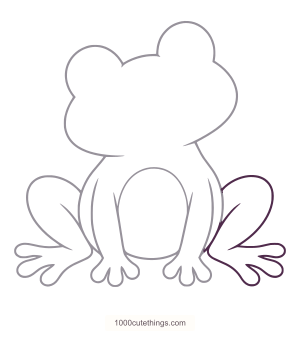
Draw only the dark plum additions in each panel. Solid gray lines show earlier work. Dashed lines are light placement guides: erase the head oval at step 7, then the body oval and ground line at step 32. The larger view shows the same lines as the whole drawing beside it.
PDFs open in a new tab. The Detailed pack has 12 pages, including a blank outline and an optional color reference.
Step 1 of 39
Place the head
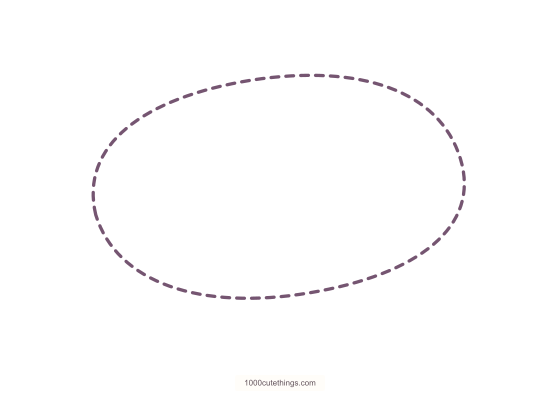
Lightly sketch a wide tilted oval. The two eye bumps will rise above it.
Step 1, whole drawing: Lightly sketch a wide tilted oval. The two eye bumps will rise above it.
Press Escape to return to the page.
Step 1, closer view: Lightly sketch a wide tilted oval. The two eye bumps will rise above it.
Press Escape to return to the page.
Step 2 of 39
Round the left cheek
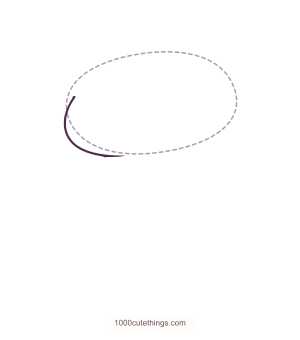
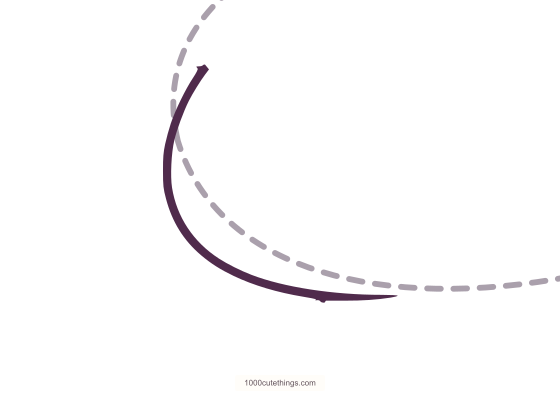
From the left eye space, curve down around the cheek and under the head. Stop at the wide neck opening.
Step 2, whole drawing: From the left eye space, curve down around the cheek and under the head. Stop at the wide neck opening.
Press Escape to return to the page.
Step 2, closer view: From the left eye space, curve down around the cheek and under the head. Stop at the wide neck opening.
Press Escape to return to the page.
Step 3 of 39
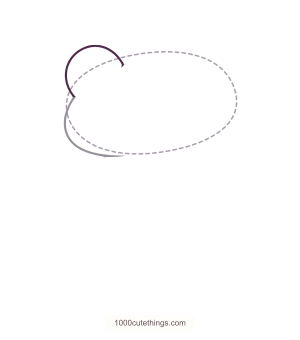
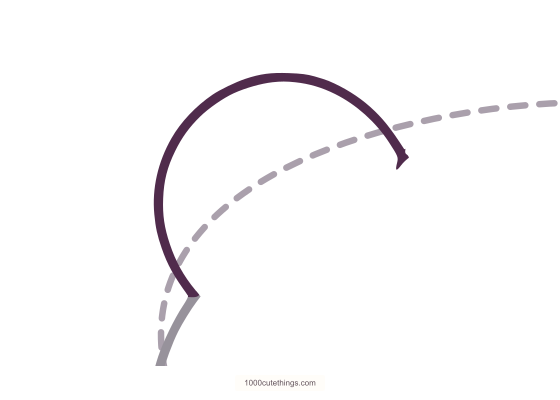
Raise the left eye bump
Round an arch above the left cheek and bring it down toward the forehead.
Step 3, whole drawing: Round an arch above the left cheek and bring it down toward the forehead.
Press Escape to return to the page.
Step 3, closer view: Round an arch above the left cheek and bring it down toward the forehead.
Press Escape to return to the page.
Step 4 of 39
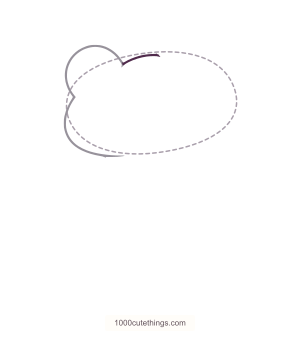
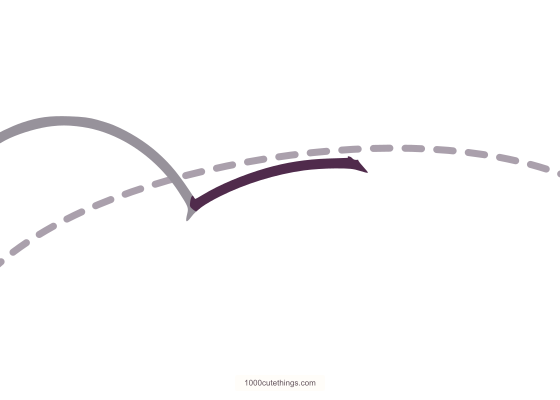
Bridge the forehead
Draw the shallow rising curve between the two eye bumps.
Step 4, whole drawing: Draw the shallow rising curve between the two eye bumps.
Press Escape to return to the page.
Step 4, closer view: Draw the shallow rising curve between the two eye bumps.
Press Escape to return to the page.
Step 5 of 39
Raise the right eye bump
Round the taller eye arch on the right. Its lower end joins the cheek space.
Step 5, whole drawing: Round the taller eye arch on the right. Its lower end joins the cheek space.
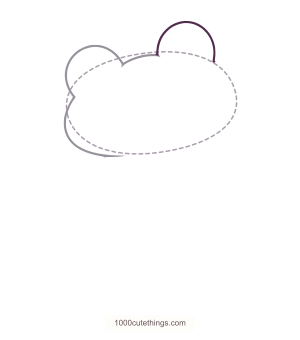
Press Escape to return to the page.
Step 5, closer view: Round the taller eye arch on the right. Its lower end joins the cheek space.
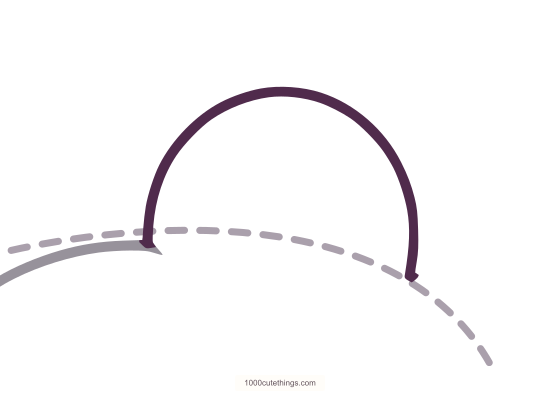
Press Escape to return to the page.
Step 6 of 39
Curve the right cheek
From the eye bump, curve outward and down around the right cheek.
Step 6, whole drawing: From the eye bump, curve outward and down around the right cheek.
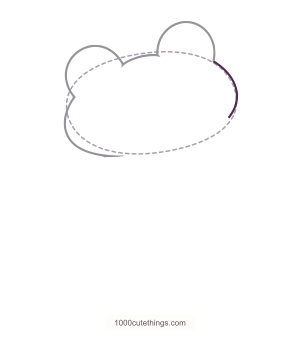
Press Escape to return to the page.
Step 6, closer view: From the eye bump, curve outward and down around the right cheek.
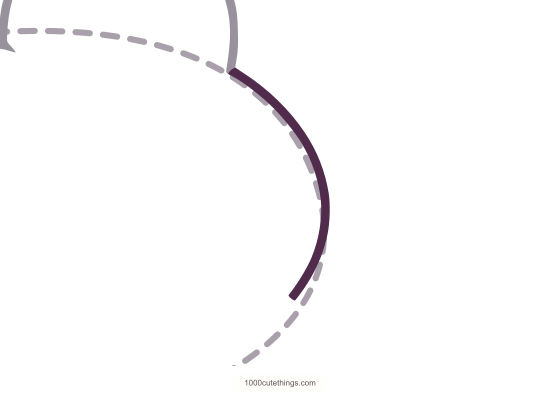
Press Escape to return to the page.
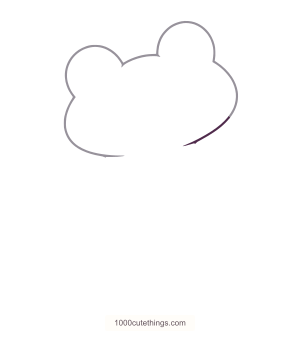
Step 7 of 39
Finish the head edge
Continue the lower cheek toward the neck. Keep the opening beneath the head; erase the oval guide.
Step 7, whole drawing: Continue the lower cheek toward the neck. Keep the opening beneath the head; erase the oval guide.
Press Escape to return to the page.
Step 7, closer view: Continue the lower cheek toward the neck. Keep the opening beneath the head; erase the oval guide.

Press Escape to return to the page.
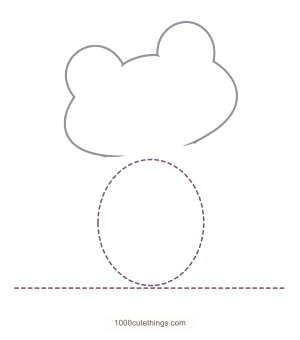
Step 8 of 39
Reserve the body space
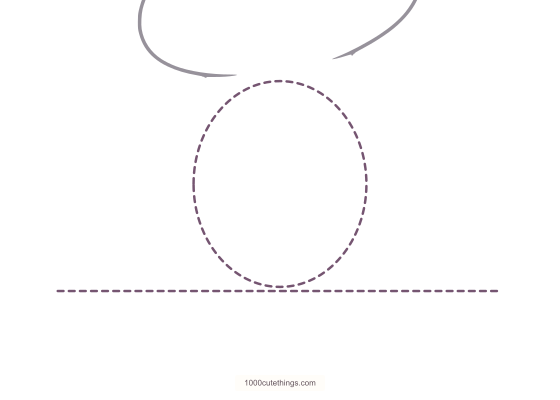
Lightly sketch a narrower body oval beneath the head and a ground line below it. The hind legs will sit outside this oval.
Step 8, whole drawing: Lightly sketch a narrower body oval beneath the head and a ground line below it. The hind legs will sit outside this oval.
Press Escape to return to the page.
Step 8, closer view: Lightly sketch a narrower body oval beneath the head and a ground line below it. The hind legs will sit outside this oval.
Press Escape to return to the page.
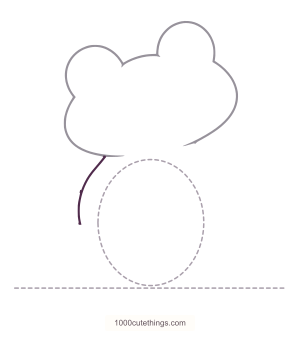
Step 9 of 39
Draw the left body edge
Curve down from the left neck join toward the hip. Stop before the foot space.
Step 9, whole drawing: Curve down from the left neck join toward the hip. Stop before the foot space.
Press Escape to return to the page.
Step 9, closer view: Curve down from the left neck join toward the hip. Stop before the foot space.
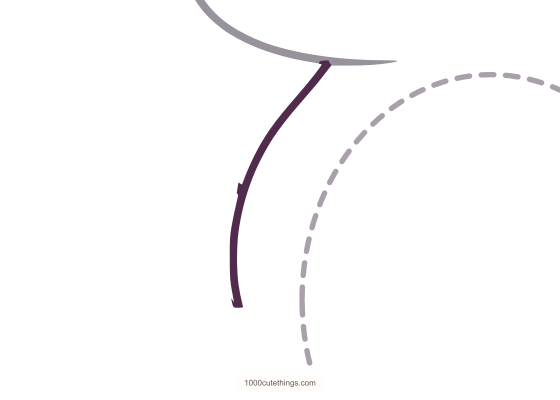
Press Escape to return to the page.
Step 10 of 39
Draw the right body edge
Curve down from the right neck join toward the other hip.
Step 10, whole drawing: Curve down from the right neck join toward the other hip.
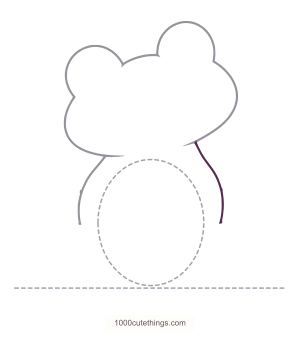
Press Escape to return to the page.
Step 10, closer view: Curve down from the right neck join toward the other hip.
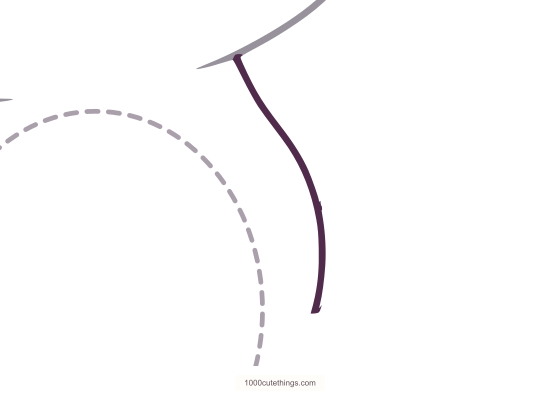
Press Escape to return to the page.
Step 11 of 39
Start the left front arm
Draw the long outside edge of the left front arm, ending just above its hand.
Step 11, whole drawing: Draw the long outside edge of the left front arm, ending just above its hand.
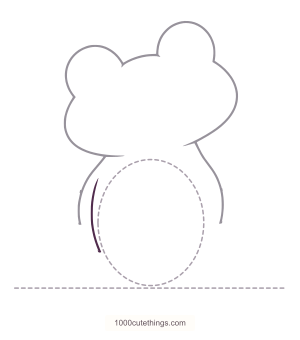
Press Escape to return to the page.
Step 11, closer view: Draw the long outside edge of the left front arm, ending just above its hand.
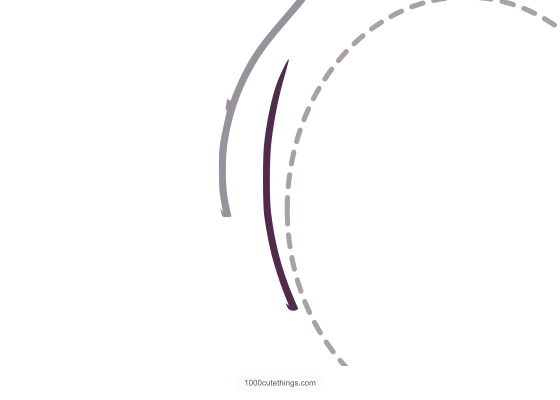
Press Escape to return to the page.
Step 12 of 39
Round its outside finger
Continue around the outer rounded finger and curve up into the first gap.
Step 12, whole drawing: Continue around the outer rounded finger and curve up into the first gap.
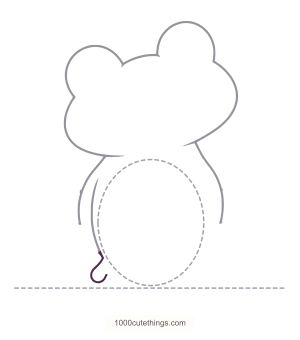
Press Escape to return to the page.
Step 12, closer view: Continue around the outer rounded finger and curve up into the first gap.
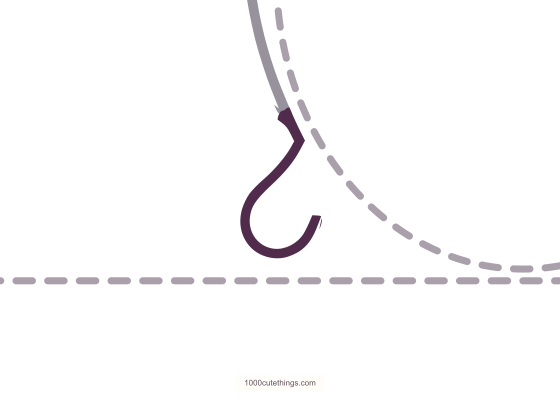
Press Escape to return to the page.
Step 13 of 39
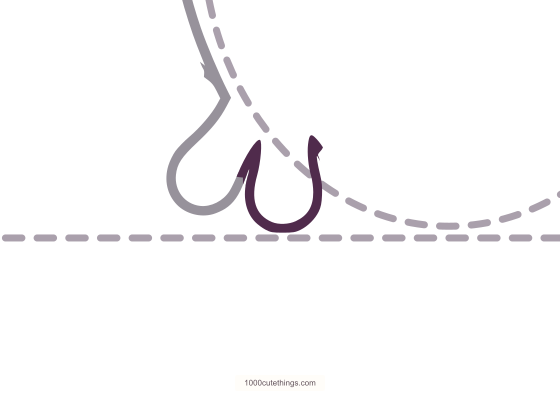
Round its middle finger
Curve down around the middle fingertip and back up into the next gap.
Step 13, whole drawing: Curve down around the middle fingertip and back up into the next gap.
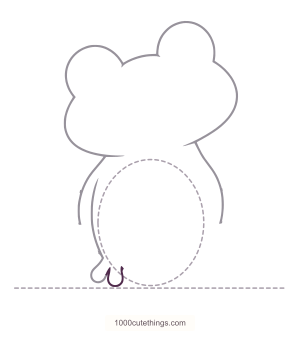
Press Escape to return to the page.
Step 13, closer view: Curve down around the middle fingertip and back up into the next gap.
Press Escape to return to the page.
Step 14 of 39
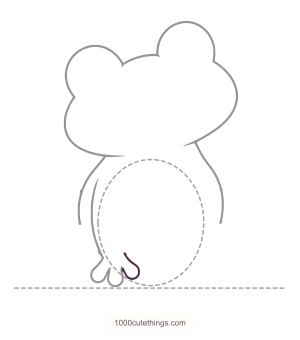
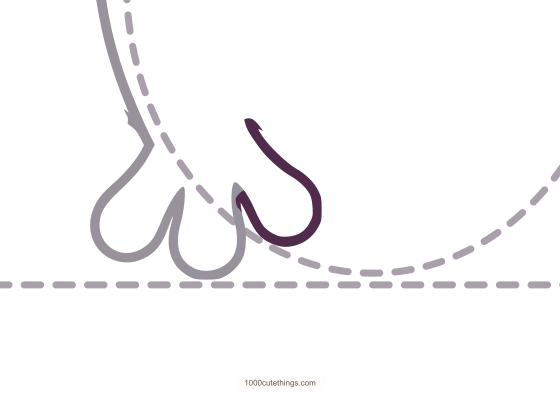
Round its inside finger
Add the small inner finger, then continue up toward the inside edge of the arm.
Step 14, whole drawing: Add the small inner finger, then continue up toward the inside edge of the arm.
Press Escape to return to the page.
Step 14, closer view: Add the small inner finger, then continue up toward the inside edge of the arm.
Press Escape to return to the page.
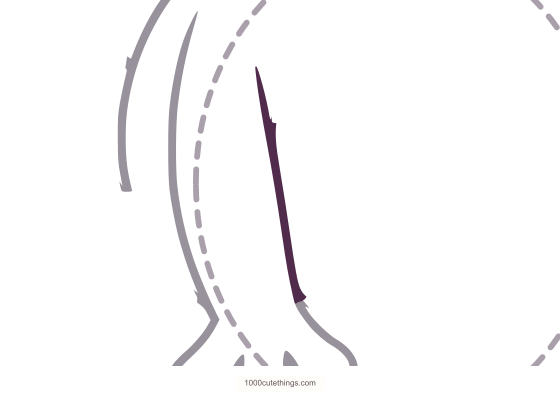
Step 15 of 39
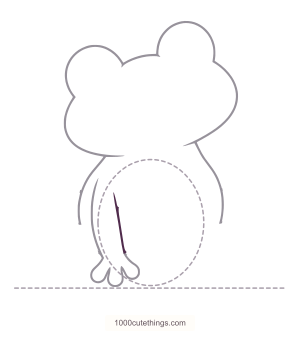
Join the inside arm edge
Draw the inner arm edge down from its upper point until it meets the hand.
Step 15, whole drawing: Draw the inner arm edge down from its upper point until it meets the hand.
Press Escape to return to the page.
Step 15, closer view: Draw the inner arm edge down from its upper point until it meets the hand.
Press Escape to return to the page.
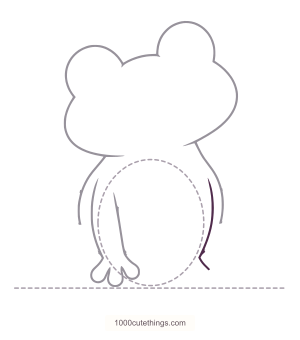
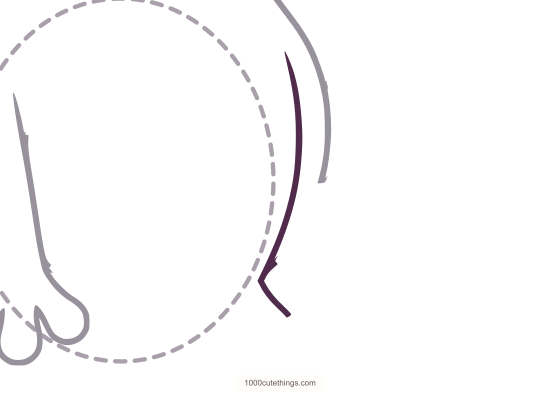
Step 16 of 39
Start the right front arm
Draw the other arm's outside edge downward, turning outward where its hand begins.
Step 16, whole drawing: Draw the other arm's outside edge downward, turning outward where its hand begins.
Press Escape to return to the page.
Step 16, closer view: Draw the other arm's outside edge downward, turning outward where its hand begins.
Press Escape to return to the page.
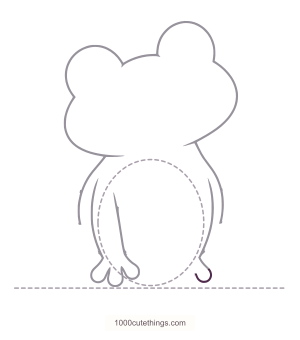
Step 17 of 39
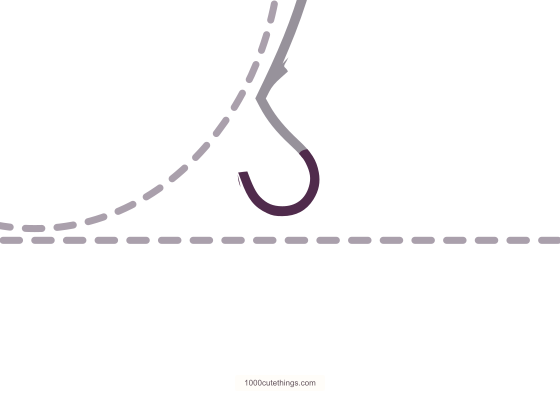
Round its outside finger
Round the outer finger and return upward into the first gap.
Step 17, whole drawing: Round the outer finger and return upward into the first gap.
Press Escape to return to the page.
Step 17, closer view: Round the outer finger and return upward into the first gap.
Press Escape to return to the page.
Step 18 of 39
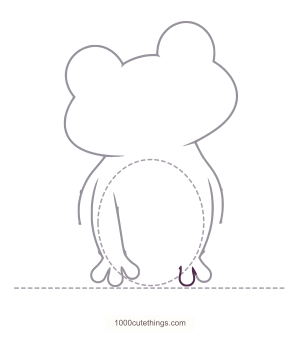
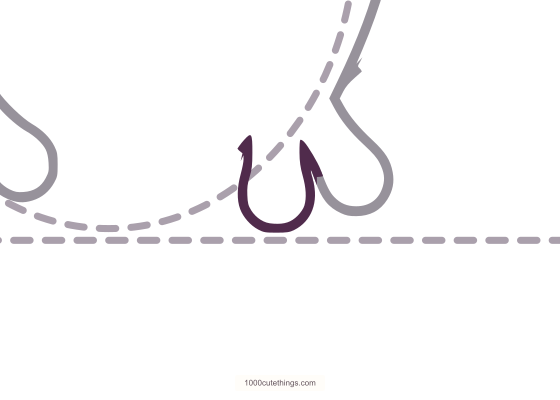
Round its middle finger
Draw the middle finger with a rounded bottom and a narrow gap beside it.
Step 18, whole drawing: Draw the middle finger with a rounded bottom and a narrow gap beside it.
Press Escape to return to the page.
Step 18, closer view: Draw the middle finger with a rounded bottom and a narrow gap beside it.
Press Escape to return to the page.
Step 19 of 39
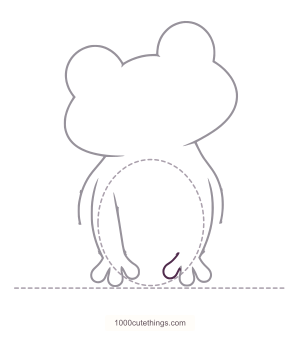
Round its inside finger
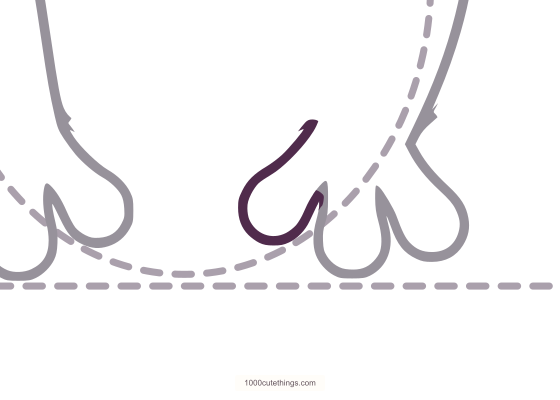
Draw the inner finger and continue upward toward the inside arm edge.
Step 19, whole drawing: Draw the inner finger and continue upward toward the inside arm edge.
Press Escape to return to the page.
Step 19, closer view: Draw the inner finger and continue upward toward the inside arm edge.
Press Escape to return to the page.
Step 20 of 39
Join the inside arm edge
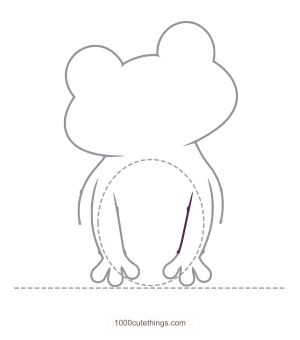
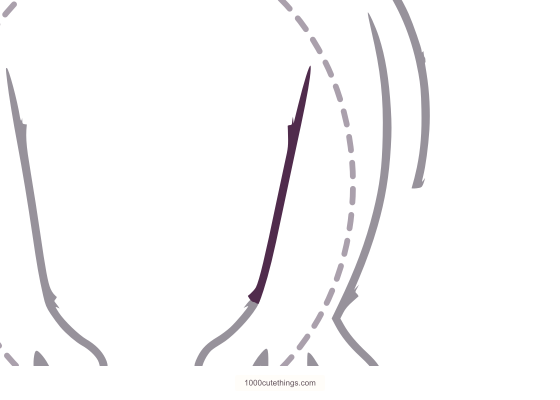
Connect that hand to the upper inner arm point. Keep the two hands separated.
Step 20, whole drawing: Connect that hand to the upper inner arm point. Keep the two hands separated.
Press Escape to return to the page.
Step 20, closer view: Connect that hand to the upper inner arm point. Keep the two hands separated.
Press Escape to return to the page.
Step 21 of 39
Arch the belly patch
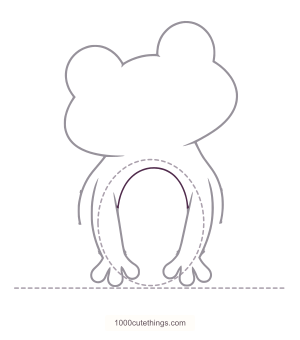
Draw a broad arch between the two inside arm edges.
Step 21, whole drawing: Draw a broad arch between the two inside arm edges.
Press Escape to return to the page.
Step 21, closer view: Draw a broad arch between the two inside arm edges.
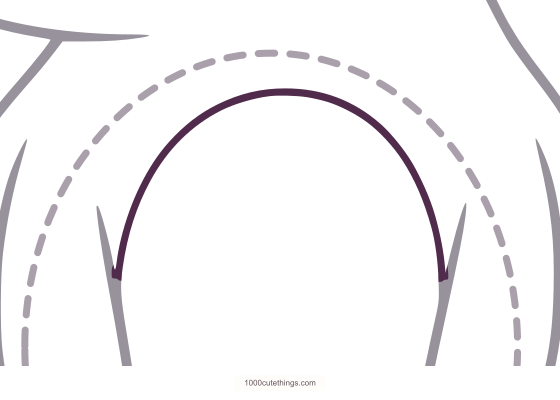
Press Escape to return to the page.
Step 22 of 39
Close the belly patch
Join the lower sides with a shallow curve above the hands.
Step 22, whole drawing: Join the lower sides with a shallow curve above the hands.
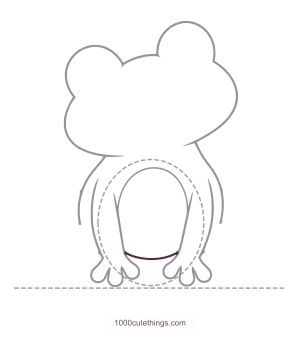
Press Escape to return to the page.
Step 22, closer view: Join the lower sides with a shallow curve above the hands.
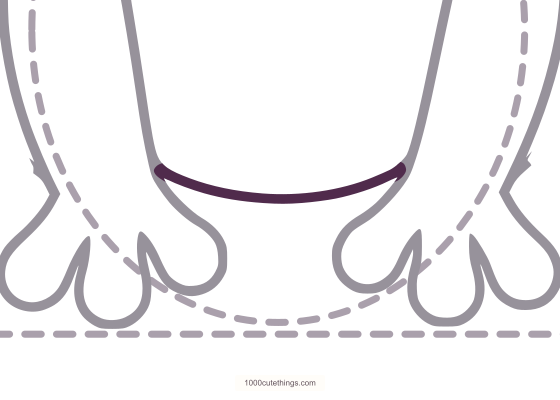
Press Escape to return to the page.
Step 23 of 39
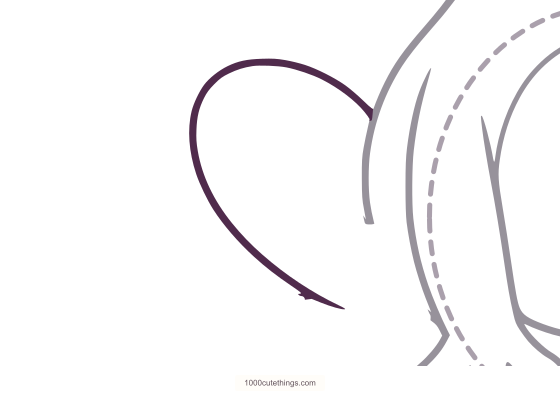
Round the left hind leg
Curve outward from the left hip, around the broad folded thigh and down toward the back foot.
Step 23, whole drawing: Curve outward from the left hip, around the broad folded thigh and down toward the back foot.
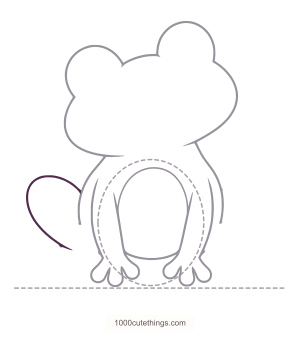
Press Escape to return to the page.
Step 23, closer view: Curve outward from the left hip, around the broad folded thigh and down toward the back foot.
Press Escape to return to the page.
Step 24 of 39
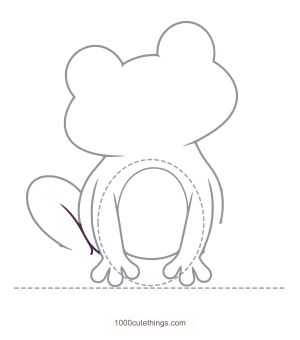
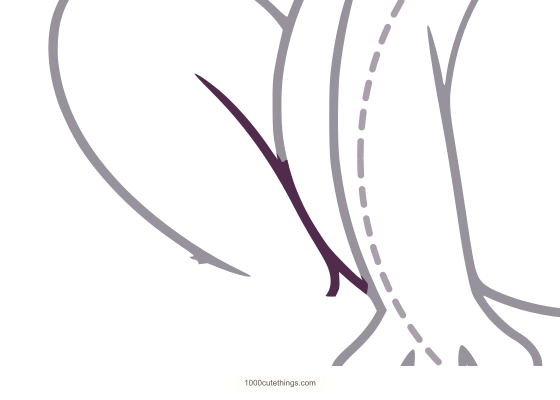
Add the left leg fold
Draw the sloping inner thigh curve toward the ankle, joining the short edge beside the front arm.
Step 24, whole drawing: Draw the sloping inner thigh curve toward the ankle, joining the short edge beside the front arm.
Press Escape to return to the page.
Step 24, closer view: Draw the sloping inner thigh curve toward the ankle, joining the short edge beside the front arm.
Press Escape to return to the page.
Step 25 of 39
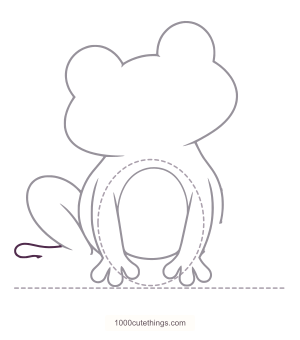
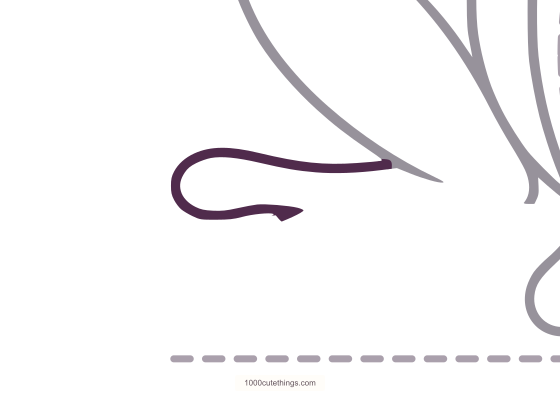
Round the upper back toe
From the outer leg edge, sweep left around the upper rounded toe and turn inward.
Step 25, whole drawing: From the outer leg edge, sweep left around the upper rounded toe and turn inward.
Press Escape to return to the page.
Step 25, closer view: From the outer leg edge, sweep left around the upper rounded toe and turn inward.
Press Escape to return to the page.
Step 26 of 39
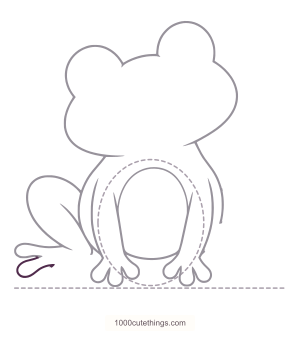
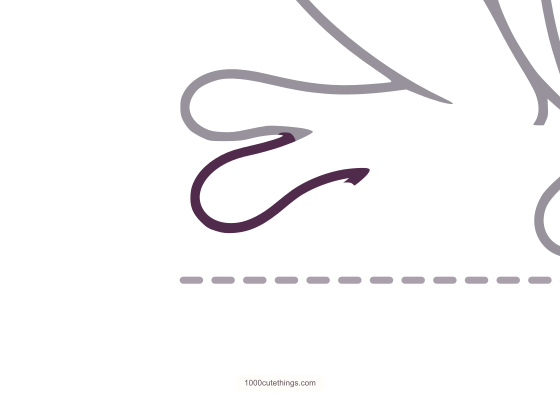
Round the middle back toe
Curve around the middle toe, keeping a visible notch between the toe tips.
Step 26, whole drawing: Curve around the middle toe, keeping a visible notch between the toe tips.
Press Escape to return to the page.
Step 26, closer view: Curve around the middle toe, keeping a visible notch between the toe tips.
Press Escape to return to the page.
Step 27 of 39
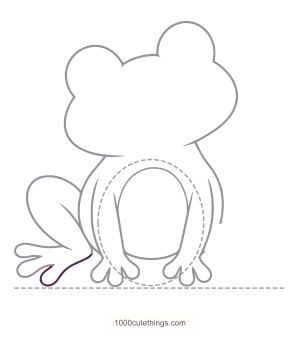
Close the left back foot
Round the lower toe and continue back up to the ankle. Check that this foot joins its hind leg.
Step 27, whole drawing: Round the lower toe and continue back up to the ankle. Check that this foot joins its hind leg.
Press Escape to return to the page.
Step 27, closer view: Round the lower toe and continue back up to the ankle. Check that this foot joins its hind leg.
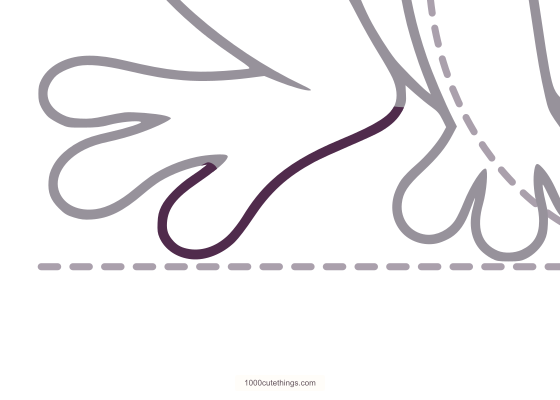
Press Escape to return to the page.
Step 28 of 39
Round the right hind leg
Curve outward from the right hip and around the broad thigh toward its back foot.
Step 28, whole drawing: Curve outward from the right hip and around the broad thigh toward its back foot.
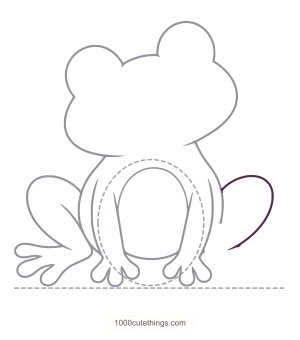
Press Escape to return to the page.
Step 28, closer view: Curve outward from the right hip and around the broad thigh toward its back foot.
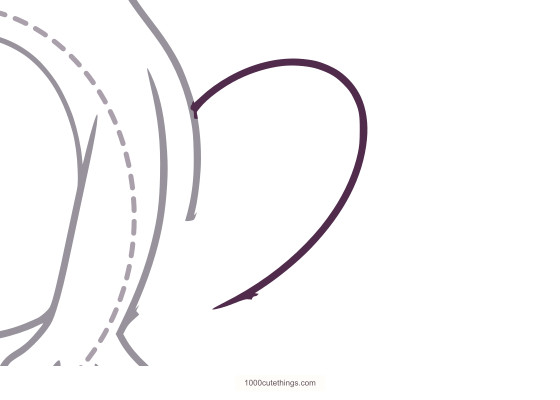
Press Escape to return to the page.
Step 29 of 39
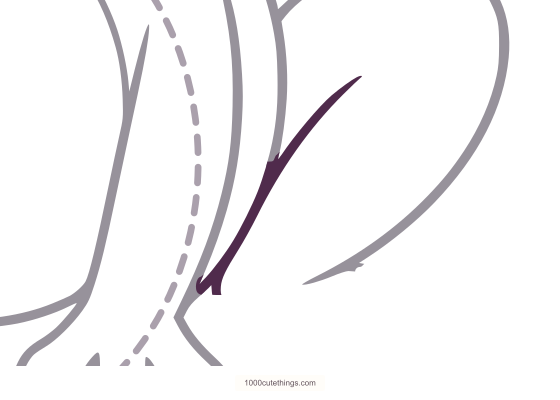
Add the right leg fold
Draw the inward-sloping fold down toward the ankle.
Step 29, whole drawing: Draw the inward-sloping fold down toward the ankle.
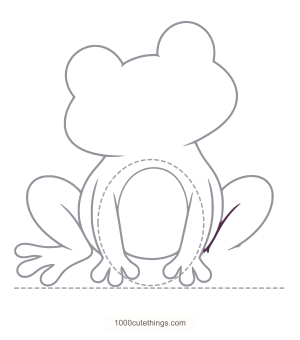
Press Escape to return to the page.
Step 29, closer view: Draw the inward-sloping fold down toward the ankle.
Press Escape to return to the page.
Step 30 of 39
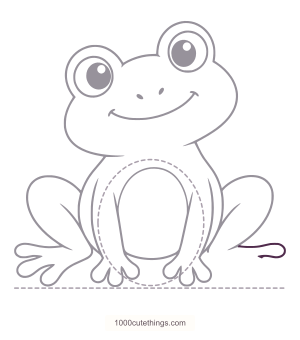
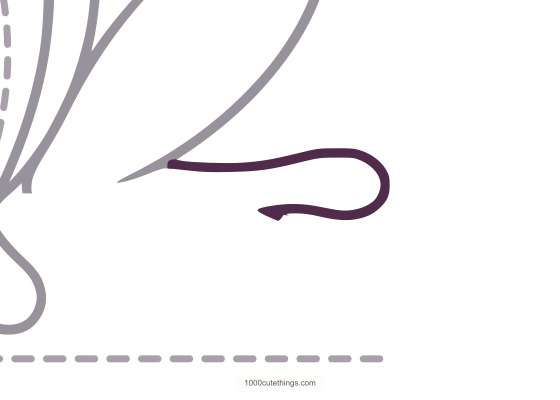
Round the upper back toe
Sweep outward from the leg around the upper rounded toe and turn inward.
Step 30, whole drawing: Sweep outward from the leg around the upper rounded toe and turn inward.
Press Escape to return to the page.
Step 30, closer view: Sweep outward from the leg around the upper rounded toe and turn inward.
Press Escape to return to the page.
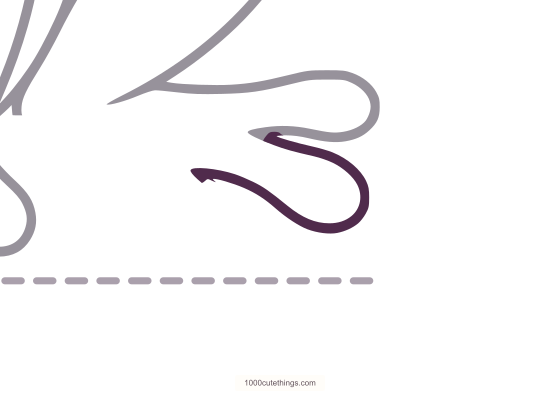
Step 31 of 39
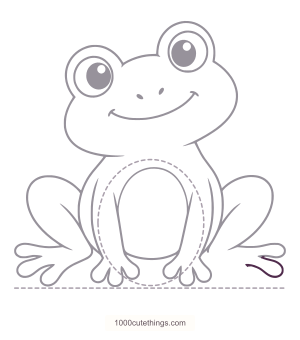
Round the middle back toe
Round the middle toe, leaving the small notch beside the upper toe.
Step 31, whole drawing: Round the middle toe, leaving the small notch beside the upper toe.
Press Escape to return to the page.
Step 31, closer view: Round the middle toe, leaving the small notch beside the upper toe.
Press Escape to return to the page.
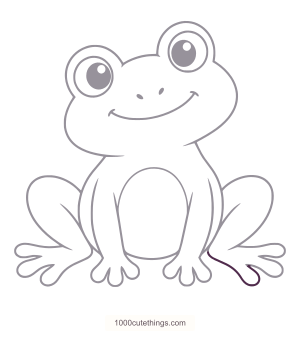
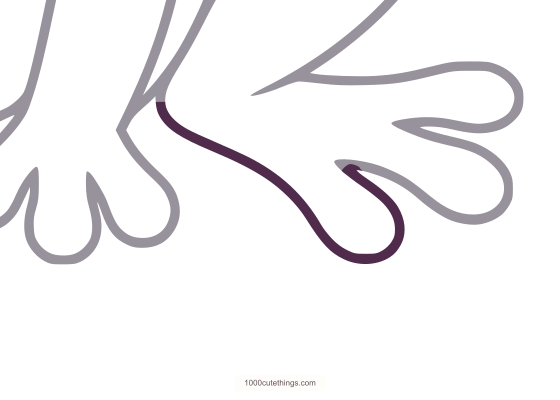
Step 32 of 39
Close the right back foot
Round the lowest toe and return to the ankle. Erase the body oval and ground line.
Step 32, whole drawing: Round the lowest toe and return to the ankle. Erase the body oval and ground line.
Press Escape to return to the page.
Step 32, closer view: Round the lowest toe and return to the ankle. Erase the body oval and ground line.
Press Escape to return to the page.
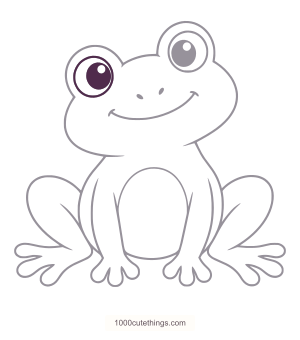
Step 33 of 39
Outline the left eye
Draw one complete round eye rim inside the lower eye bump. Leave the center white.
Step 33, whole drawing: Draw one complete round eye rim inside the lower eye bump. Leave the center white.
Press Escape to return to the page.
Step 33, closer view: Draw one complete round eye rim inside the lower eye bump. Leave the center white.
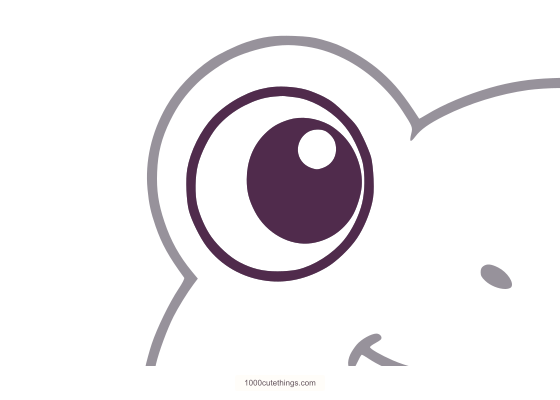
Press Escape to return to the page.
Step 34 of 39
Outline the right eye
Draw the other complete eye rim inside the taller bump, following the head's tilt.
Step 34, whole drawing: Draw the other complete eye rim inside the taller bump, following the head's tilt.
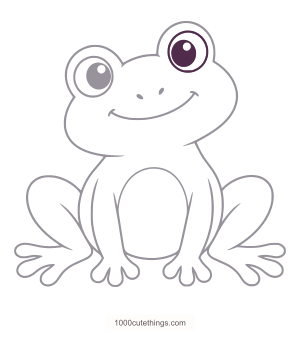
Press Escape to return to the page.
Step 34, closer view: Draw the other complete eye rim inside the taller bump, following the head's tilt.
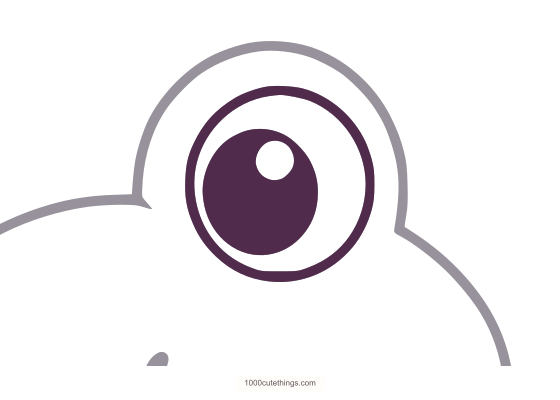
Press Escape to return to the page.
Step 35 of 39
Darken the left pupil
Darken the left pupil, leaving one small round highlight white.
Step 35, whole drawing: Darken the left pupil, leaving one small round highlight white.
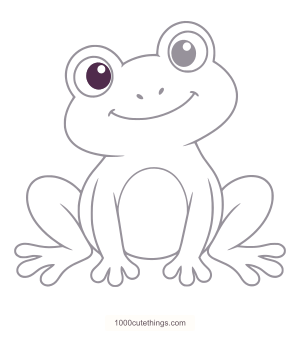
Press Escape to return to the page.
Step 35, closer view: Darken the left pupil, leaving one small round highlight white.
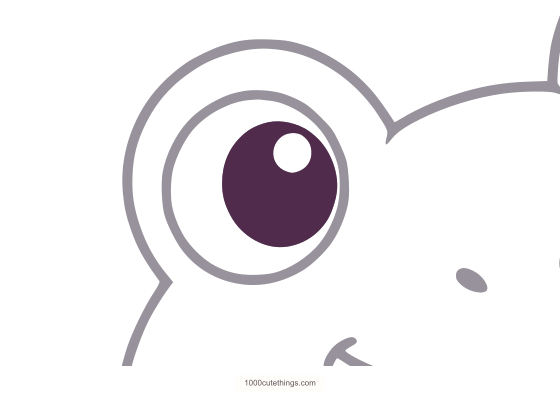
Press Escape to return to the page.
Step 36 of 39
Darken the right pupil
Darken the other pupil and preserve its white highlight too.
Step 36, whole drawing: Darken the other pupil and preserve its white highlight too.
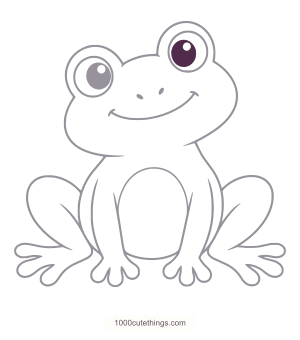
Press Escape to return to the page.
Step 36, closer view: Darken the other pupil and preserve its white highlight too.
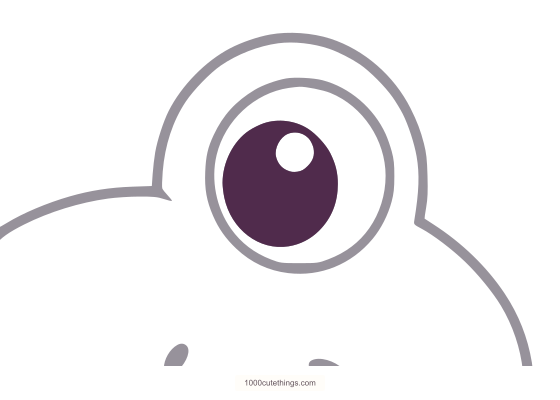
Press Escape to return to the page.
Step 37 of 39
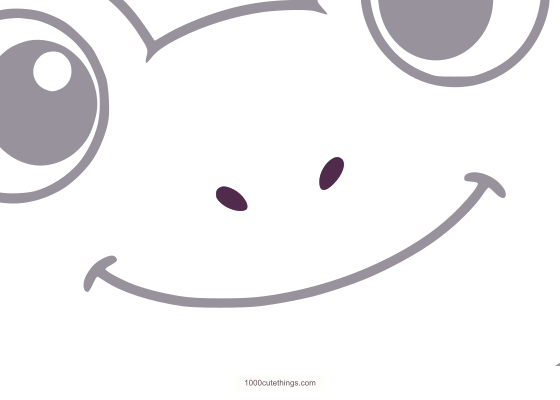
Place the nostrils
Add the two tiny oval nostrils between the eyes, below their rims.
Step 37, whole drawing: Add the two tiny oval nostrils between the eyes, below their rims.
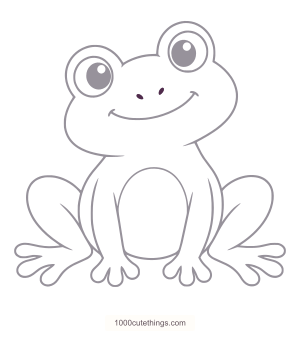
Press Escape to return to the page.
Step 37, closer view: Add the two tiny oval nostrils between the eyes, below their rims.
Press Escape to return to the page.
Step 38 of 39
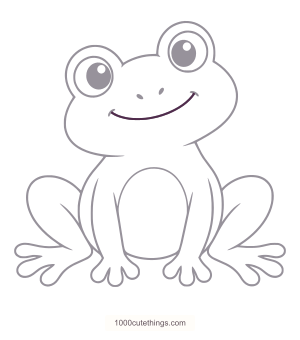
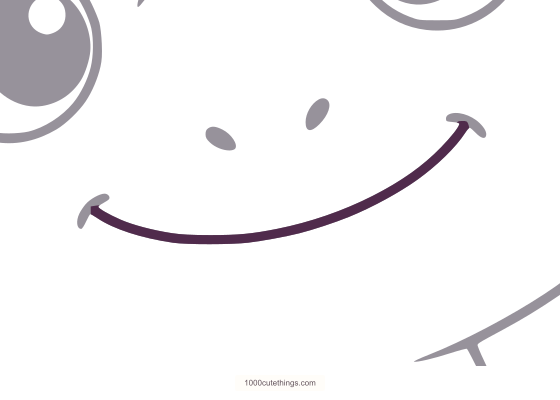
Curve the smile
Draw the broad shallow smile across the lower face.
Step 38, whole drawing: Draw the broad shallow smile across the lower face.
Press Escape to return to the page.
Step 38, closer view: Draw the broad shallow smile across the lower face.
Press Escape to return to the page.
Step 39 of 39
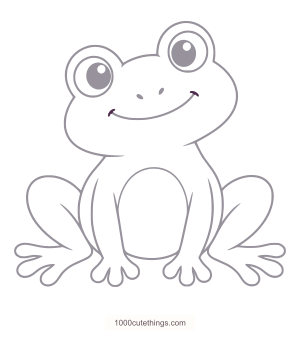
Finish the smile corners
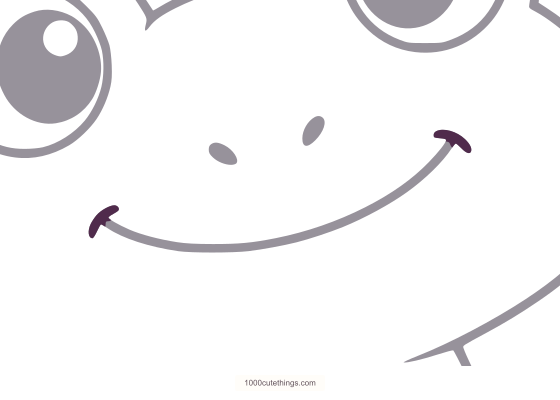
Add the short rounded marks at the two ends of the smile. Leave all placement guides erased.
Step 39, whole drawing: Add the short rounded marks at the two ends of the smile. Leave all placement guides erased.
Press Escape to return to the page.
Step 39, closer view: Add the short rounded marks at the two ends of the smile. Leave all placement guides erased.
Press Escape to return to the page.
Quick guide
These checkpoints combine several actions. Use the Detailed guide whenever a finger, toe or join needs more explanation.
Show the 10-stage Quick guide and its PDFs
PDFs open in a new tab. The Quick pack has 5 pages, including the same blank outline and color reference.
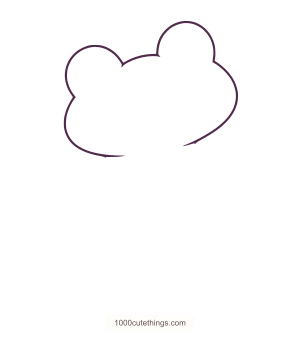
Quick stage 1: Draw the broad cheeks, two raised eye bumps and curved forehead. Leave the neck opening below the head.
Press Escape to return to the page.
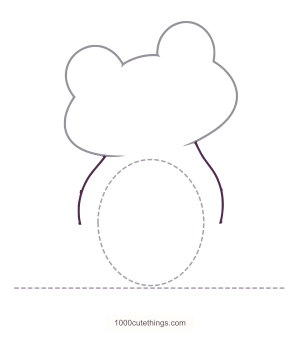
Quick stage 2: Lightly mark the body oval and ground line, then draw its two outer edges.
Press Escape to return to the page.
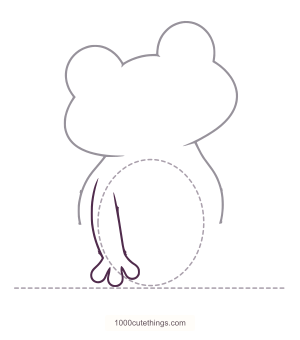
Quick stage 3: Draw the outer arm edge, three rounded fingers and inner arm edge.
Press Escape to return to the page.
Quick stage 4: Repeat the short arm on the other side, keeping the hands apart.
Press Escape to return to the page.
Quick stage 5: Draw the arch between the arms and close it with a shallow bottom curve.
Press Escape to return to the page.
Quick stage 6: Round the left thigh, add the inward fold and finish its three broad back toes.
Press Escape to return to the page.
Quick stage 7: Repeat the thigh, fold and back toes on the right. Erase the body and ground guides.
Press Escape to return to the page.
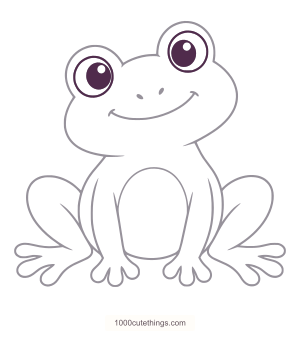
Quick stage 8: Place a complete round rim in each raised eye bump, following the head's tilt.
Press Escape to return to the page.
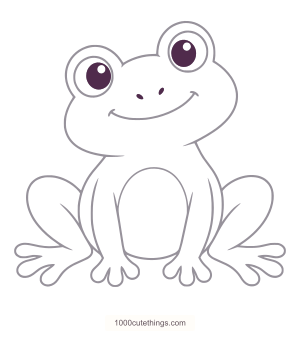
Quick stage 9: Darken the pupils around their white highlights and add two tiny nostrils.
Press Escape to return to the page.
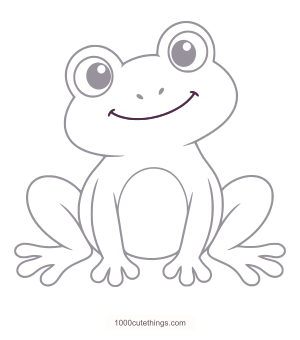
Quick stage 10: Draw the broad smile and its short rounded corner marks.
Press Escape to return to the page.
Check the hands, feet and eye tilt
The frog seems to have too many legs. Find the two short front arms first: they end in the two hands at the center. Then trace each wide side thigh into its outward back foot. The small lines inside the thighs are folds, not extra limbs. Avoid drawing a second body edge across a hand or foot.
A foot looks detached. Follow the outside of its thigh down to the upper toe, then return along the lower toe toward the ankle. Compare steps 23–27 for the left side or 28–32 for the right. Leave the toe notches open as inward curves; they are not gaps cut through the outline.
The fingers turn into sharp spikes. Slow down at each tip and make a round bend. Draw this area larger on a practice sheet if necessary. Keep a little white space between the front hands.
The eye rims look like ears. Place each complete eye rim inside its raised bump, with enough white space around the pupil. The rim belongs to the eye; the outer bump remains part of the head. Do not put small pupils below the bumps in the middle of the face.
The smile makes the head look lopsided. Compare it with the head’s tilt rather than trying to make it level with the page. Keep the curve inside the cheek edges and leave space below the nostrils. The short corner marks come last.
Check the larger relationships before darkening details: a broad head, a narrower torso, two separate front hands and two connected back feet. An uneven pupil is easier to adjust than a crowded hand.
Try a small change
Keep the same pose for your first attempt. On a second drawing, change just the mouth: try a shorter curve, a tiny closed smile or a flatter expression. Retain the head tilt and limb joins while you compare the result.
For a palette study, use the blank outline. Try a blue-green body with a cream belly, or color only the belly patch and leave the rest white. The eye highlights can remain the paper color. Coloring is optional and is separate from the drawing-step count.
You can place a smaller finished frog beside a handwritten note or draw a row of expressions in a sketchbook. Start larger while learning the fingers, then reduce the drawing once those turns feel familiar.
Print and practise
Choose the PDF size that matches your paper. The Detailed guide has 12 pages: ten teaching pages with whole and closer views, a blank outline, then the optional colored reference. The Quick guide has 5 pages: three teaching pages, followed by the same outline and color reference. The guide sections above have separate A4 and US Letter links. PDFs open in a new tab.
Print only the pages you need. Fit-to-page is suitable for these drawing worksheets; there is no measured craft pattern to keep at an exact scale. The SVG outline stays sharp when resized, and the PNG is useful for a screen reference.
Try a first frog while following the Detailed panels. For another attempt, use the Quick checkpoints and return to a closer view when a join is unclear. Compare the head-to-body width, the separation between the front hands and the two hind-foot connections before adding the face.
For another seated animal, try the koala lesson. The cute cat guide introduces a different front-paw pose. Browse more subjects in cute things to draw, or choose a blank design from cute coloring pages.
One color idea
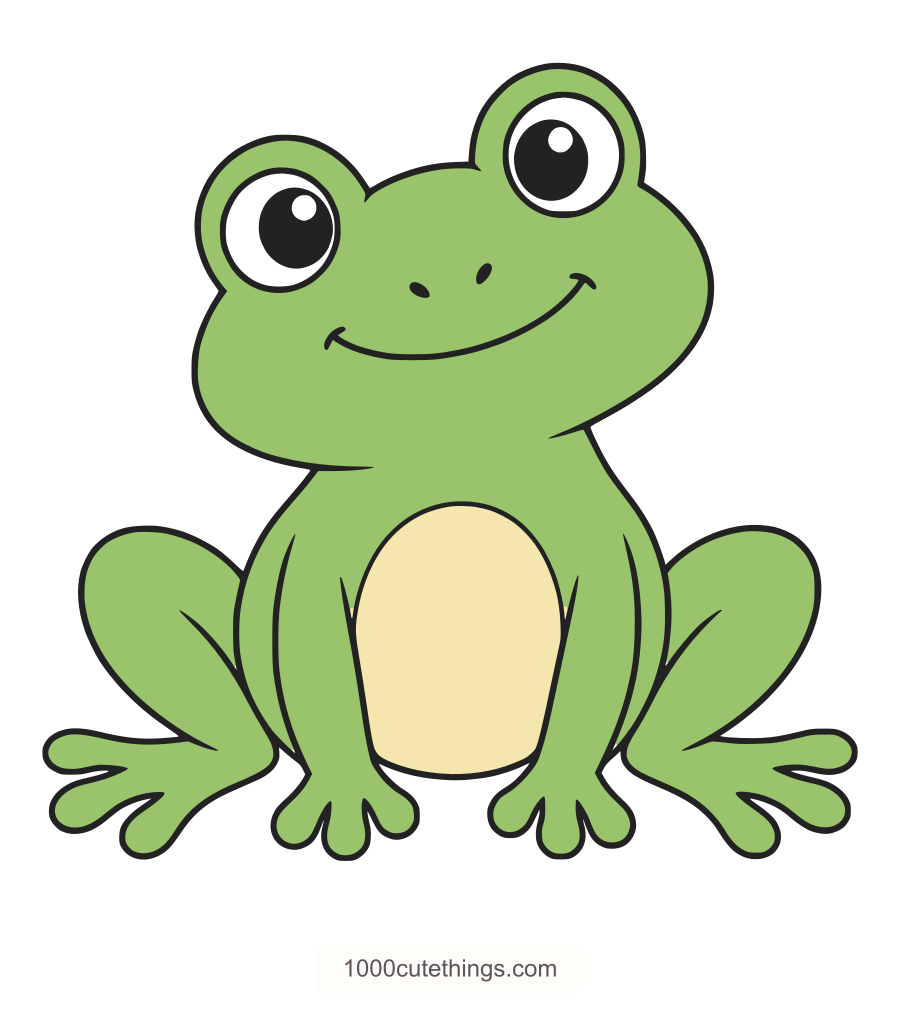
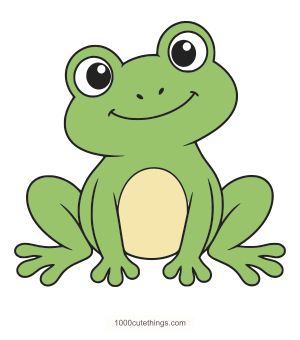
This frog uses a soft green body and a pale yellow belly. Keep the eye interiors and small pupil highlights white, or choose another palette. The outline and pose are exactly the same as the drawing guides.
The same seated frog colored soft green with a pale yellow belly and white eye highlights.
Press Escape to return to the page.