
In this guide
A small star is a useful first clay ornament: roll a sheet, cut the outline, make a hanging hole and let it dry flat. Leave it white, paint a few dots or add a gold-tone accent. A single star can finish a gift; a small group can hang from an indoor branch or Christmas tree.
This guide follows one white FIMOair air-dry clay route, with 12 small steps from preparation to hanging. Pay particular attention to the thickness, the clay around the hole and the wait before finishing. Those details matter more than a complicated painted pattern.
Before you start
Choose air-drying clay rather than oven-hardening polymer clay. The instructions below use FIMOair; a different brand may need a different thickness or drying routine. Check your current packaging before you open the clay.
Plan two sessions: shaping first, decorating and threading after full drying. Allow at least 24 hours for this FIMOair project, potentially several days depending on thickness and room conditions. A surface that looks white is not proof that the middle is dry.
Materials and tools
- White FIMOair and an airtight container or wrapping for unused clay.
- A smooth washable surface reserved for clay, a roller and two equal 5 mm guides.
- A star cutter. A 5–6 cm star is a suggested starting design; check your actual cutter and make one practice star before planning a batch.
- A blunt modelling tool for the hole and a thin cord that fits through it comfortably.
- A soft smoothing tool or brush, a little water if needed, and a clean level drying surface.
- Optional compatible acrylic paint and a small brush, plus a spare clay offcut for trying the finish.
The 5 mm slab follows the approach in STAEDTLER’s flat FIMOair decoration tutorial. It is a project-specific starting point, not a thickness rule for every air-dry clay. The proposed cutter size is our design choice rather than a tested yield or strength specification.
Keep the cutter, hole tool and cord nearby before you begin. Keep craft tools separate from food preparation. Children will need adult help appropriate to the tools and product instructions.
Make your star in 12 steps
Work through the steps in order. Click a picture to enlarge it; close the enlarged view with Close or Escape. The optional movement clips sit beside the relevant action, with no automatic playback.
Step 1 of 12
Prepare your workspace
Set out white FIMOair, a star cutter, a roller, two 5 mm guides, a clay-only smooth work surface, a blunt hole-making tool and thin cord. Keep spare clay airtight. A 5–6 cm star is a useful starting design; test the cutter and cord on a spare piece.
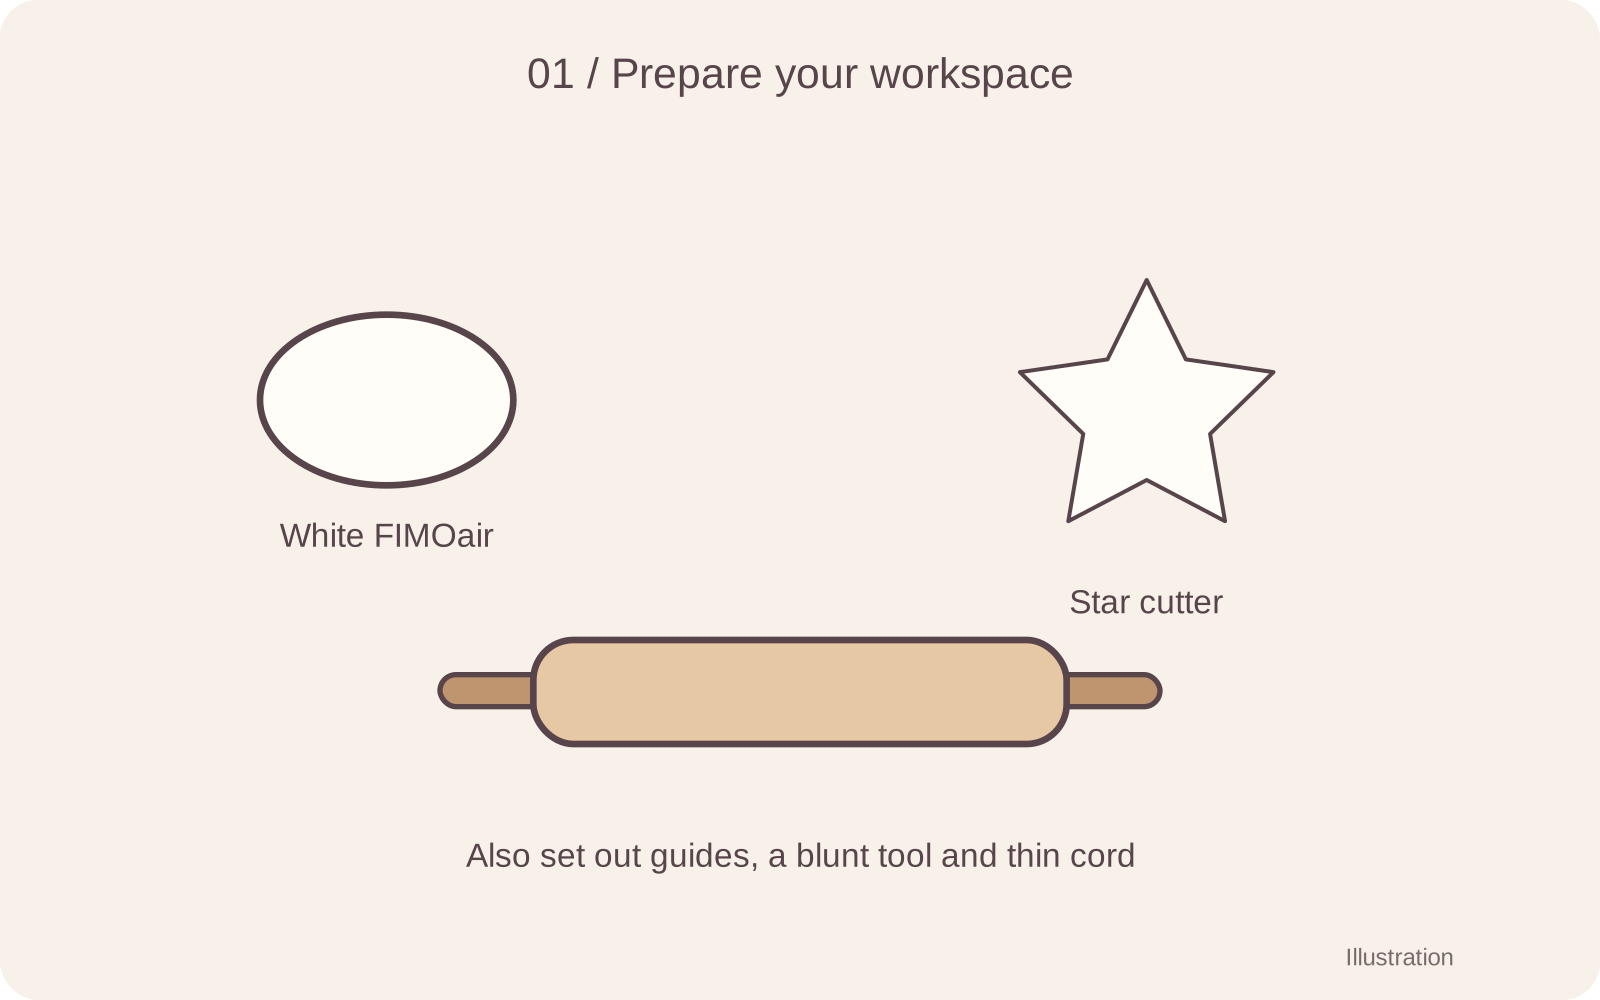
Set out white FIMOair, a star cutter, a roller, two 5 mm guides, a clay-only smooth work surface, a blunt hole-making tool and thin cord. Keep spare clay airtight. A 5–6 cm star is a useful starting design; test the cutter and cord on a spare piece.
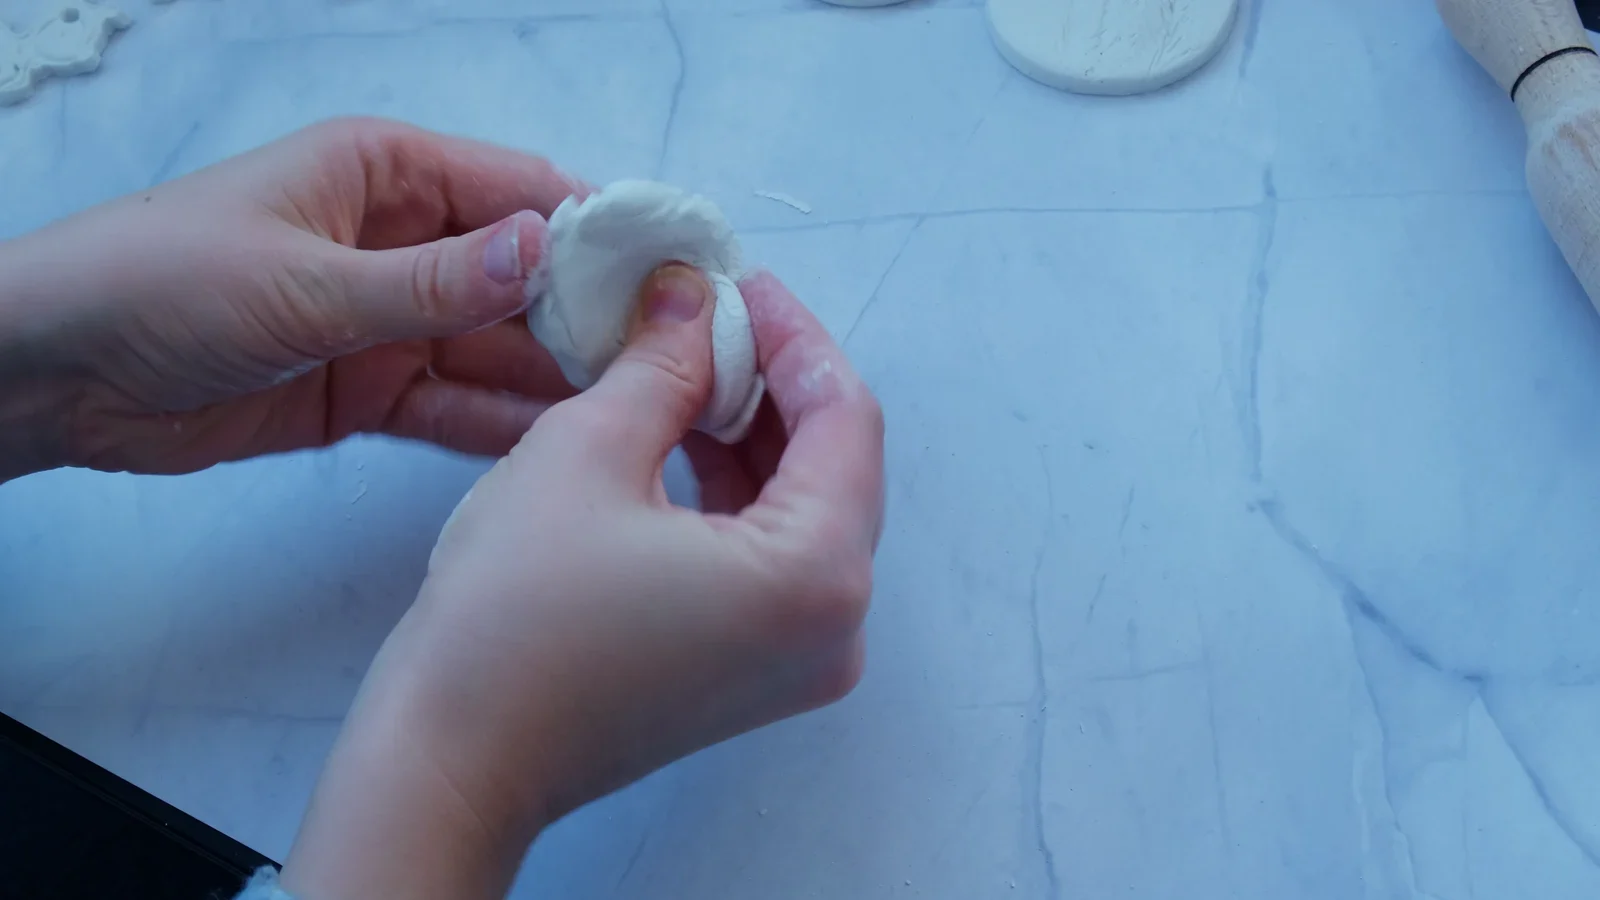
Start with a small portion; cover the rest while you work.
Step 2 of 12
Roll a level sheet
Knead a small portion, flatten it, then roll between equal-height 5 mm guides. Turn the sheet gently as needed so the roller reaches different areas. Keep the thickness even through the future star points.
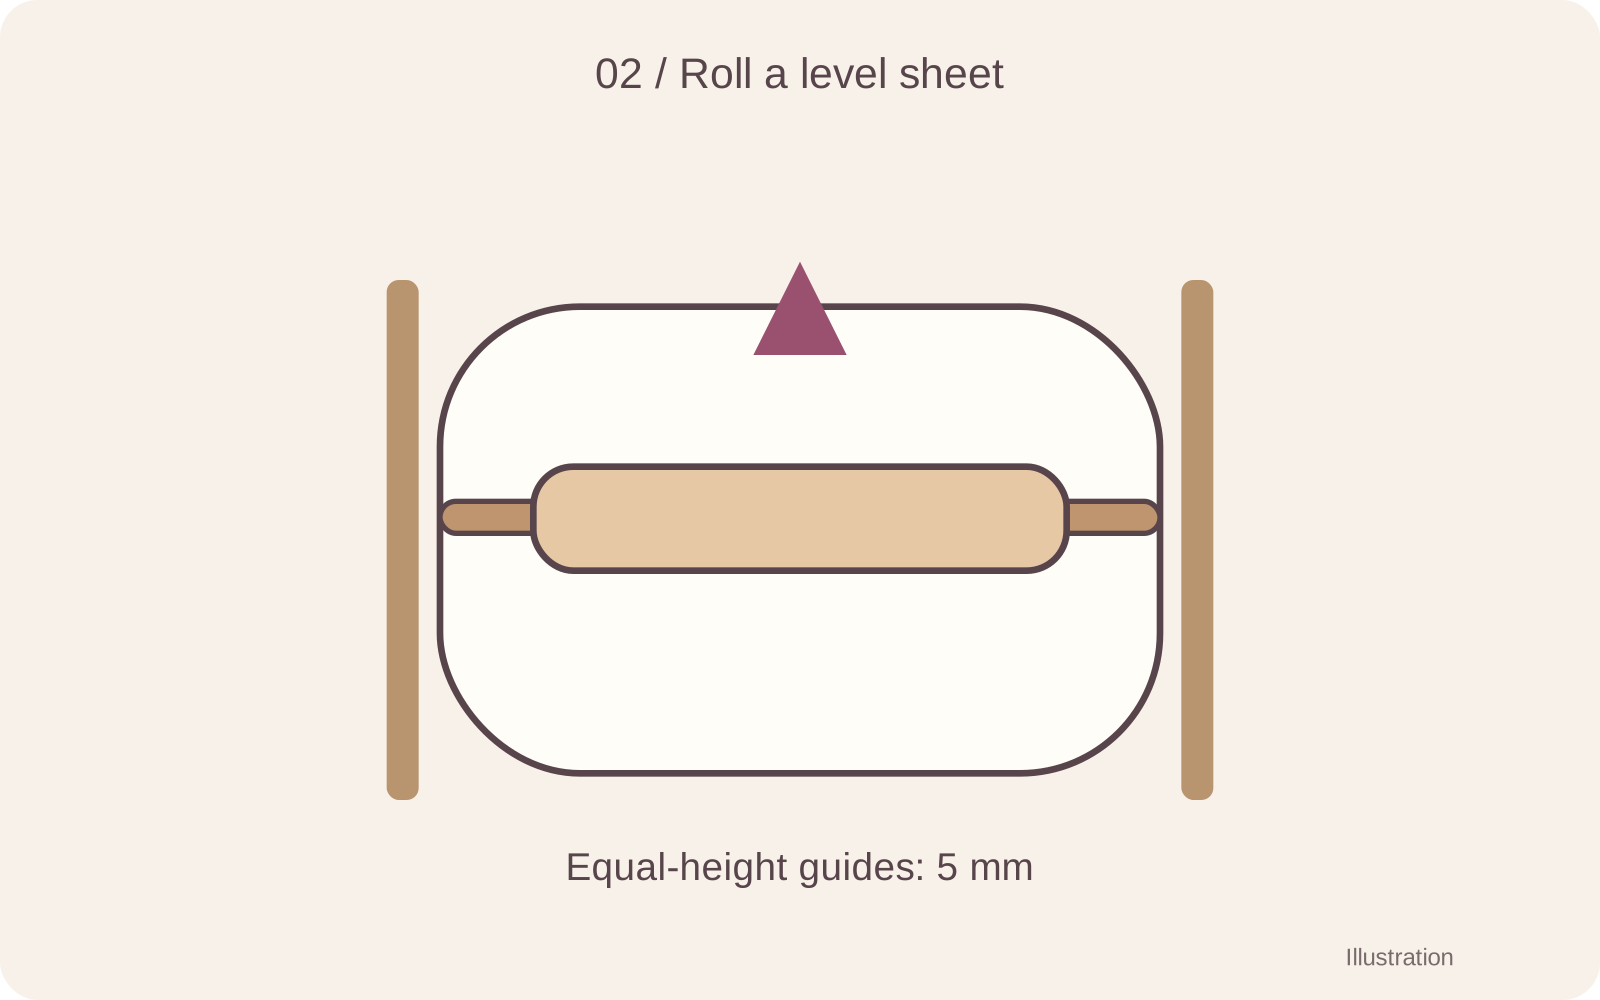
Knead a small portion, flatten it, then roll between equal-height 5 mm guides. Turn the sheet gently as needed so the roller reaches different areas. Keep the thickness even through the future star points.
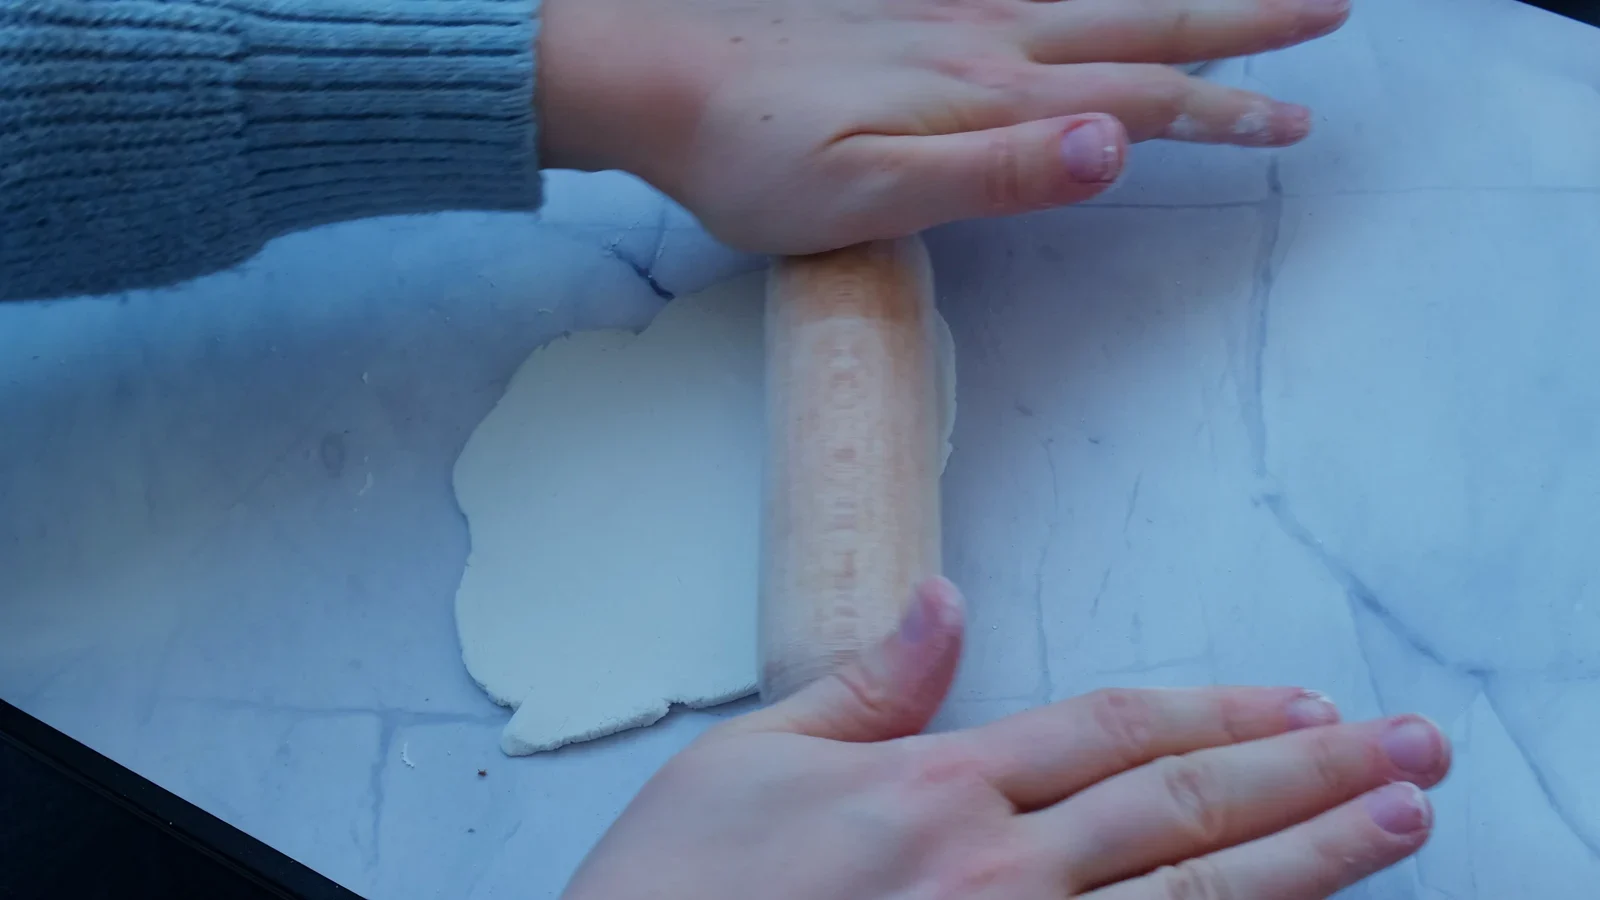
Roll an even sheet. Use the guides in the illustration to control the thickness for this project.
Watch the movement: rolling an even clay sheet
Silent close-up. The written step and still image show the same action.
Step 3 of 12
Press the cutter straight down
Place the star cutter on the sheet. Press all around its rim until it cuts through, then lift it vertically. Avoid twisting the cutter, which can drag the points out of shape.
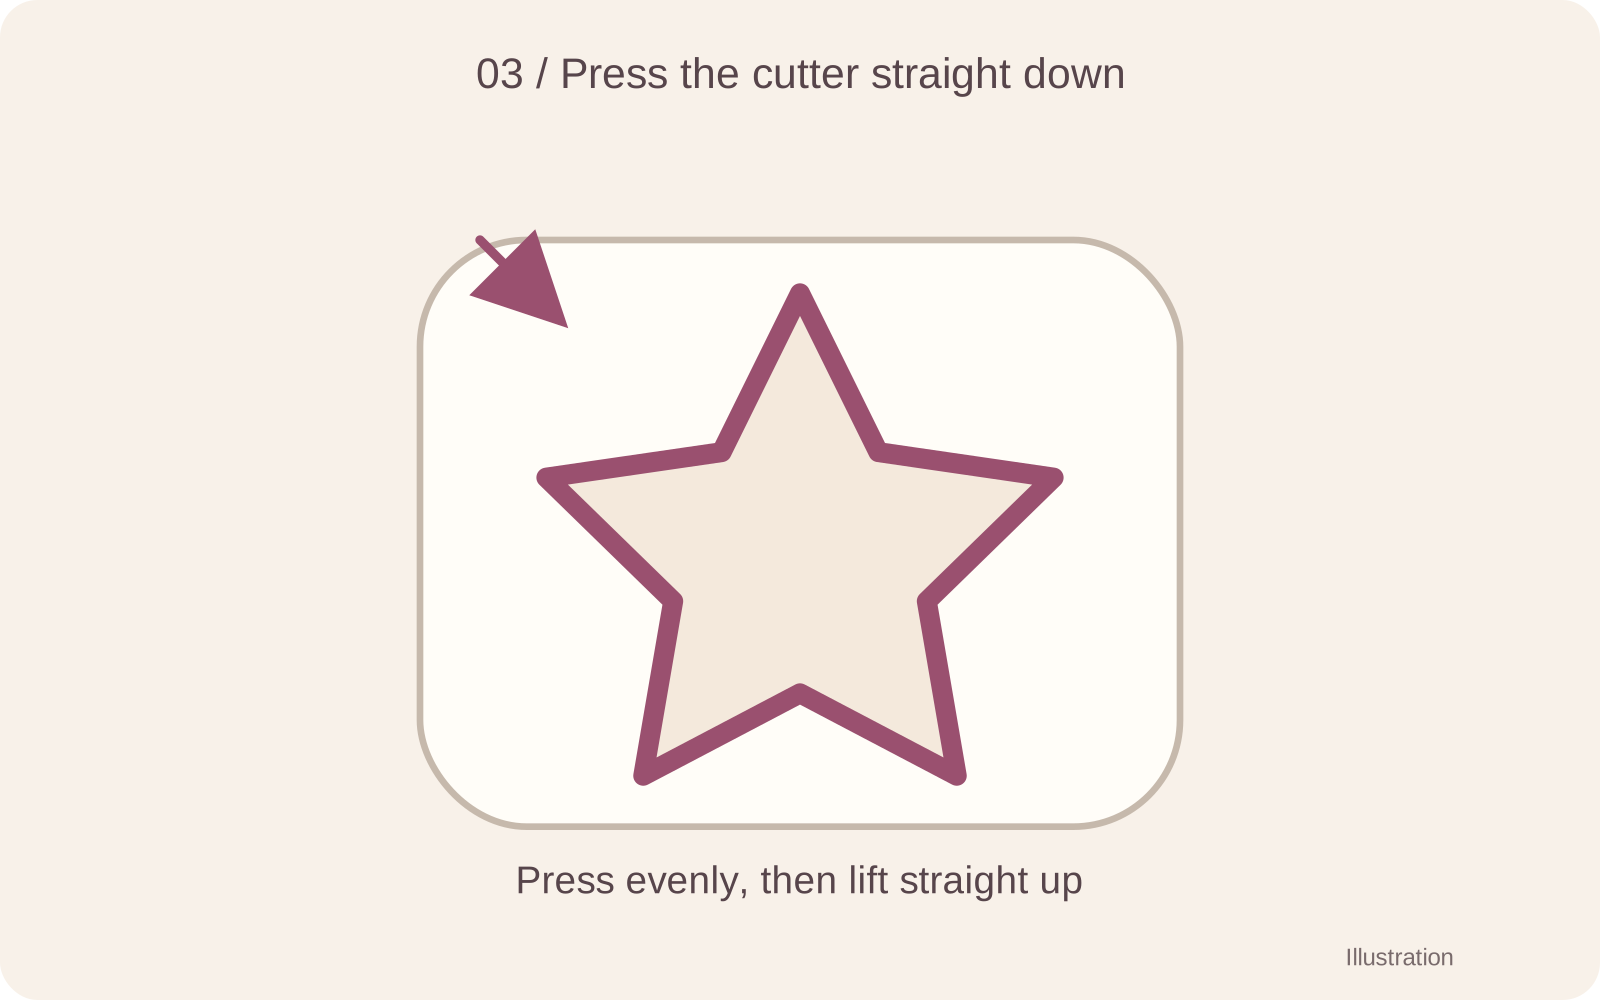
Place the star cutter on the sheet. Press all around its rim until it cuts through, then lift it vertically. Avoid twisting the cutter, which can drag the points out of shape.
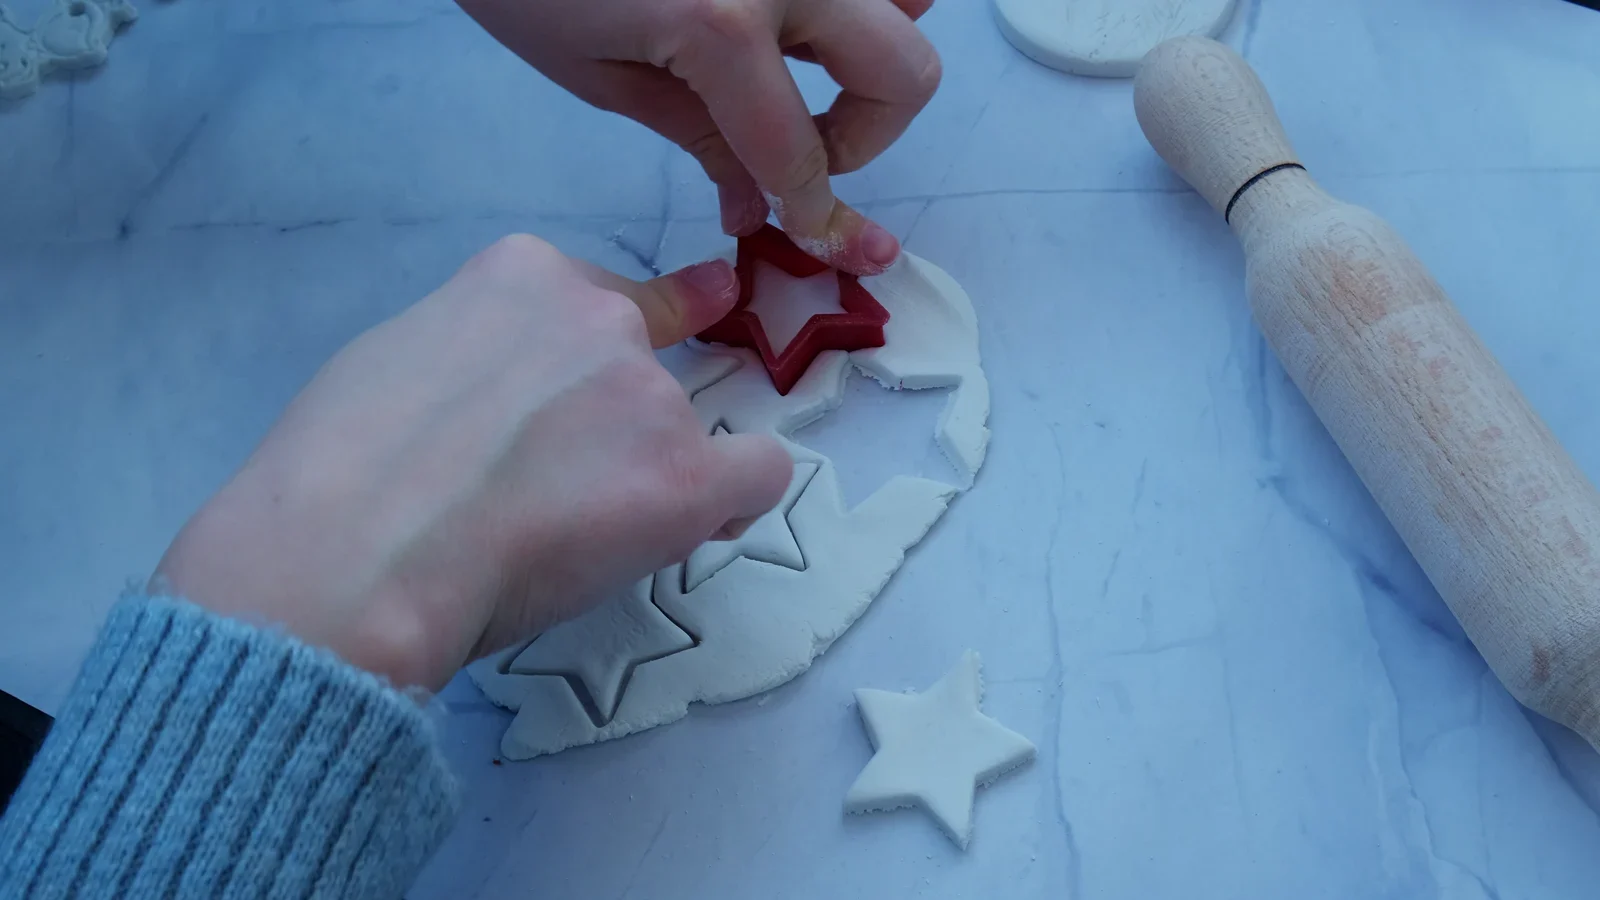
Press the cutter evenly through the slab before lifting it.
Watch the movement: pressing and lifting the star cutter
Silent close-up. The written step and still image show the same action.
Step 4 of 12
Remove the surrounding clay
Peel away the excess before moving the star. Support the whole piece when lifting it; do not pull it up by one point. Reuse workable scraps and cover any clay you are not using.
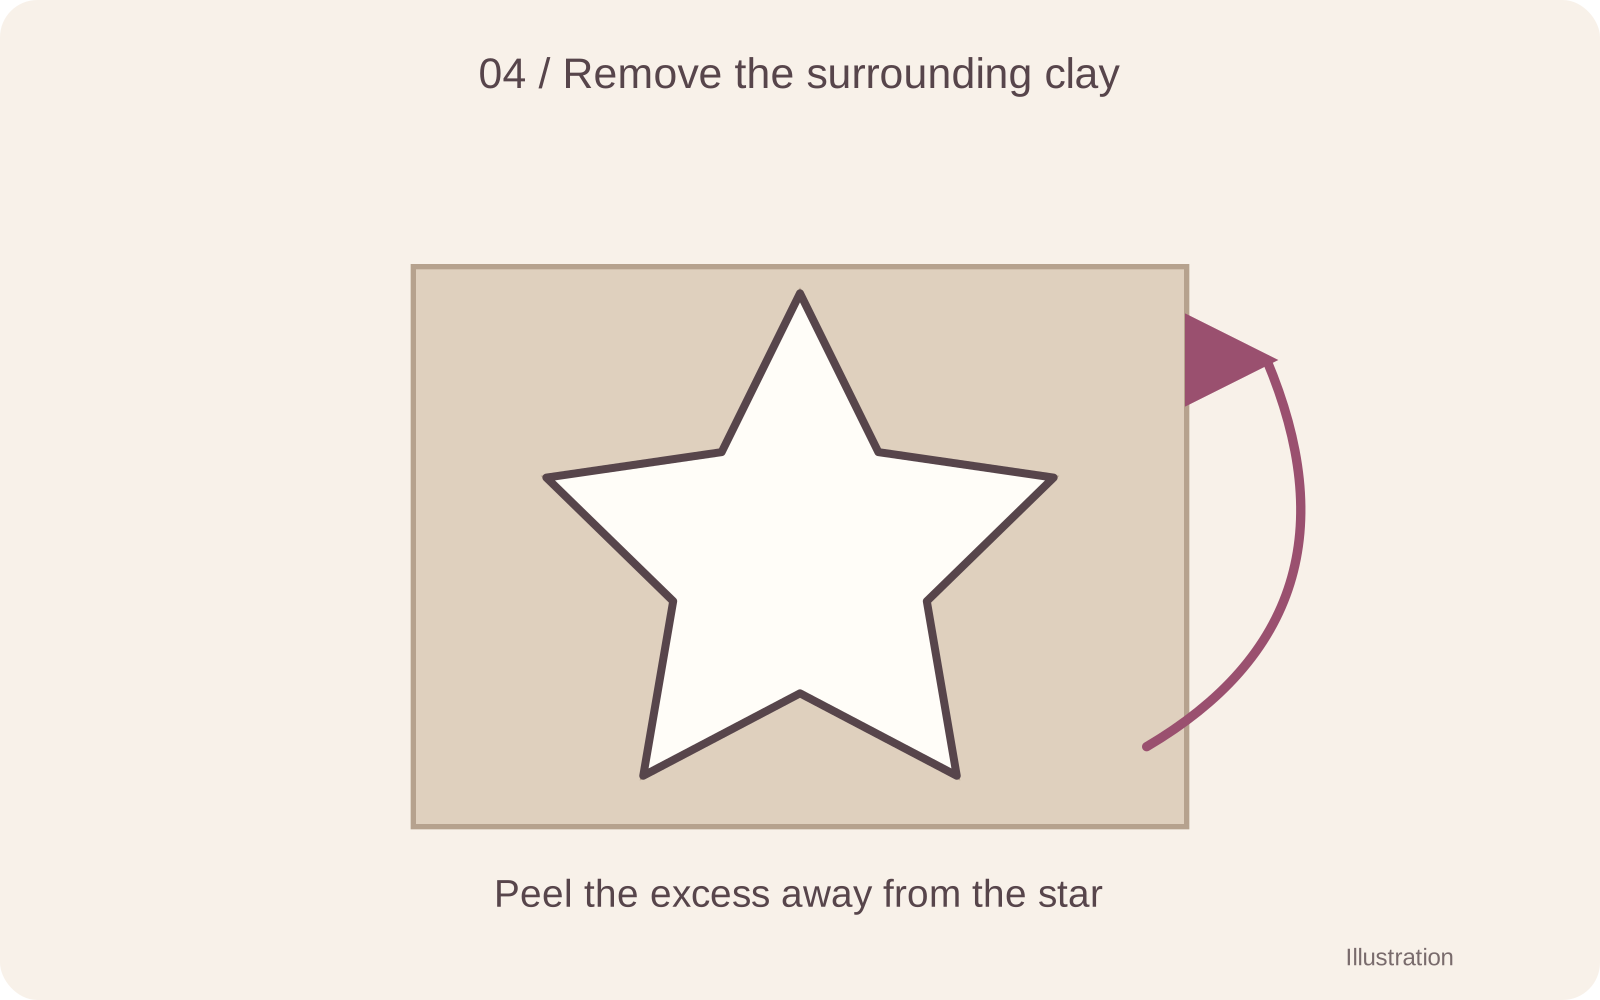
Peel away the excess before moving the star. Support the whole piece when lifting it; do not pull it up by one point. Reuse workable scraps and cover any clay you are not using.
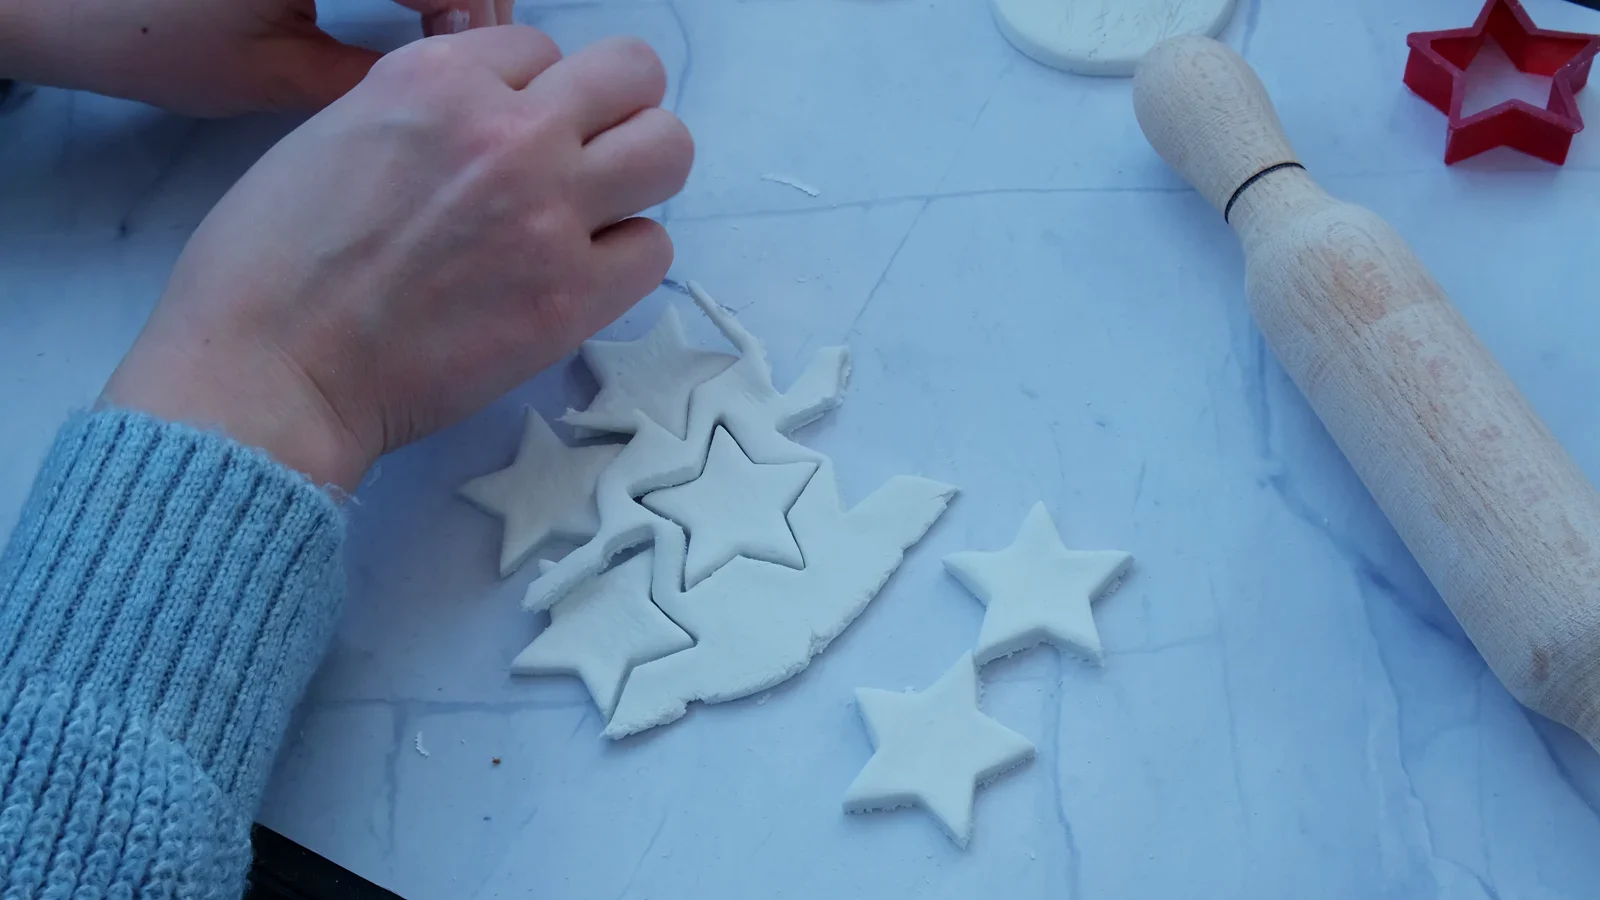
Remove the surrounding clay before lifting individual stars.
Step 5 of 12
Make the hanging hole while soft
Keep the star flat. Make a hole in the broad part of the upper arm, below the narrow tip. Press a blunt modelling tool through and lift it back out. Leave a generous wall of clay around the hole, and make the opening comfortably larger than your cord to allow for shrinkage.
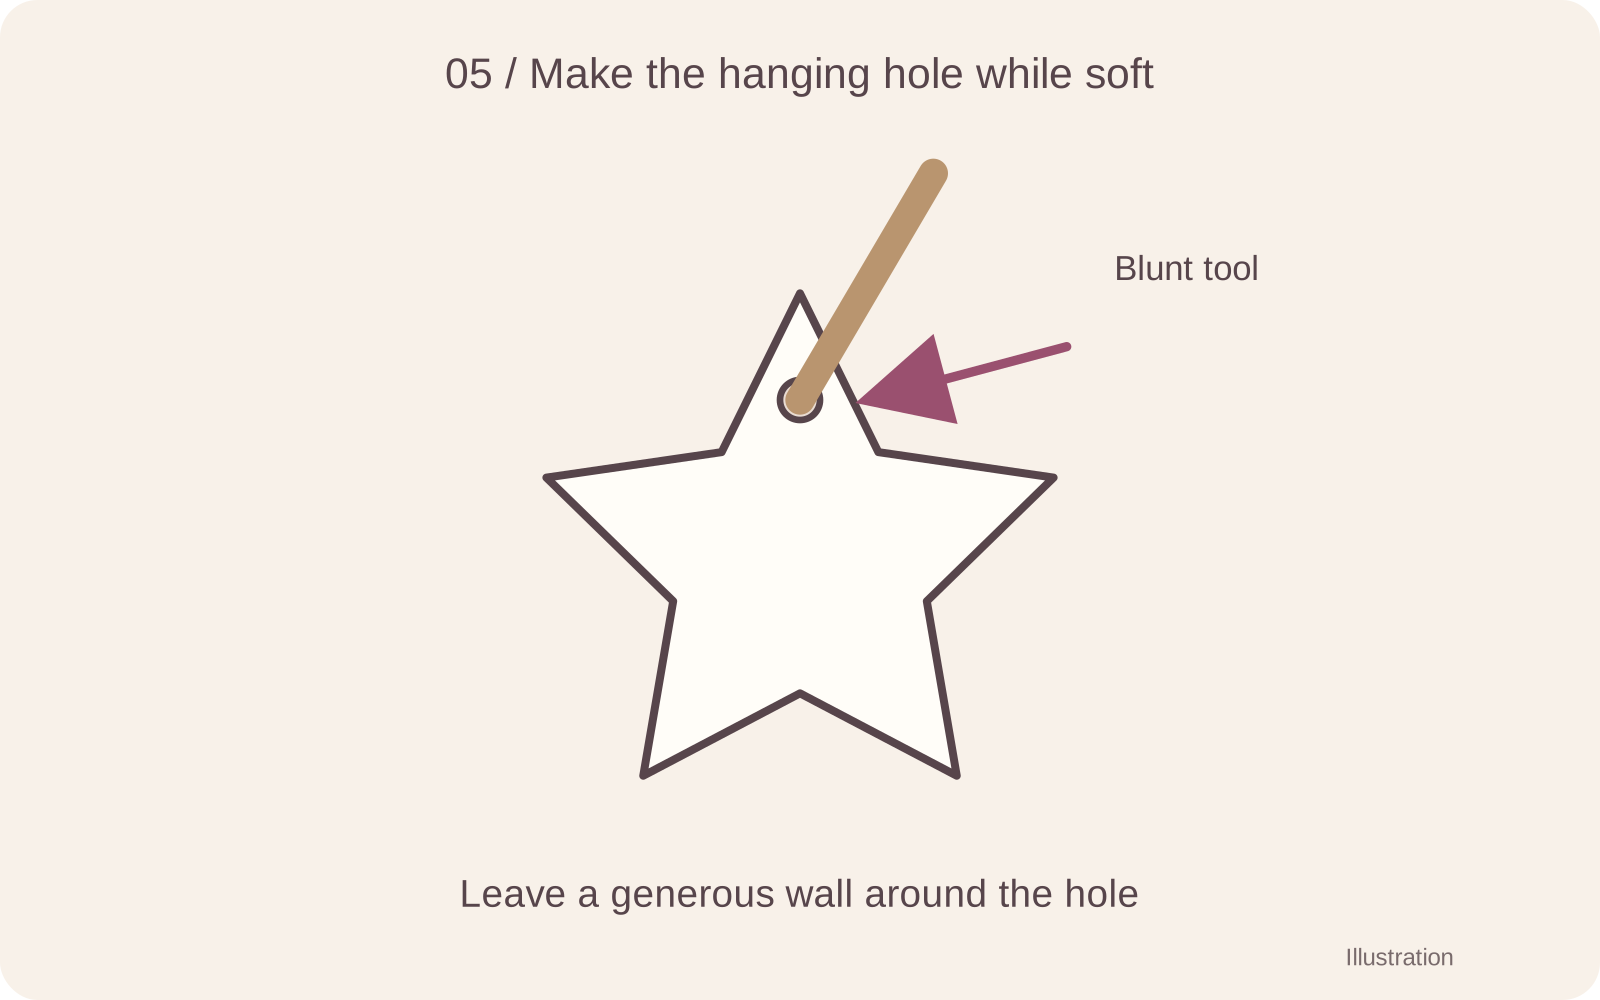
Keep the star flat. Make a hole in the broad part of the upper arm, below the narrow tip. Press a blunt modelling tool through and lift it back out. Leave a generous wall of clay around the hole, and make the opening comfortably larger than your cord to allow for shrinkage.
Hole detail: the opening is inside the broader part of the arm. The illustration shows making it while the clay is soft.
Step 6 of 12
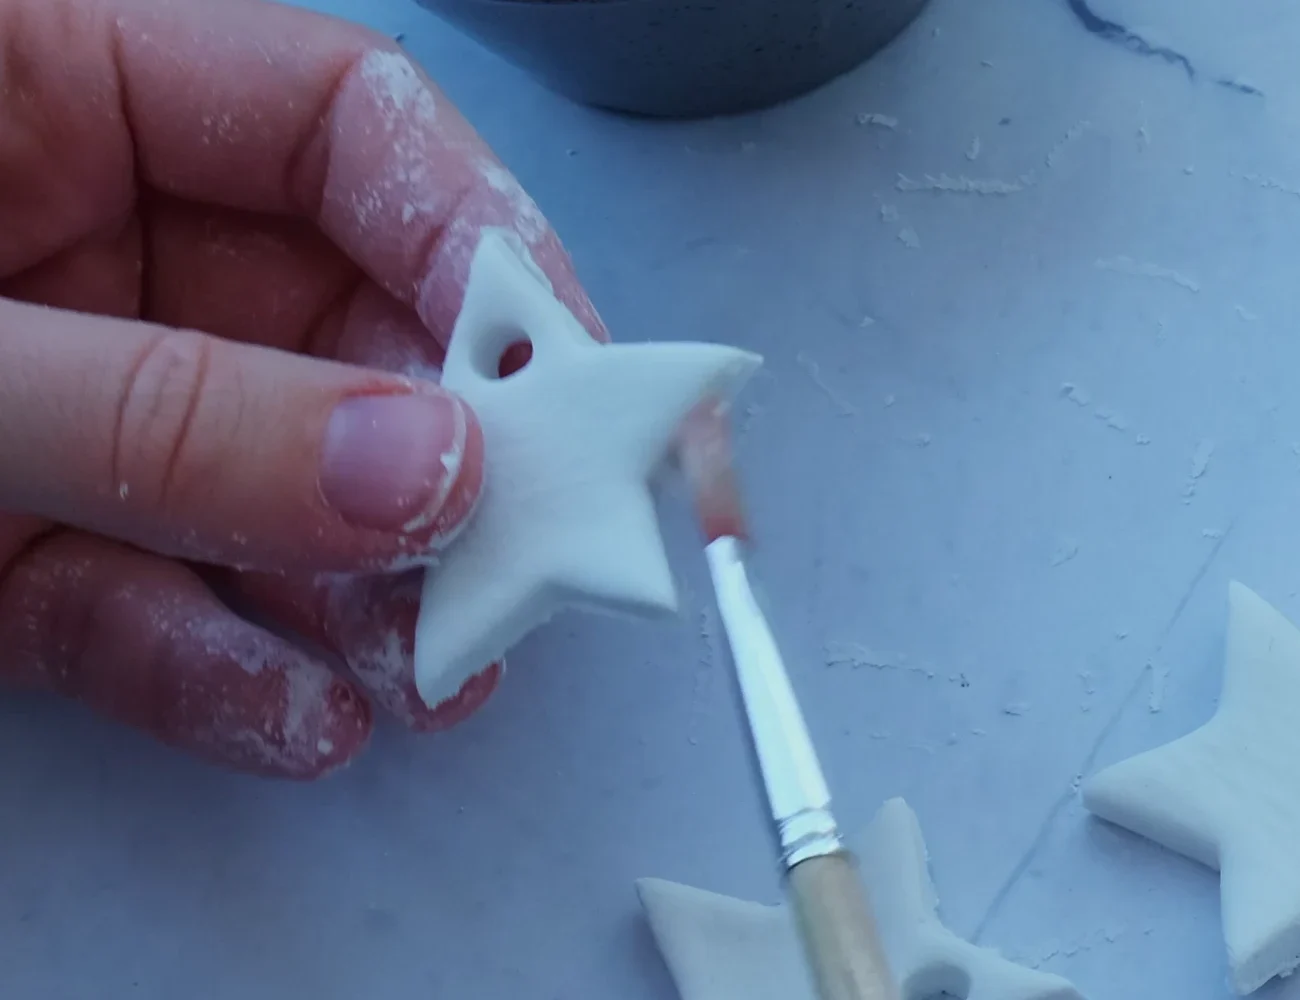
Refine the edges and hole
Support the star on the surface. Smooth small burrs with a fingertip or a soft tool, using only a little moisture if needed. Clear loose clay from the hole. Keep all five points substantial rather than pinching them thin.
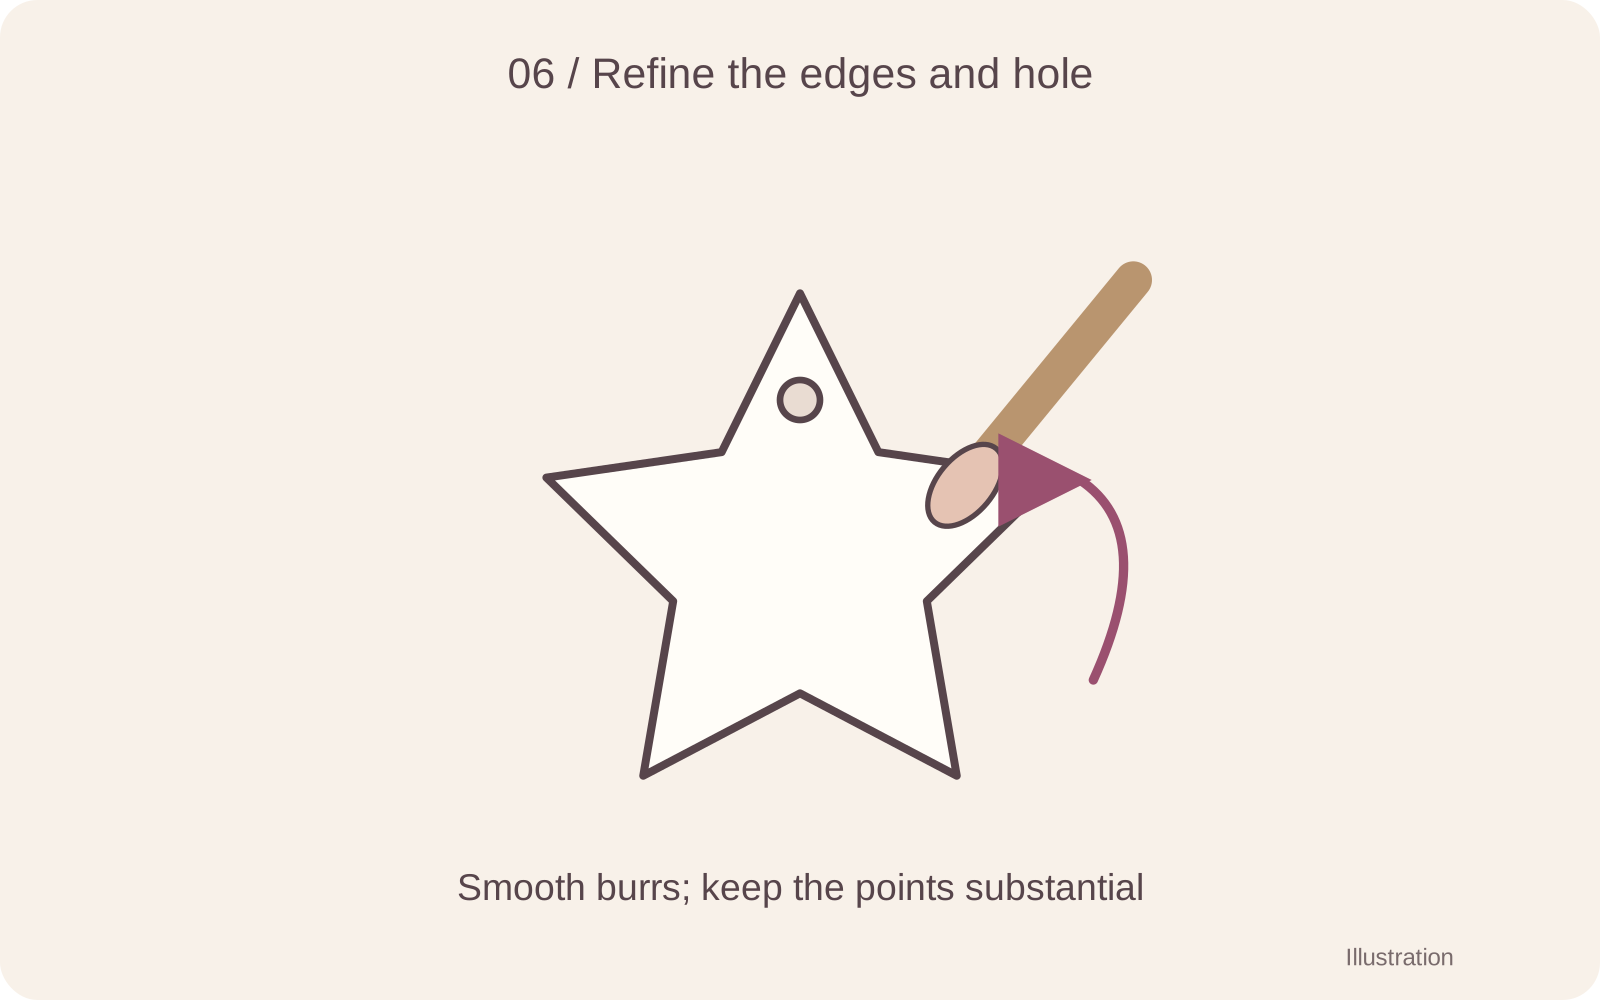
Support the star on the surface. Smooth small burrs with a fingertip or a soft tool, using only a little moisture if needed. Clear loose clay from the hole. Keep all five points substantial rather than pinching them thin.
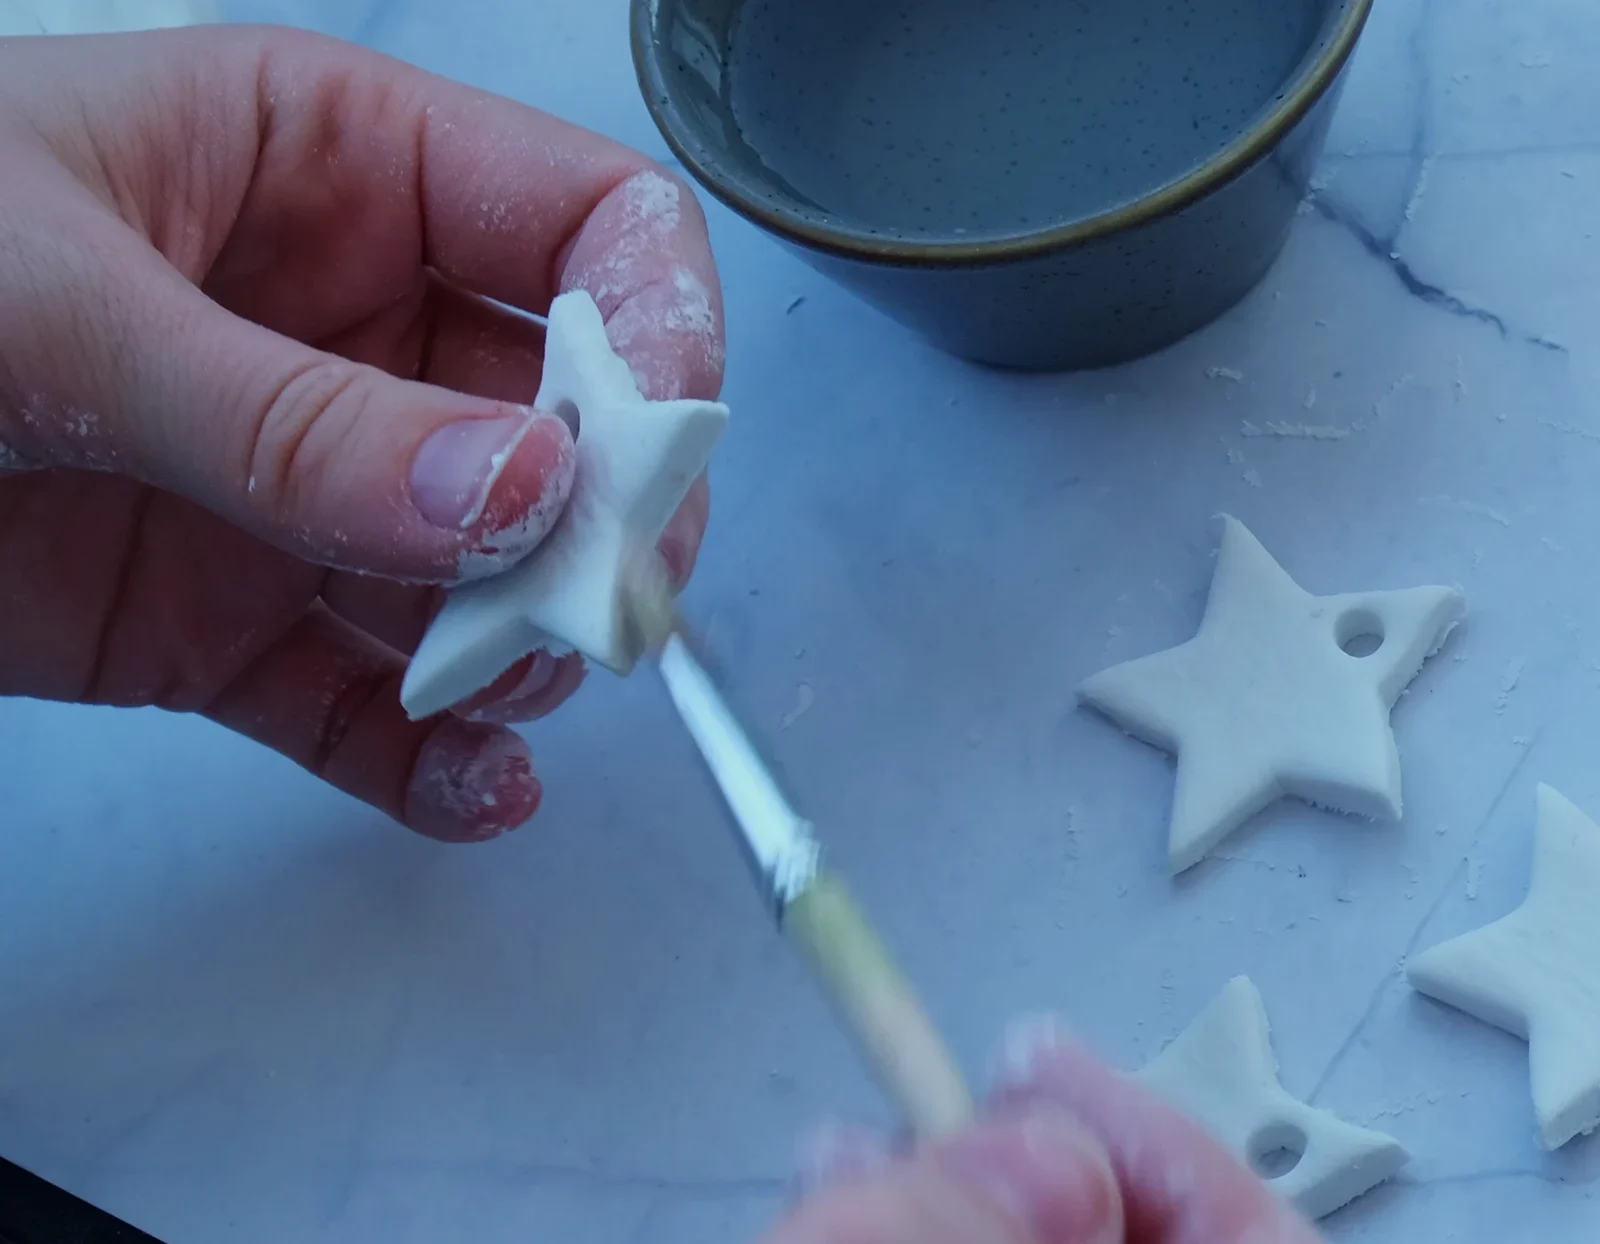
Refine rough edges gently while supporting the star.
Watch the movement: gentle edge work on a star
Silent close-up. The written step and still image show the same action.
Step 7 of 12
Lay it flat to air-dry
Place the stars flat and apart on a clean, level drying surface. For this FIMOair example, allow at least 24 hours and be prepared for several days. Room conditions and thickness change the drying time. Do not force drying with a hairdryer, direct sun or an oven.
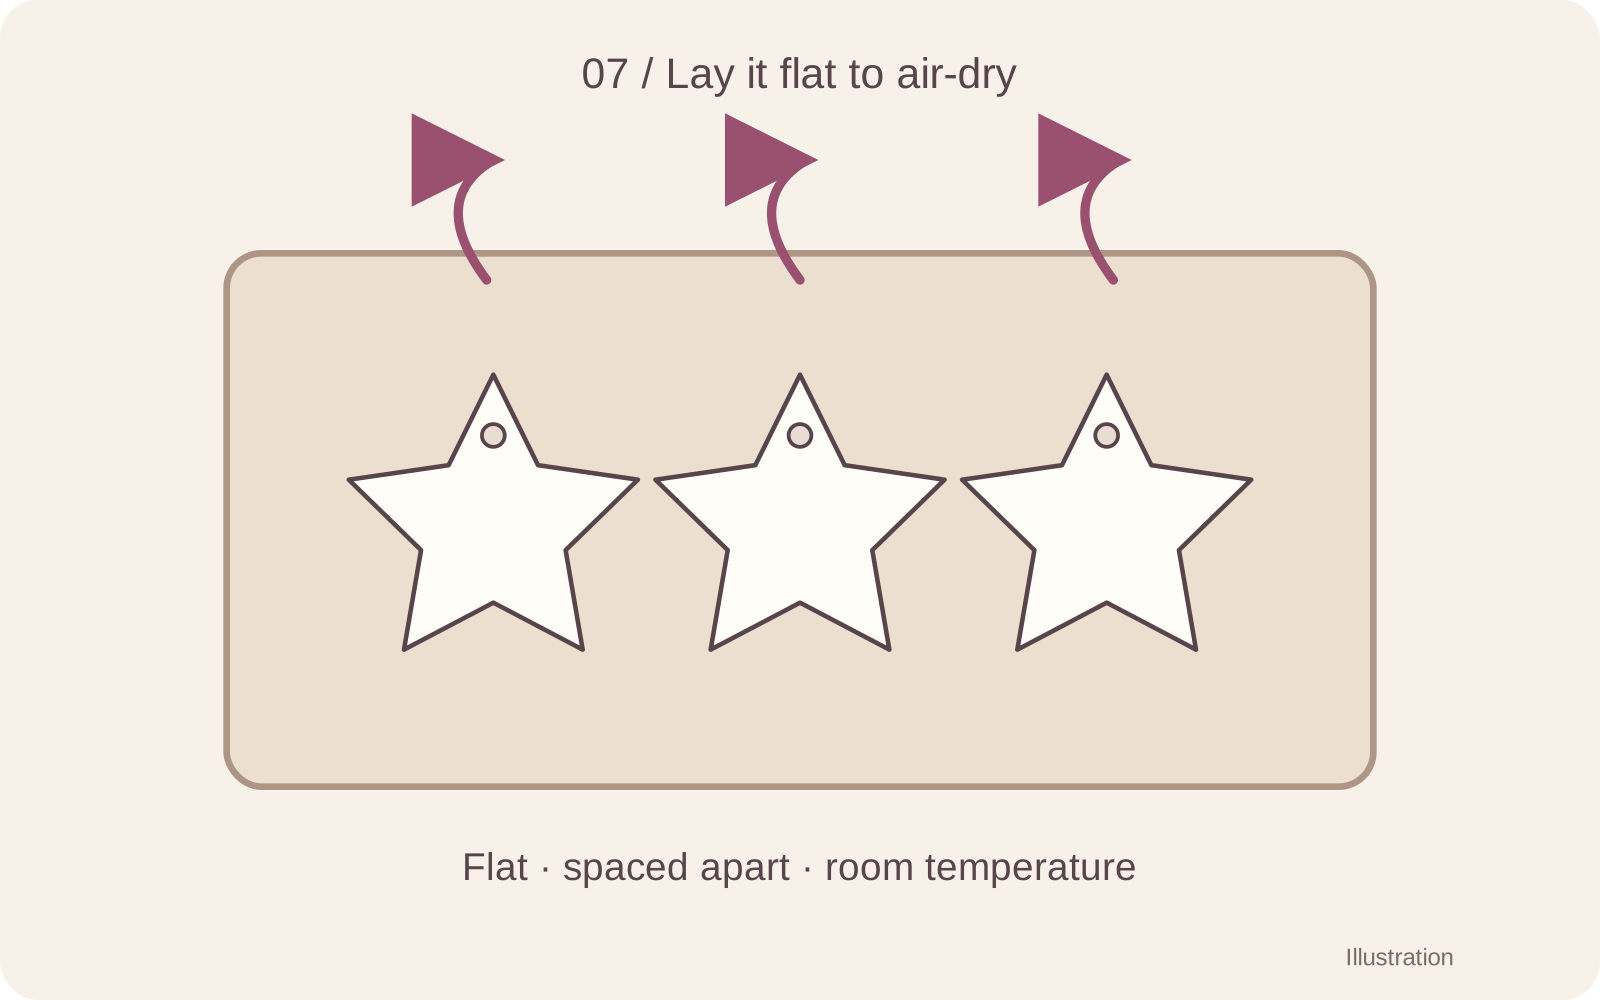
Place the stars flat and apart on a clean, level drying surface. For this FIMOair example, allow at least 24 hours and be prepared for several days. Room conditions and thickness change the drying time. Do not force drying with a hairdryer, direct sun or an oven.
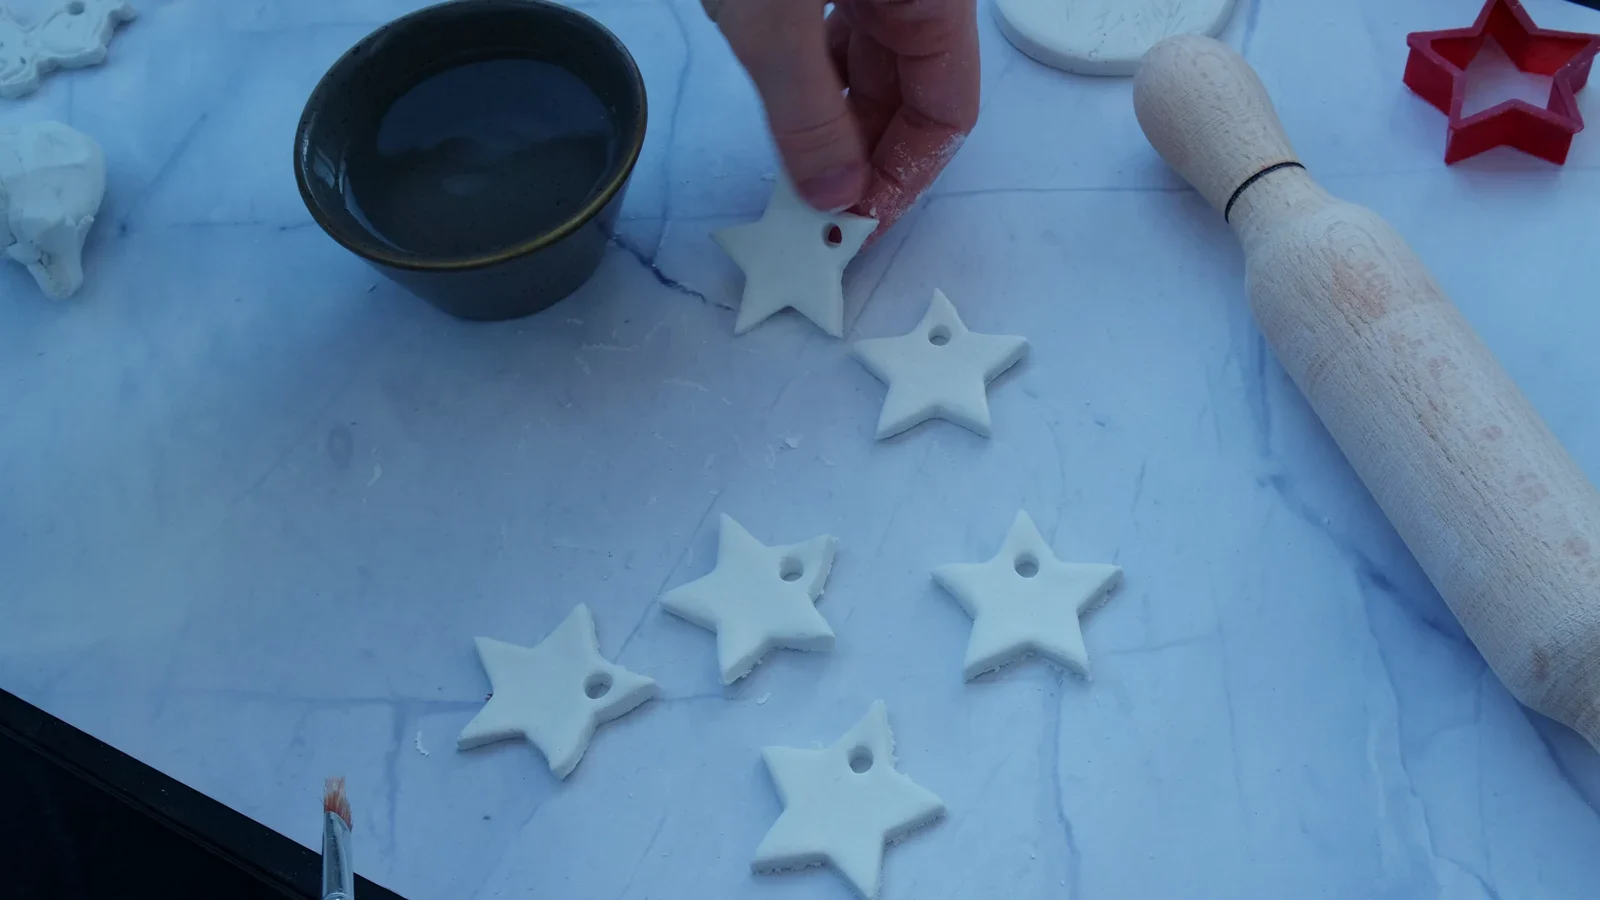
Leave room between the stars. This view shows spacing; follow the drying and turning instructions below.
Step 8 of 12
Turn carefully once firm enough
The manufacturer advises waiting at least 12 hours before the first turn. Support the entire star and turn it gently so both faces can dry. If it is still too soft to move without bending, leave it longer before handling.
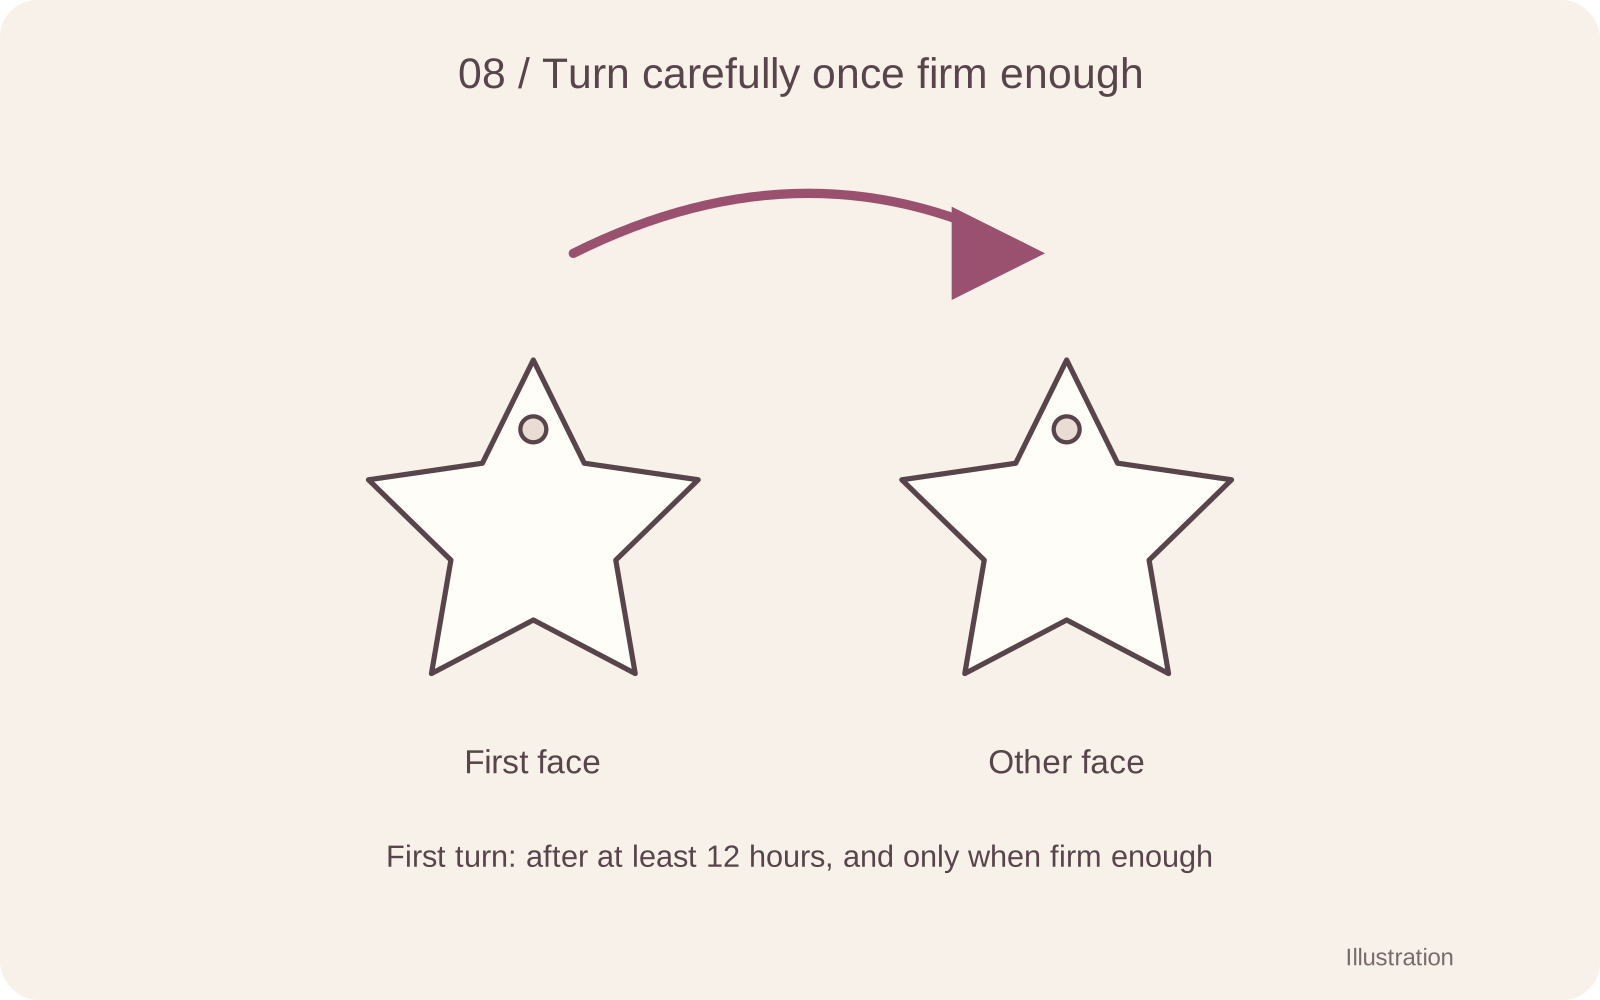
The manufacturer advises waiting at least 12 hours before the first turn. Support the entire star and turn it gently so both faces can dry. If it is still too soft to move without bending, leave it longer before handling.
Step 9 of 12
Check it before finishing
Wait until the piece is fully dry according to the current packaging. Inspect both faces, every point and the hole for cracks or weakness. A piece that still feels damp or is not firm needs more time; a white-looking surface alone is not proof of dryness.
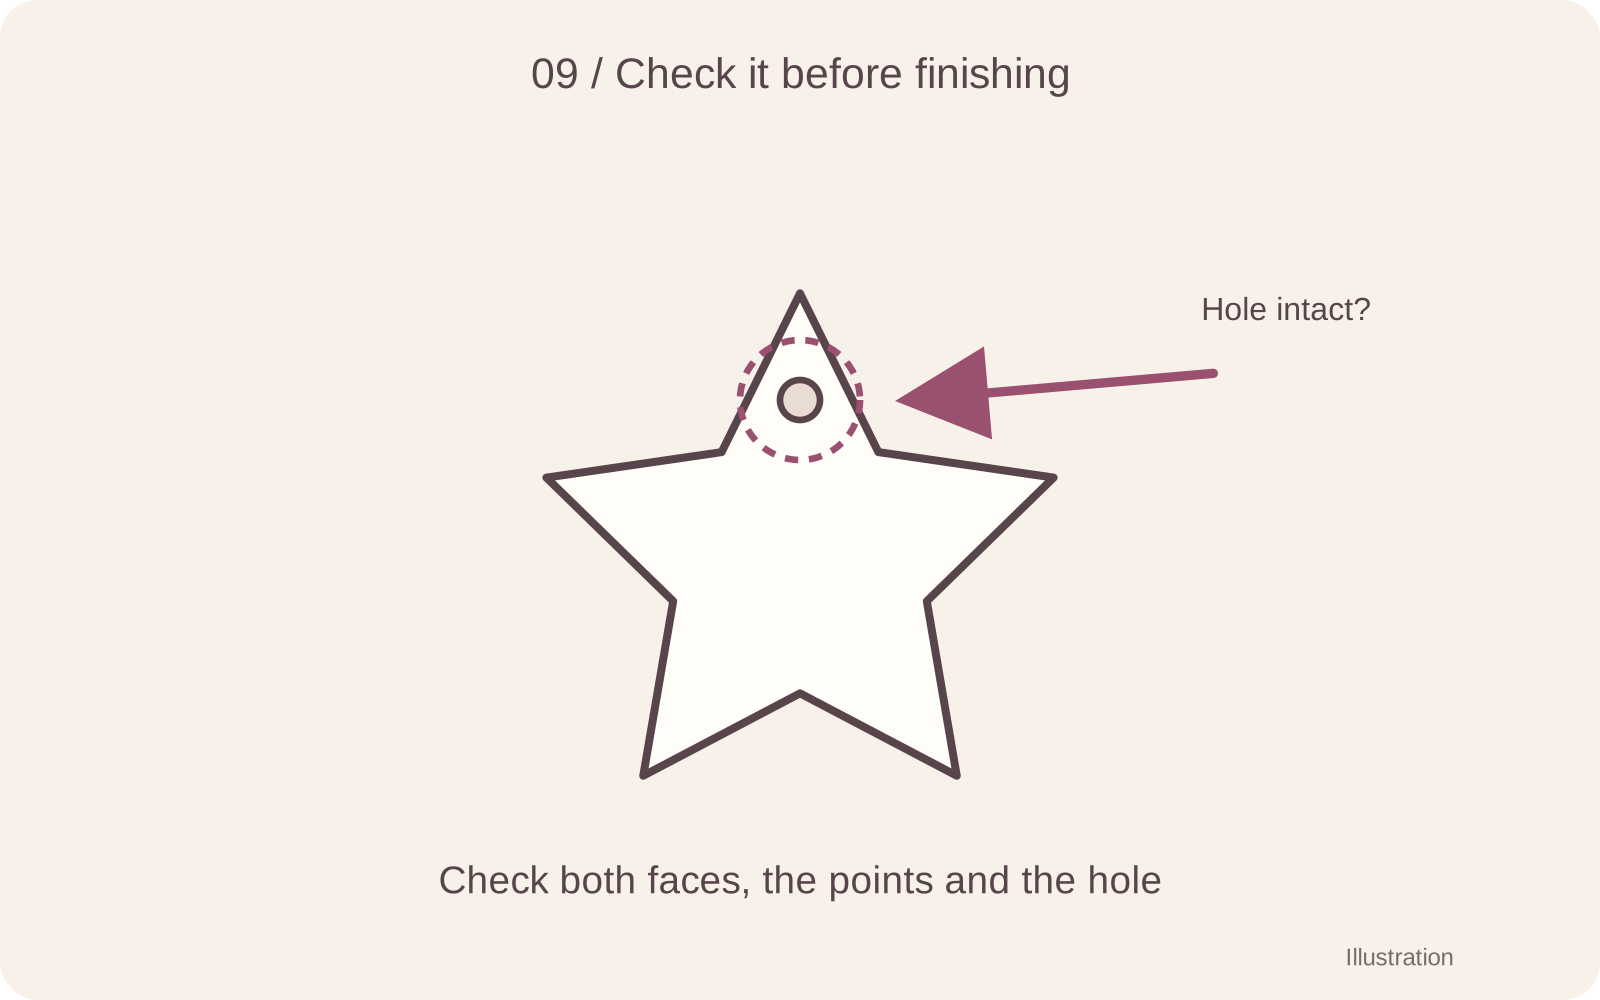
Wait until the piece is fully dry according to the current packaging. Inspect both faces, every point and the hole for cracks or weakness. A piece that still feels damp or is not firm needs more time; a white-looking surface alone is not proof of dryness.
Step 10 of 12
Keep it plain or add a small accent
A plain white star is a complete finish. If desired, test acrylic paint on a spare dry piece, then add a few dots or one small accent to the star. Keep the opening clear. Let the decoration dry as directed before handling.
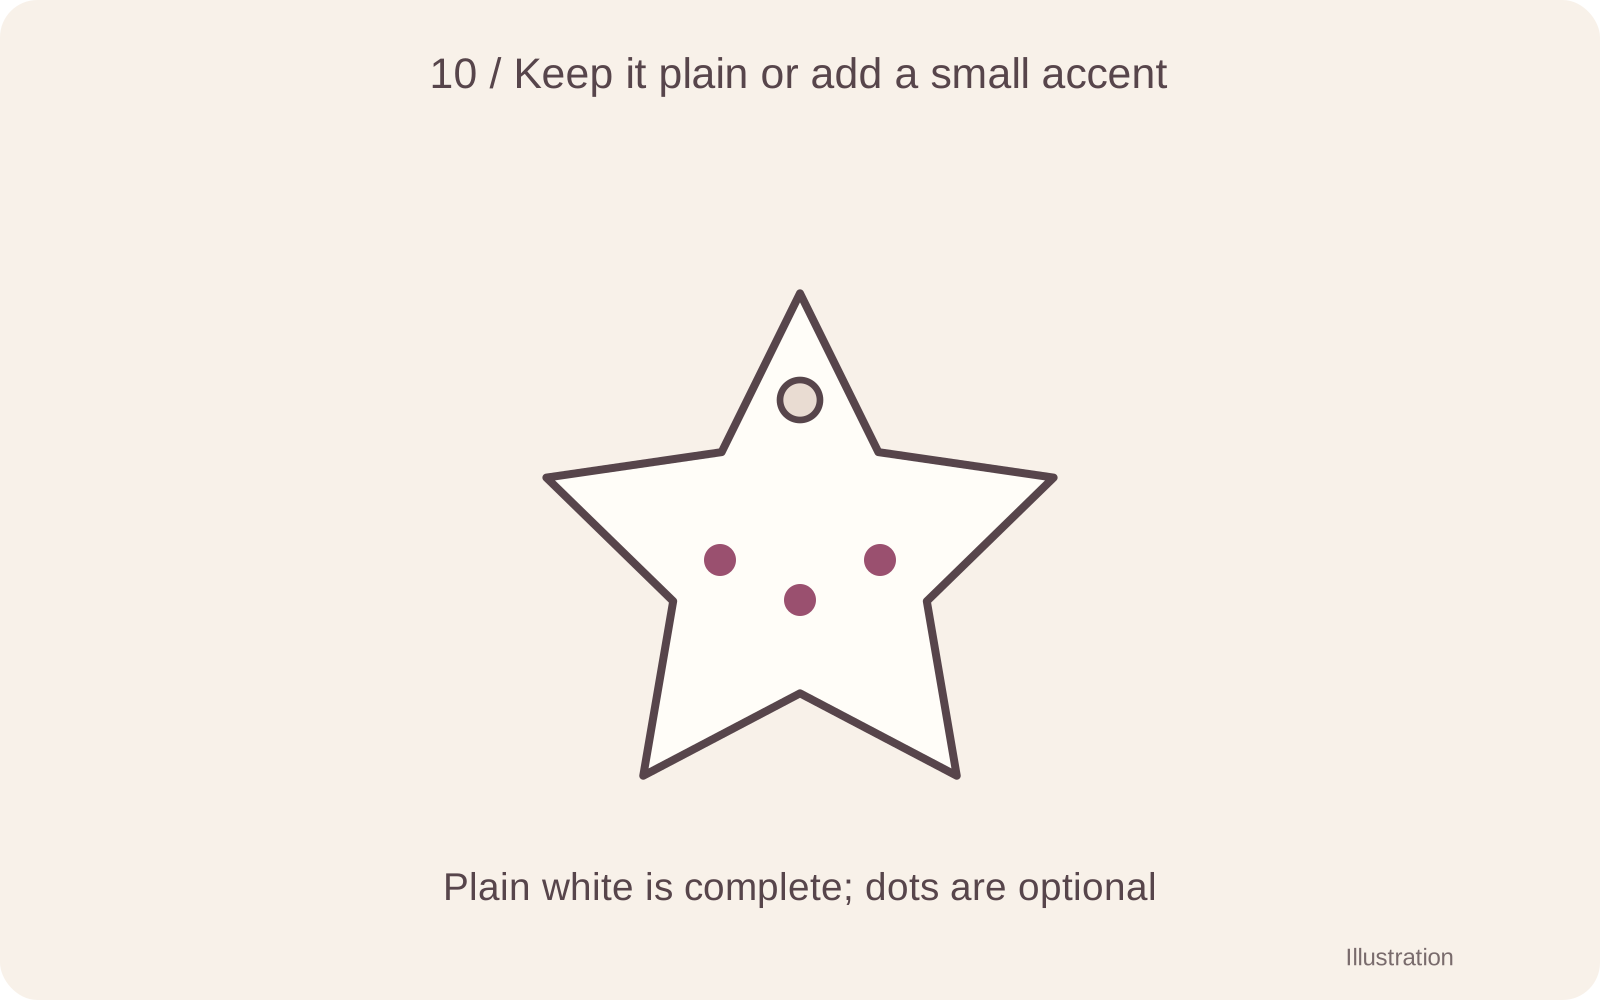
A plain white star is a complete finish. If desired, test acrylic paint on a spare dry piece, then add a few dots or one small accent to the star. Keep the opening clear. Let the decoration dry as directed before handling.
Step 11 of 12
Thread and tie the cord
Only thread a sound, fully dry ornament. Feed one end of thin cord through the hole, bring the two ends together and tie a secure knot above the star. Use a length that gives the hanging loop you want without forcing thick cord through the opening.
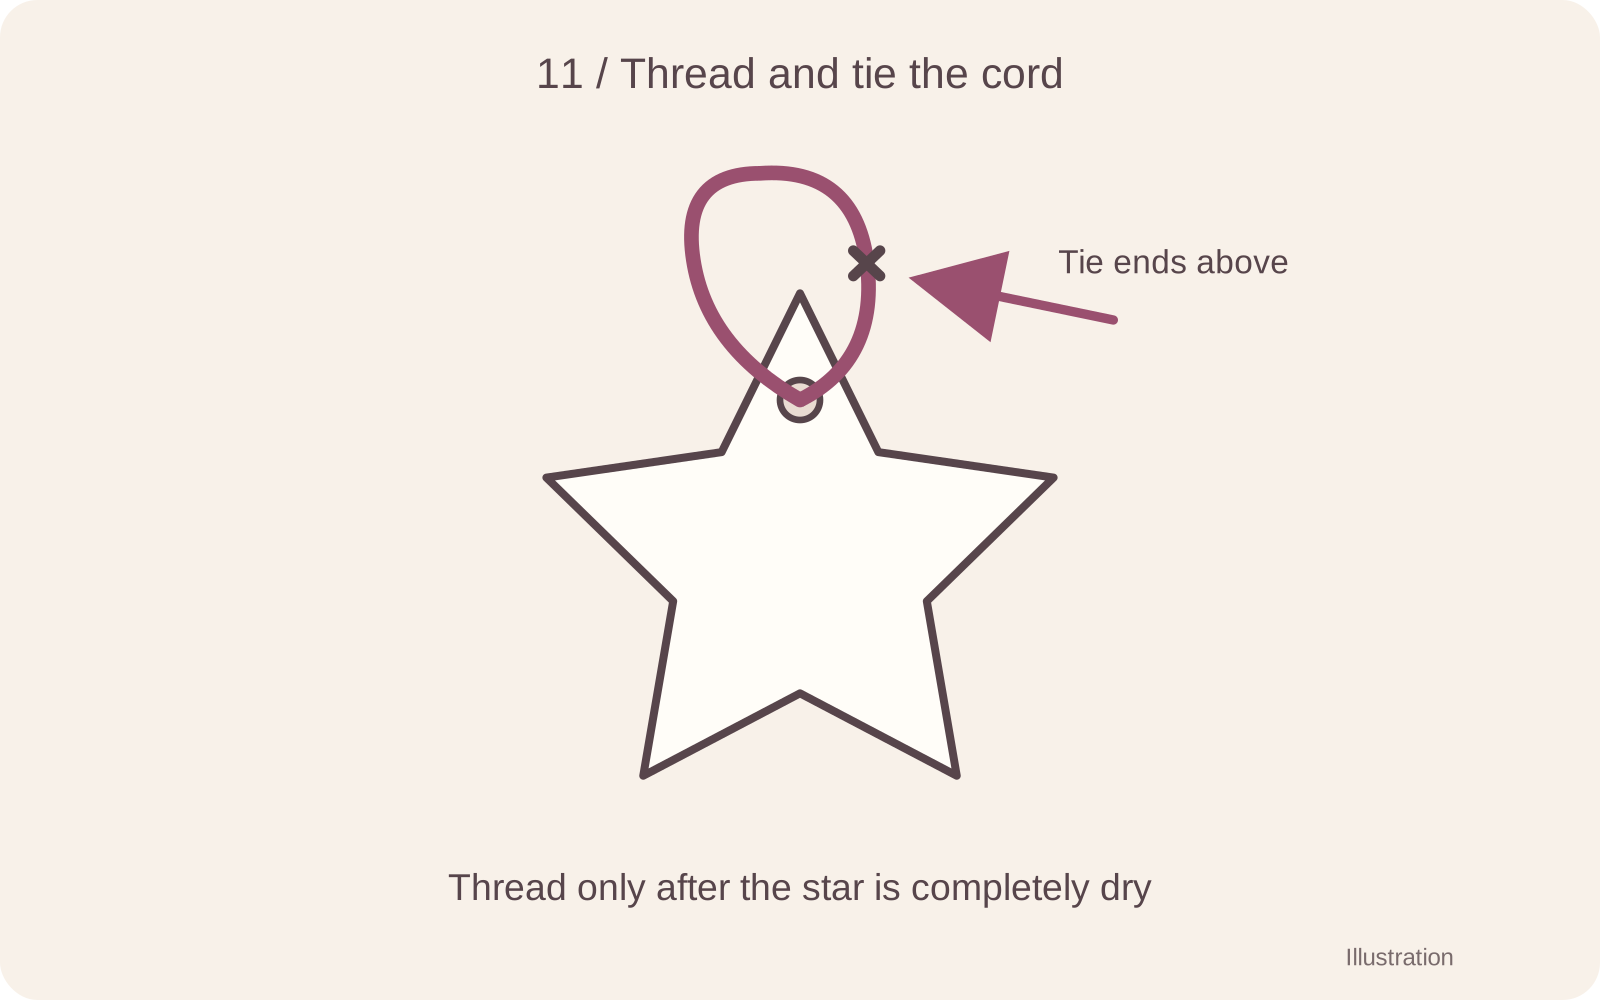
Only thread a sound, fully dry ornament. Feed one end of thin cord through the hole, bring the two ends together and tie a secure knot above the star. Use a length that gives the hanging loop you want without forcing thick cord through the opening.
Step 12 of 12
Hang the finished ornament
Lift gently by the loop over a soft surface to check the knot and hole. Hang on a small indoor branch, ornament hook or gift package. Keep the clay decoration dry and avoid heavy loads on its points.
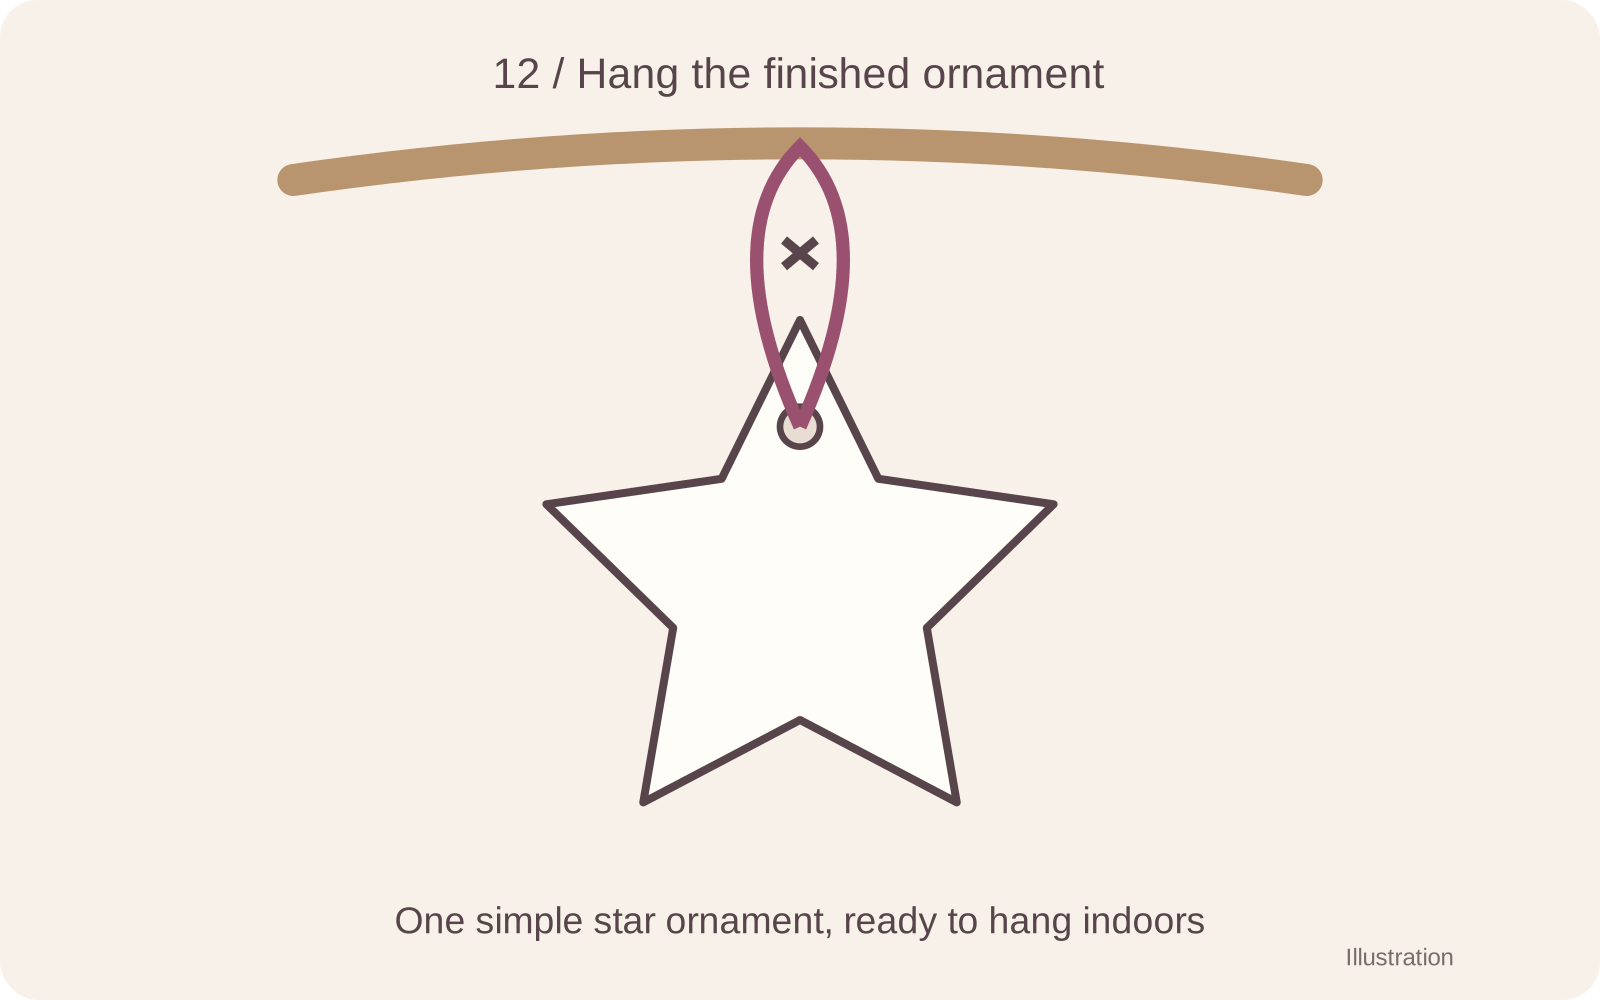
Lift gently by the loop over a soft surface to check the knot and hole. Hang on a small indoor branch, ornament hook or gift package. Keep the clay decoration dry and avoid heavy loads on its points.
Three finishes and two display ideas
Wait for full drying before choosing a finish. Make a small test on the spare offcut so you can check the color, brush marks and compatibility before painting the ornament.

From left: plain white, a few rose dots and a gold-tone painted accent. Keep the hanging opening clear in every version.
Keep it plain
Let the white surface and handmade edges provide the detail. Add a simple cord after checking the dry star. Plain does not need to mean unfinished; there is no need to paint every piece.
Add a few dots
Choose one acrylic color and space a few small dots across the face. Leave enough white between them to keep the outline clear. Let the paint dry according to its directions before turning or threading the star.
Paint one gold-tone accent
Try a small area of compatible metallic acrylic paint along the lower part of the star. Test the coverage first; avoid filling the hole with paint or putting pressure on a point while brushing. Let the painted area dry fully before handling it.
Give the star a place

Hang a small group at different heights, leaving each outline visible.

Tie a star onto a wrapped gift so the recipient can remove and hang it later.
For a branch display, check that the branch and its support are secure and the stars cannot knock against a wall or each other. Keep dangling cords away from small children and pets.
For a gift topper, tie the star’s loop to the wrapping cord without trapping a point beneath a tight ribbon. Our furoshiki gift-wrapping guide offers another way to wrap a small present; attach an ornament only where the fabric and knot will not squeeze it.
Fix common star ornament problems
On a small screen, swipe the table sideways to read all three columns.
| Problem | What to check | What to do next |
|---|---|---|
| A point stretches during lifting | The star may still be stuck to the surrounding sheet. | Remove the excess first and support the whole shape. Reshape or recut it while workable. |
| The hanging hole is very close to the tip | There may be too little clay between the opening and the edge. | Re-form the soft star and move the hole into the broader part of the arm. Do not rely on a narrow strip of clay to carry the ornament. |
| The star bends when turned | It may not be firm enough to move. | Stop handling it and leave it longer. Support the whole piece when it is ready to turn. |
| A crack runs through a hole or point | The hanging area may be weak. | Do not hang it. Make another star with a more generous margin and even thickness. |
| The cord does not fit after drying | The opening may have shrunk or filled with loose clay. | Do not force a thick cord through a fragile hole. Try a thinner cord; on the next soft star, test a more generous opening. |
| The surface looks dry but still feels damp | The interior may need more drying time. | Wait before painting or threading and follow the product’s drying guidance. |
If the clay behaves differently from its instructions, consult the manufacturer before trying to repair or speed up the process.
Air-dry clay ornament questions
Do these stars need an oven?
No. This project uses FIMOair, which hardens in air. Do not put it in an oven or substitute polymer-clay curing instructions. Let it dry at room temperature according to its packaging.
When should I make the hanging hole?
Make it while the clay is soft, before drying. Keep it below the narrow upper tip, with a generous wall of clay around it. Check that the opening will accept your chosen cord without pressure.
How long should I wait before painting?
Wait until the whole star is dry, rather than painting as soon as the surface looks pale. The FIMOair drying allowance above is a minimum starting point; thicker areas and room conditions can extend it. Paint should not be used to hide damp clay or a crack.
Does the star need varnish?
A plain white finish is an option. If you want a coating, use one suitable for the clay and paint, follow its instructions and try it on the spare dry sample first. Keep these ornaments for dry indoor decoration; a shiny coating is not a reason to assume they can withstand rain or washing.
Can I make several at once?
Begin with one practice star and an offcut for the finish. Once you are happy with the handling and hole placement, cut more from an even sheet. Keep them spaced apart while drying and allow enough time before a gift deadline.
Material guidance and next projects
For the material details, see STAEDTLER’s FIMOair product guidance and air-drying and finishing guide. Our star design adapts a flat-decoration method; follow the directions for the product you actually use.
For a different light hanging decoration, try the paper crane garland. To design a small motif before painting it onto a dry star, use a simple shape from our cute drawing lessons and practice on paper first.