In this guide
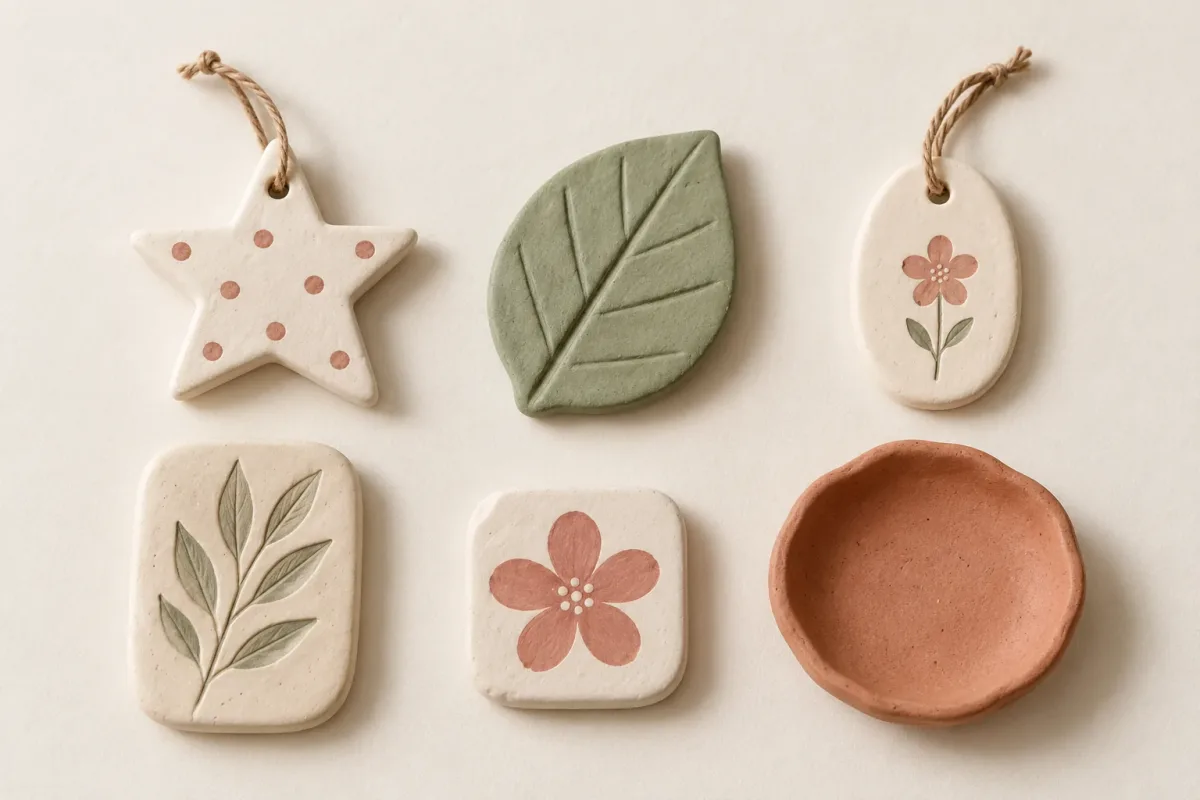
Make one broad leaf with a center vein and a few shallow branches, then leave it flat to dry. The rounded base gives you something substantial to handle, while the open spaces between the veins keep the pattern easy to read. Plain white, muted green and terracotta are three simple finishing choices.
This route uses white FIMOair air-drying modelling clay. The written measurements and drying guidance belong to that material; the shaping close-ups show individual hand movements. The leaf outline and flat format are our design adaptation of the manufacturer’s flat-decoration method. Follow the current packaging if its directions differ.
Choose the flat leaf project
The aim is a small indoor decoration that rests on a dry shelf. Keep the first leaf about 8–10 cm long, with a broad middle and no long stem. That is a suggested design size, not a tested yield or strength specification. Make one before cutting a matching set.
There are two different ways to add a leaf pattern: draw the veins with a modelling tool, or press a real leaf into the clay. This lesson uses tool-marked veins. You do not need to collect a plant or reproduce every tiny line. A leaf-shaped dish would also need a curved support and a different release process; keep this first piece flat.
Materials and a printable outline
- White FIMOair air-drying clay, with its packaging instructions.
- A smooth rigid work surface, baking paper and a flat drying place.
- A roller, a ruler and two equal 5 mm guides.
- The paper leaf outline, scissors for paper and a suitable clay-cutting tool.
- A modelling tool for shallow vein marks, plus a small amount of water if needed for smoothing.
- An airtight container for spare clay.
- Optional compatible acrylic paint, a small brush and an offcut for a finish test.
Keep clay tools separate from food preparation. An adult should handle any sharp cutting tools used with children. Use a clean work area where the paper can lie flat, and keep the roller long enough to rest on both guides.
Open the printable leaf outline (SVG, new tab)
Print the outline at 100% / actual size. The marked line should measure 20 mm; check it with a ruler before cutting the paper. If your printer changes the scale, the line makes that visible. You can also draw a broader or smaller paper shape and use the same making sequence. The print is a cutting pattern; it does not need to be pressed into the clay to transfer veins.
Make a leaf in 14 small steps
Work through the shaping stages while the clay is workable. The optional short clips sit beside the action they show and play only when you open them and press play.
Step 1 of 14
Choose one broad outline
Start with a leaf about 8–10 cm long: a broad middle, a rounded base and a gentle point. This is a suggested design size, not a tested yield. Use the supplied outline or draw your own on paper. Keep the first version flat and leave off a long thin stem.
Step 2 of 14
Set up the material and support
Use white FIMOair air-drying clay. Put baking paper on a smooth, rigid, level work surface. Set out two equal 5 mm guides, a roller, a ruler and a suitable modelling tool. Have a flat drying place ready before opening the clay. Keep unused clay covered.
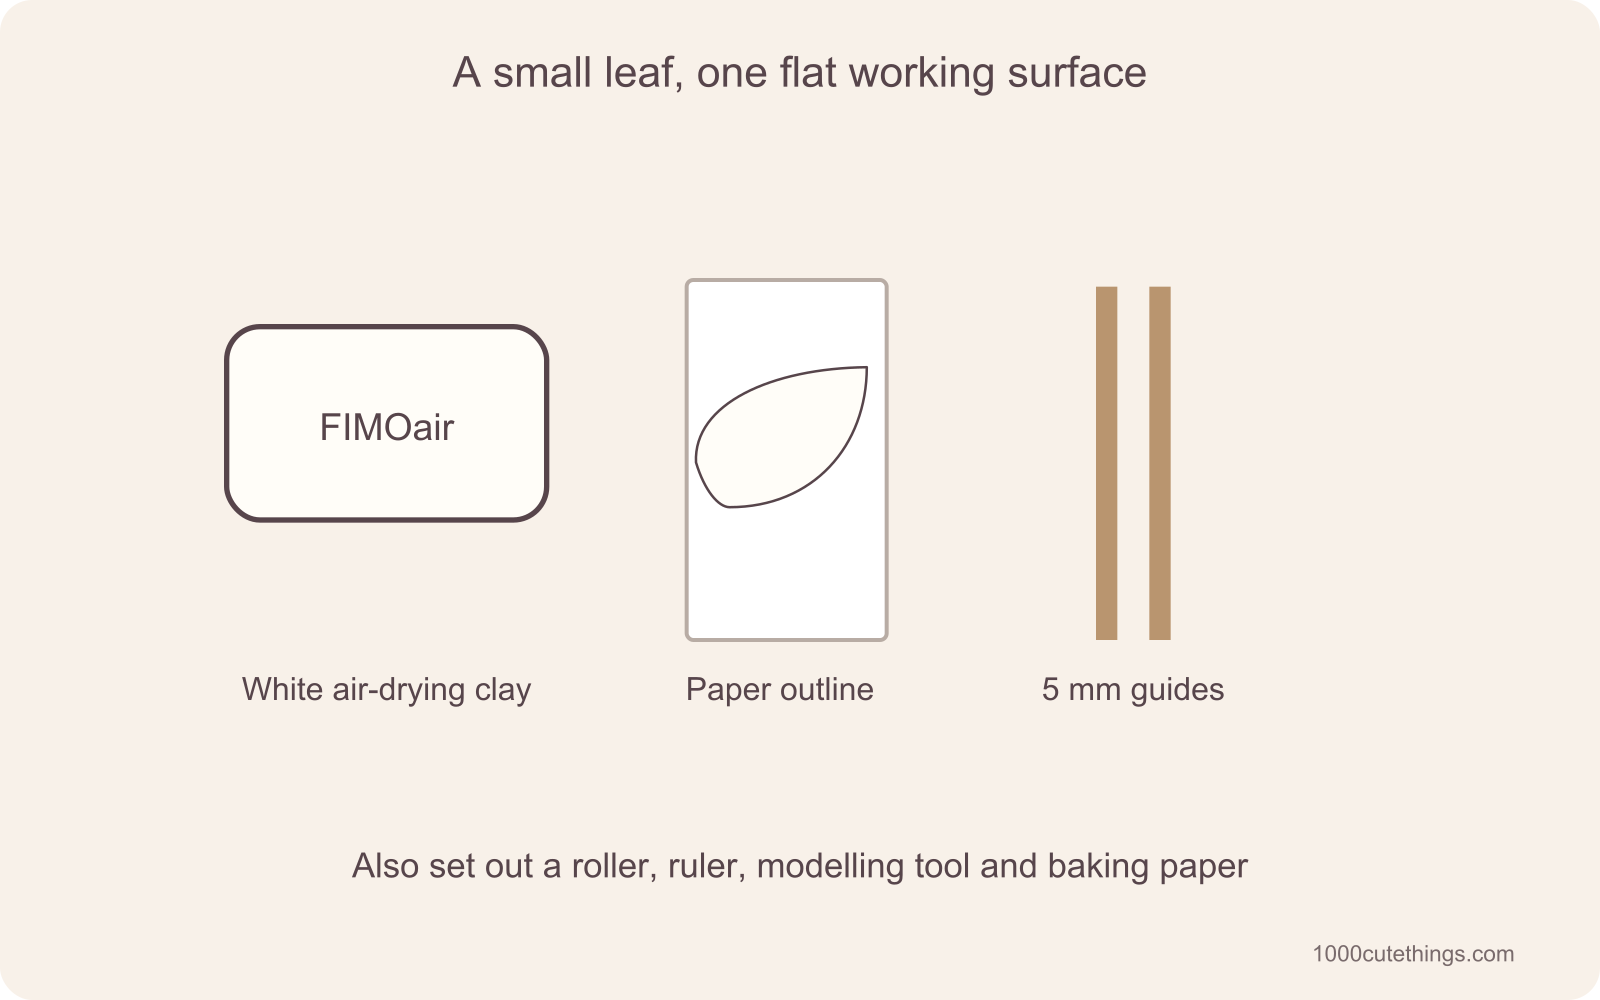
Use white FIMOair air-drying clay. Put baking paper on a smooth, rigid, level work surface. Set out two equal 5 mm guides, a roller, a ruler and a suitable modelling tool. Have a flat drying place ready before opening the clay. Keep unused clay covered.
Step 3 of 14
Roll an even 5 mm sheet
Work a small portion into a broad puck. Roll between the guides, changing direction gently so the whole future leaf has an even thickness. Make the sheet a little larger than the paper outline. Check the middle as well as the edges; do not roll a thin spot into the future tip.
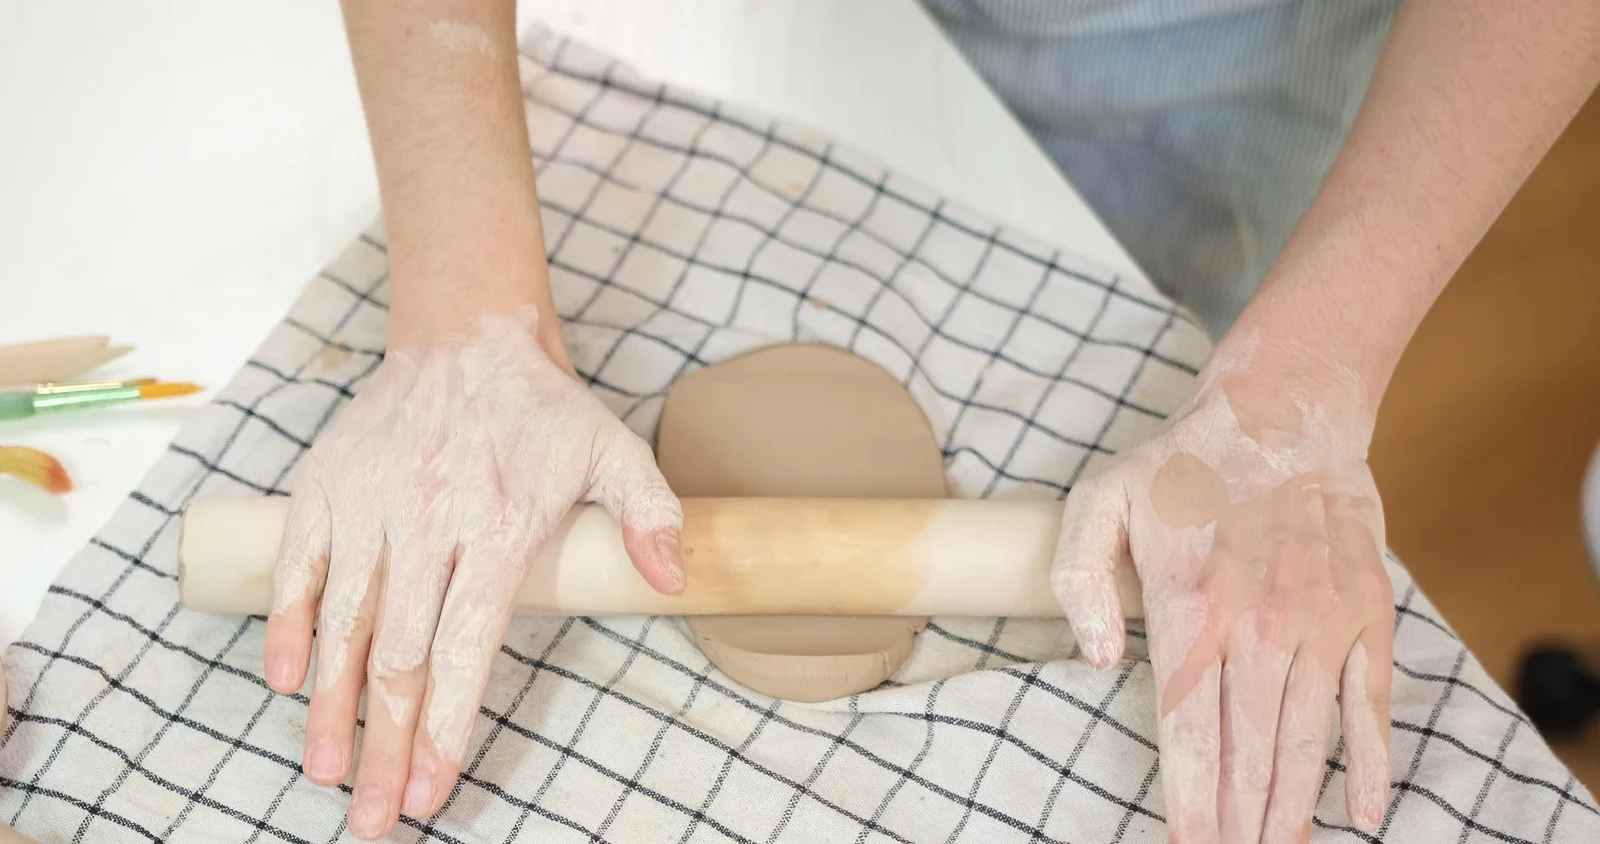
Roll evenly before cutting the outline.
Watch the movement: rolling a supported clay slab
Silent close-up; follow the written step for the material and measurements.
Step 4 of 14
Position the paper leaf
Set the cut-out paper pattern on the sheet. Check that there is clay beneath every part of it. The pattern should rest on the surface without stretching the slab. Take a moment to compare the base and tip before cutting.
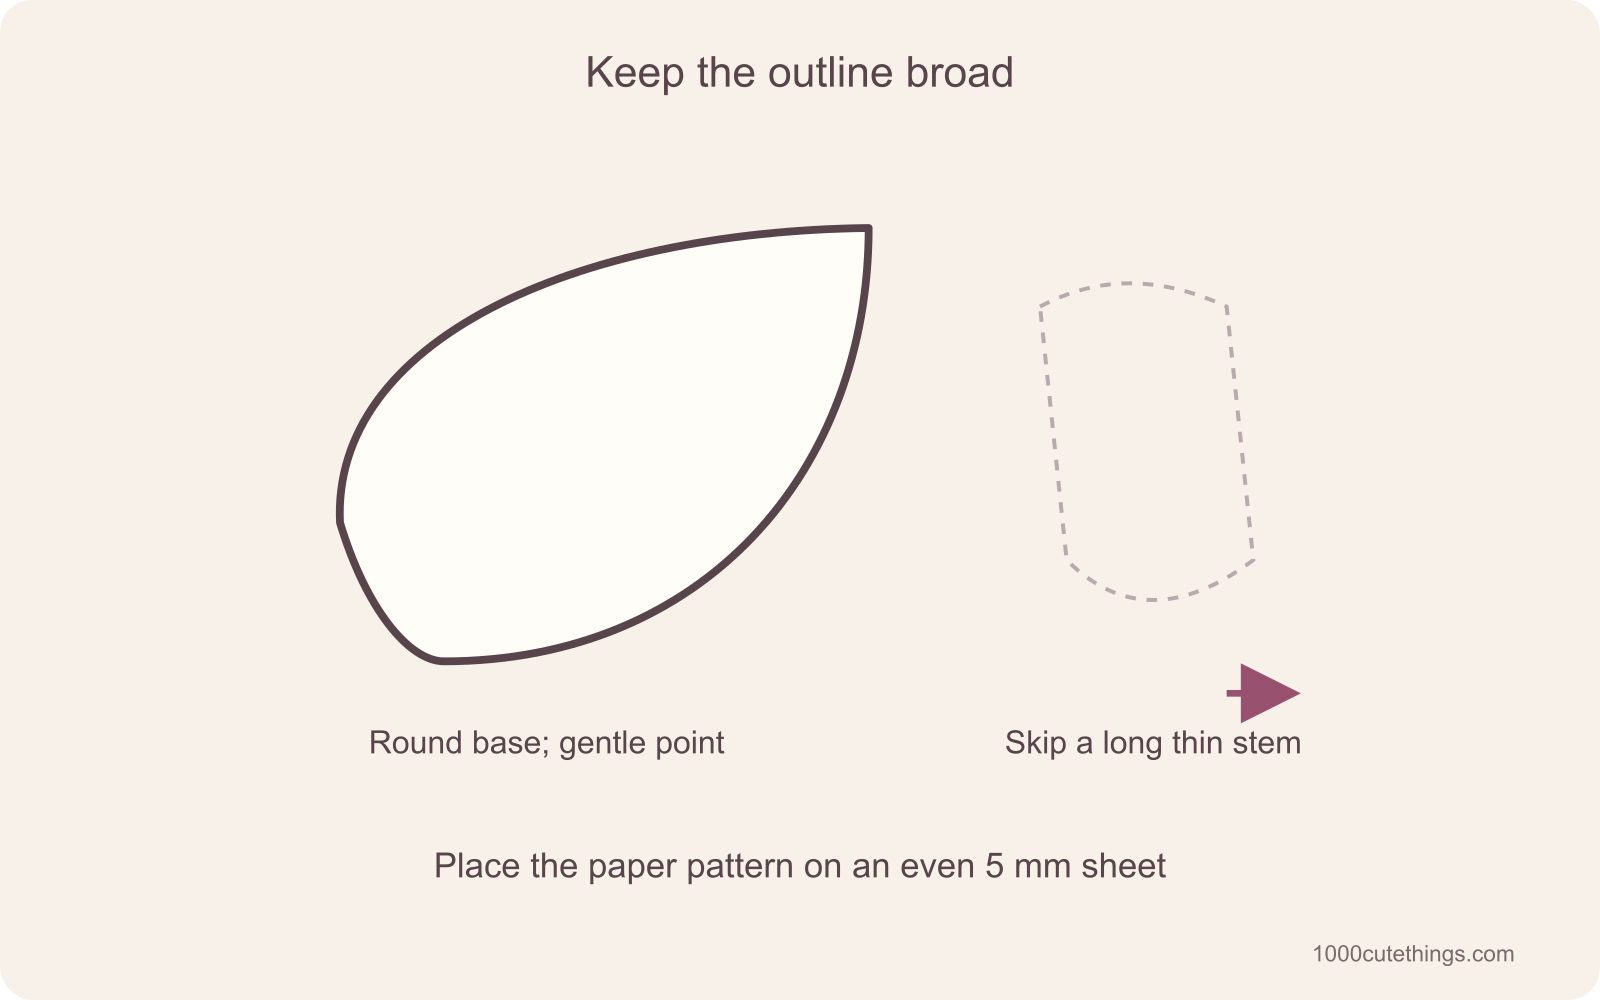
Set the cut-out paper pattern on the sheet. Check that there is clay beneath every part of it. The pattern should rest on the surface without stretching the slab. Take a moment to compare the base and tip before cutting.
Step 5 of 14
Cut around the outline in short movements
Use a cutting tool suitable for your clay and follow its instructions. Work around the outline a little at a time while the sheet stays supported. Lift away the paper pattern. You can leave the surrounding clay in place temporarily while adding the surface lines. An adult should handle cutting tools where needed.
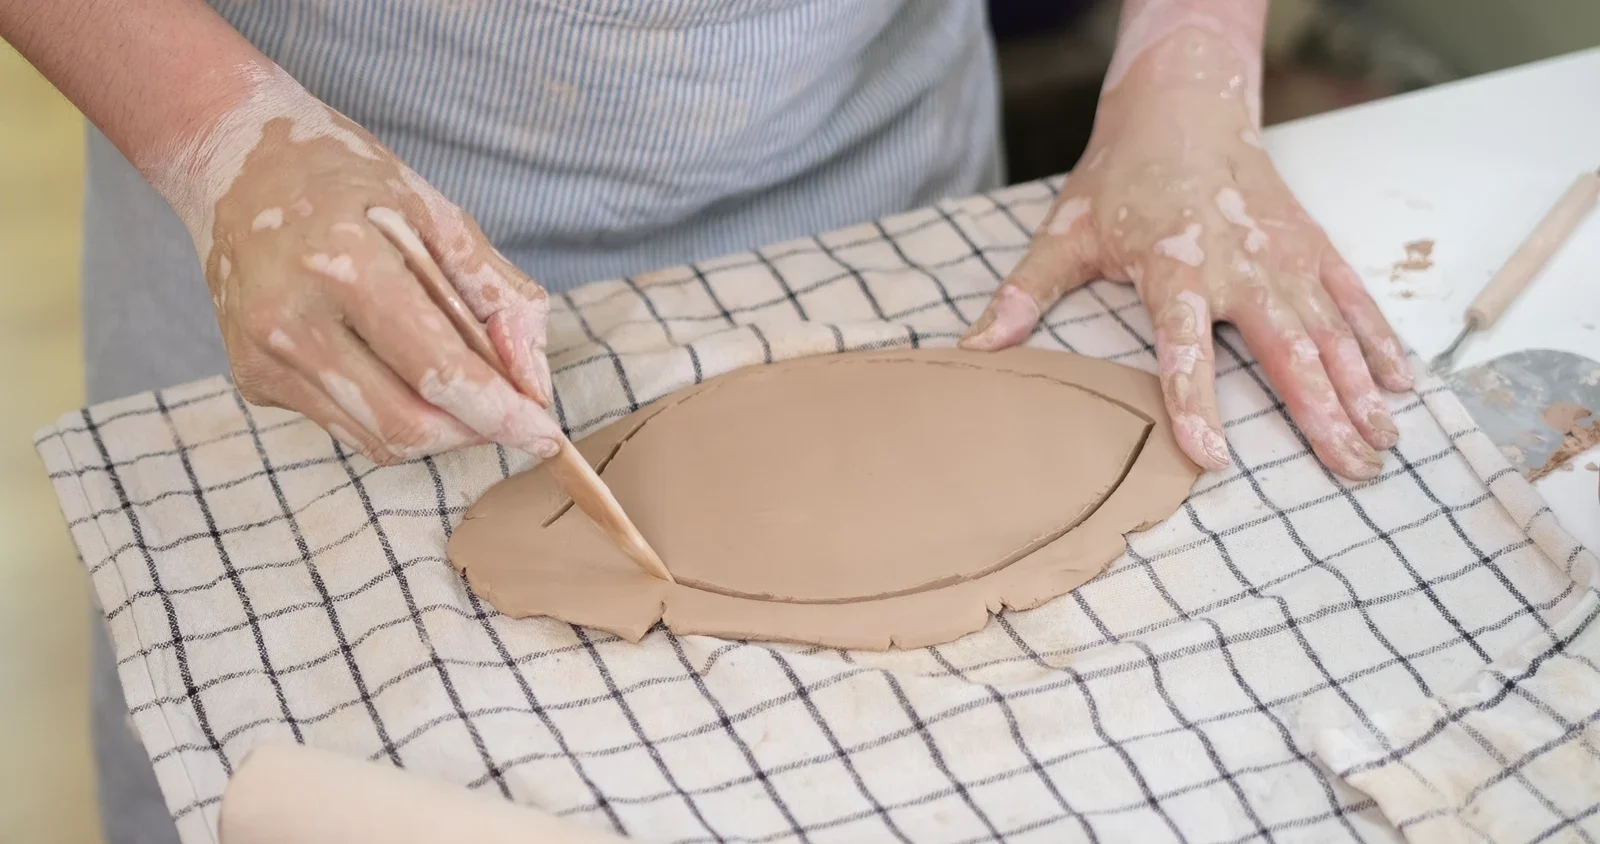
Keep the slab supported while cutting the outline.
Watch the movement: cutting the first curved side of a leaf outline
Silent close-up; follow the written step for the material and measurements.
Step 6 of 14
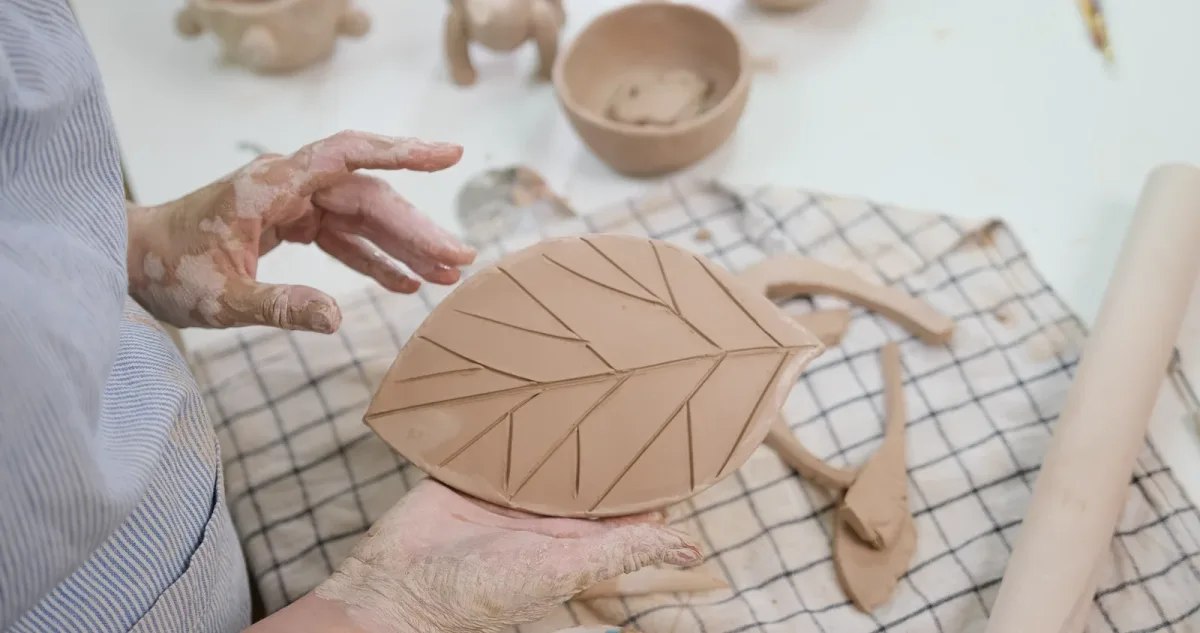
Mark one shallow center vein
Lightly draw one line from near the base toward the tip. Stop short of both edges. This is a surface groove, not a cut through the leaf. Try the pressure on a spare offcut first; if the tool reaches the baking paper, use less pressure.
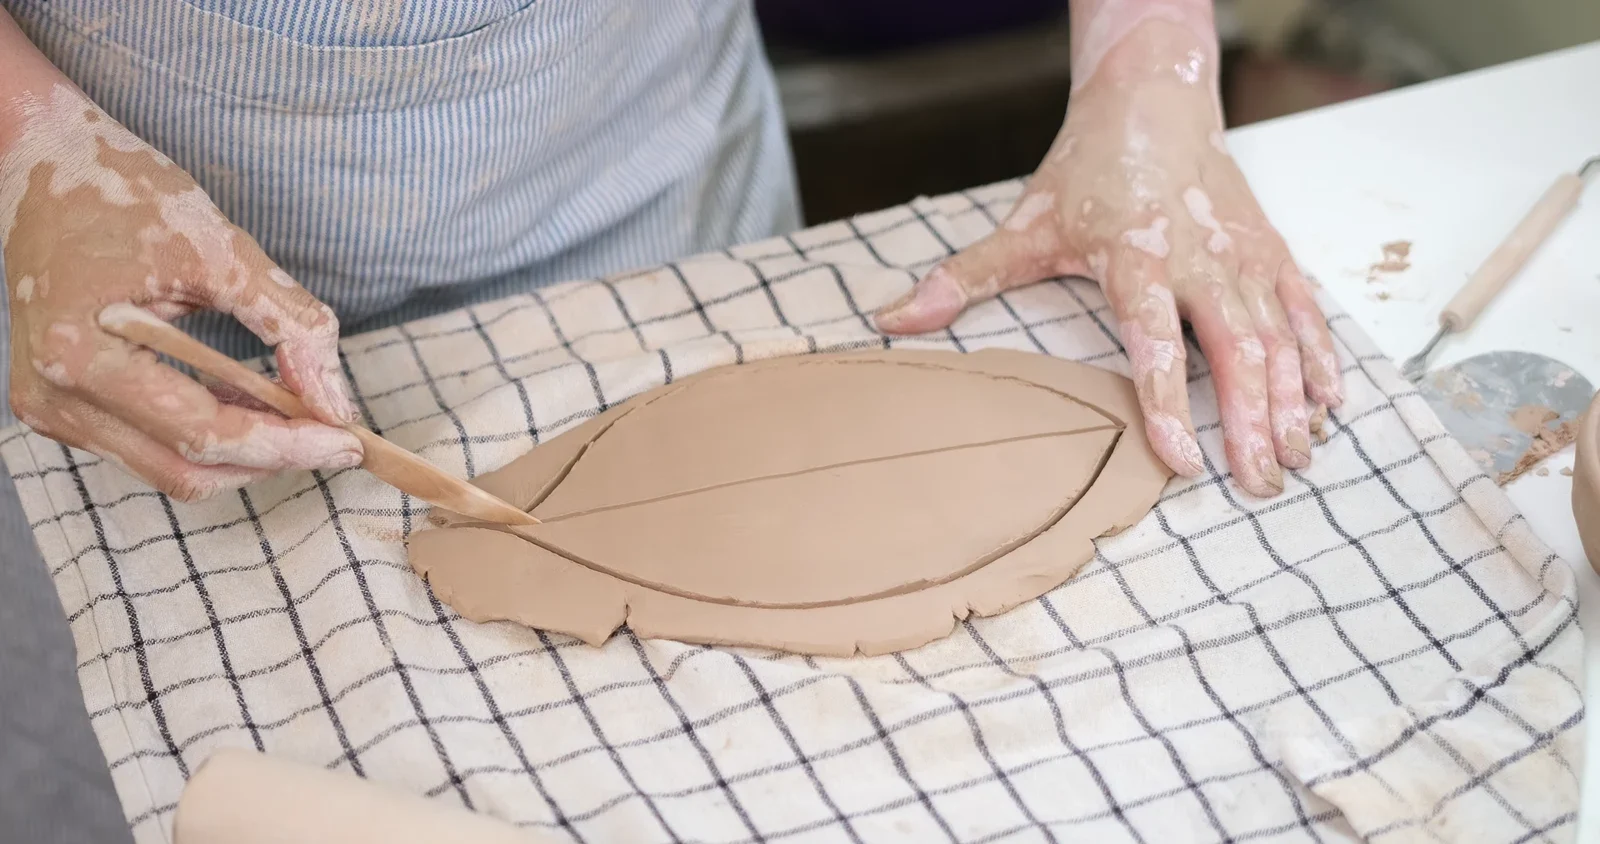
One shallow center line gives the branches a clear direction.
Step 7 of 14
Add a few branching veins
Add three or four short diagonal lines on each side of the center vein, pointing toward the tip. Leave open clay between them. Stop each branch before the outer edge. Keep the first pattern simple; many closely spaced grooves make the surface harder to refine.
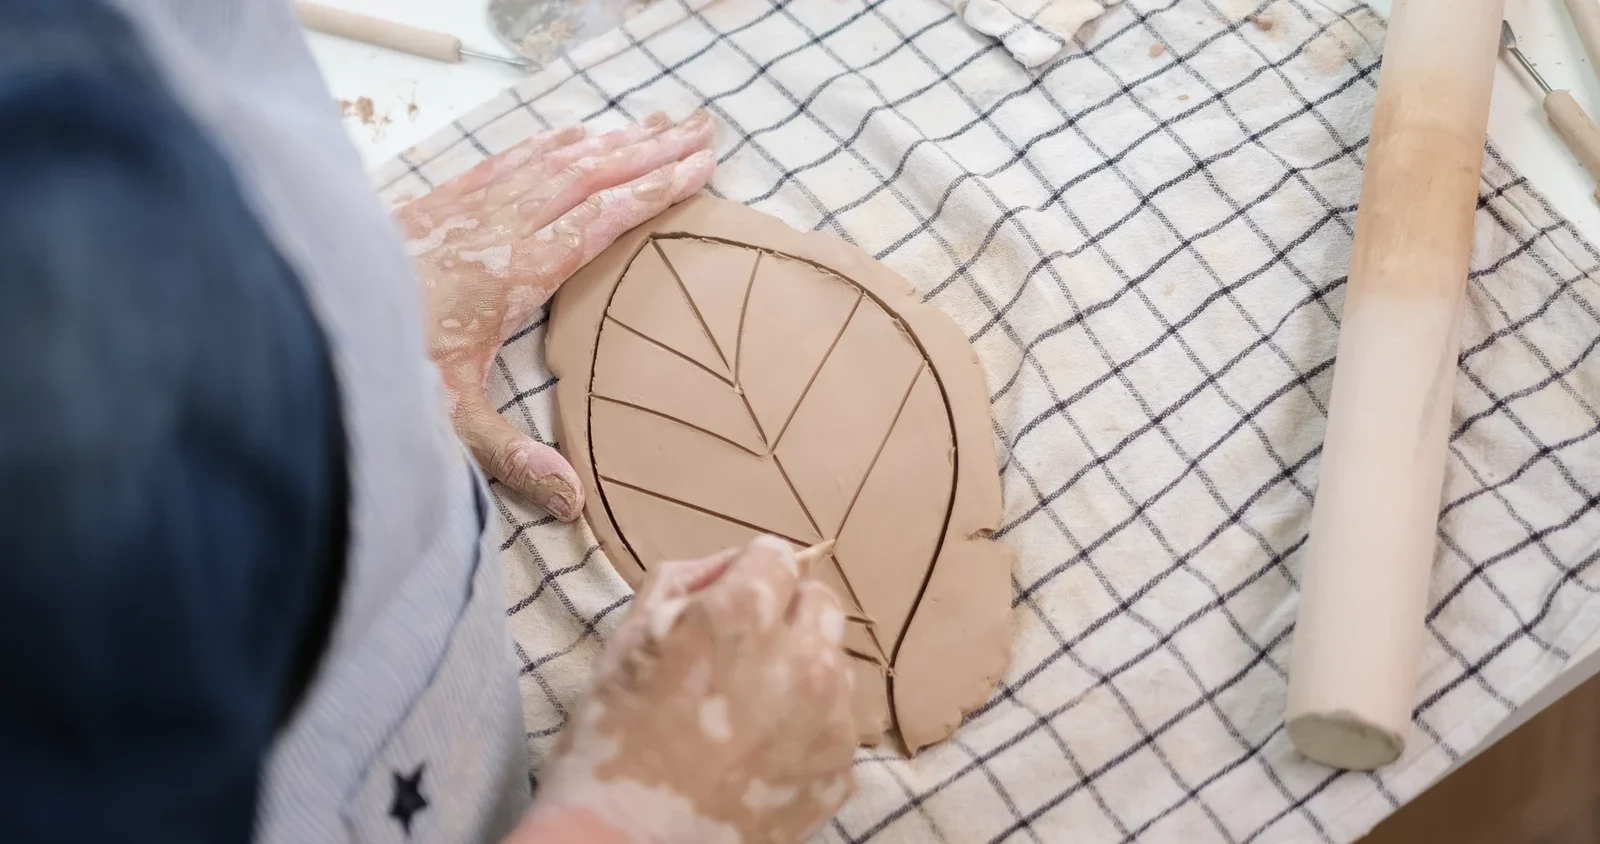
Leave space between the branching grooves.
Watch the movement: refining a shallow clay leaf vein
Silent close-up; follow the written step for the material and measurements.
Step 8 of 14
Separate the surrounding clay
Carefully lift the spare clay away from the cut outline. Work outward from the leaf instead of tugging on its tip. If a section is still attached, finish that cut with the tool while the shape rests on its paper. Wrap reusable scraps promptly.
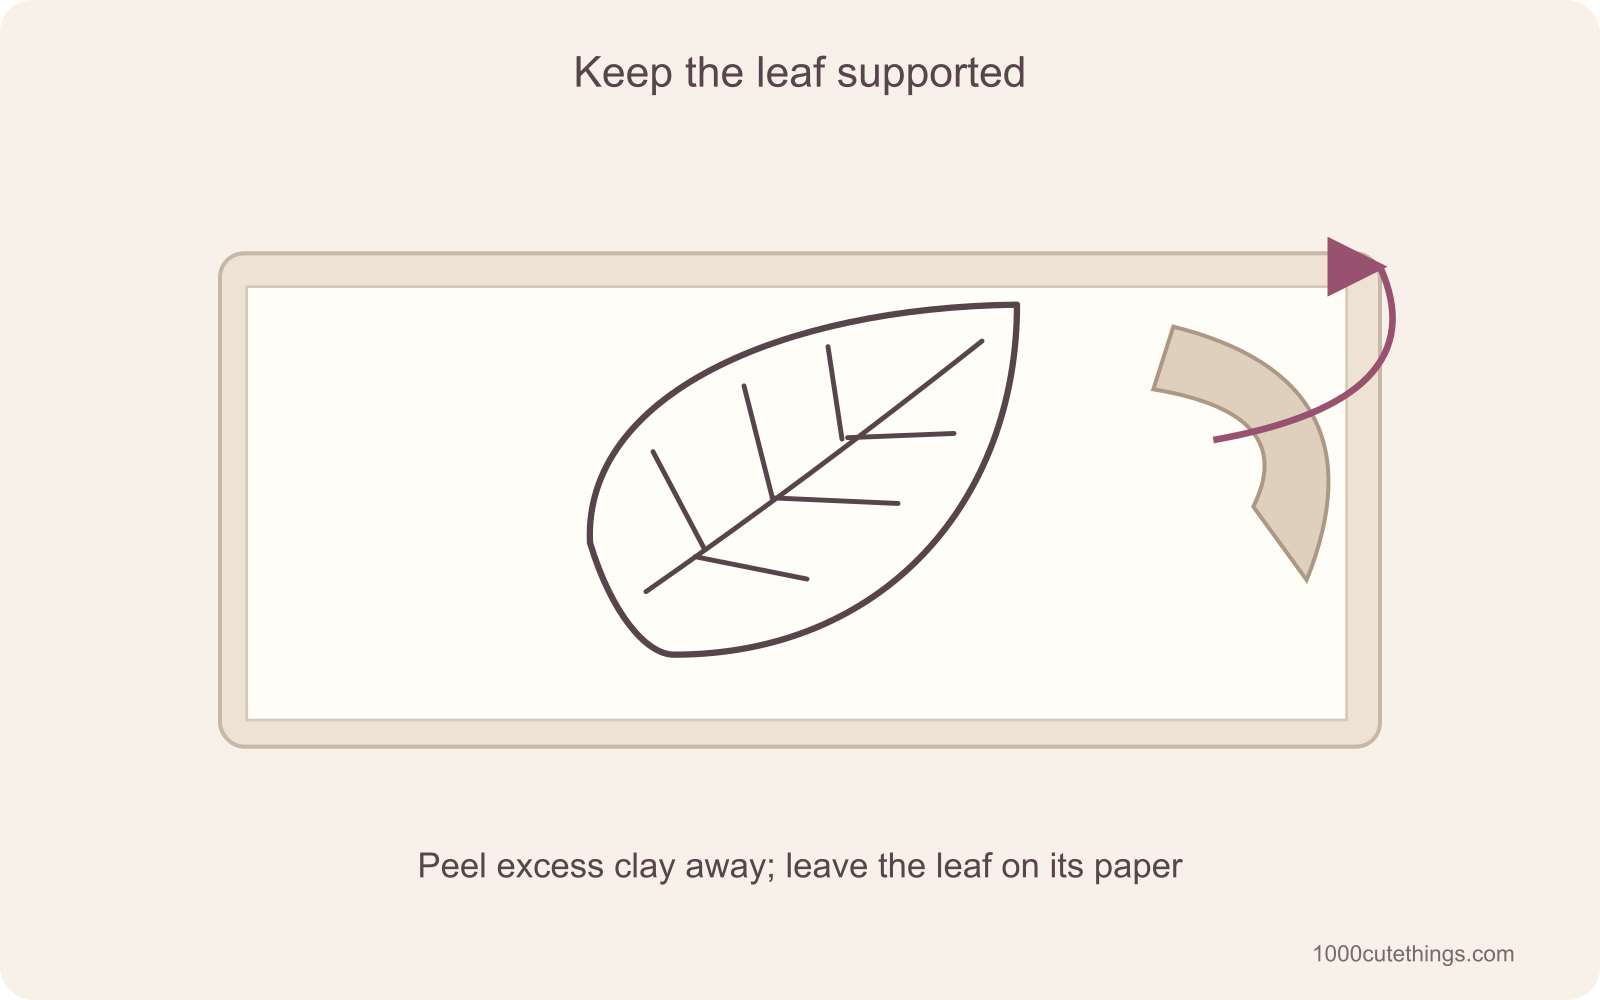
Carefully lift the spare clay away from the cut outline. Work outward from the leaf instead of tugging on its tip. If a section is still attached, finish that cut with the tool while the shape rests on its paper. Wrap reusable scraps promptly.
Step 9 of 14
Refine the edge without thinning it
Remove small burrs with a suitable modelling tool or a lightly damp fingertip. Support the leaf on the work surface and make small movements along the edge. Preserve the broad base and tip rather than pinching them thin. Avoid washing water into the shallow veins.
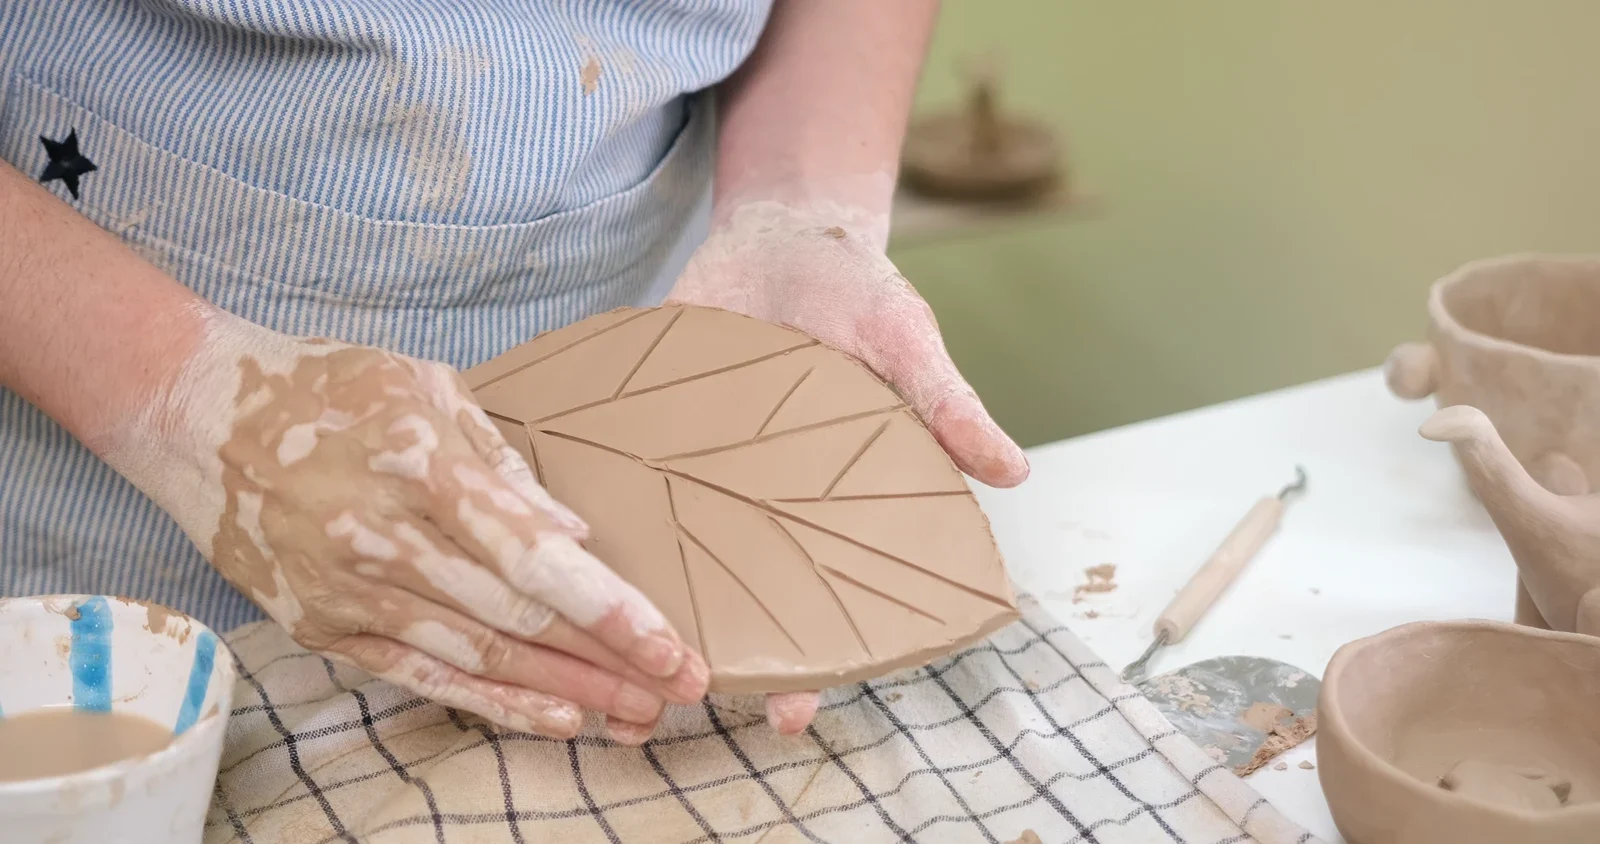
Work gently along the edge without pulling on the point.
Step 10 of 14
Move the whole support to the drying place
Keep the soft leaf flat. Move its paper with a rigid support beneath it rather than lifting it by one end. Leave it level at room temperature with space around it. For this FIMOair flat-decoration route, allow at least 24 hours, and plan for longer if the piece is not fully dry. Do not force the process with a hairdryer or oven.
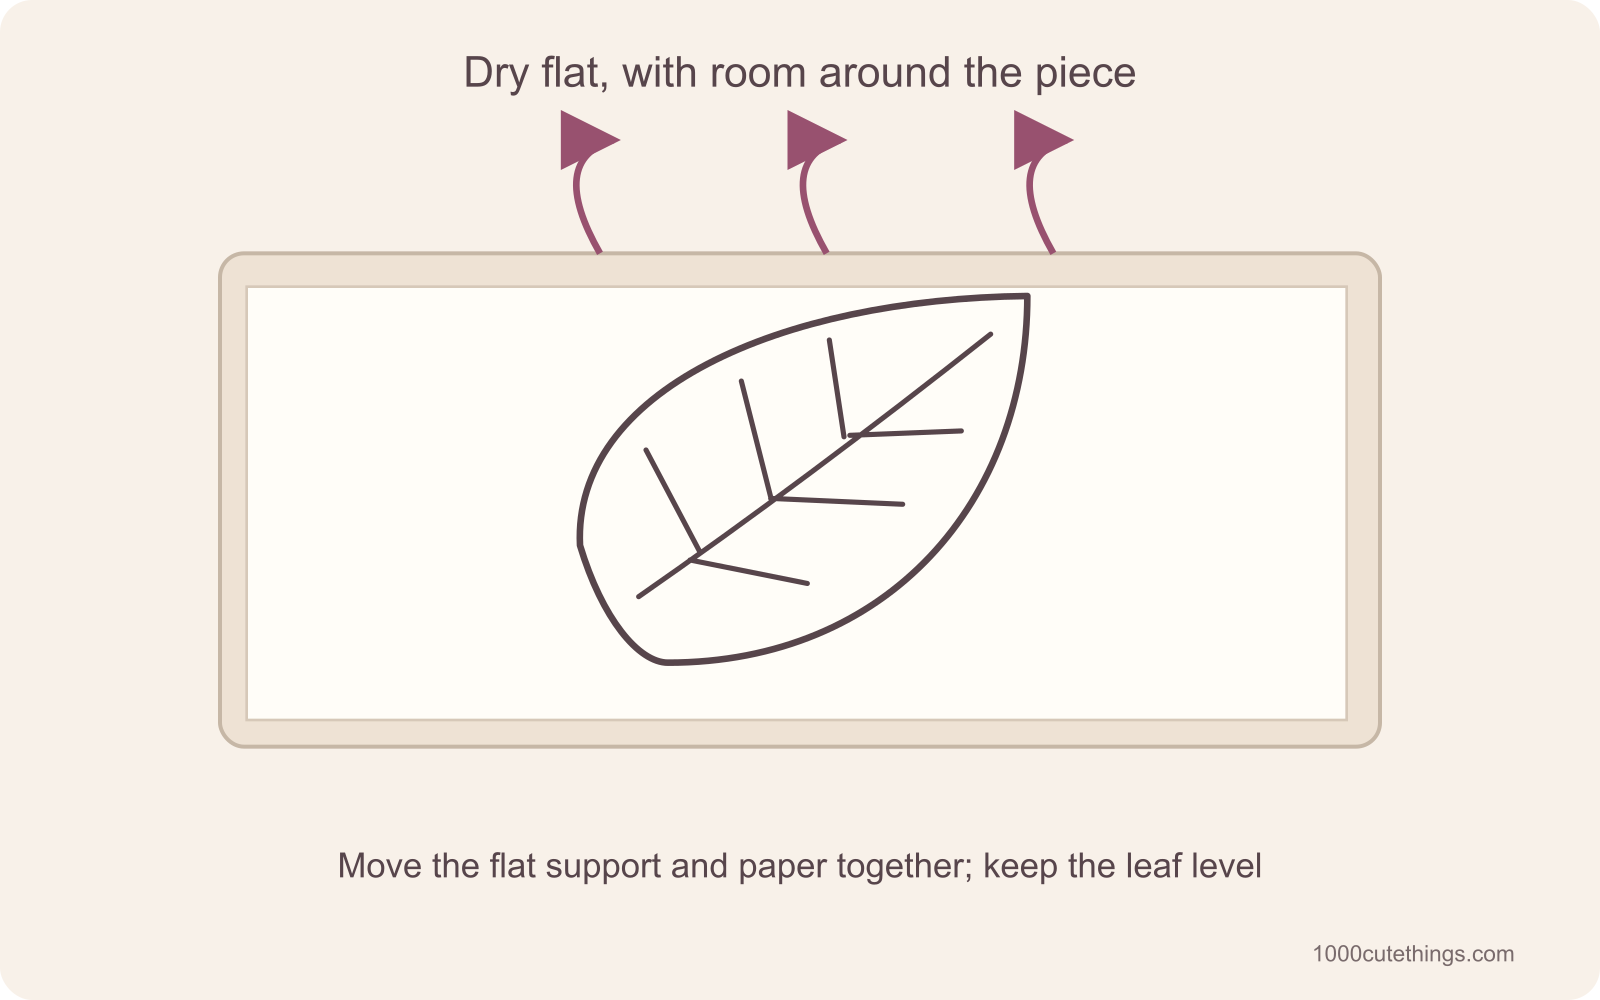
Keep the soft leaf flat. Move its paper with a rigid support beneath it rather than lifting it by one end. Leave it level at room temperature with space around it. For this FIMOair flat-decoration route, allow at least 24 hours, and plan for longer if the piece is not fully dry. Do not force the process with a hairdryer or oven.
Step 11 of 14
Turn carefully after it becomes firm
STAEDTLER advises waiting at least 12 hours before a first turn. Wait longer if the leaf would bend. Support the entire shape, turn it gently and leave it flat again so the other face can dry. Do not pull a soft piece off stuck paper; let it firm further before handling.
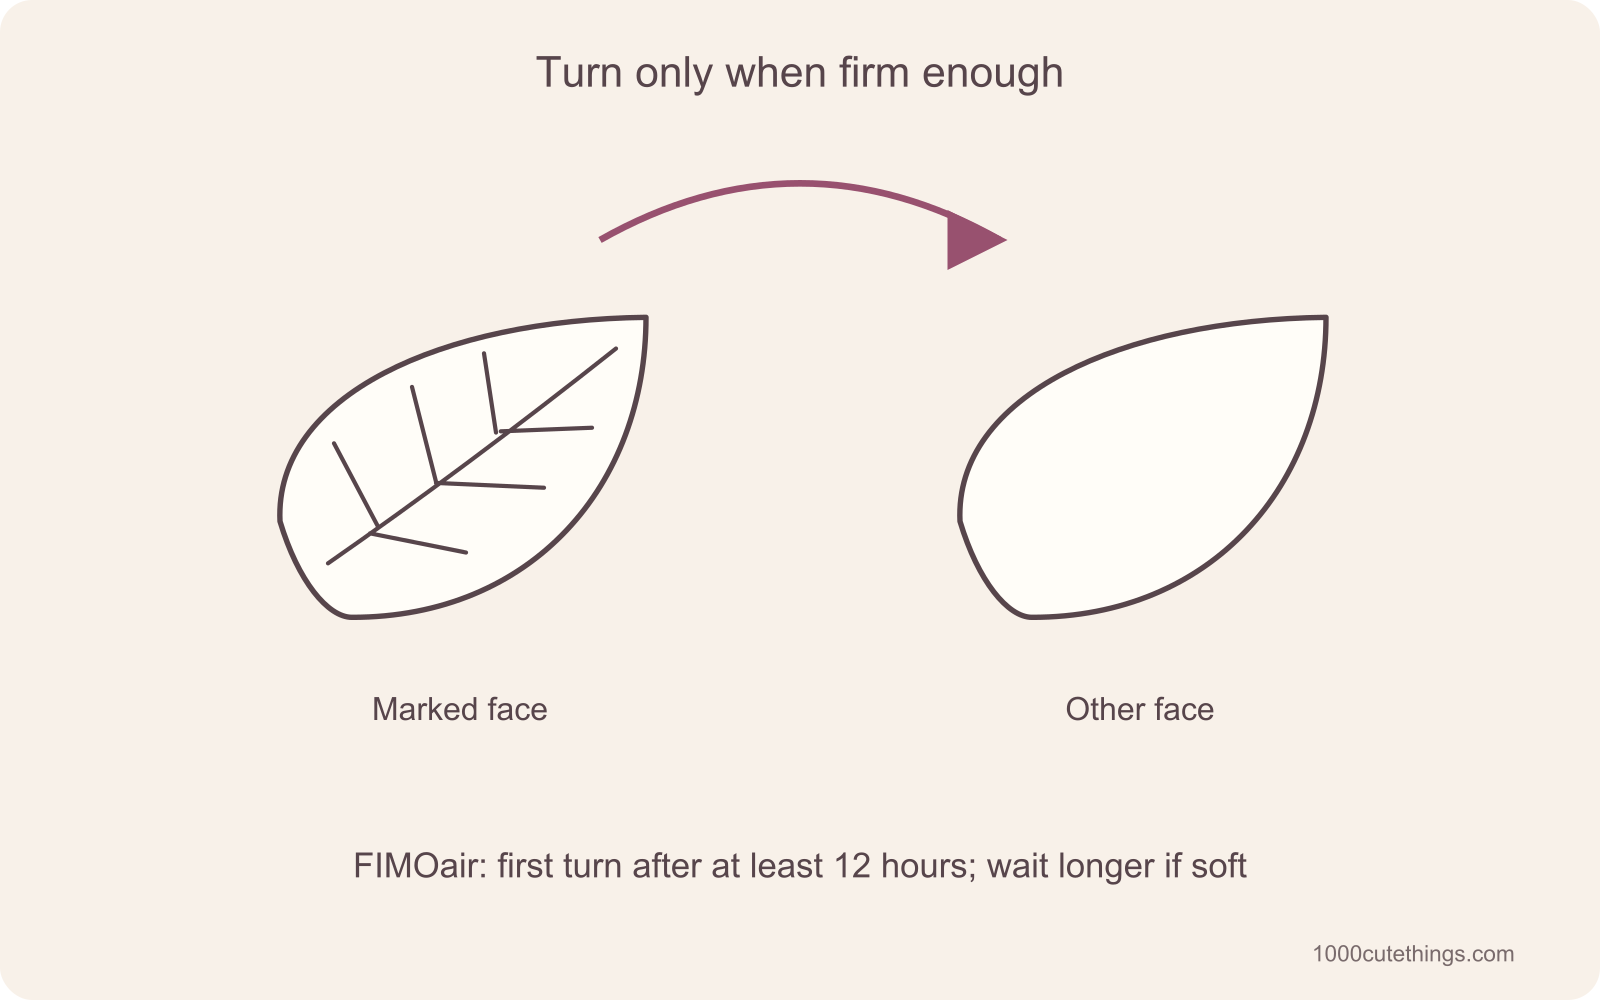
STAEDTLER advises waiting at least 12 hours before a first turn. Wait longer if the leaf would bend. Support the entire shape, turn it gently and leave it flat again so the other face can dry. Do not pull a soft piece off stuck paper; let it firm further before handling.
Step 12 of 14
Check both faces before painting
Follow the current packaging and allow extra time for thickness, humidity and room conditions. Inspect the underside, tip, base and grooves. A pale surface alone does not establish that the middle is dry. Leave a damp or soft piece longer. A crack running through the shape is a reason to remake it, not cover it with paint.
Step 13 of 14
Leave it plain or add one thin color
White is a complete finish. If you prefer color, test a compatible acrylic paint on a spare fully dry offcut first, then use a small brush and thin coats. Avoid filling the grooves with a thick layer. Let each coat dry as directed. Test any optional coating for compatibility as well.
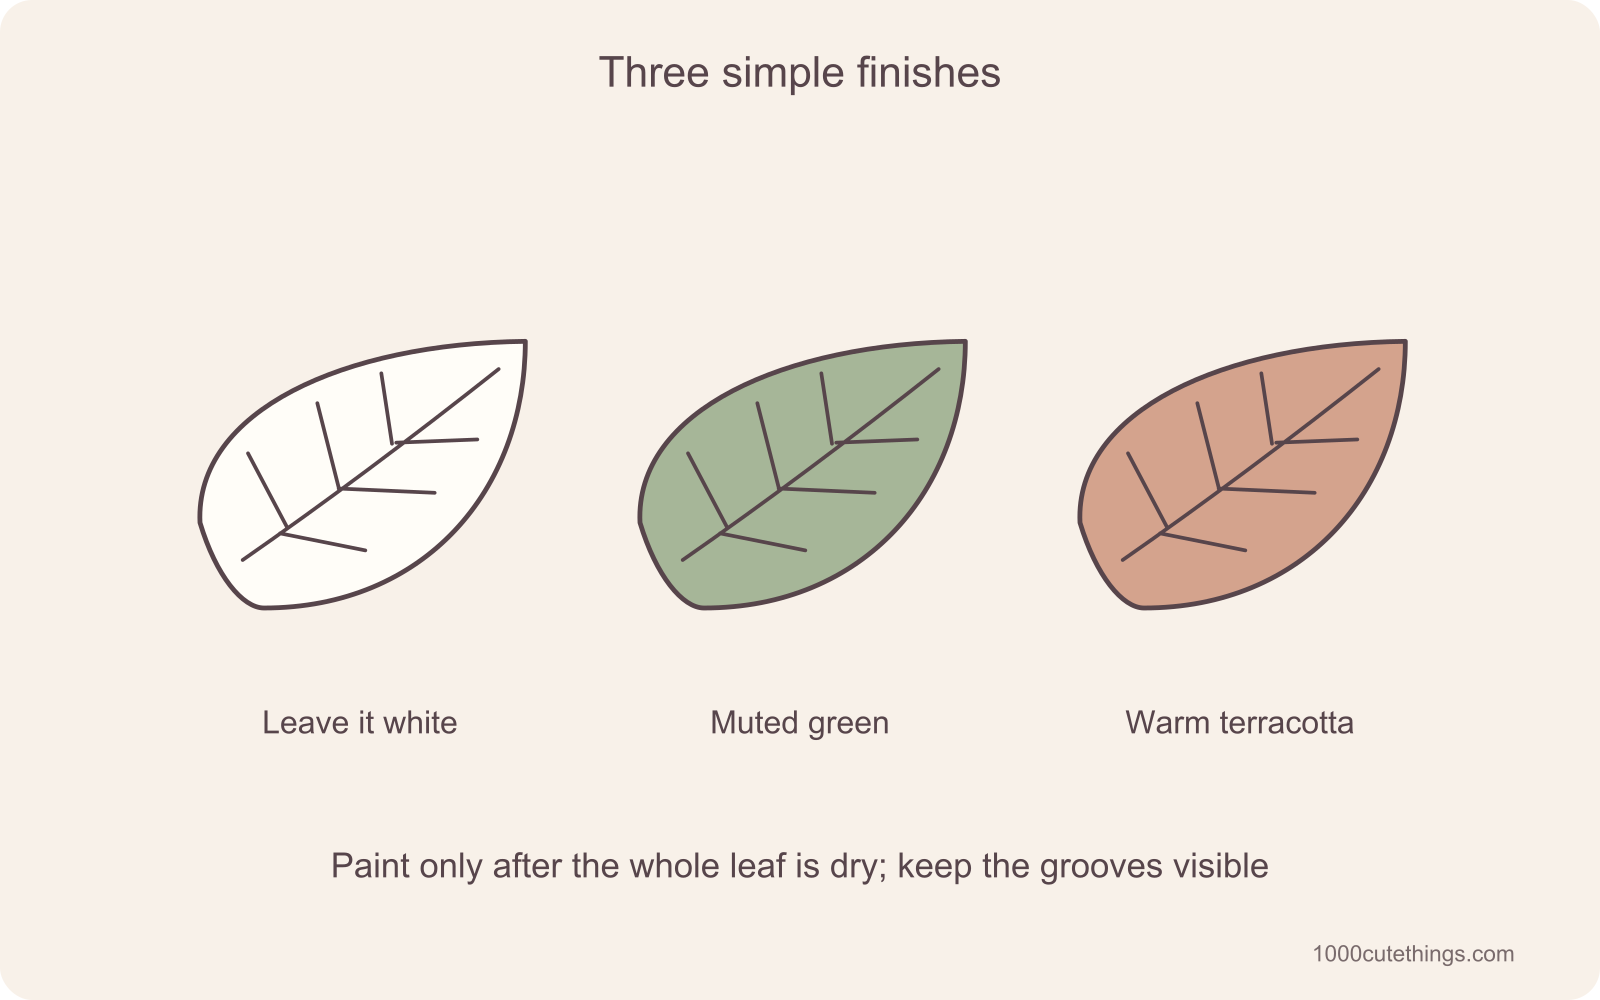
White is a complete finish. If you prefer color, test a compatible acrylic paint on a spare fully dry offcut first, then use a small brush and thin coats. Avoid filling the grooves with a thick layer. Let each coat dry as directed. Test any optional coating for compatibility as well.
Step 14 of 14
Give the leaf a dry indoor place
Rest the finished flat leaf on a shelf with the whole shape supported. Keep it away from splashes and edges where it could fall. This leaf is a decoration, not a curved dish, coaster or food plate. A glossy coating does not turn an air-dry piece into glazed pottery.
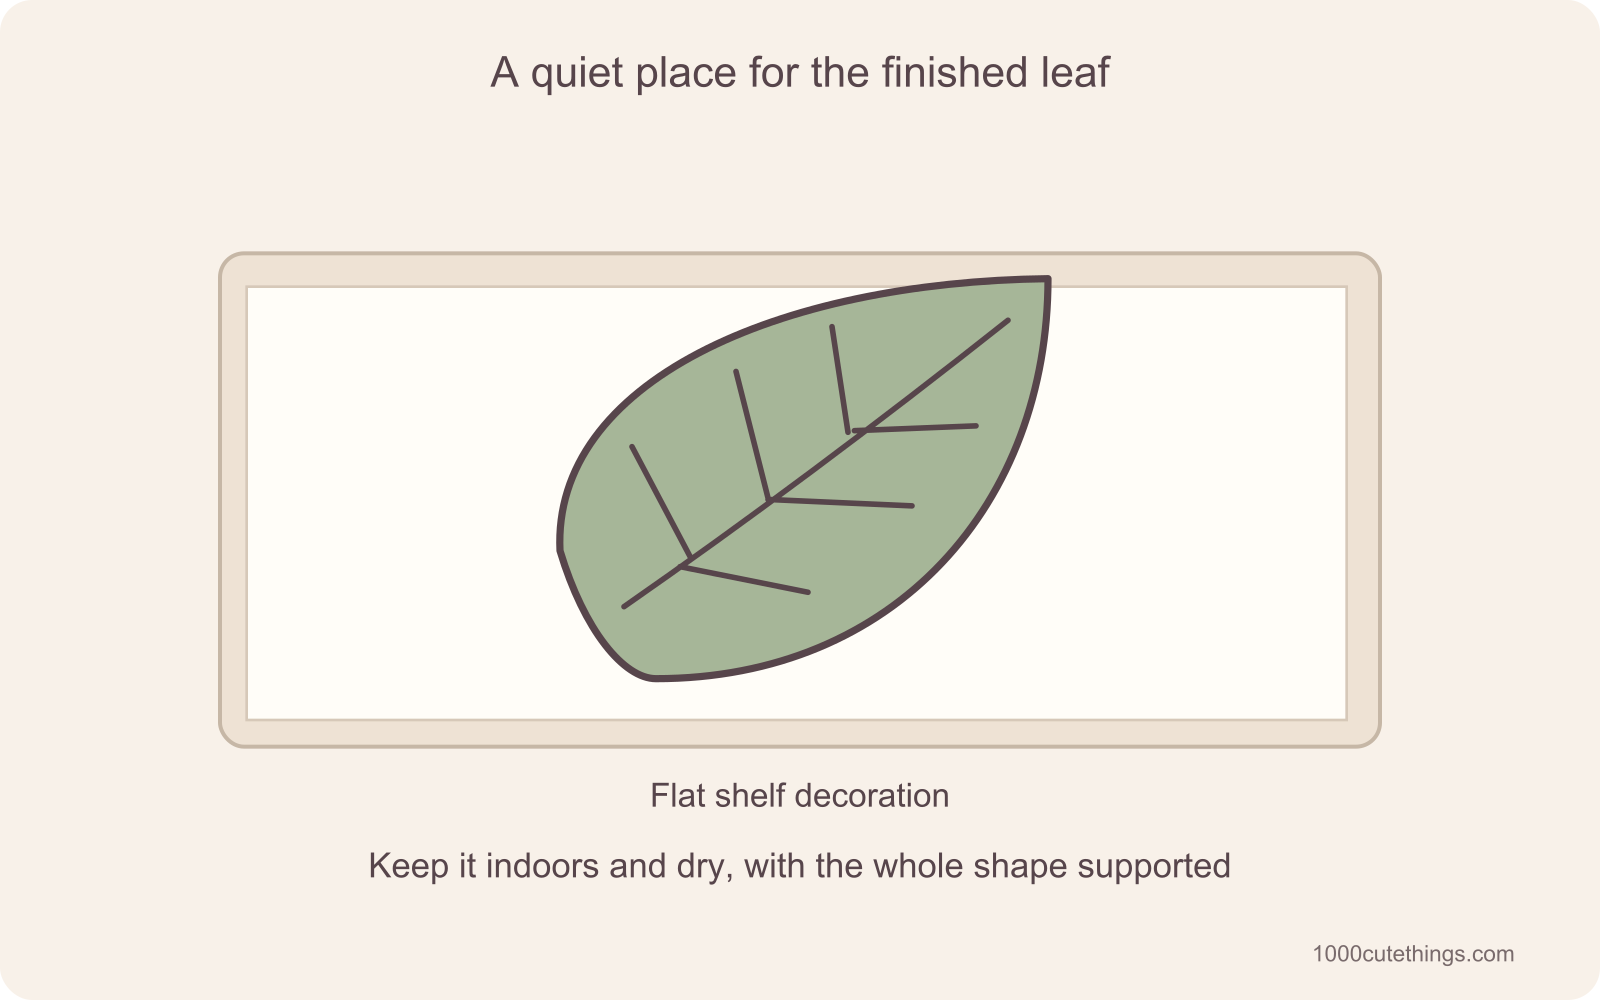
Rest the finished flat leaf on a shelf with the whole shape supported. Keep it away from splashes and edges where it could fall. This leaf is a decoration, not a curved dish, coaster or food plate. A glossy coating does not turn an air-dry piece into glazed pottery.
Choose a simple finish
Choose the finish after you can handle the dry leaf safely. Lay the colors beside the piece first: one quiet color is easier to control than a different color inside every vein. Test coverage on the spare offcut rather than finding out on the finished outline.
Plain white: leave the grooves and outline as the detail. Brush away loose particles gently and choose a clean dry display spot.
Muted green: use a small brush to spread thin coats across the face. If paint gathers in a groove, lift the excess while it is still workable rather than filling the line with another coat.
Terracotta color: use a compatible paint to give the white clay a warm finish. A painted terracotta color does not change the material into kiln-fired terracotta.
Wait for the paint to dry according to its instructions before turning the leaf over to work on the other face. If using a coating, check compatibility and its drying directions on your offcut. A coating is optional for this decorative design; it is not a claim of food safety or waterproofing.
Fix common leaf problems
| Problem | Likely place to check | Next action |
|---|---|---|
| The tip stretches during cutting | A thin point or a tool dragging the slab | Reshape or recut while soft. Broaden the tip and use shorter cutting movements. |
| A vein cuts right through | Tool pressure or an uneven thin patch | Rework the soft piece rather than hiding the slit. Try a shallower mark on spare clay. |
| The edge tears when excess is removed | An incomplete outline cut | Stop pulling. Finish the cut while the leaf stays supported, then remove the spare clay outward. |
| The leaf bends when lifted | Moving it before it can hold its shape | Move its paper and rigid support together. Wait until firm enough before turning the actual leaf. |
| The underside still feels damp | Uneven drying or insufficient time | Wait longer and follow the product’s turning guidance. Do not paint the damp face. |
| The dry leaf has a through-crack | A structural break across the shape | Remake it for display. Paint cannot restore missing strength. |
If the first leaf curls, record its thickness, support and room conditions before trying another. Change one factor at a time. Do not force a partly dry leaf flat under heavy objects; pressure can break a firm edge while the center is still soft.
Air-dry clay leaf questions
How long should a clay leaf dry?
The FIMOair flat-decoration reference allows at least 24 hours. Actual drying can take longer; follow the packaging and inspect both faces before finishing. STAEDTLER’s handling guide explains how size, thickness and room conditions affect the wait, and advises delaying the first turn until at least 12 hours.
Do I need a real leaf?
No. The paper outline sets the shape, and the modelling tool makes the veins. For a botanical impression, choose the separate leaf-impression idea; do not combine the two marking methods on your first piece.
Can I make a leaf dish with these steps?
These steps finish a flat decoration. A dish needs its own support, depth, release and drying instructions. For a different project, STAEDTLER’s leaf-pattern bowl follows an impressed circular bowl rather than this carved leaf outline.
Can I bake it to finish sooner?
This project uses air-drying FIMOair, not oven-hardening FIMO polymer clay. Follow the named product’s directions rather than borrowing a temperature from another material. Choose a paper craft if you need a finished gift before the clay can dry.
Can it hold a wet glass or food?
Use this design as a dry indoor decoration. Its flat shape, paint or shine does not establish that it can withstand condensation, heat or food contact. Keep a suitable manufactured coaster or plate for those jobs.
Material guidance and next projects
The 5 mm slab and basic drying allowance come from the FIMOair flat-decoration method; the turning and finishing checks follow the manufacturer’s FIMOair guide. Our broad leaf, shallow tool pattern and flat display are design choices.
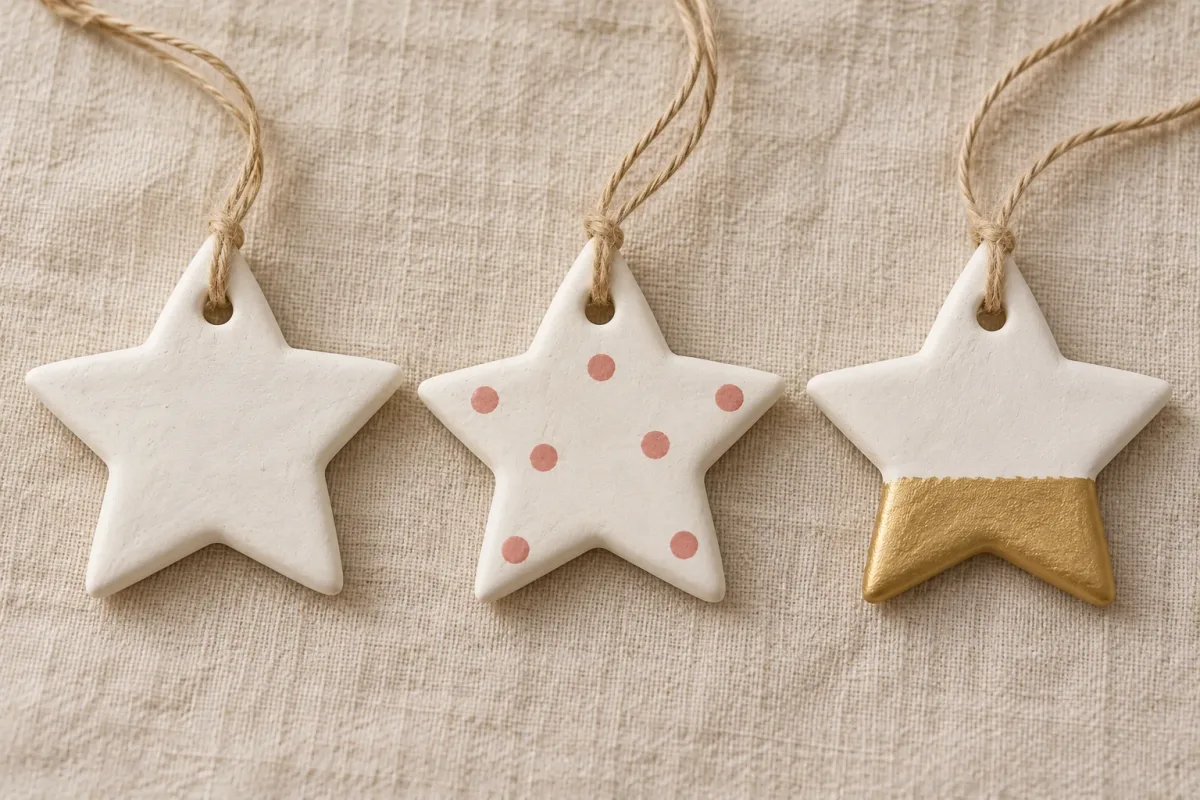
For another one-piece shape, try the complete star ornament lesson. To choose your next construction, compare the projects in cute clay ideas. If you want to work out a painted flower motif first, practice on paper with the simple flower drawing lesson.