
In this guide
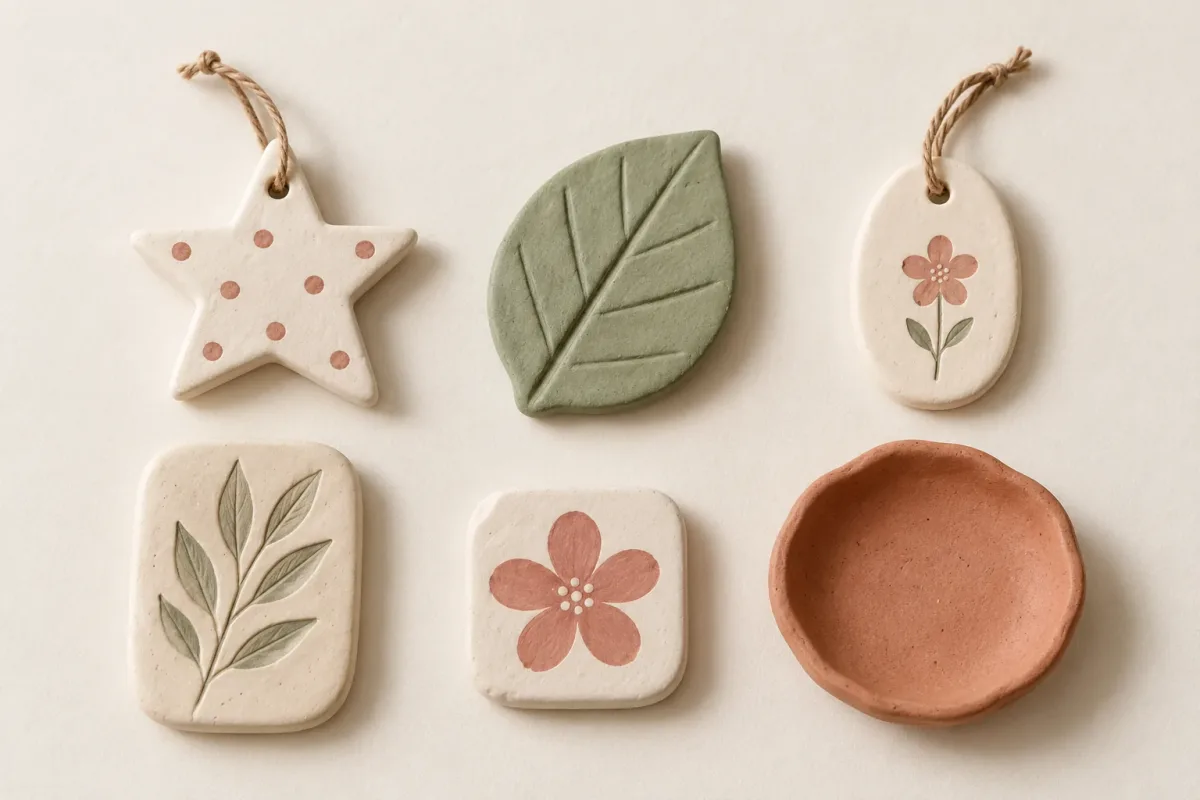
Start with one small object and one new skill. A star introduces cutting and a hanging hole; a flat leaf adds shallow vein marks; a rounded tag gives you space for an initial. Tiles keep the construction simple, while a low dish introduces shaping over a support.
These cute clay ideas use air-dry materials for indoor decorative projects. The material still matters: air-dry clay, oven-cured polymer clay and kiln-fired pottery need different processes. Choose the project and a named product together, then use a complete method for that combination.
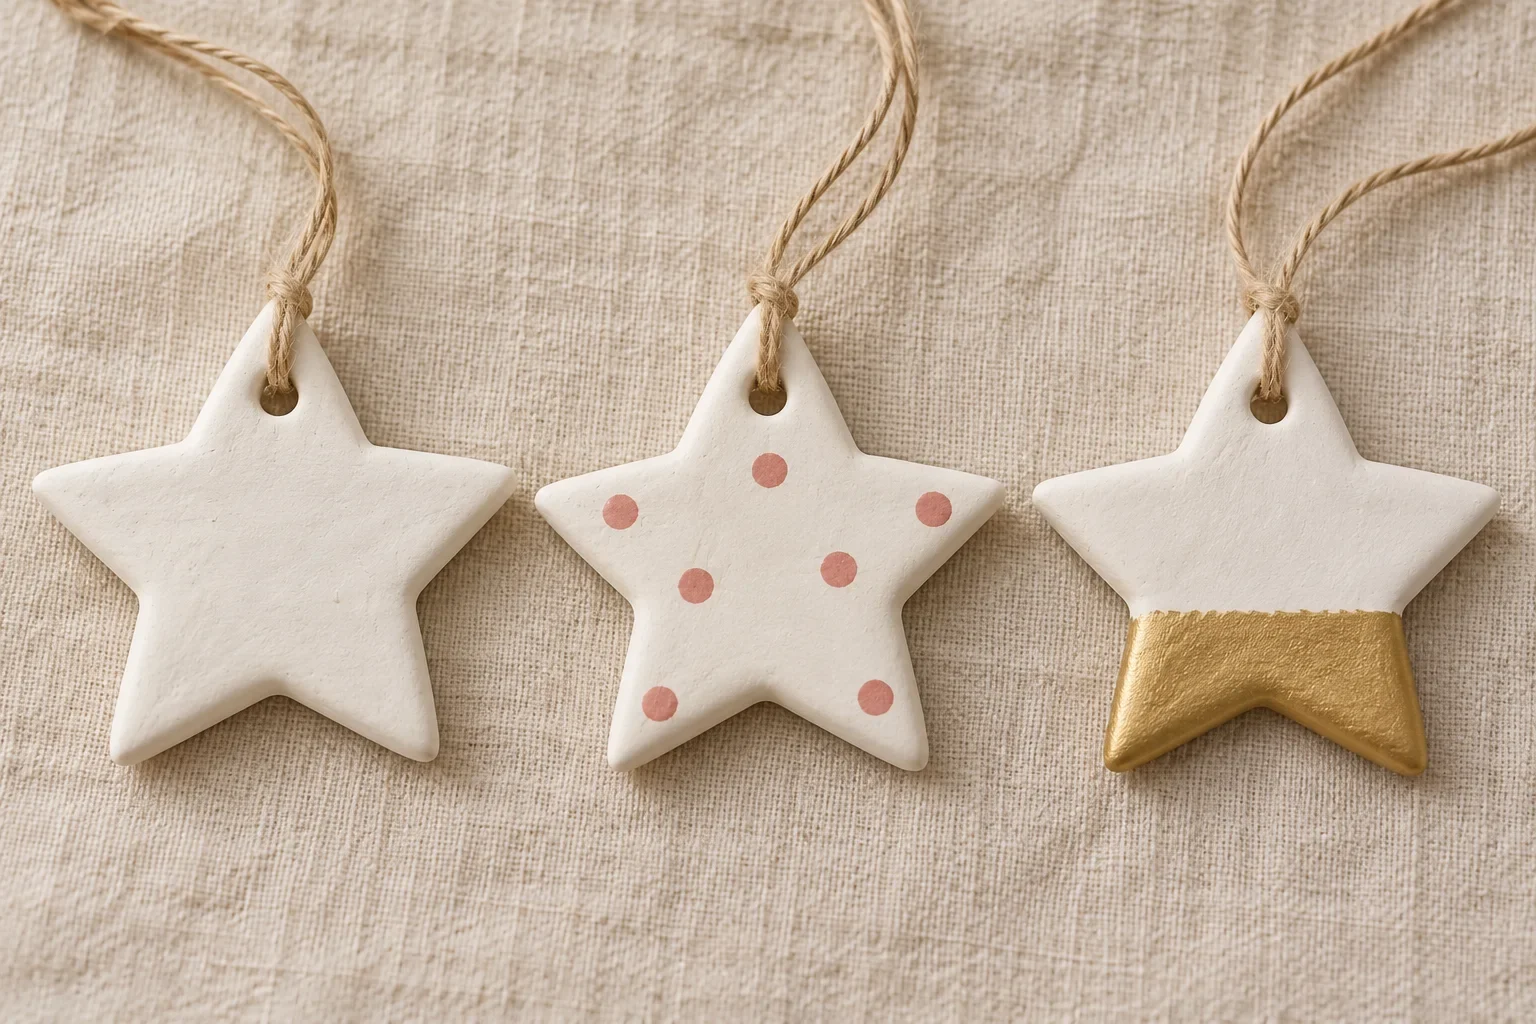
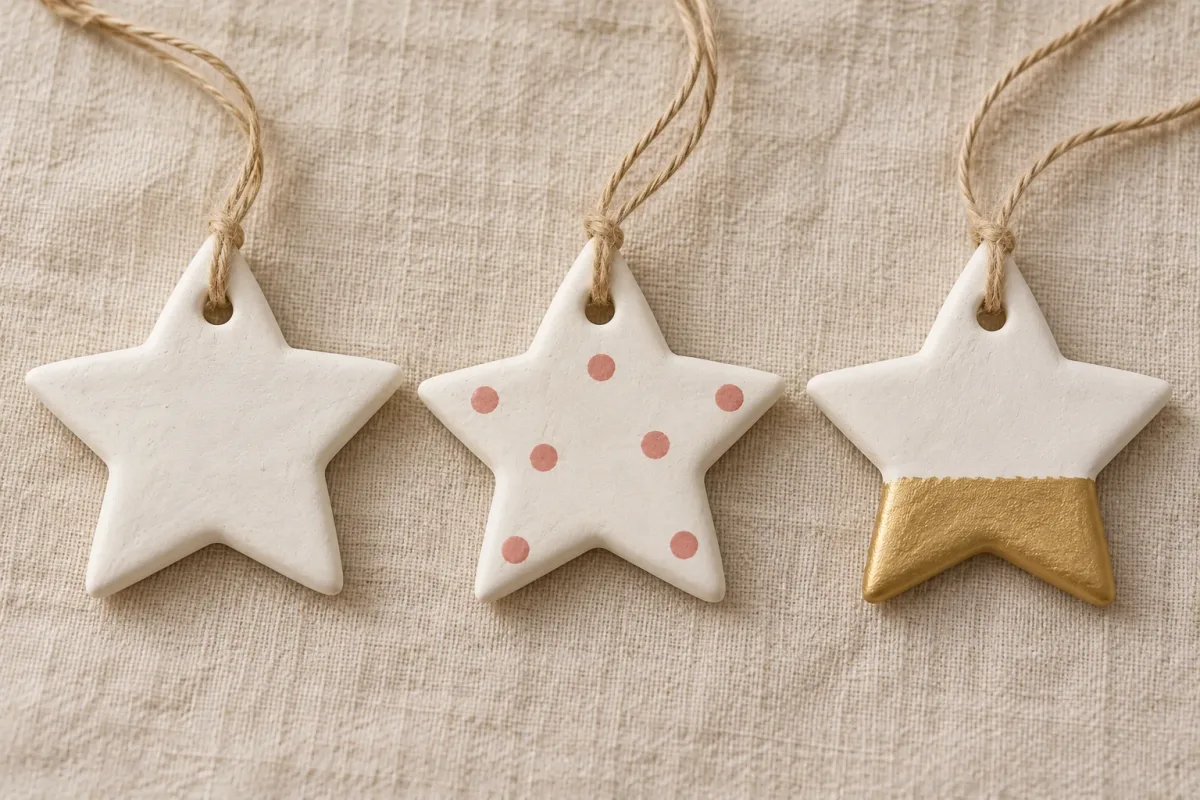
One simple outline can take several finishes.
Choose an air-dry clay project
For beginners, a broad flat shape is a useful starting point: it has fewer fragile parts and no separate pieces to join. Choose the star for cutting and a hanging hole, or the flat leaf for a little surface detail. Use the comparison to choose what you want to learn. “Extra decision” means a construction choice to settle before opening the clay, rather than a reason to buy more decorating supplies.
| Idea | Main skill | Extra decision | Route to follow |
|---|---|---|---|
| Star ornament | Cut a shape and make a hole | Hole margin and cord size | Complete FIMOair star guide |
| Flat carved leaf | Make shallow surface grooves | Broad outline; flat drying | 14-step FIMOair leaf guide |
| Rounded gift tag | Place an initial and one hole | Letter spacing and hole margin | Design idea; use the star guide’s hole checks |
| Leaf-impression tile | Press and release a natural texture | Plant choice and pressure | Surface technique below |
| Painted display tile | Keep one flat outline and finish it | One motif and a stable display spot | Design idea; select a material-specific flat-slab method |
| Shallow trinket dish | Shape a slab on a support | Support, release and drying | Linked manufacturer’s full dish method |
If you want the most guidance, start with the star or flat leaf: both have a full sequence here. The other entries help you choose a direction and explain the next decisions; they are not six interchangeable recipes.
A star ornament with one small accent
A single star can hang from an indoor branch or accompany a wrapped gift. Keep the first outline broad enough to handle, with a generous wall around the hanging hole. The hole is part of the soft-clay stage; painting comes after full drying.
Our star ornament lesson follows white FIMOair through 12 small steps, including cutting, the hole, edge checks, turning and threading. It also shows plain white, rose dots and a small gold-tone accent. Begin with one star and a spare offcut for trying the paint before planning a batch.
Change the finish before changing the construction. One painted area lets the shape remain clear. Tiny added figures or long fragile points introduce extra making problems before you know how your first piece dries.
A flat leaf with carved veins
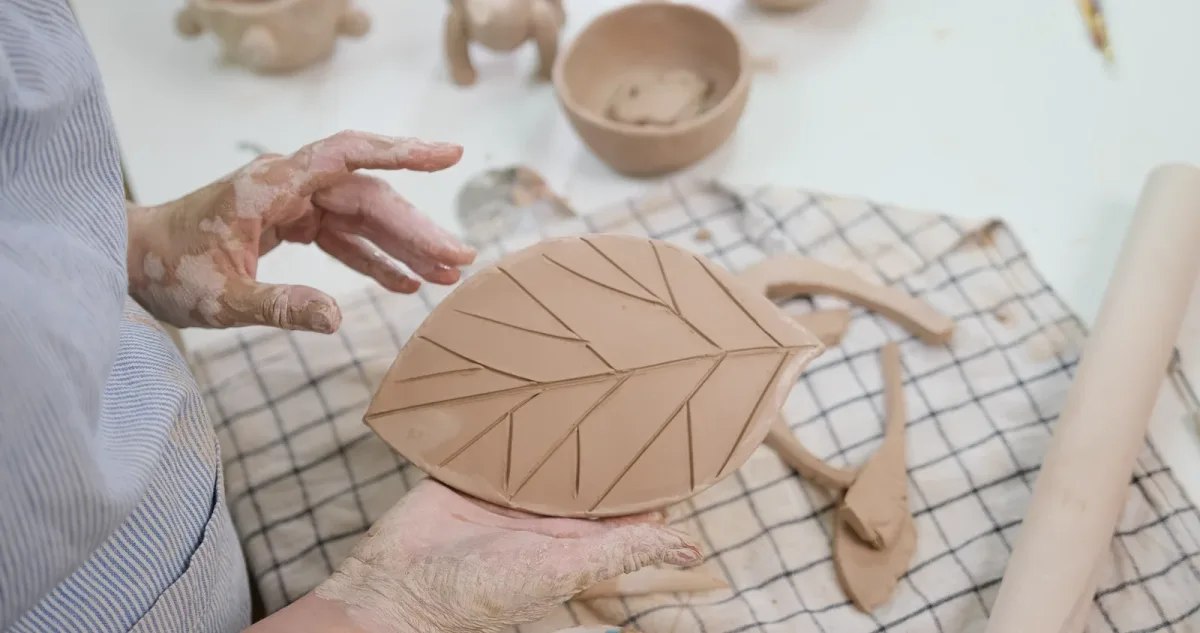
A broad leaf has an interesting silhouette without separate legs, ears or joined petals. Use one center vein and a few diagonal branches, leaving open clay between them. A flat format keeps the first project focused on cutting and shallow marks.
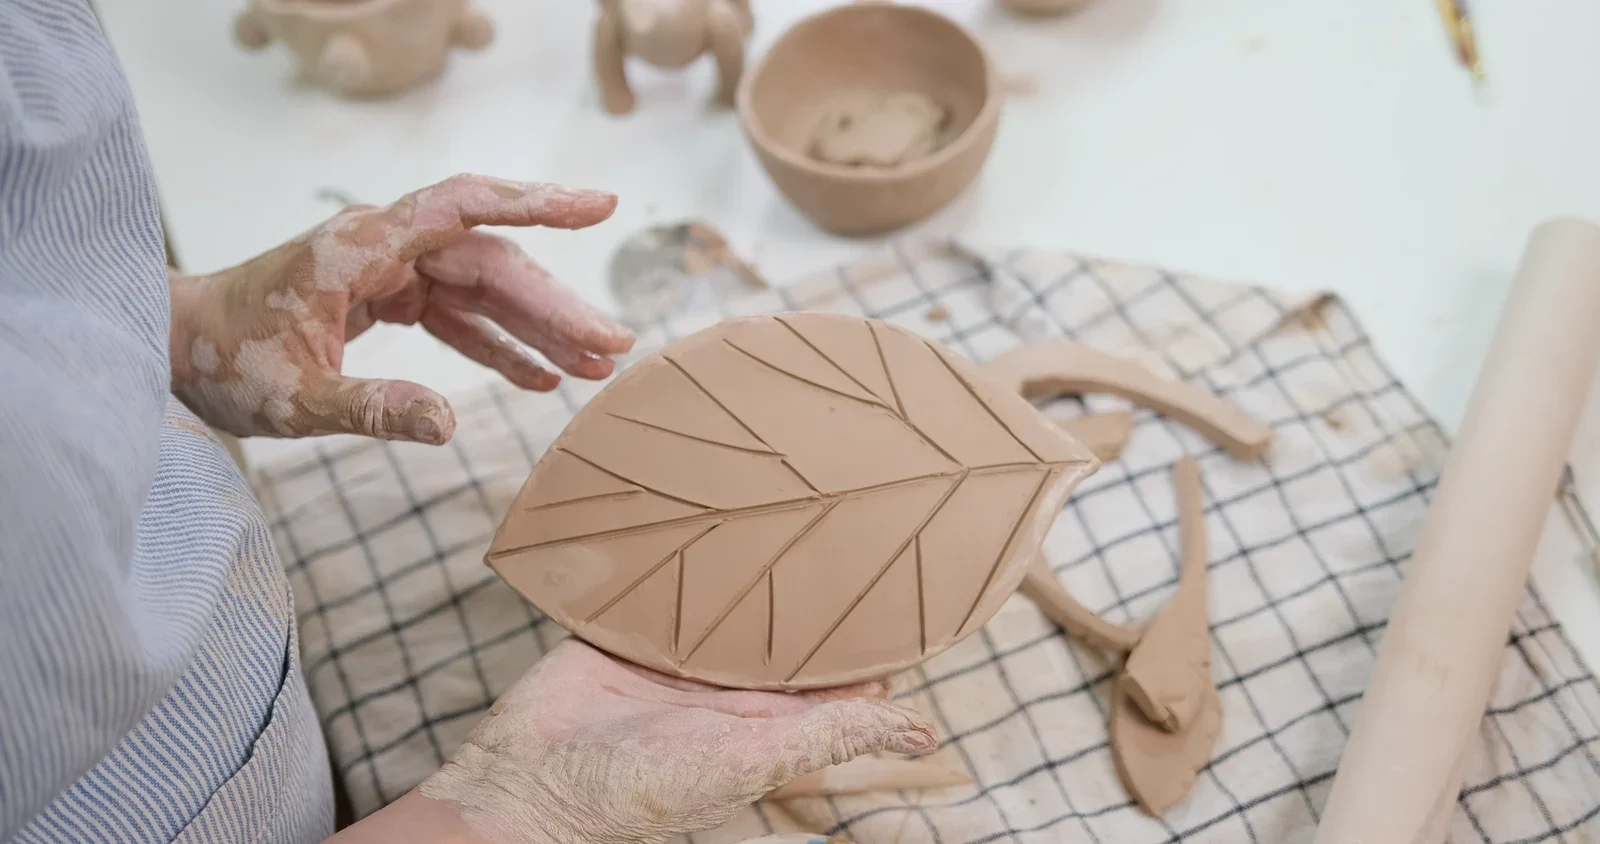
A broad outline leaves space for a clear vein pattern.
Follow the flat air-dry clay leaf lesson for the complete FIMOair adaptation: a printable broad outline, 14 small steps, shaping close-ups, flat drying, careful turning and simple finishing choices. Its written method stays flat; the working leaf shown above is a close-up of the outline and vein design.
Keep the first tip gentle and omit a long thin stem. Practice the groove pressure on spare clay. You want a readable surface mark, with clay remaining beneath it, rather than a slit through the shape.
A gift tag with a rounded outline
An oval or rounded rectangle gives you a broad area for one initial and a hole. Sketch the lettering on paper at the intended size first. Place the hole above it, with enough room that the cord and lettering do not crowd each other.
Make the opening while the clay is workable, and test the cord size before leaving the piece to dry. The hole and cord checks in the star guide explain the useful decisions. A rounded tag is a design variation, so choose a suitable flat-cutout method for your exact clay rather than assuming every brand uses the star’s measurements.
One initial or one small flower is easier to space than a long name. Tie the finished tag onto the wrapping cord without using the clay as a handle for the package. Our furoshiki guide offers a fabric-wrapping option; keep the fragile tag clear of the knot’s pressure.
Try a leaf impression on a flat tile
Let a real leaf supply the fine lines while the clay keeps a broad outline. This is a different technique from carving the leaf shape above: a plant presses its pattern into the surface, then lifts away.
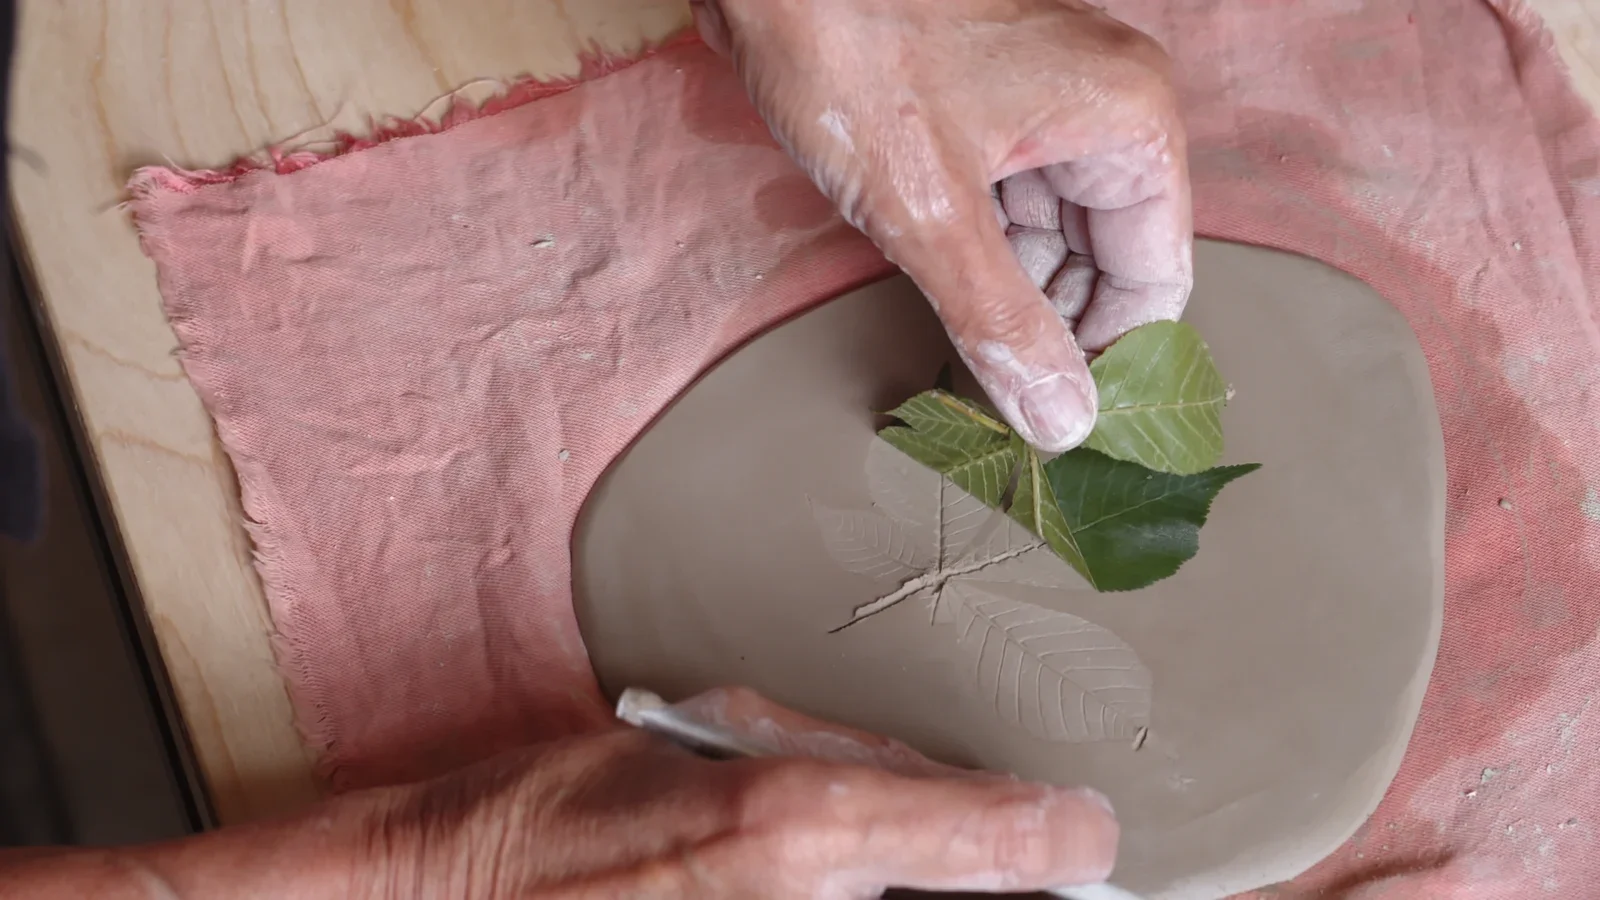
Lift from one end without dragging across the surface.
For an air-dry version, choose a small clean fallen leaf you can identify and position it on a spare workable sample first. Test gentle pressure, then lift slowly while the clay stays supported. Check for tiny plant fragments in the impression. If the pattern looks weak, try another offcut before repeatedly pressing the main piece.
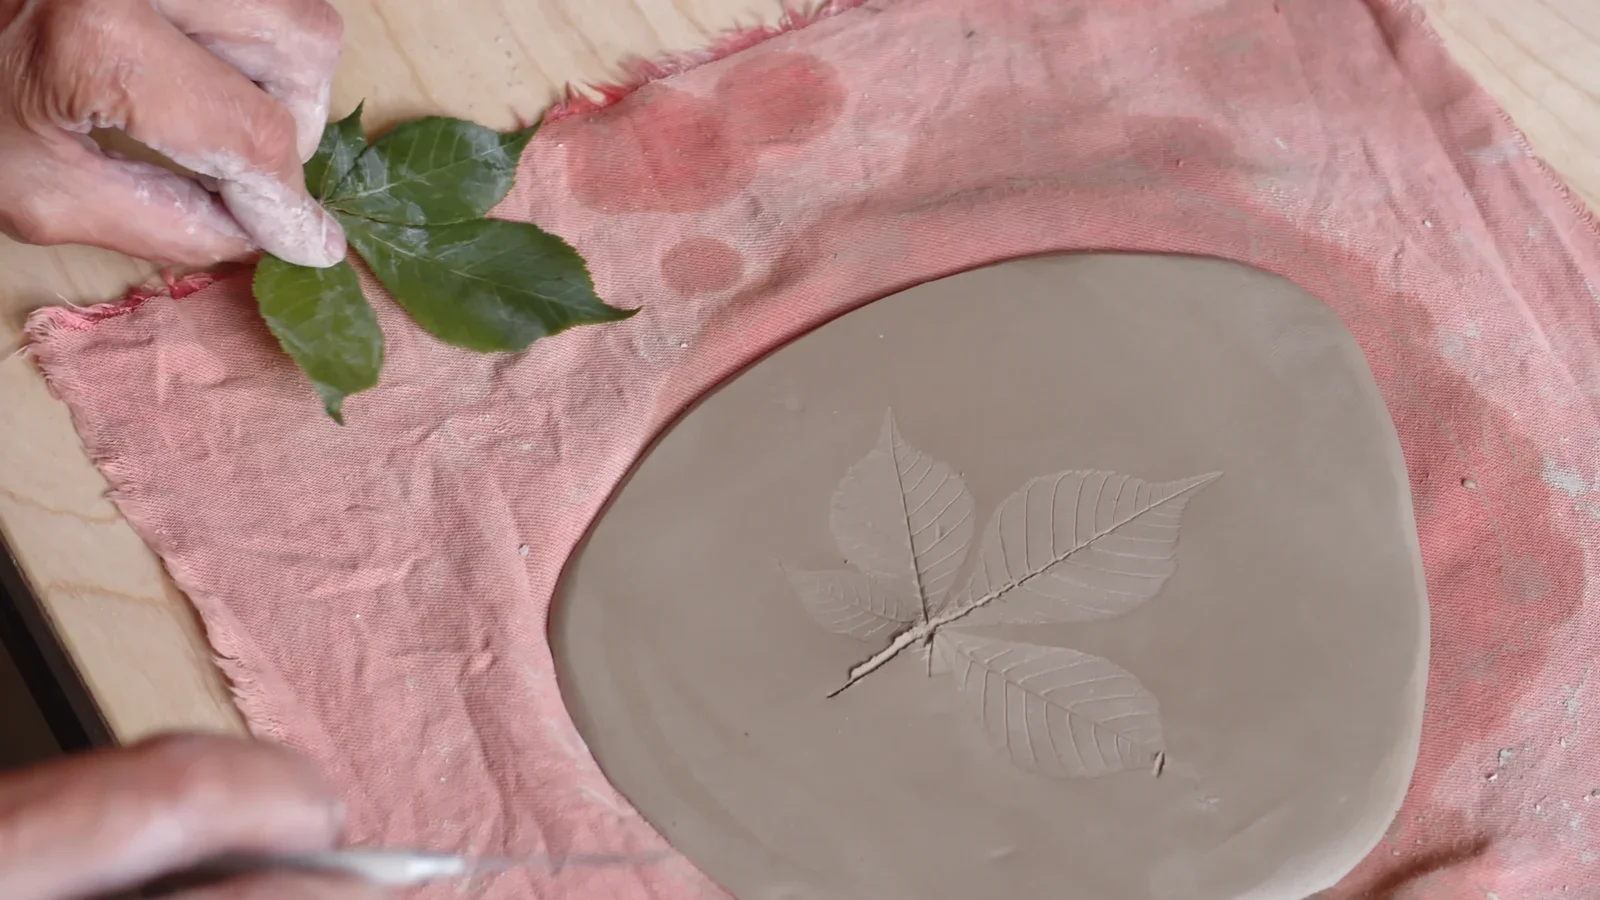
A small impression can provide the detail for a simple tile.
Watch the movement: lifting a leaf impression
Seven-second silent close-up.
The clip shows the surface action, not a complete tile project. Choose the final outline, thickness and flat drying method for your named clay. For a separate complete example, STAEDTLER’s leaf-pattern bowl combines an impression with a supported circular bowl. Its construction differs from a flat tile.
A tiny painted display tile
A rounded square gives you a small surface for one motif: a flower, a curved line or an initial. Plan it on paper first, at the intended size. Keep the tile one piece so you can concentrate on an even slab and a restrained painted finish.
Choose a flat-slab method for the named product, and dry the tile as directed before decorating. Use a spare sample to check the paint. A tiny display tile does not need a complicated border; a clear shape and one well-spaced mark are enough.
Set the finished tile on a stable dry shelf or in a stand suited to its thickness and weight. Avoid a position where it could tip from an edge. Practice your motif with the simple flower drawing lesson before putting it on clay.
A shallow trinket dish
A low curve adds a new construction problem: the support and release method affect the shape of the base and rim. Choose those before rolling, so the soft slab has somewhere suitable to rest immediately after cutting.
For a complete material-specific route, ACTÍVA’s PLUS clay trinket-dish method uses a quarter-inch slab with a convex supporting form. Follow that route as a whole rather than combining its thickness with FIMOair timing. If you already use FIMOair, the manufacturer’s bowl lesson provides a separate supported method.
Keep the first rim low and the outline broad. A single painted dot or narrow colored border can provide the detail after drying. Save separate sculpted animals or raised decorations for a later project, once the basic dish sits steadily.
Match the idea to the clay
Read the exact product and variant on the packet. White air-dry clay, lightweight modelling material and oven-hardening polymer can look similar in a shopping photograph while behaving differently in use. Check working thickness, support, drying or curing, and compatible finishes before beginning.
The two full lessons here specify white FIMOair. They are not instructions for baking polymer clay. The linked PLUS dish is another named route. Keep those product choices separate, including their drying directions.
Do not choose a project because a photograph looks glossy. Paint and varnish can change appearance without giving an air-dry object the properties of fired, glazed pottery. Match the material to the intended use first.
Plan shaping and drying separately
Before opening the clay, clear both the working area and the drying place. Set out the cutter or paper outline, roller, guides and any support. Cover spare clay while making one practice piece. The full star and leaf lessons explain their own shaping order.
Allow a later session for finishing. Drying varies with the material and piece. For example, Crayola gives different touch-dry and full-dry allowances for its Air-Dry Clay; those timings should not replace directions for another product. If a piece is still damp, wait instead of painting to meet a deadline.
For a gift needed tomorrow, choose an activity without a clay-drying wait, such as drawing a little card or making a paper crane garland.
Finish for the intended use
Try the chosen paint on a fully dry spare offcut. Use a small brush and enough space around the piece to turn it safely after the first face dries. Keep openings and shallow grooves clear rather than filling them with thick paint.
Use these small pieces for dry indoor decoration. Crayola’s sealing guidance specifically says that sealing its Air-Dry Clay does not make it waterproof. Follow the named material’s limits; do not assume a coating makes a dish suitable for water, food or heat.
Give the finished object a deliberate place: a star with clear hanging space, a flat leaf supported across its shape, a tag on a loosely tied package, or a display tile on a stable shelf. The intended place can help you decide how much detail the object actually needs.
Pick your first clay session
Choose one project, one named clay and one complete method. Write down the thickness, working support and drying arrangement before you start. Keep an offcut for testing your finish, and inspect the dry object before attaching a cord or giving it away.
For a guided first session, use the star ornament steps or the flat leaf steps. Once the construction works for you, vary one detail at a time: the painted accent, the outline or the vein spacing. You can build a small collection without trying every technique at once.