
Inside this story
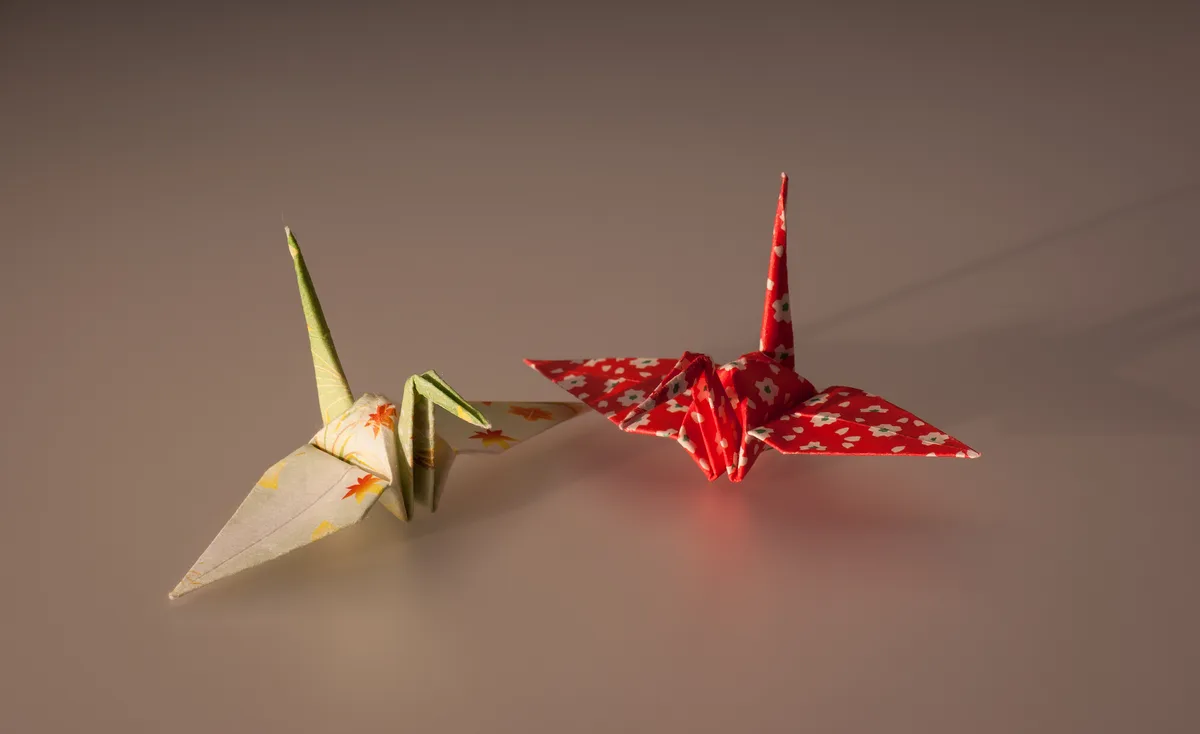
Paper cranes earn their space twice: first through the folds, then through the shadows their wings make on the wall. A short garland can bring that detail to a reading corner or a small gathering without covering the room in decoration.
To make one, fold a few cranes, test how a single bird hangs, then attach the rest with generous gaps along a thread or from short drops beneath a horizontal cord. Plan the span before deciding how many birds to make. More cranes are not always a better fit.
The crane is a traditional origami model with cultural meaning beyond decoration. The National Park Service’s crane resource discusses its association with peace and provides folding guidance. This project uses a small group as a home display; it is not a substitute for a traditional thousand-crane project.
Choose the paper and the place
Start with light square origami paper rather than stiff card. A standard 6-inch or 15 cm square is a manageable first size. It lets you see the folds before deciding whether smaller birds suit your chosen corner.
For the hanging display, gather thin thread, a sewing needle, scissors and a measuring tape. A stronger cord can form the horizontal support. You will also need fixings suited to the surface and the small load, following their instructions.
Choose an indoor wall or corner where the cranes will stay dry and can move without catching. Keep the hanging threads away from babies, pets and busy routes through the room. This is a decorative paper display, not a cot mobile or a toy.
Hold one paper square near the intended spot. If the color disappears into the wall, choose more contrast. If the pattern competes with a busy background, try plain paper before increasing the size.
Fold one crane before making the flock
Give the first crane a practice sheet and your full attention. A crane has several precise folds; it is a satisfying project, but it is not necessarily a five-minute first attempt.
Use the NPS illustrated guide or the Smithsonian’s origami demonstration collection, which includes a crane video. Follow one set of directions through to the end rather than switching between slightly different sequences halfway through.
As you work, align corners before pressing a crease firmly. If a step will not collapse as shown, reopen to the last clear shape and compare the orientation. Pulling harder rarely improves a fold that has gone in the wrong direction.
Once the first bird is complete, set it beside the intended hanging space. Decide whether you like its size before folding the rest. A small group of consistent birds usually reads more clearly than a larger group made from several unrelated sizes.
Plan the spaces between the birds
Cut a length of scrap string and hold it across the proposed span. Mark where the first and last birds would sit, allowing room for the end fixings. Then divide the remaining space into gaps that give the wings room.
For example, a 90 cm display could hold five cranes with their centers around 15 cm apart, leaving roughly 15 cm at each end. This is a layout starting point, not a fixed formula: broad wings may need more space. Measure the folded birds before committing.
Try three color arrangements on a table:
- One quiet color: a repeated silhouette, with the shadows supplying variation.
- Two colors in an uneven rhythm: mostly cream or pale blue, with one or two contrasting birds.
- A gradual shift: move from lighter to darker paper without adding a new pattern to every position.
Photograph the sequence. If the arrangement feels restless, remove one color or increase a gap before folding anything else.
Thread and hang the garland
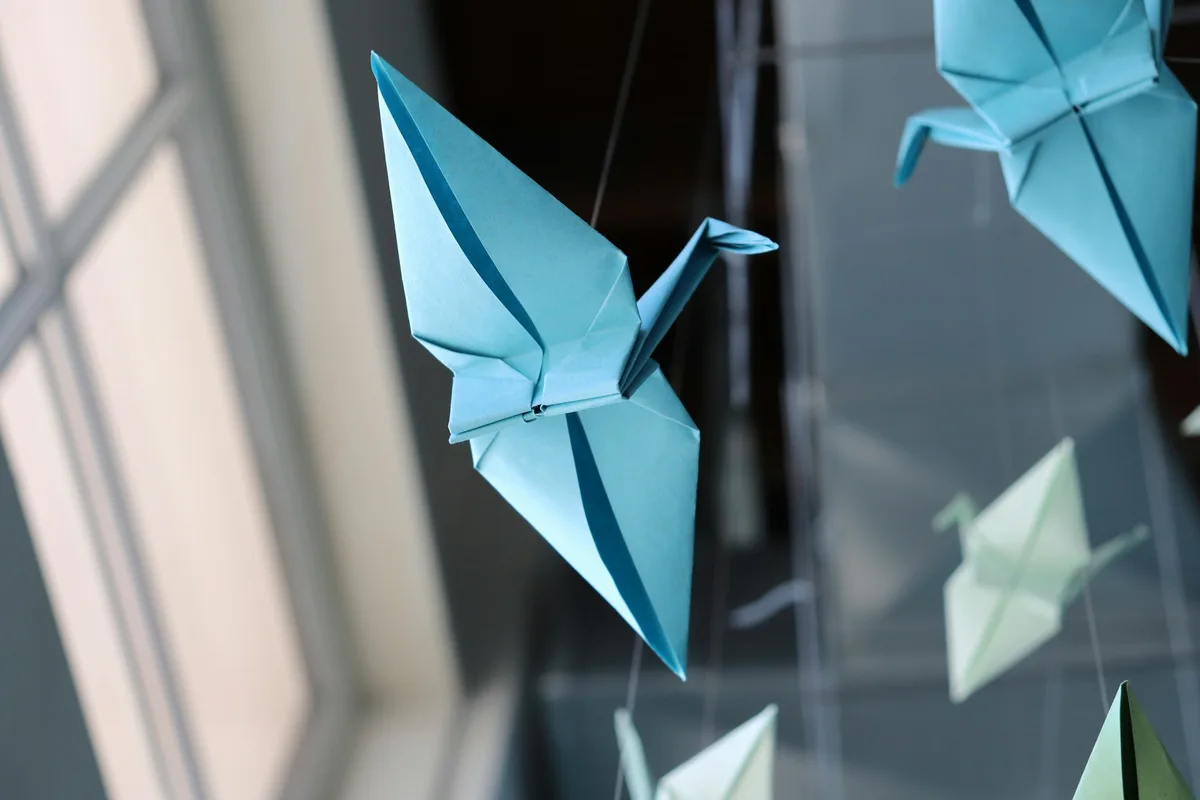
There are several ways to string paper cranes. For a short horizontal display, separate drops make it easier to adjust one bird without moving the others.
- Test the first bird. Use a practice crane. Pass a needle and thread carefully through the central body from underneath toward the back’s central area. Keep the puncture small and avoid tearing the folds. An adult should handle the needle where children are involved.
- Make a stopper. Leave a knot beneath the body large enough to stop the thread pulling through its existing opening. Test it gently; if it slips, revise the attachment before hanging the bird.
- Check the balance. Suspend the crane over the table. It should hang in a position you like without the thread crushing a wing. Adjust the body or choose another attachment method on the practice bird if necessary.
- Prepare the other drops. Leave extra thread at the top until you have checked the arrangement. Small differences in length can be intentional; accidental tangles are easier to solve before hanging.
- Attach the drops to the support cord. Tie each one at its planned position and check that the knots stay put. Trim loose ends after the trial arrangement works.
- Mount and inspect. Secure the support using suitable fixings, then step back. Check the end points and make sure no crane catches a nearby object when it turns.
If a puncture tears, refold that bird and try again rather than hiding a weak joint. Save the torn crane for a tabletop display or use it to practice the hanging method.
Three ways to display a little flock
Along a picture ledge: keep the cranes in front of a plain section of wall, with enough clearance to turn. Let the garland end before it competes with every frame.
In a reading corner: use a short run beside the chair rather than directly where someone passes underneath. Pair it with one small picture; our playful-art placement guide helps with that decision.
At a small celebration: choose two colors already on the table and hang the flock behind the gathering area. Keep it clear of candles, cooking heat and food preparation. Cloth-wrapped favors from our furoshiki guide can repeat the colors without adding another hanging decoration.
Paper crane garland questions
How many cranes should I make?
Start with the space, then the count. Fold one, measure its wingspan and plan the gaps. Five birds are a useful trial for a short display, not a requirement.
Can I use patterned wrapping paper?
Try a test square. Thin paper that folds cleanly may work; thick, slippery or easily torn paper can make the small folds frustrating. Avoid making a whole batch before trying the first crane.
How do I store it?
Take it down gently, separate the drops if they tangle and place the birds in a shallow box without flattening the wings. Keeping a note of the color order makes it easier to hang the little flock again.