
In this guide
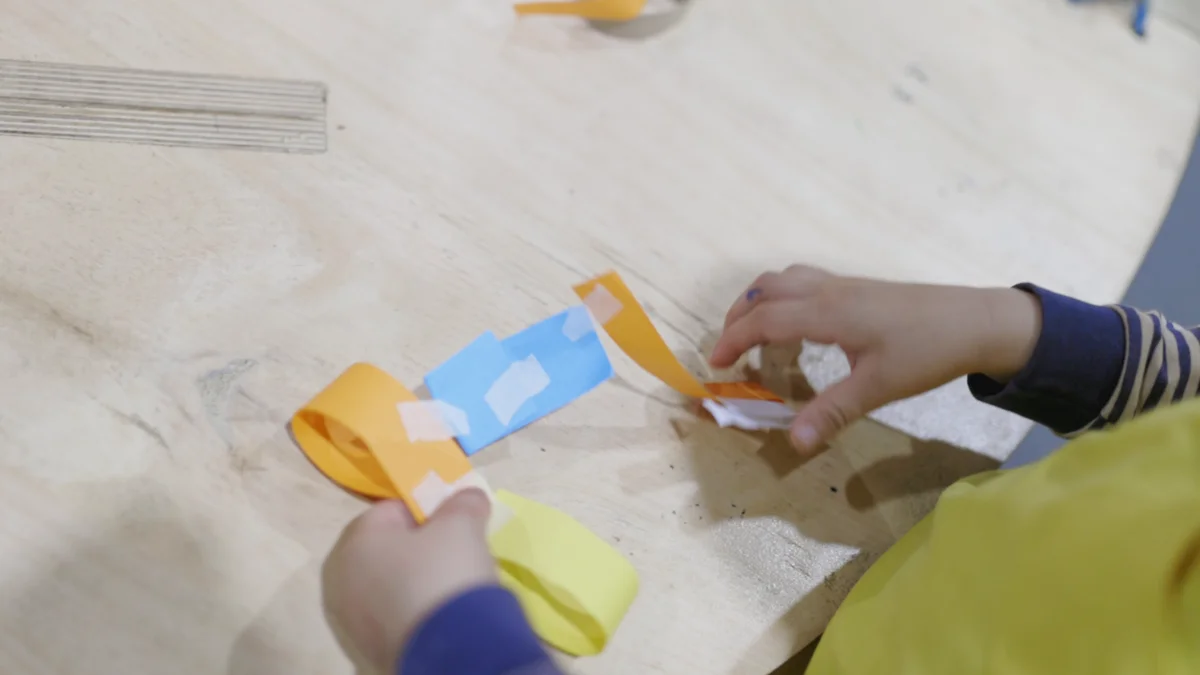
A few linked strips make a small paper chain. Choose that project below, or make something for a page, a message or a gift.
If you want cute things to make out of paper, start with the job the finished piece will do. A corner bookmark marks a page, a folded card holds a message, and a paper tag gives a gift a name. A short chain or a few cranes turn spare paper into a little display.
You do not need a cutting machine or a large craft kit. Three projects below have complete cut-and-assemble directions here; the corner bookmark has its own detailed folding lesson, and the crane display links a traditional folding demonstration before the hanging instructions. Choose one route before cutting a batch.
Choose your paper project
The difficulty comes from the action, not just the number of pieces. Folding a crane needs more precision than joining several paper loops.
| Project | What you need and where to start |
|---|---|
| Corner bookmark | One thin square; no glue. Follow the 14-step folding lesson, especially the layer and tuck close-ups. |
| Flower note card | Plain paper or light card, ruler, scissors and pens. One fold; full directions below. |
| Initial gift tag | A scrap of light card, ruler, scissors, hole punch and cord. Cutting and hole placement; full directions below. |
| Short paper chain | Three paper strips, scissors, ruler and tape. Threading before closing each loop; full directions below. |
| Crane display | Thin square paper; thread and hanging tools if making a garland. More precise folding; use the linked fold demonstration and existing display guide. |
Only paper and a pen? Start with the bookmark if your sheet is already square. A note card also works with a rectangle you already have: fold it in half and use its resulting size, instead of cutting to the example measurements.
Making something for a gift today? The note card or paper tag gives you a place for a personal message without a clay-drying wait. Try the first piece on its own before deciding how many you need.
Match the paper to the job
Thin, creaseable paper suits the bookmark and crane because several layers stack together. Plain printer paper is useful for a folding trial. Origami paper with different colors on its two faces makes it easier to tell the layers apart.
Light card suits a tag or a single-fold note card. Try a scrap before using your best sheet. If a fold splits or the pen feathers, change the paper or pen before decorating the actual piece. The sizes below are starting designs, rather than a promise that every paper weight behaves identically.
For chains, choose paper that bends into a loop without springing open strongly. Avoid beginning with stiff card or very slippery wrapping paper. Cut around old tape, damaged edges and heavily creased areas when using scraps.
Put a ruler, pencil, scissors and any tape or hole punch on a clear surface. Children who need help with scissors or a punch can decorate the pieces while an adult prepares them.
Fold a corner bookmark
A corner bookmark starts as a square, becomes a triangle, then forms a pocket. The important action is lowering only the front sheet of the top point before tucking the two side tips into the opening.
Use the complete corner-bookmark guide for the 14 small actions, front-sheet close-up, tuck close-up and matching A4 or US Letter printables. It keeps the paper orientation consistent from the first fold to fitting the pocket over one page.
A 15 cm square gives you room to see the folds; the guide also compares smaller starting squares. Fit the pocket before adding a pen flower or face. Keep its opening free of glue, and keep raised decorations out of the part that rests inside the book.
For a botanical page marker using different materials, the pressed-flower bookmark guide explains a flat card strip with fully dried flowers and a protective covering.
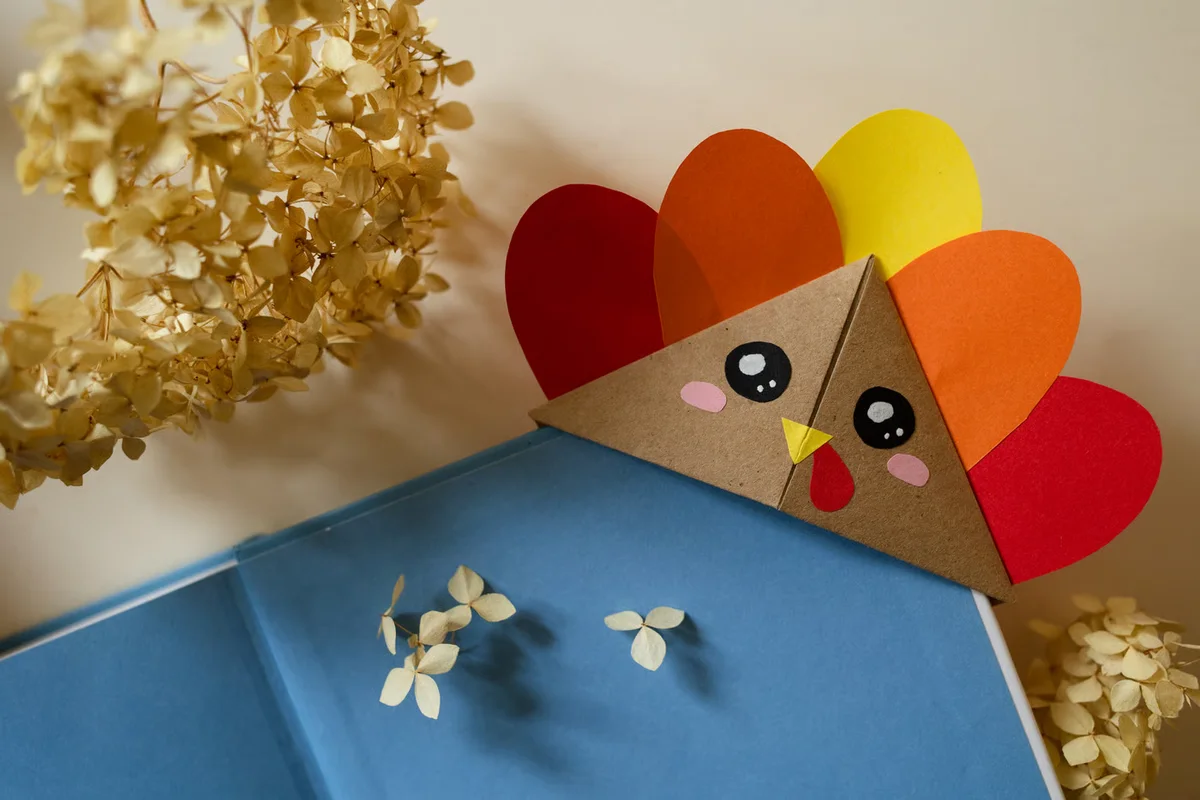
A decorated triangular pocket on a book corner. The flower finish in this guide stays flat; the turkey version adds separate paper pieces.
Make a little flower note card
This is one fold with a small drawn flower on the front. You can use any suitable rectangle; the example begins with 16 x 12 cm and closes to 8 x 12 cm.
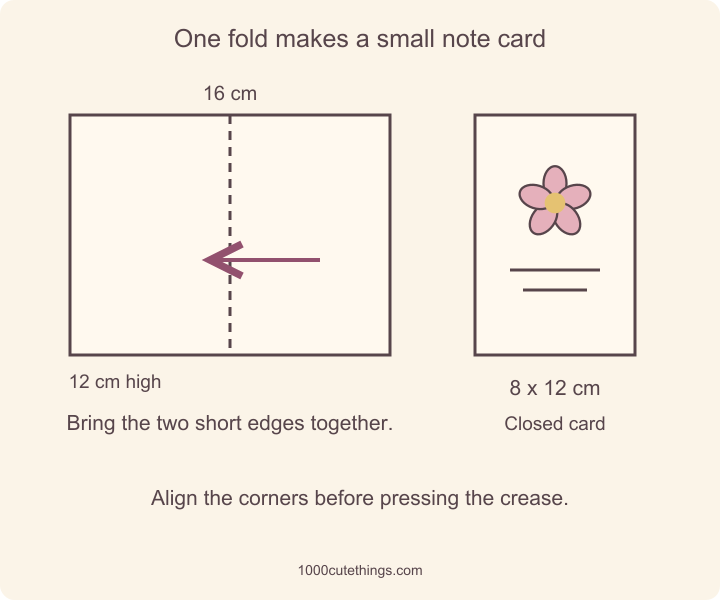
Bring the two 12 cm edges together. The dashed line becomes the fold.
- Measure the rectangle. Mark 16 cm across and 12 cm high on the reverse of the paper. Join the marks with a ruler.
- Cut along the outer lines. There is no cut through the middle.
- Bring the short edges together. With the 16 cm side running left to right, bring the right edge across to meet the left edge. Line up both corners.
- Set the fold. Hold the aligned edges with one hand. With the other, press the bend gently, then smooth the crease from its middle toward each end.
- Find the front. Close the card with its folded spine on the left. Mark a tiny pencil dot near the top of the front so the flower will face the right way.
- Draw a small flower. Try a center circle and five rounded petals on scrap paper first. Repeat it on the front, leaving room around it. The simple flower drawing lesson offers more guidance if you want it.
- Write the message inside. Open the card before writing so ink cannot press through onto another panel. Let the marks dry before closing it.
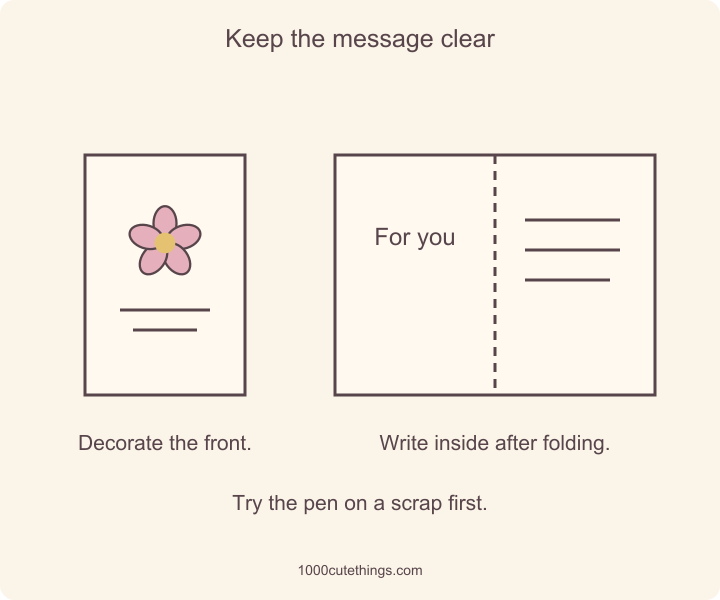
Keep the flower on the front and leave a clear area for your own words inside.
If the edges miss, reopen and realign before pressing the fold harder. If the card looks upside down, check which edge opens before adding the message. To fit an envelope you already have, measure the closed card against it before decorating.
Cut a paper gift tag
Use a 4.5 x 7 cm rectangle of light card. Two clipped top corners make the outline feel like a little label while leaving a broad writing area.
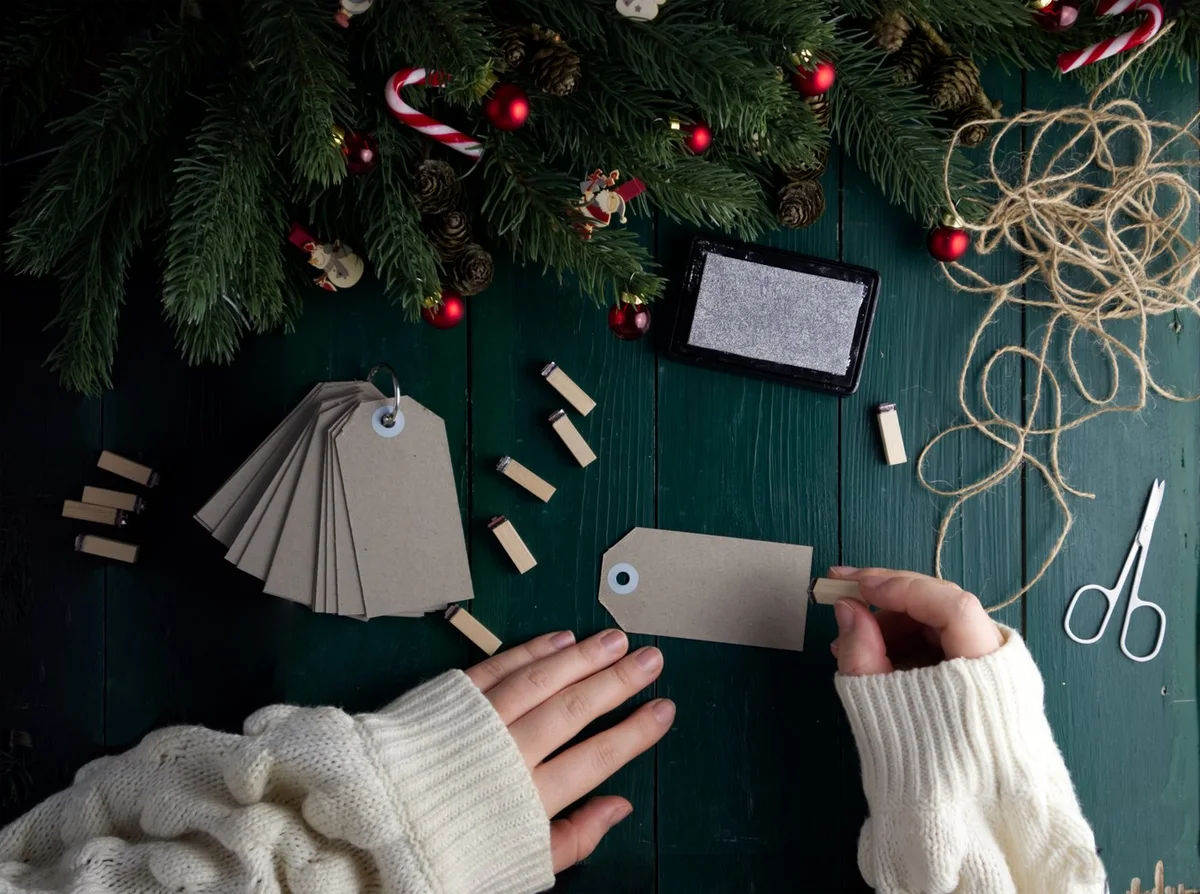
Prepare the writing area before adding a name or small design. These ready-cut tags have reinforced holes and a stamped finish; the plain-card version below uses a punched hole and pen decoration.
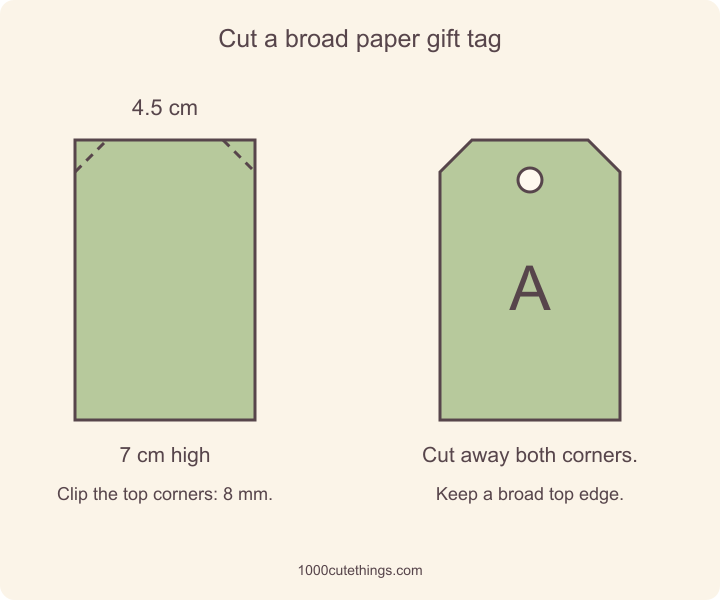
Measure both corner cuts from the same short edge.
- Draw and cut the rectangle. Keep one 4.5 cm edge at the top.
- Mark the first corner cut. From the top-left corner, mark 8 mm along the top and 8 mm down the left side. Join those marks diagonally.
- Repeat on the right. Measure from the top-right corner and join its two marks.
- Clip off the two small triangles. Cut along each diagonal, leaving the middle of the top edge intact.
- Mark the hole center. Put a small pencil dot halfway across the tag, 10 mm below the top edge. For this tag, an approximately 6 mm punch leaves paper between the hole and the edge. If your punch is larger, plan a larger tag and check the full opening before cutting.
- Punch the hole. Check the punch position from its opening, keeping the whole circle inside the tag. Try the intended thin cord through it before writing.
- Add one initial or a tiny flower. Keep it below the hole, with the recipient’s name or your message on the reverse.
- Attach it to the wrapping cord. Feed a short separate cord through the opening and tie it around the package’s existing ribbon or knot. Leave the tag resting against the package.
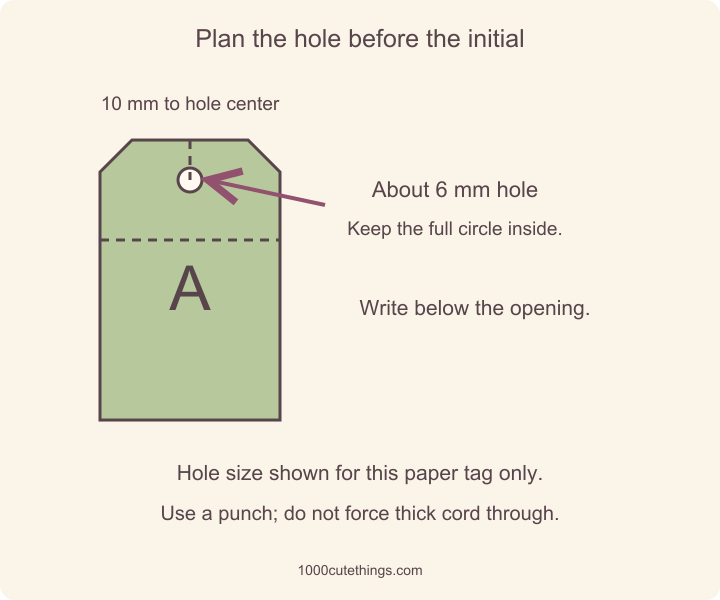
Allow room for the whole punched circle and keep the lettering below the cord.
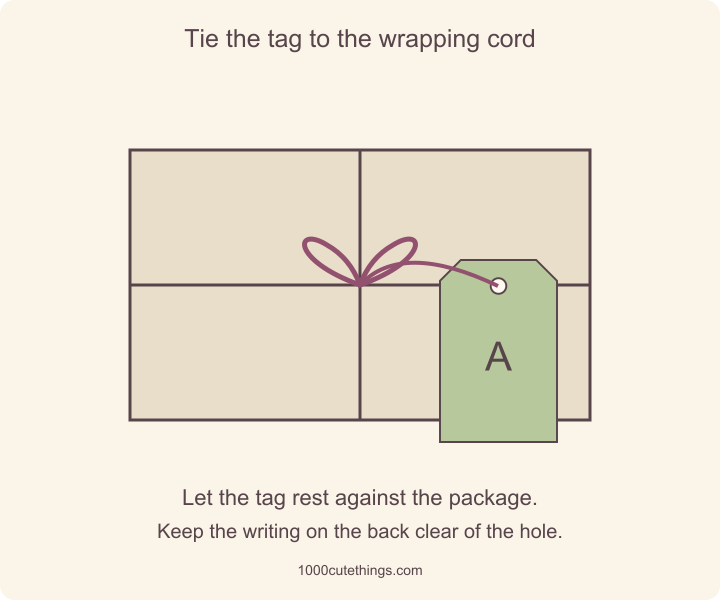
The wrapping holds the gift; the little tag carries the message.
If the hole tears, start again with a broader margin or sturdier card. Do not pull on the tag to lift the package. A punch that cannot reach the planned dot is a reason to reposition the hole on a new blank, rather than bend the finished tag.
Pair it with fabric gift wrapping, keeping the tag clear while you tighten the fabric knot.
Link a short paper chain
Begin with three strips, each 14 x 2 cm, and a little clear tape. A three-link sample shows whether the paper bends and the joins hold before you cut more.
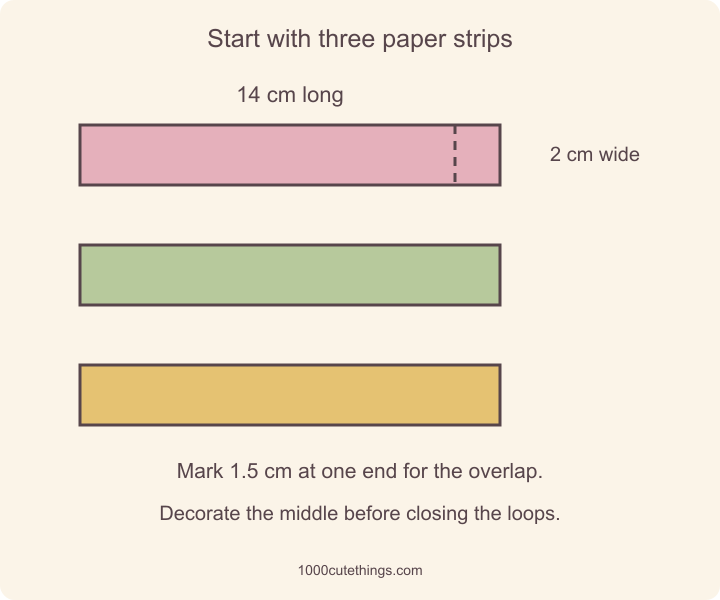
Use the same strip size for the trial. A small mark shows where the ends should overlap.
- Measure and cut three strips. Mark a line 1.5 cm from one short end of each strip.
- Decorate while they are flat. Add small dots or a flower between the ends. Keep the overlap area clear.
- Close the first loop. Curve a strip until one short end reaches the overlap mark on the other. Tape across the outer seam, extending onto paper on both sides. Press it down.
- Thread the next strip. Pass one end of the second strip through the first closed loop. Keep its ends open until it is through.
- Close the second loop. Bring its ends together with the same overlap and secure the seam. It should now be linked to the first loop.
- Add the third. Pass the third strip through the second loop, then close and tape it.
- Check before extending. Lift the sample gently over the table. If a seam opens, revise the tape or paper choice before adding more links.
Watch a paper loop being joined
The orange strip is already threaded through the previous ring at the start. Watch the ends meet and the taped join being pressed. This example uses wider colored strips and visible tape patches; use the measurements above for the smaller three-link sample.
See the join in three moments
The next strip must already pass through the previous ring before these actions. In these frames, that threading is complete.
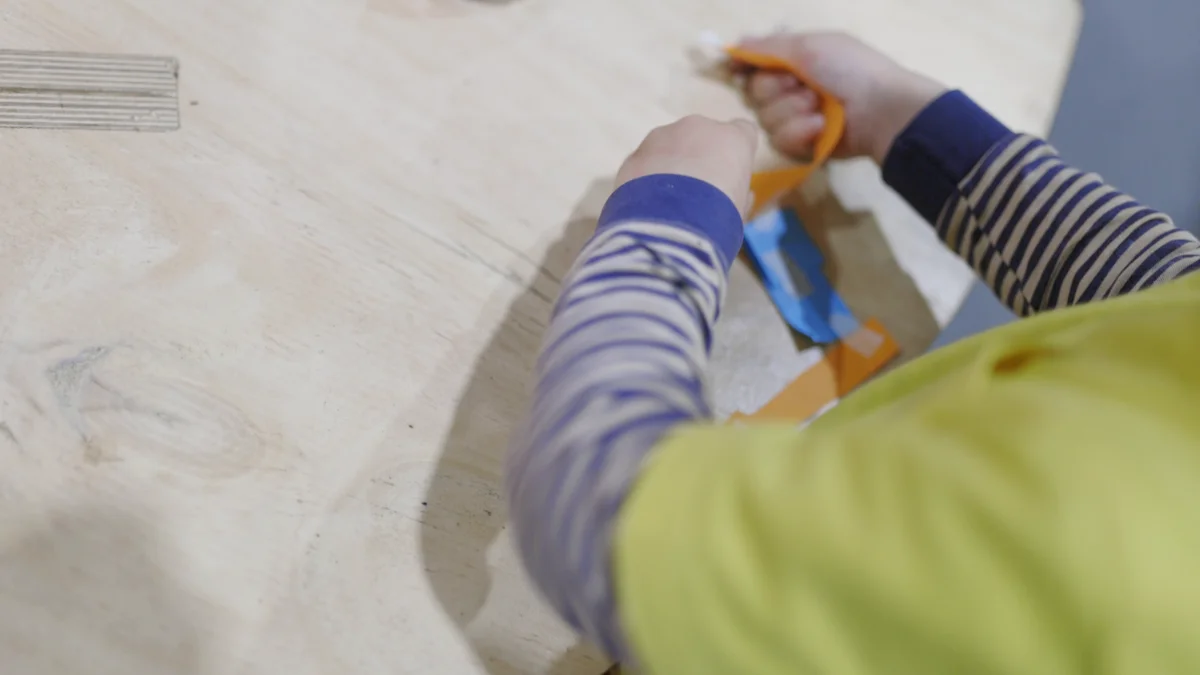
1. Bring the ends together. The orange strip is already through the blue ring; keep that connection while closing the new loop.
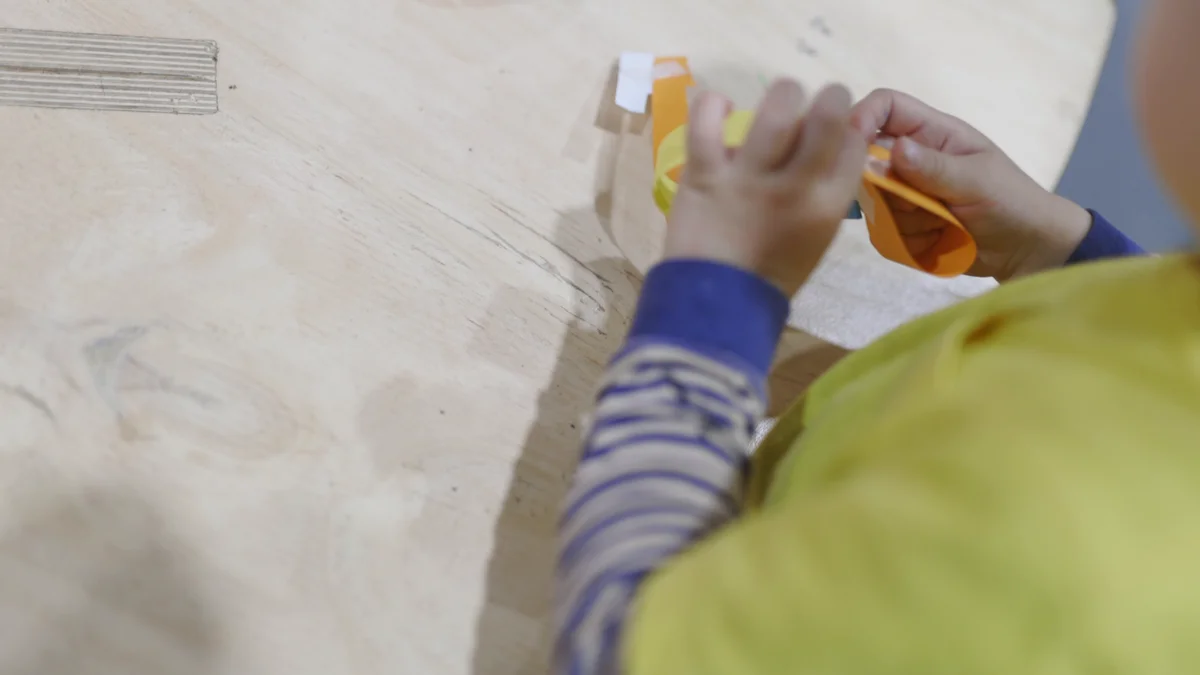
2. Press the taped seam. Keep the overlap together and press the tape onto paper on both sides of the join.
3. Check the linked result. Each new loop passes through the previous one. Check the seam before adding another strip.
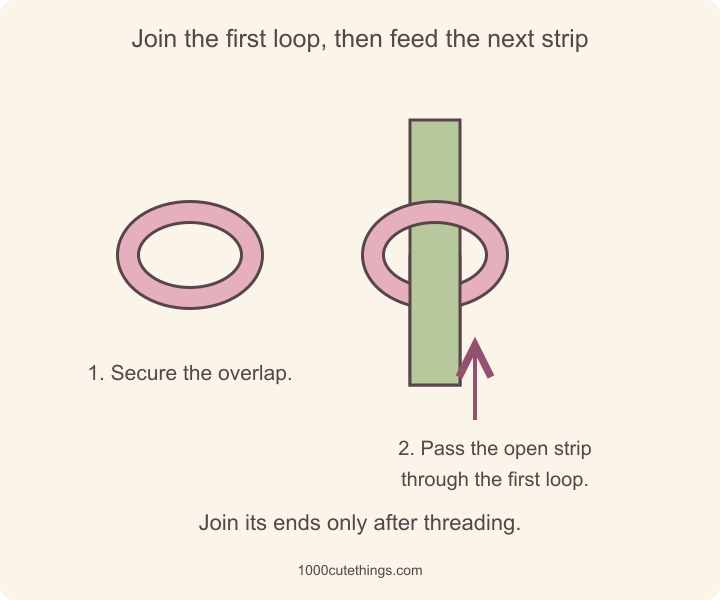
Thread the second strip while it is still open. Two separately closed rings will not link together.
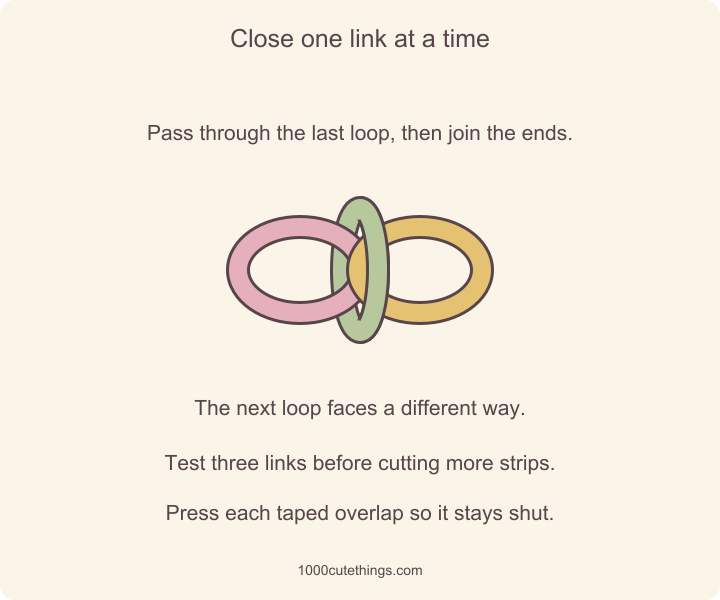
Keep adding through the last loop, then closing that new strip.
Two plain colors and one dotted strip give the chain a repeated rhythm without decorating every link differently. Hold the actual sample against its intended space before choosing the total number; link count alone does not establish the hanging length.
For a temporary indoor display, use fixings suited to the surface and the paper’s small load. Keep the chain away from heat and places where hanging loops could catch people or pets. Alternatively, lay a short chain beside a gift while keeping it separate from food.
For another use of linked paper strips, Crayola’s celebration countdown chain turns each link into a day to count down.
Make a small crane display
Choose this when you want a more precise folding project. Start with one thin 15 x 15 cm square, rather than cutting a whole stack into tiny squares.
Use the National Park Service’s traditional crane directions or the linked demonstration in our paper-crane garland guide. The garland guide covers paper selection, spacing, threading, balance and three places for a short flock. Follow the folding demonstration first, then use the guide for the hanging arrangement.
Fold one crane and compare its wingspan with the intended space. You can stop with that bird on a dry shelf, or continue to a small hanging group. Before folding more, settle the color and test how a practice bird hangs using the garland guide’s attachment checks.
The traditional crane has meaning beyond its silhouette. The NPS resource explains its association with peace; a little home display is one way to appreciate the folded form, rather than a substitute for a thousand-crane project.
Fix the first attempt before making more
A fold will not sit cleanly: reopen to the last clear shape and check the edge or corner alignment. Paper that is too stiff can also be the problem, particularly where layers stack.
The pen bleeds through: try another pen on a scrap. Use a single layer on a backing sheet while writing, and let it dry before folding or stacking.
The tag hole tears: check its full margin and whether the cord is too thick. Remake the blank rather than relying on a tiny damaged bridge of paper.
The chain links are separate: the next strip must pass through the last closed loop before its own ends are joined. Open the new seam and thread it again.
A project is turning into a large batch: finish one card, one tag, one bookmark or three chain links first. Check the actual fit, join and appearance. Repeat the combination you like.
Use the scraps and store the result
Keep broad clean offcuts for tags and narrower ones for trial pen marks or chain strips. Do not force a very small scrap into a fold that needs accurate corners.
Store flat cards, tags and bookmarks away from damp and strong light. Keep cranes and chain links in a shallow box that leaves room for their shape. If a chain will be reused, note the paper, strip size and tape that worked in your own trial.
For a companion activity, choose a small subject from the drawing collection or print an outline from the coloring pages. Let the recipient’s name, a favorite color or one small drawn flower make the paper project personal.